|
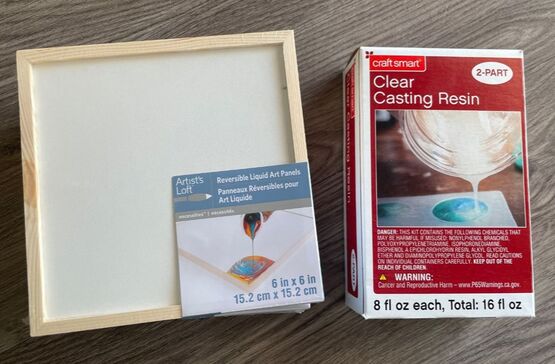
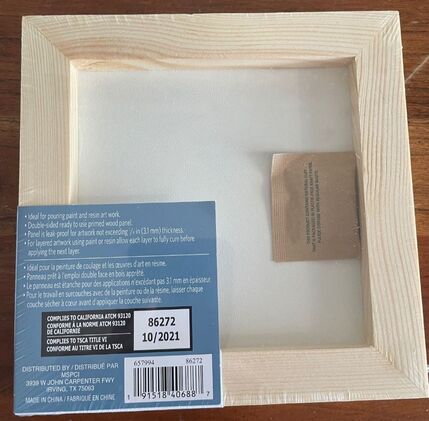
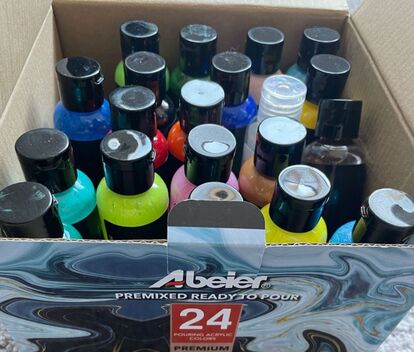
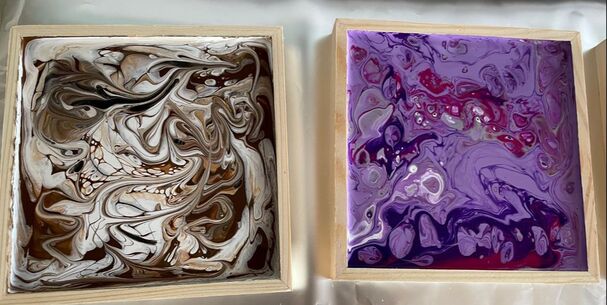
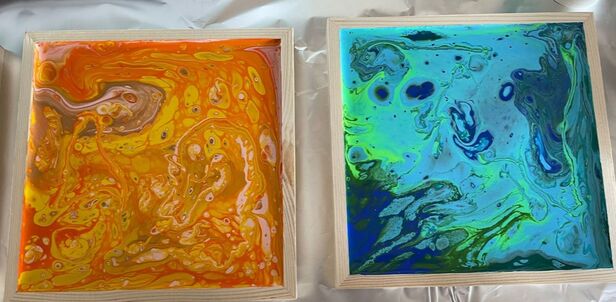
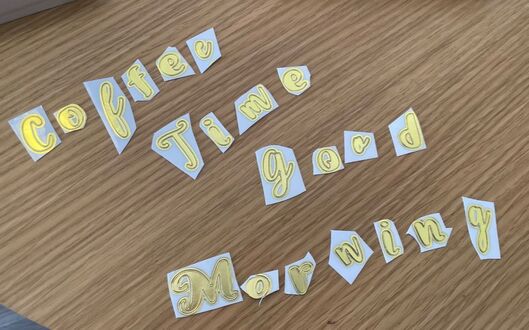
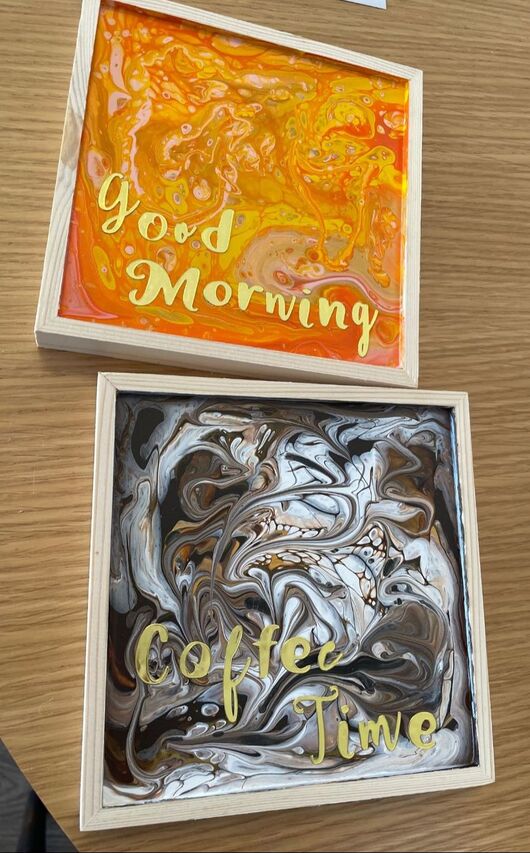
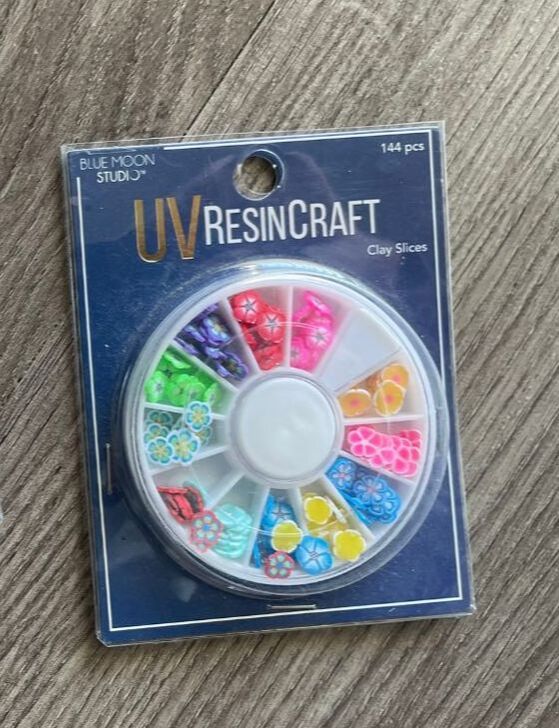
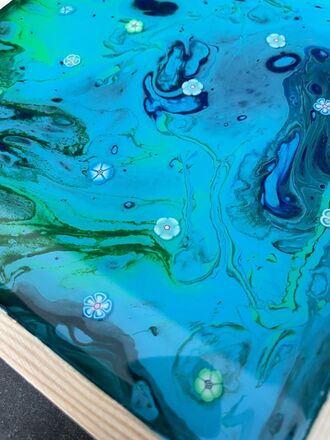
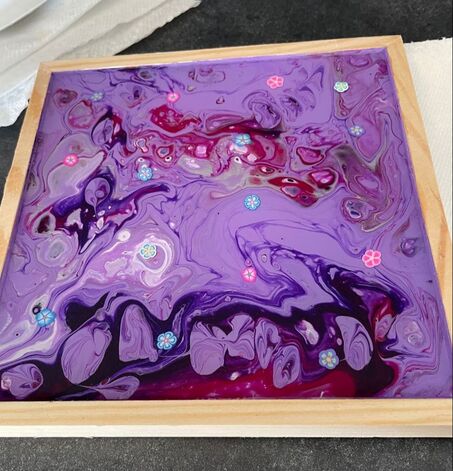
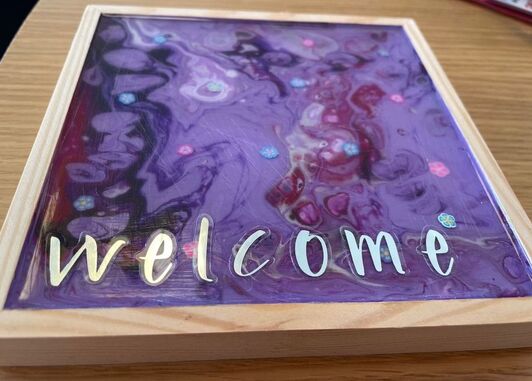
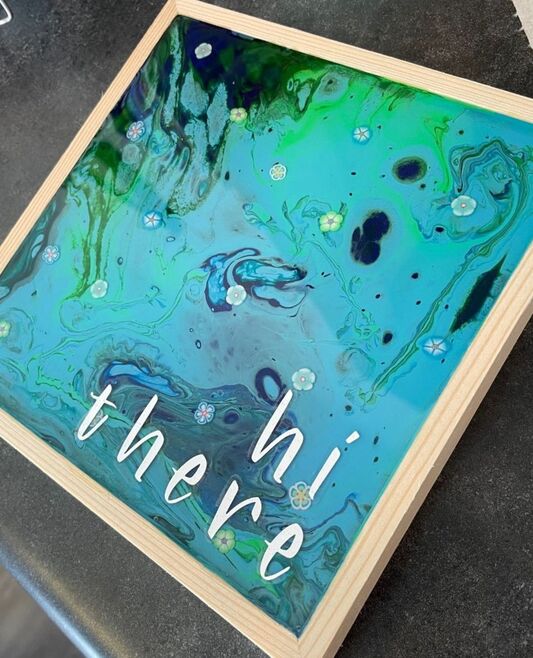
Happy February everyone! So last blog I decided to give epoxy resin a try for the first time. This week I am starting on a project that combines resin with one of my all time favorite crafting techniques: acrylic pour painting. If you are a consistent reader of the blog, perhaps you are sick of pour painting, but it never fails me and I will not ever stop doing it. That is all. End of story. Soooooo I was at Michaels and stumbled upon these wooden frames that are exclusively meant to be used for pour painting and resin art. I also bought some additional resin as I had none left over from my first resin craft. Quick update for those unaware: resin is kind of expensive. But besides that, these frames were very cool as they are double-sided, with one side being deeper with a wider frame while the other side is shallower with a thinner frame. I am not going to give you yet another explanation of how I pour painted, but the SparkNotes version is that I used my tried and true pre-mixed acrylic pour paints and made sure to move the paint around so that it fully covered the inner sides of the wood frames. I started off with the shallower sides of the frames. If you want an actually helpful tutorial on how to pour paint, I have several blogs about it. This one was my first attempt at pour painting and used a method that involved having to mix each paint with a pouring medium that thinned it out: www.thepatternedpaperplate.com/blog/acrylic-pour-painting This one gives an example of how to pour on something other than just a canvas and uses the pre-mixed pour paints that I have come to know and love: www.thepatternedpaperplate.com/blog/pour-paint-coasters-part-one I let the paint dry for about 24-36 hours as it was a fairly thick layer and then I got started on the details that would be encased by the resin. The brown/white and yellow/orange frames both had some gold mixed in so I decided I wanted to add some gold stickers spelling out some simple phrases. I love the look of mismatched fonts so I used two different gold alphabet sticker sheets and cut out letters that I liked to spell out each phrase. I also want to give a quick shout out to the Dollar Tree for the amazing letter sticker selection. If you are looking for letter stickers of any kind, Dollar Tree has a really good selection, particularly of gold/silver foil stickers, and they are some of the thickest, highest quality stickers I've ever used. I would highly recommend! Also, please ignore how my little demonstration of my words below looks like a ransom note .... I had watched a few videos about using stickers in resin and I saw that a common concern or issue was that the stickers would become somewhat damp from the resin and would warp or shift around. To help prevent this, I used a tiny bit of SuperGlue on the back of each letter sticker before sticking it down and covering the whole piece in resin. Here are how they looked without the resin once the stickers were glued down. These frames ended up needing two layers of resin and I used clear resin to really let the pour painting shine through. I thought that I had used enough the first time, but once it settled and dried, the resin layer was not even with the edges of the frame like I wanted it to be. I did some research and learned that there are really two ways to layer resin effectively: you can either pour a second layer only a few hours after the first when the first layer is still a bit tacky or you can wait a full 24 hours until the first layer is fully dry, then sand and scuff up the first layer before pouring the second. The second layer just needs to have something to grip onto so that the layers don't separate so pouring onto tacky resin or onto a scuffed up layer achieves this. As my first layer was already dry, I went for the sand and scuff up method. I will say that this was somewhat scary as the sanding left very visible marks and scratches in the resin, but once the second layer was poured, these marks disappeared. I will show you how these turned out with the resin added in part two of this blog :) For the blue and purple frames, I had originally thought that I did not want to do phrases and opted for adding some little clay flower decorations to the first layer of resin. Once this first layer with the flowers dried and I realized that I had to do another layer on these as well, I decided that I wanted these to have some phrases too. For these I used some silver stickers all of the same font and did the SuperGlue application again. The purple frame shows what it looks like in between resin coats when everything is sanded down and scuffed, while the blue frame shows how it looks with both coats of resin done. And this is where I will leave you on this project! Part 2 is going to cover what I did to the other sides, what I did to the bare wood frames themselves and what I used to make hangable pieces of art actually hangable.
I am so happy with how these are turning out and I will admit that I already bought four more of the frames from Michaels to make more. As I mentioned at the beginning of this blog, if you are getting a little bit bored with seeing pour painting so much, I really don't have anything to say as I don't think I will ever stop doing it :) I have always loved painting and making larger scale art/wall decor, but as someone who is not really that good at drawing or painting actual things like landscapes/people etc., pour painting is such a good way to achieve what I want. It is also a form of painting that really centers on imperfection and uniqueness which is good for me as someone who gets a bit too focused on perfection. It has become a really therapeutic kind of art form for me and I love it! My mother has told me that cutting paper does that for her and she finds it very calming and meditative; for me, that thing has become pour painting. Also one quick final point: the first few times I actually mixed and poured the resin, I did not wear a mask because I have a general attitude of "screw it" when it comes to my personal safety. However, I would highly recommend actually wearing a mask as resin basically smells like a high school science classroom when its frog dissection week. Very formaldehyde-ish. Once I started wearing a mask while pouring, I did not end up getting a headache. Imagine that. I would even say that a mask, gloves and goggles/some kind of eye wear are your best bet to ensure that you are fully protected. Let me know what you all think of the start of this project in the comments below. I can't wait to show you the finished results! - Rebecca P.S. Today's photo on the homepage comes from Pexels user Thirdman: www.pexels.com/photo/a-person-mixing-a-resin-soloution-7256844/
2 Comments
Momma
2/6/2022 08:09:51 pm
Beautiful! I love how you are always willing to try something new to add to you favorite techniques.
Reply
Elaine Smith
2/7/2022 02:53:20 pm
Reply
Leave a Reply. |
AuthorI am a 27-year-old crafter and baker from New Hampshire! Archives
July 2024
Categories |
 RSS Feed