|
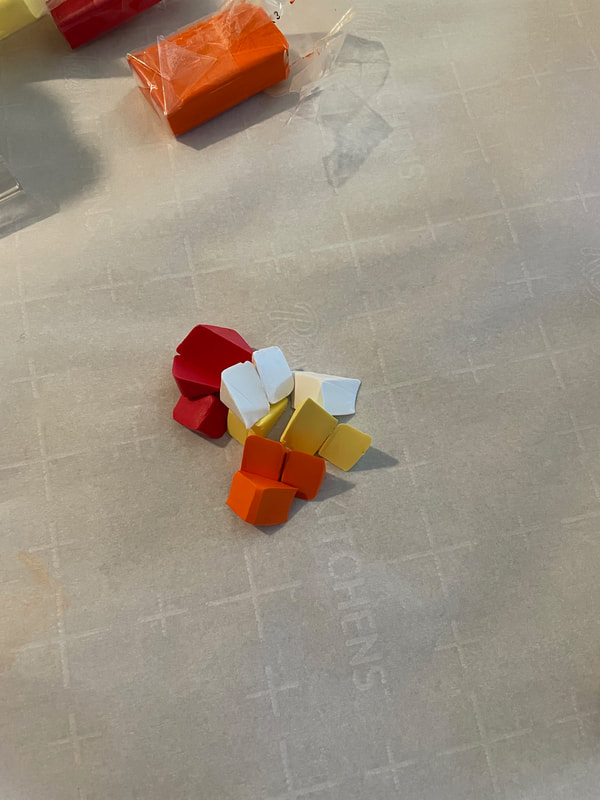
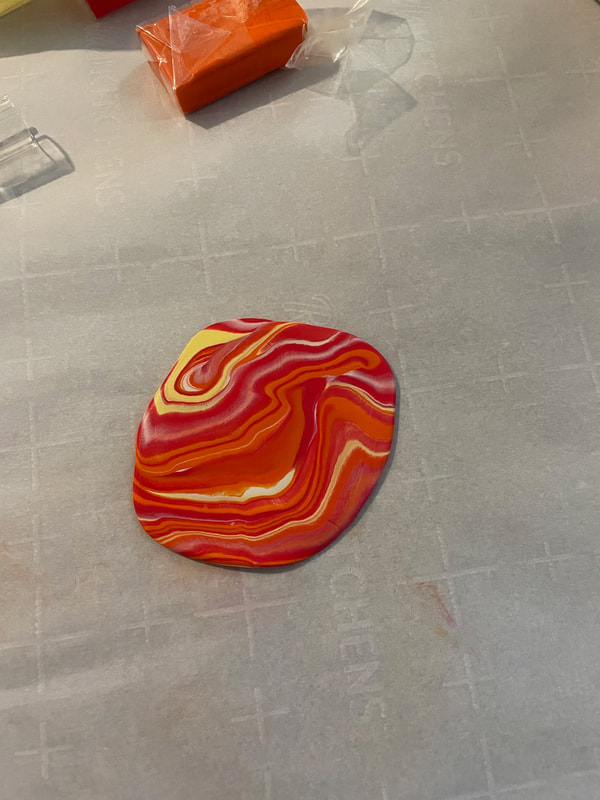
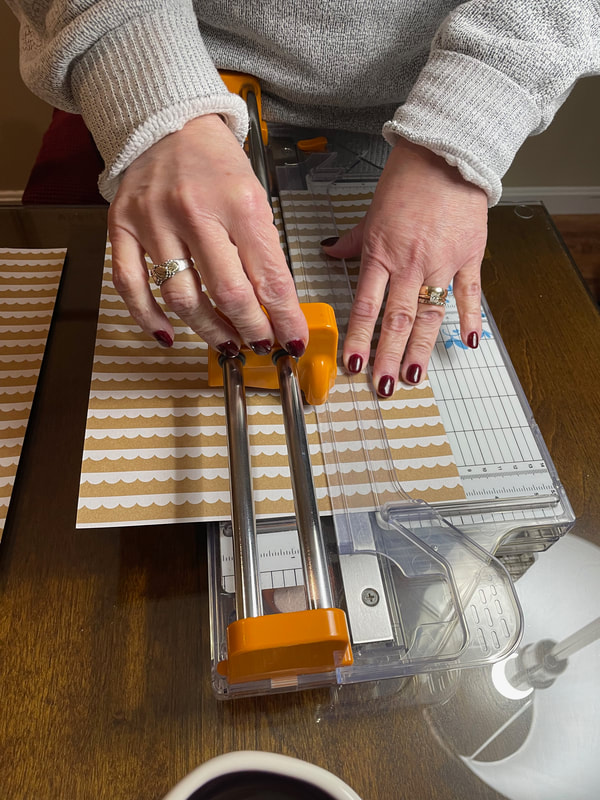
Hello everyone! I hope you are doing well this Sunday. Today I have a fun project to share that is a bit different for me, some earrings! I have had some dangly earring bases for a while that my mother had given me and I figured it was time to put them to good use. I thought it would be fun to combine this idea with something else I don't use too often, polymer clay. Below are the main supplies I used for this project: a variety pack of polymer clay, some clay cutters, head pins which are used for beading, the earring bases, clay tools and some tiny little beads. Not pictured but also very important are a variety of jump rings! 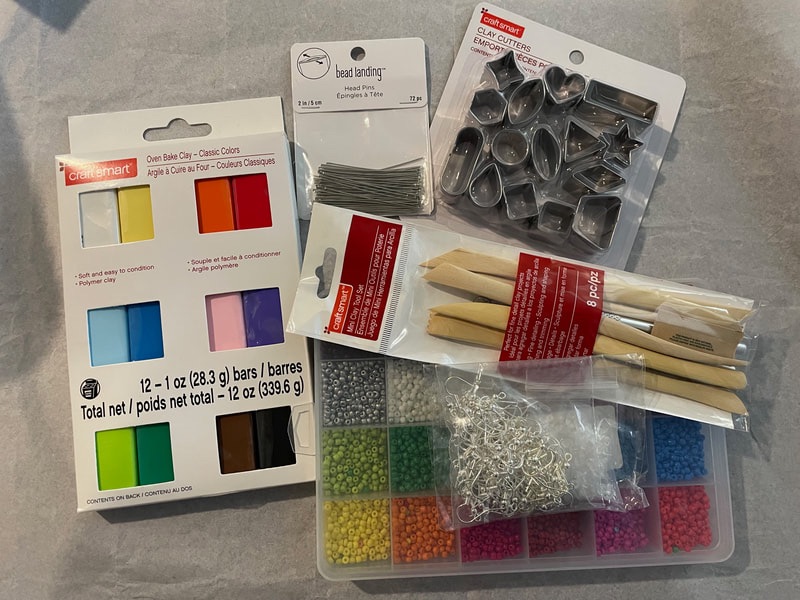 I decided that I wanted to go for a marbled effect with different clay colors so I started by cutting up a few clay colors into little pieces. I then rolled and squished the clay together until I had the effect I wanted, making sure not to overwork it so that the colors would just bleed together.
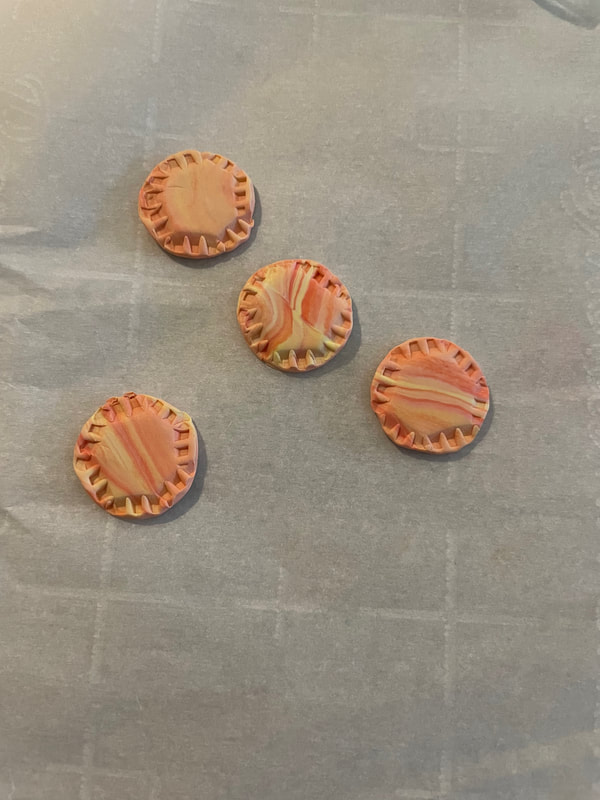
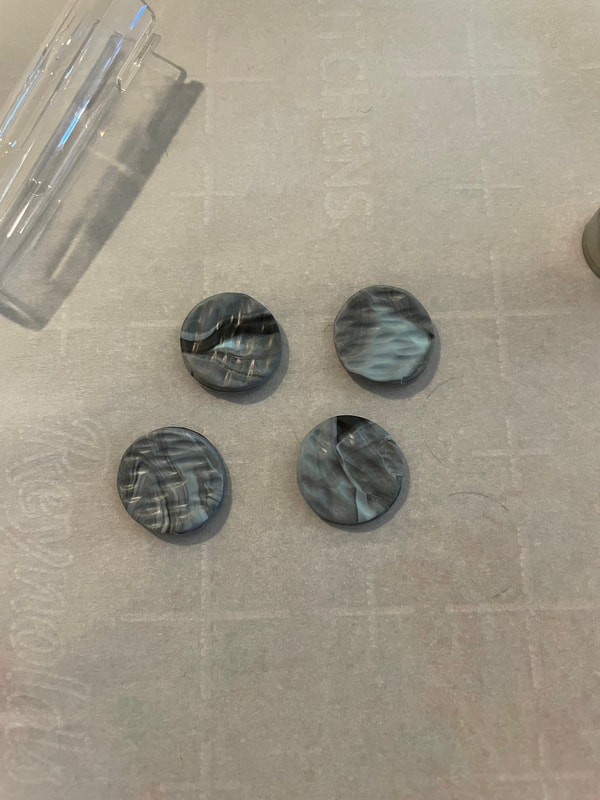
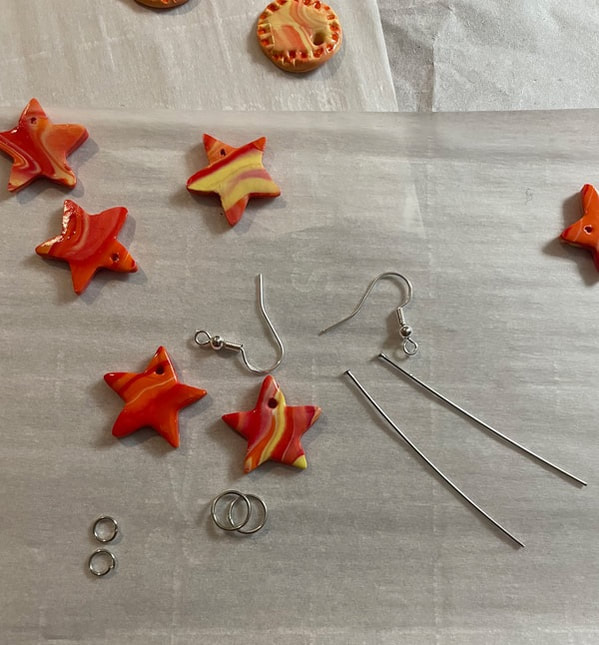
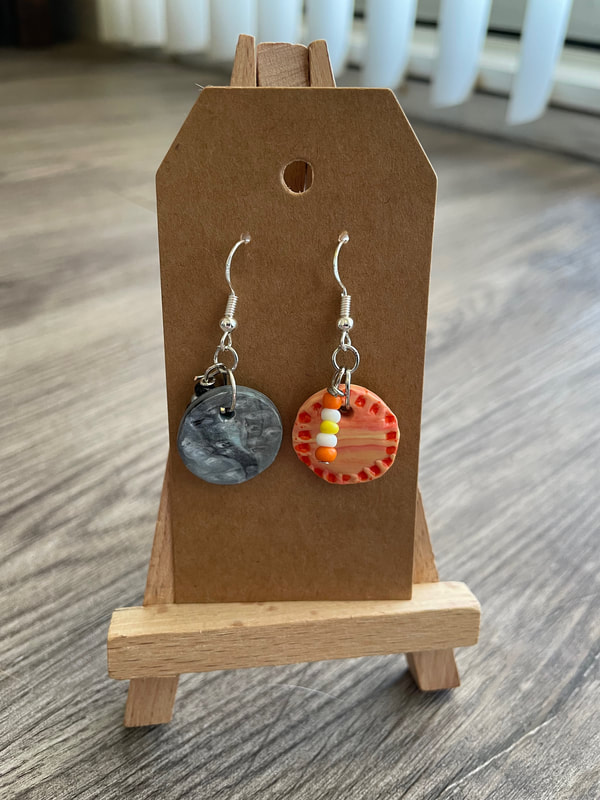
I went for 3 general designs with this batch: stars, suns/moons and some pairs with the phrase "hi there" on them. The stars were cut out of the red/yellow/orange/white clay I showed above. For all the pairs, I used a pointy tool to poke a hole through the top. 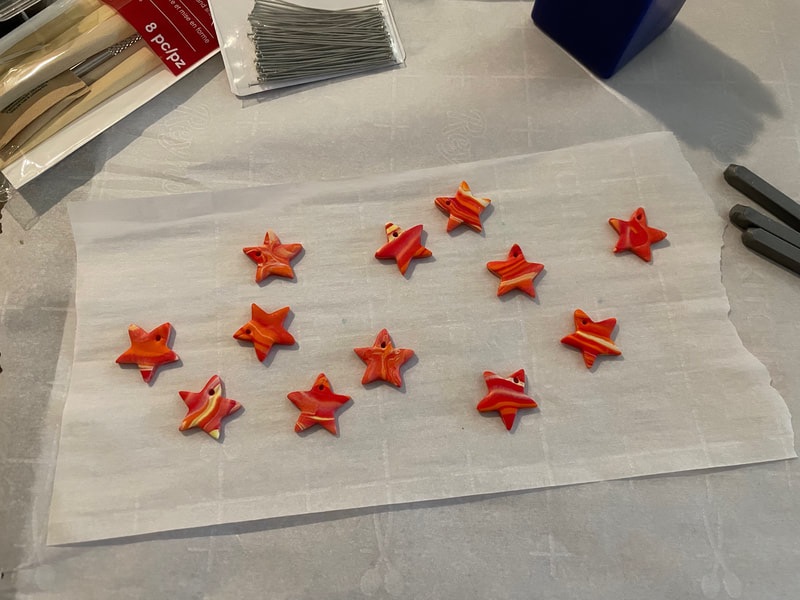 For the suns and moons I made the suns out of some yellow/orange/white clay and the moons from some gray/white/black/blue clay. I also added some texture to these with some of the clay tools I had. I also ended up adding some orange paint to the little ridges on the side of the suns and some white paint to the valleys on the moons.
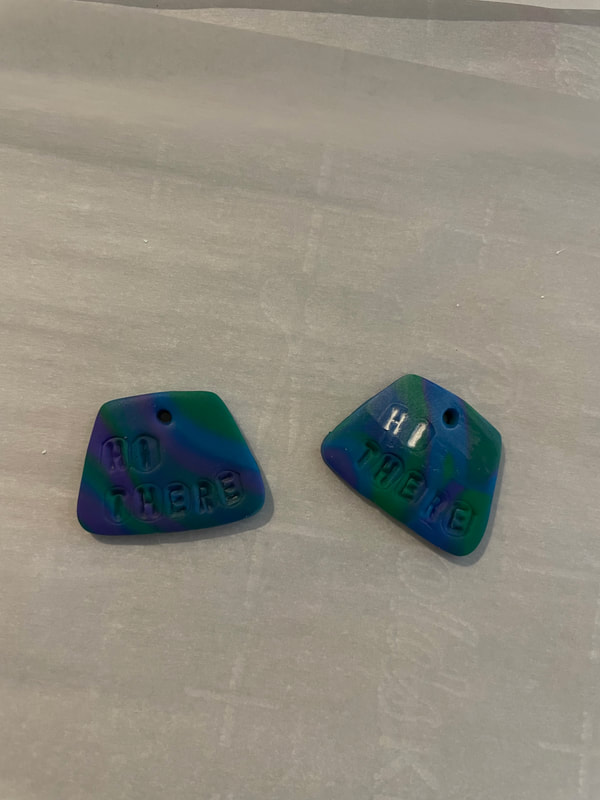
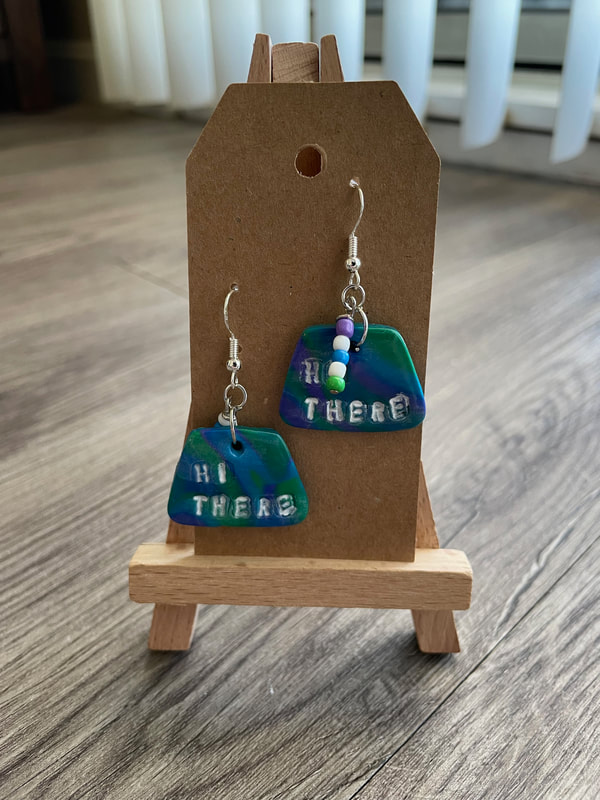
For the final pairs, I used purple/green/blue clay and also used some tiny little letter stamps to make impressions in the clay. The stamps I used are actually meant for banging letters into metal, but they worked here. You could also get the same effect by pressing rubber stamps into the clay. Once these had been cooked and cooled, I added some white paint into the indents to make them stand out more. I did this by brushing a thick layer of white acrylic paint over the indents and then quickly wiping away the excess with a wet paper towel.
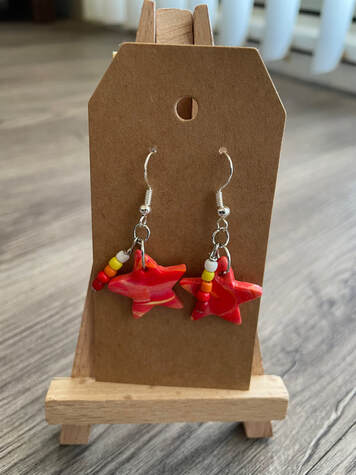
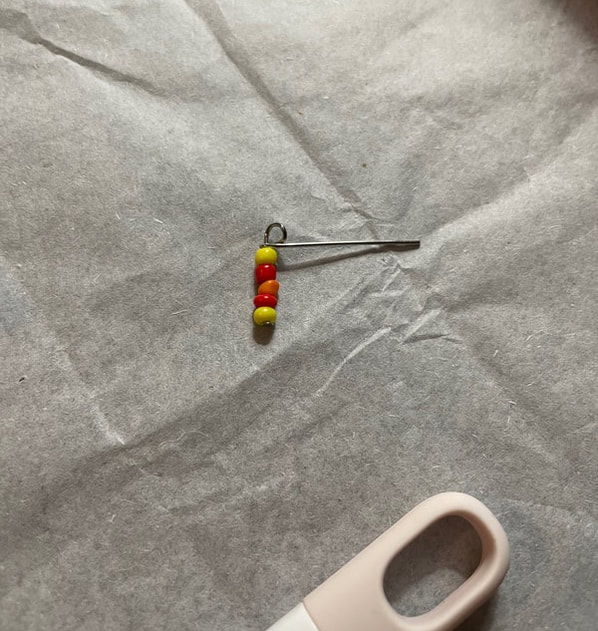
I cooked the clay according to the package directions and let them cool fully. I then went over all of the clay pieces with a thick coat of the varnish I always use, DuraClear. I used a high gloss version for this project. In terms of the hardware pieces needed for each pair, I ended up using 2 earring bases, 2 head pins, 2 smaller jump rings and 2 larger ones, as well as 10 small beads. I came to the conclusion that a little detail of 5 beads was the perfect amount for each earring. In case you are not aware of what a head pin is, it is a piece of wire with a flat end that stops the beads from coming off. The little beaded detail on the right is 5 beads that were slid onto the head pin with the non flat end bended over to create a loop. I then used some wire cutters to get rid of the excess wire on the head pin.
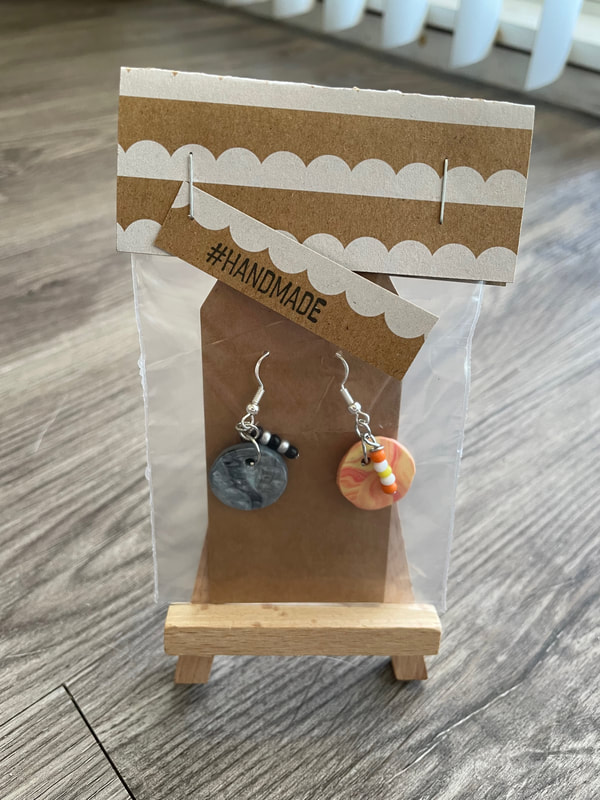
Then it was just assembling the earrings using the jump rings and some pliers! My mother also had the smart idea to put them on these cute little tags that we punched holes into. She was also nice enough to cut some toppers that I could put on top of the little bags I planned on putting each set it. Here is an example of what a fully packaged set looks like:
Here's a close up of each type of set I made so you can see the details!
 These are now up on the Etsy shop if you are interested! I had a lot of fun making these and trying something a little different for me. Let me know what you guys think in the comments below!
- Rebecca P.S. Today's photo on the homepage is from Pexels user Antoni Shkraba: www.pexels.com/photo/a-person-kneading-a-clay-dough-6694683/
0 Comments
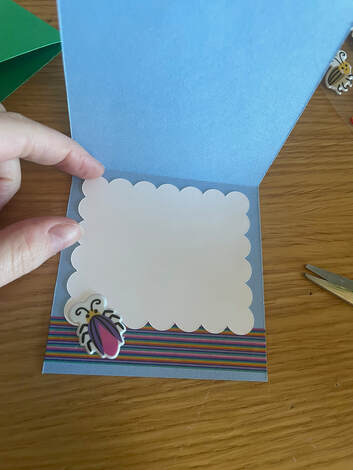
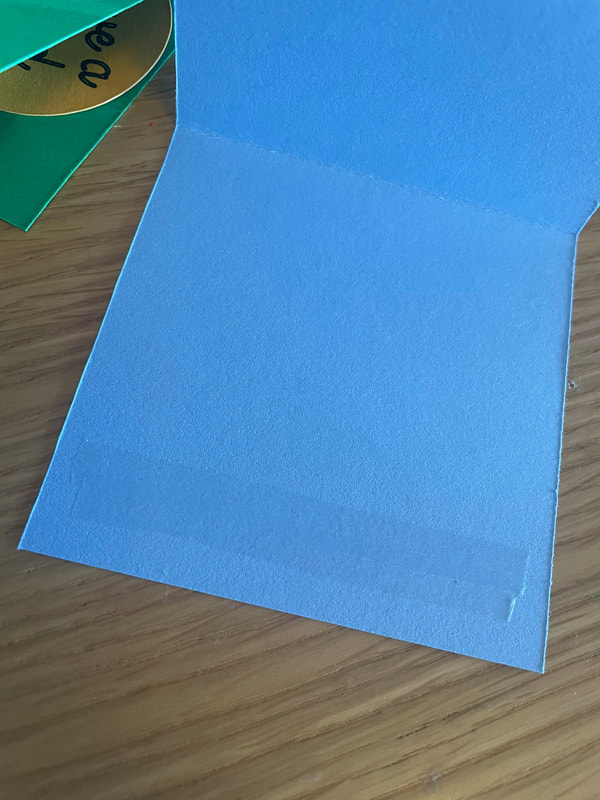
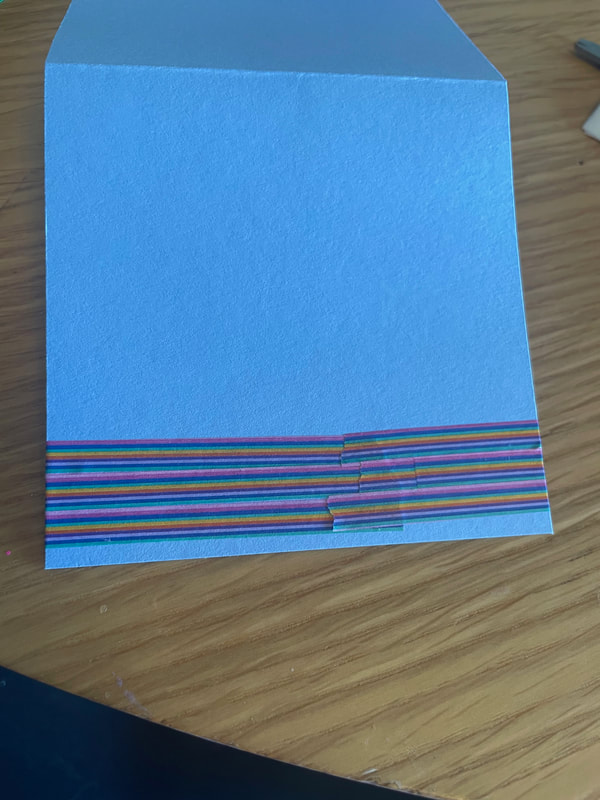
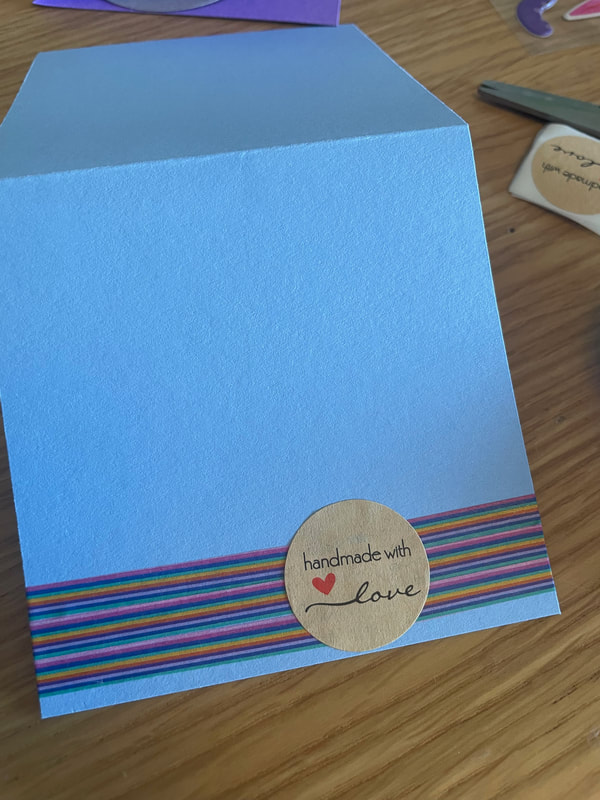
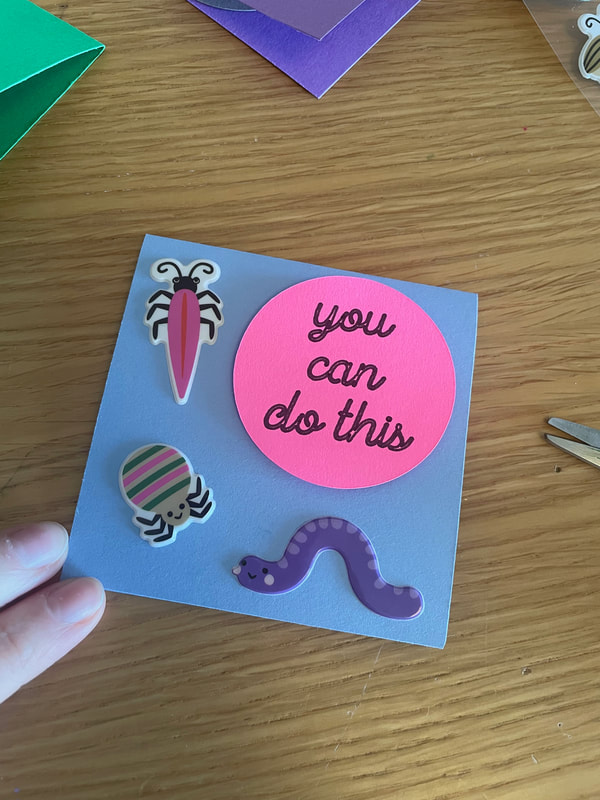
Happy 2024 everyone! I hope that you had a wonderful holiday season and a great start to the New Year. Today we have a cute little card project I worked on recently. It all started when I saw these adorable puffy stickers in the crafty aisle at Target: 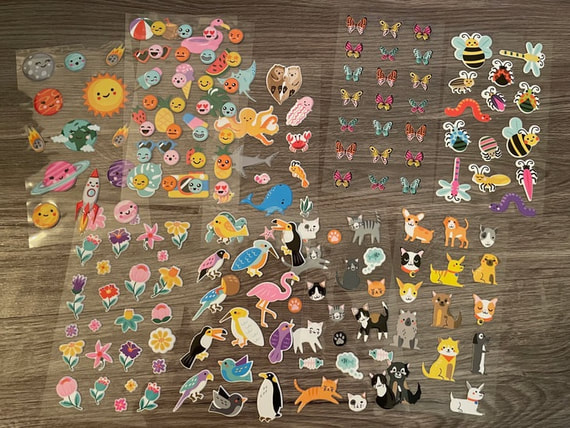 I thought these would look really cute on some cards but, for those of you who don't know, I really don't enjoy making cards so I decided on making smaller, lunchbox cards to make the project a little less overwhelming. I used a variety of colored cardstock and cut out some 3 1/2 by 3 1/2 inch square cards. 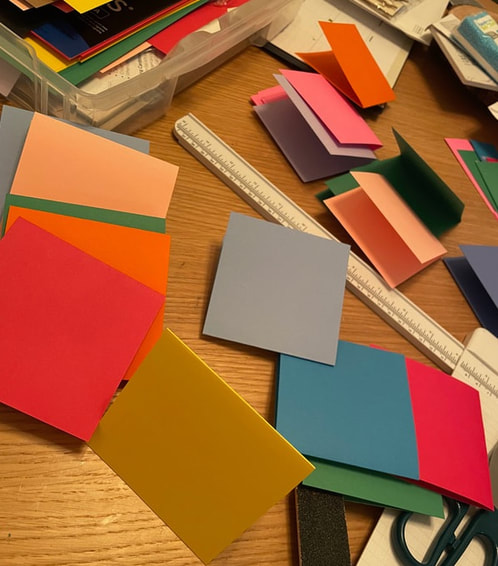 I then used my Cricut to cut out some scalloped rectangles from white paper to put inside each card. I thought that this would not only ensure that these cards were easy to write in no matter the color of the card itself, but would also be a fun detail. 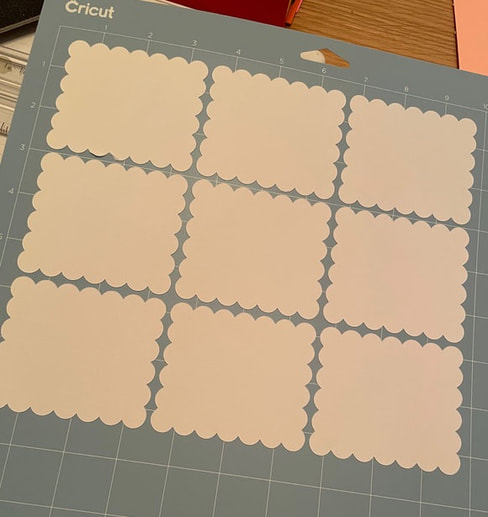 I also used the Cricut to write and cut out some sentiments for the front of the cards. I finally figured out how to do this properly so that in one pass through the Cricut, it first wrote out the sentiment and then cut it out correctly. 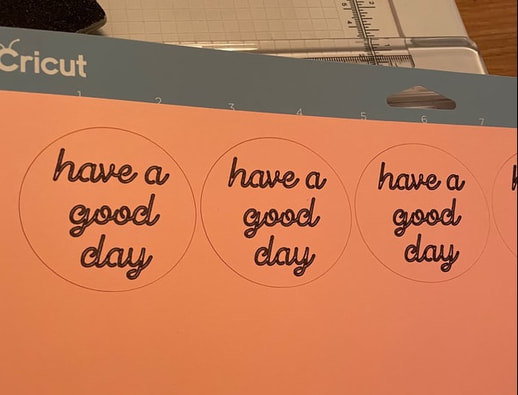 I added some washi tape to the inside of each card and then stuck down the white scalloped rectangles. Washi tape is not super adhesive so I did end up using a line of another type of adhesive first to ensure that the washi tape stuck well. I then brought the tape over the edges onto the back of the card and used a small Handmade with Love sticker to cover up the place where the tape met. Finally, I added a small puffy sticker that matched whatever was on the front of the card to finish off the inside.
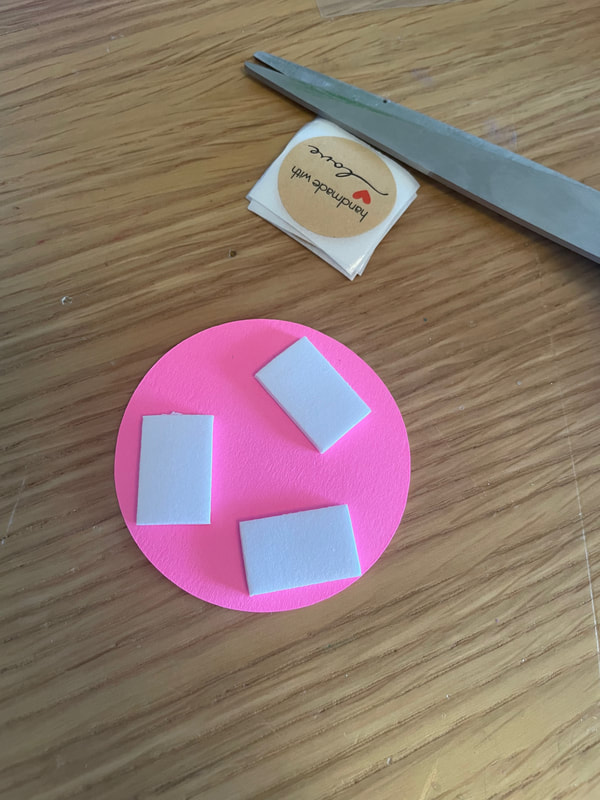
 For the fronts of the cards, I popped up the circle sentiment with some dimensionals and then added 3 or more stickers that I liked from the puffy sticker pack. I also used some liquid glue in addition to the adhesive on the stickers themselves to ensure they were stuck very well.
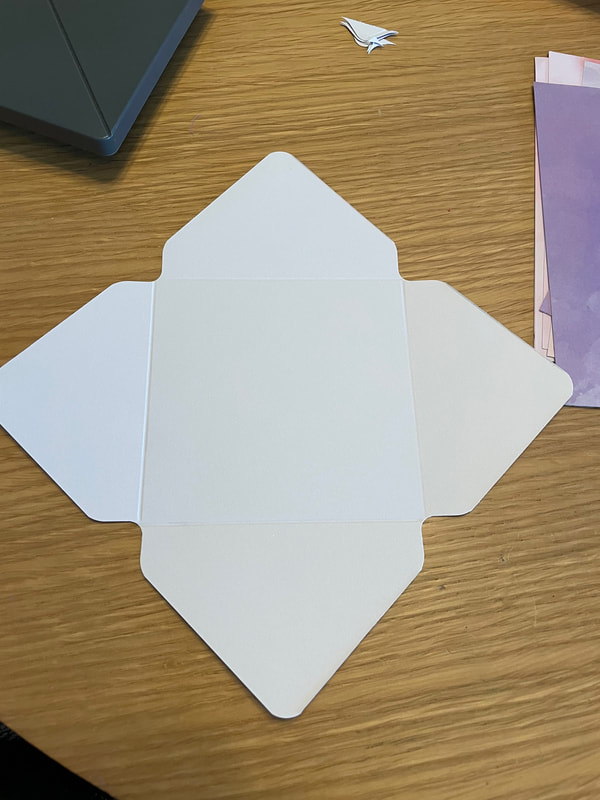
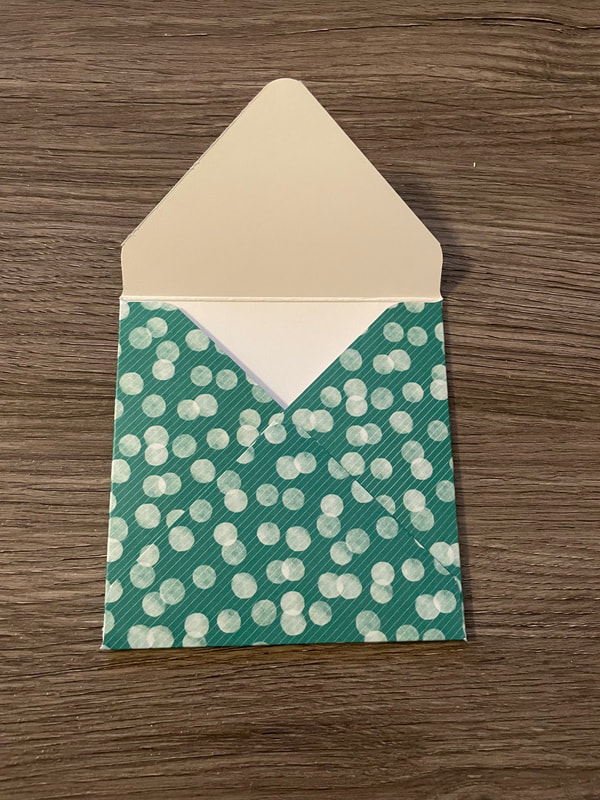
Here is what the fronts of all 5 sets I made look like! 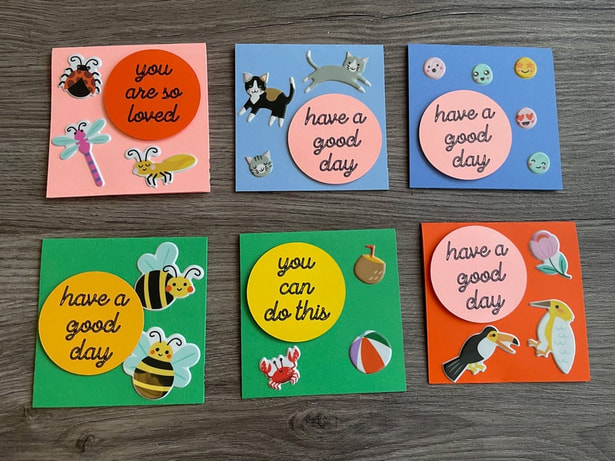 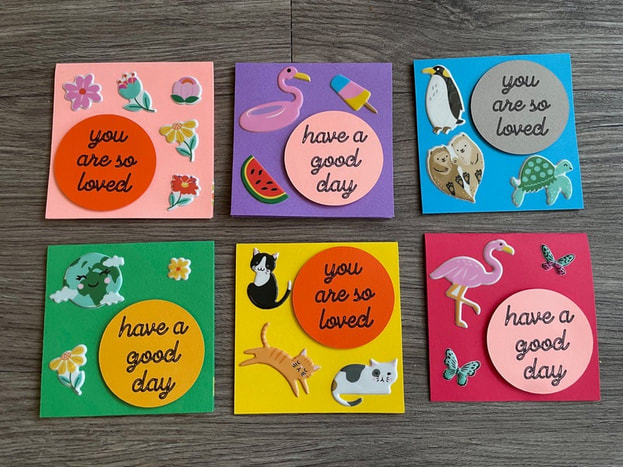 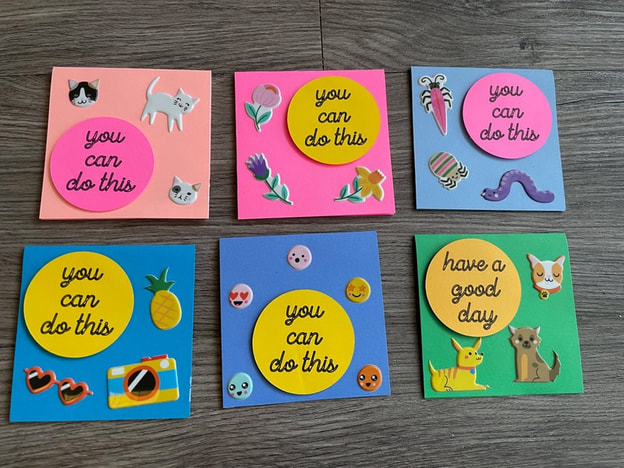 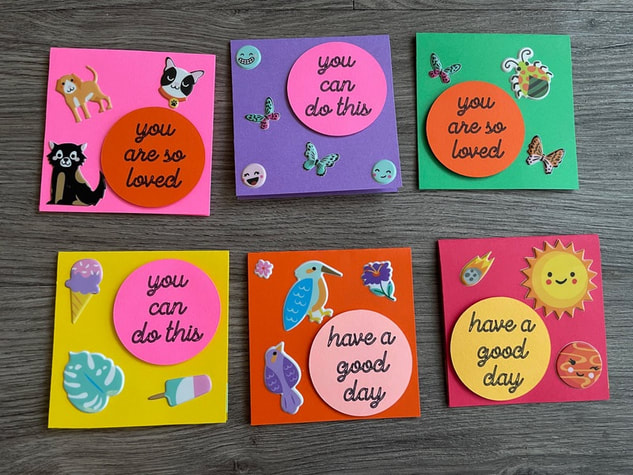 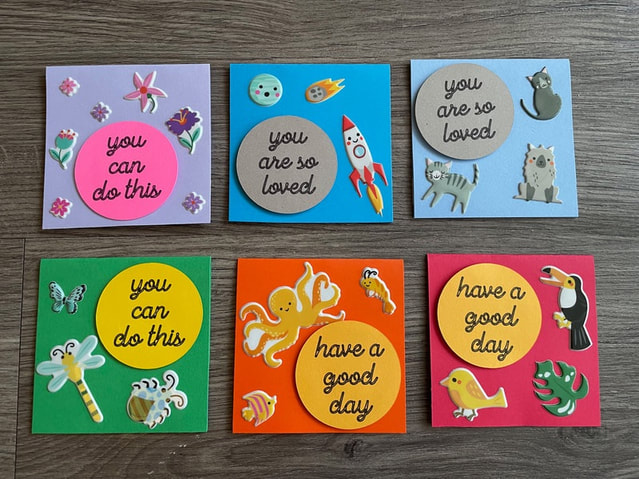 I thought it would be fun to make some custom envelopes to go along with these cards and my mother has this handy envelope maker I was able to use.  The way this envelope maker works is first you cut out the appropriate sized square of paper, then you use the punching and scoring feature to make notches and score lines that will allow you to fold up the paper into an envelope shape. I used patterned paper that had one fun side and one blank white side to make the envelopes.
I had so much fun making these envelopes! I used a fabulous glue that I got for Christmas to adhere all the flaps of the envelopes down. It is called "Art Glitter - Designer Dries Clear Adhesive" if anyone is interested!
This project was a nice way for me to use some fun stickers and make cards on a smaller scale. I have the 5 sets of 6 cards I showed above on the Etsy shop. Each set comes with 6 cards, 6 patterned envelopes and 6 clear stickers to close the envelope flaps. Go take a look if you are interested! I also added a bunch of new things to the shop in addition to the cards so if the cards don't speak to you, something else might. Here is the link to my shop if you need it: www.etsy.com/shop/patternedpaperplate Have a great day everyone! - Rebecca P.S. Today's photo on the homepage is from Pexels user Antoni Shkraba: www.pexels.com/photo/healthy-lunchbox-with-fruits-and-vege-5852329/ |
AuthorI am a 27-year-old crafter and baker from New Hampshire! Archives
July 2024
Categories |


 RSS Feed
Proudly powered by Weebly