|
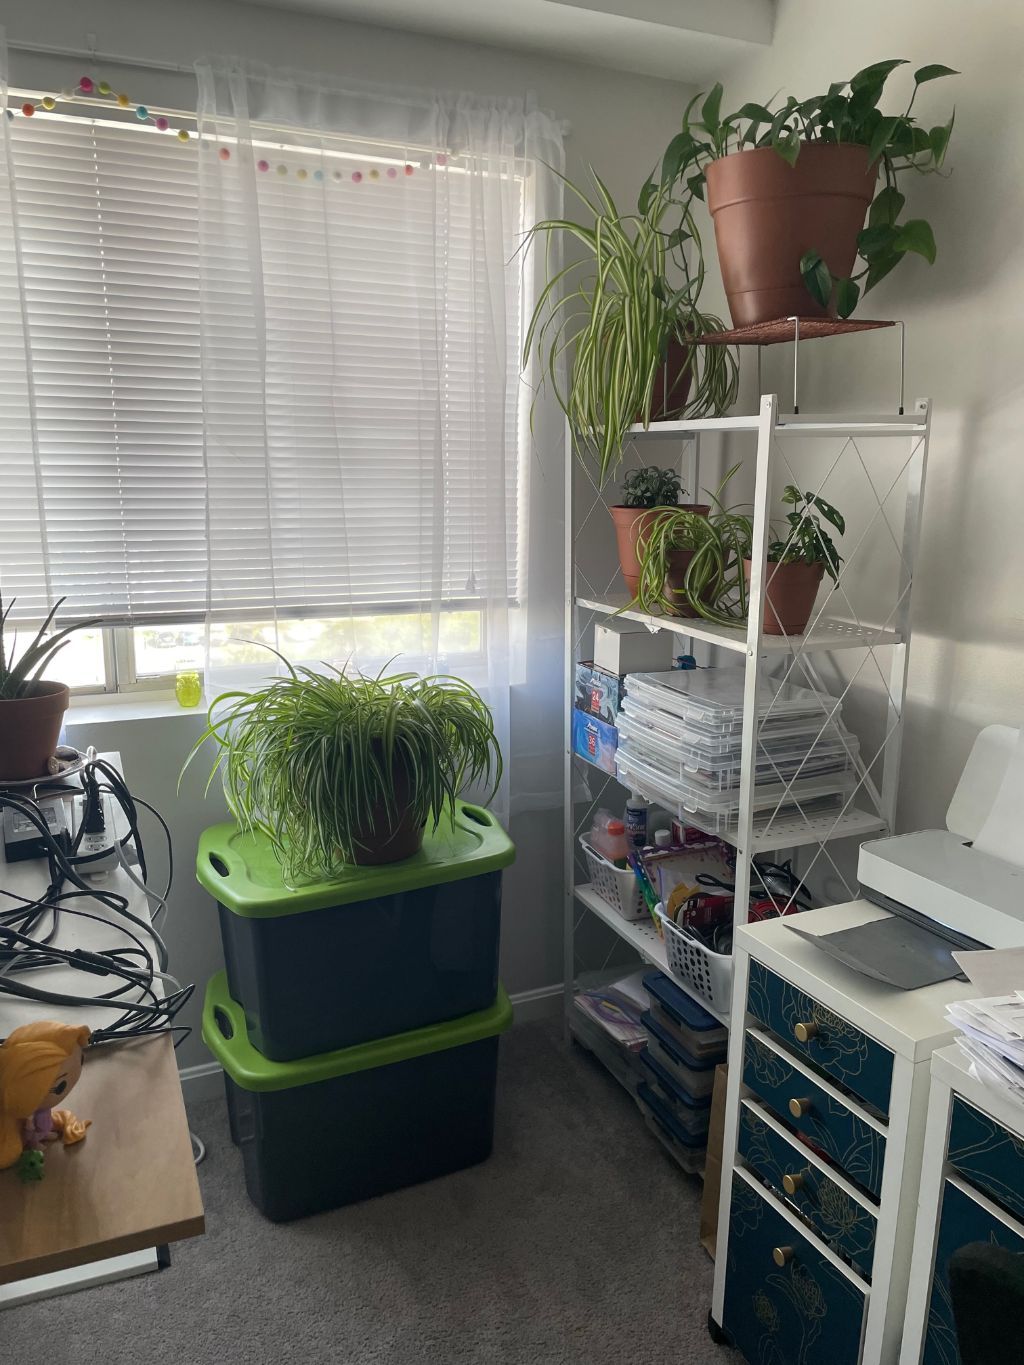
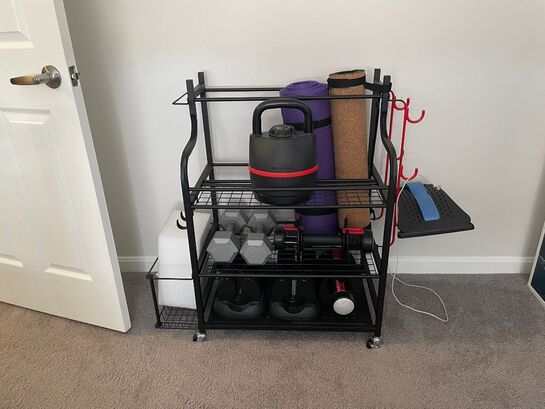
Hello everyone! How are you today? Today we don't have a tutorial, but a little look at what my craft room has shifted into since I've been working from home. I have been working from home since March and will be until at least the end of December. Initially I had made some "good enough" changes to my craft room, but over the past few months I have moved things around a lot to make the space more conducive to working and crafting. If you are interested in what the space looked like before, go check out my "Craft Room Redo" blog. One of the things which made a big difference as far as containing clutter was giving over a whole corner of the room to be a "storage area." We have a door in our craft room that leads to the kitchen, but never use it as we also have a door between the kitchen and living room. Since we never use that doorway, it seemed appropriate to offer that corner up as storage. We moved a bookcase over into the space and keep a variety of things on there. When the other door into the craft room is open, it actually hides the storage corner a bit and makes it less in your face.
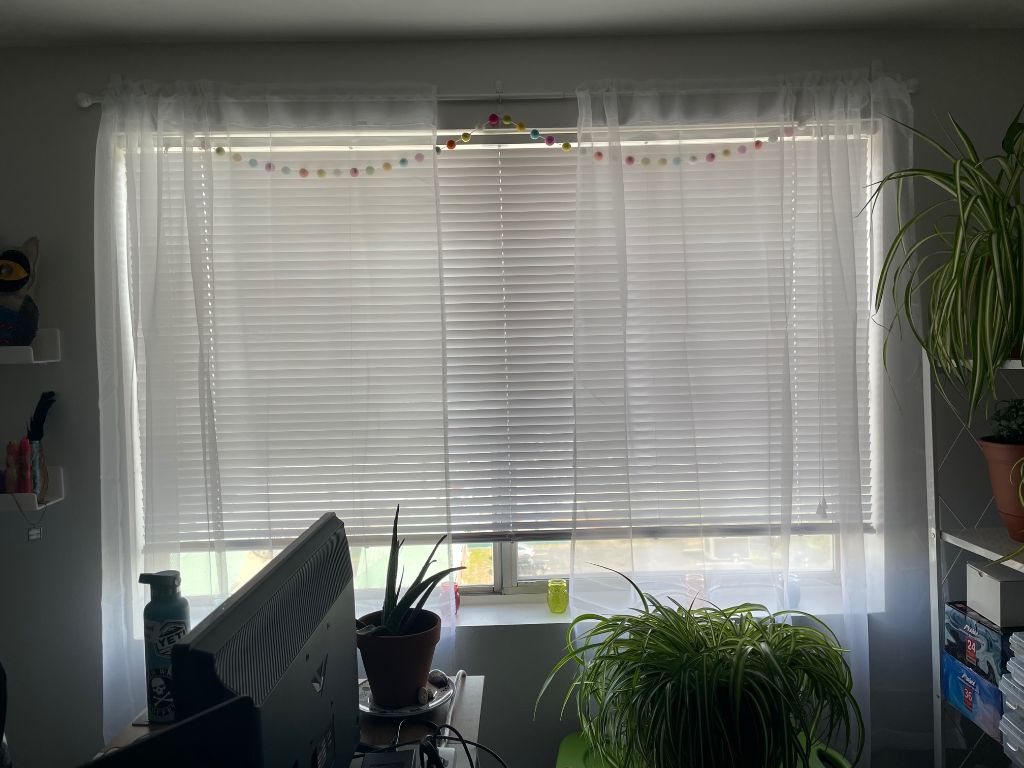
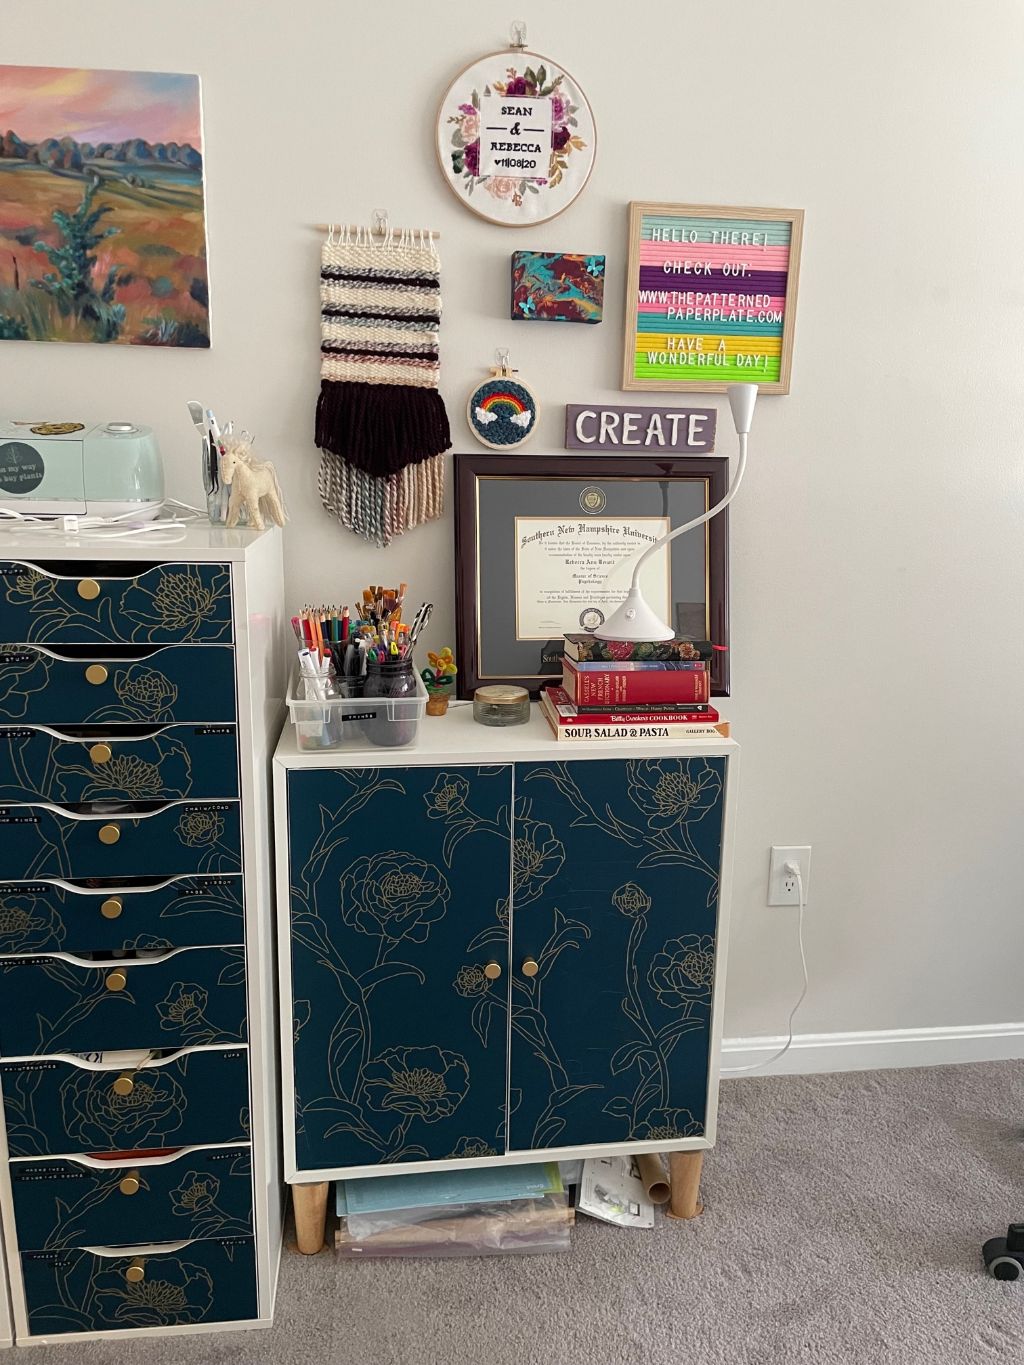
Another big change was adding a second desk to be the dedicated computer space. Initially, I was working from my corner craft desk which left no room to spread out and do any crafts if I wanted to. I took my old homework desk that my Pepere had made me down from the attic and set up my computer station there. I would love to get a white IKEA desk that matches everything else we own in this room, but my lovely handmade desk is certainly doing the job for now. 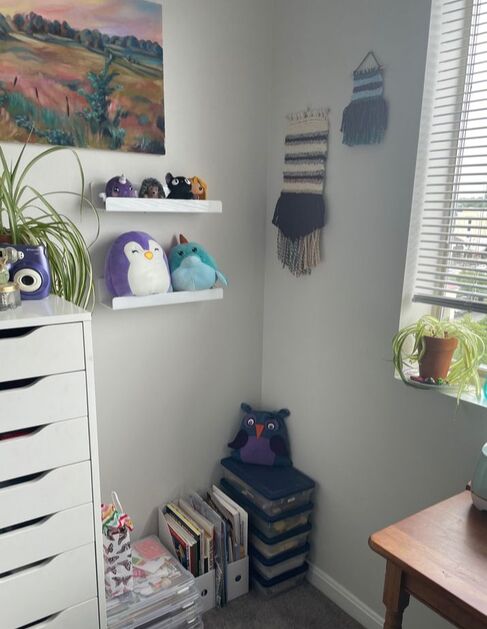 Making room for this desk meant moving around some of the craft supply storage units in the room. I put the two tall units next to each other to hold the printer and some plants. I plan to use this as a background when I have video calls as sometimes the rest of the room looks a little busy in calls. I also moved a short storage unit to the other side of my corner desk.
These moves allowed my corner desk to be more free and I can now use it for some work spillover or small craft projects. 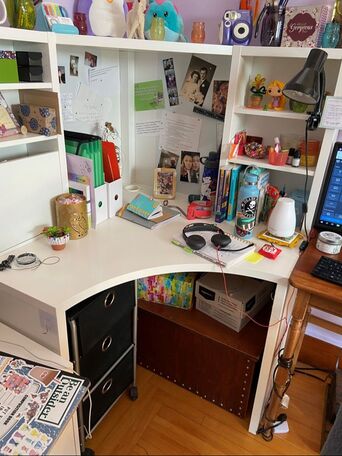 These changes have helped me feel more relaxed in my work/craft space and I'm sure that I will keep adjusting to suit my needs. What spaces in your life have been repurposed this year? Let me know in the comments below!
- Rebecca
0 Comments
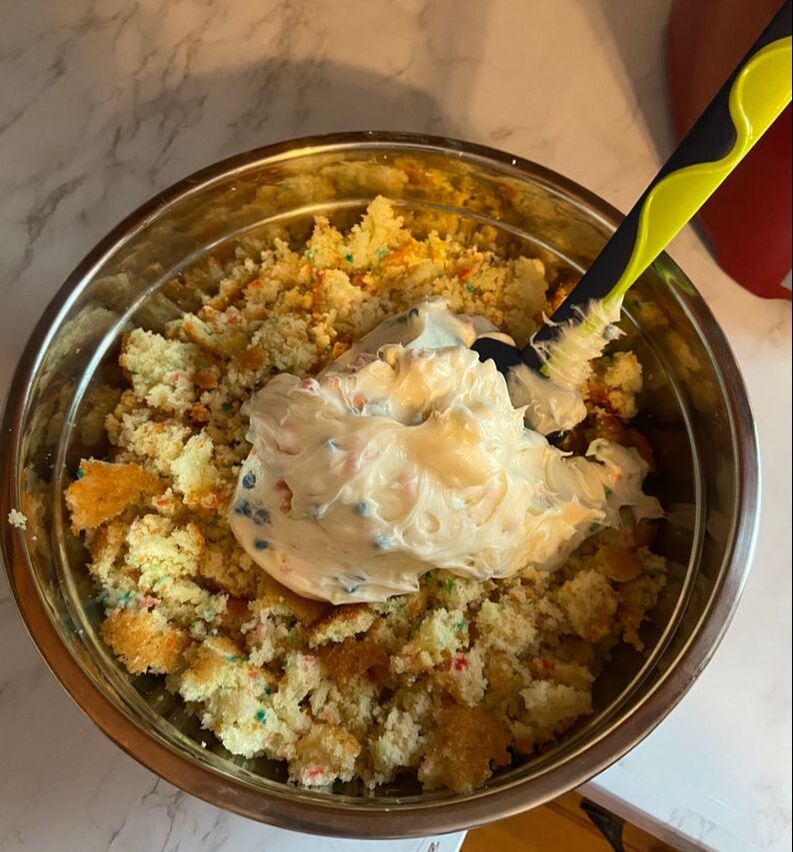
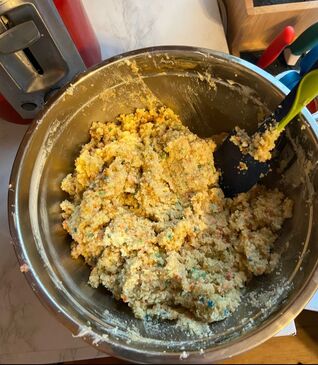
Hello friends! Today we are here with a very short blog post about a quick baking treat, cake pops. I feel like cake pops were all the rage on the internet a while ago and are not so popular now, but I still love them. They are one of the simplest desserts around and people always love them. Below are the food supplies that you will need to replicate the cake pops I made: 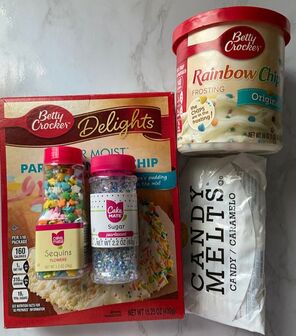 First off, bake a box cake according to the directions and let it cool. I went with rainbow chip for the cake and frosting, but you can use any combination of cake and frosting that you would like. Once cooled, crumble up the cake into large crumbles. 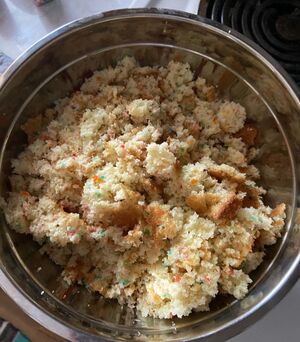 Then, plop the entire can of frosting into the cake crumbles and mix both together until a dough-like consistency forms.
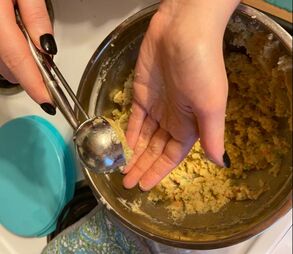
Then, line a container with parchment paper to keep the pops from sticking. Using a cookie scoop or just your hands, form the dough into the size that you want!
Once all of your pops have been formed, it is time to decorate! For my pops, I warmed up some white chocolate candy melts and then used a piping bag to drizzle. I then threw some sprinkles on before the chocolate hardened fully. I only ended up using one of the kinds of sprinkles I showed in the picture above. And here they are!  There is really not an easier dessert out there. Today was a short little "bloglet" but I wanted to remind everyone how delicious these treats are! Have you ever made cake pops?
- Rebecca |
AuthorI am a 27-year-old crafter and baker from New Hampshire! Archives
July 2024
Categories |

 RSS Feed
Proudly powered by Weebly