|
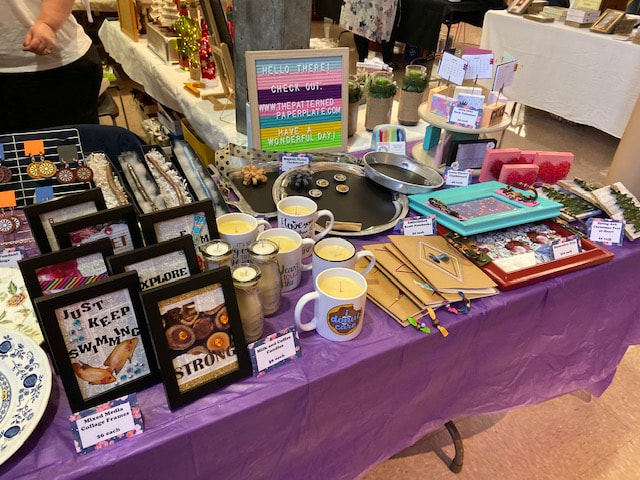
Hello everyone! This week we don’t have a craft or baking tutorial, but instead we are going to have a little chat about craft fair season! For those of you that do not know, November through early December is peak craft fair season here in New England. I did a post around this time last year about some rules for craft fair season and today’s post will be somewhat similar, but more of a general commentary on the pros and cons of the craft fair experience for the customer and the crafter. My mother and I typically do craft fairs together and either buy two tables next to each other or share one table. Since nearly every craft fair will require that you pay for your table, I recommend that you only buy one table for yourself (even if you have a lot of stuff) or to share with someone else unless you have been to the craft fair before. My mother and I’s first craft fair this year was one that we have been to for several years which we knew that we would sell quite a bit at so it wasn’t bad for each of us to buy our own table. The two other crafts fairs of this season, we decided to share a table as we were not sure how much we would end up selling. Here is a little snapshot of my full table at the first craft fair we did! I think it is important to mention that there are both negatives and positives to craft fairs as a crafter trying to sell. The major positives are exposure for your cratiness and the ability to make a little money for yourself. If you plan on being a regular craft-fairer who wants exposure through the entire year I would recommend making yourself some business cards. I do have some business cards which have info about my blog, Instagram, Facebook and Youtube channel (which I only have 2 underwhelming videos on) so that people can learn more about me if they want to. Even if you don’t have a website, a business card with your name and email is helpful if you are interested in being contacted throughout the year about potential craft projects. If you want people to leave you alone and are only interested in selling what you have once a year, then skip the business card.
The negatives are how tiring the day can be and the often unwanted commentary from customers. Craft fairs are usually around 5-6 hours so it can be a lot to lug in all your stuff, set it up, be pleasant all day, take everything down and then lug it back to your car. There is also the tiring aspect of interaction with sassy humans. You will be asked more than a few times, “what is this?” Some people just don’t understand the crafty vision! Or people may try to haggle on the price, but don’t forget that you are there to make money! Finally, if you are reading this and have never been a customer at a craft fair, please consider shopping at a few this year or next. I’m not saying that you can’t find some nice gifts at department stores, but there is something nice about buying something that you know someone put their time and heart into. Even if you don’t end up buying anything, take the time to talk to the crafter and let them know that their craft skills are appreciated. I do understand that sometimes it may feel awkward to look someone in the eye and then not decide to buy their products, but if you approach it in a polite way, they will most likely be fine. Many crafters will understand that their style of crafting is not for everyone, but do appreciate being acknowledged and not simply walked past without a glance. If you have any questions about craft fairs, feel free to ask in the comments below and I will happy to answer as best I can! - Rebecca
0 Comments
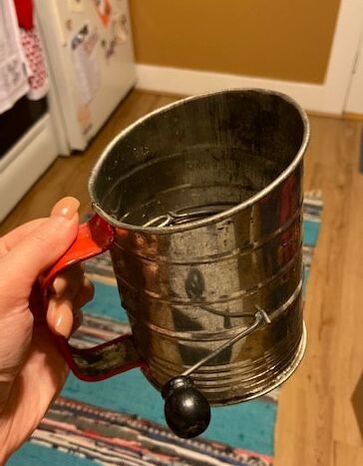
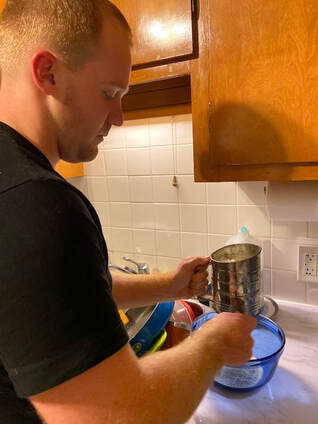
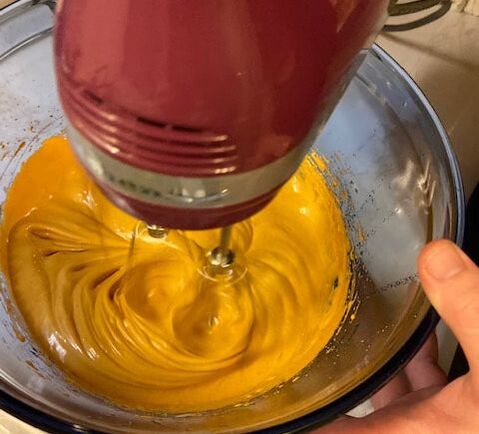
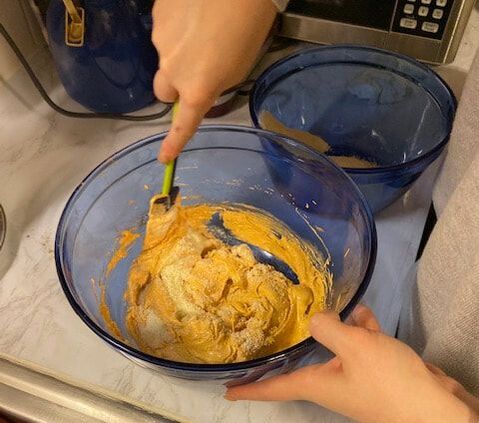
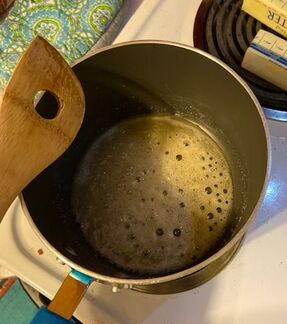
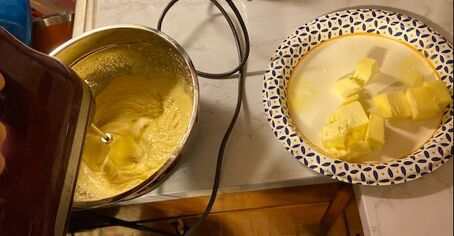
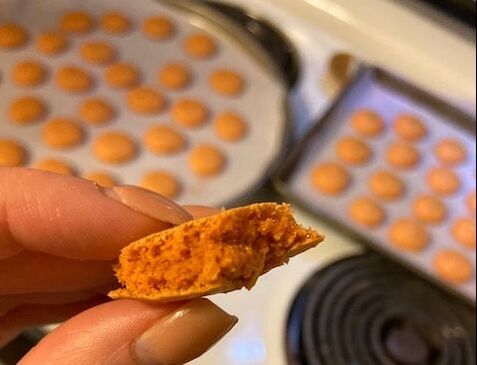
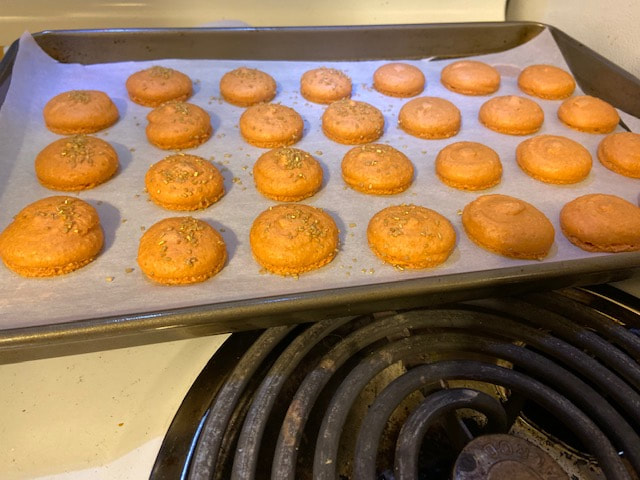
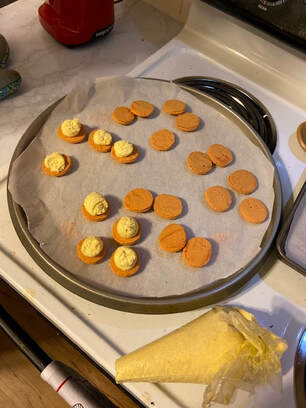
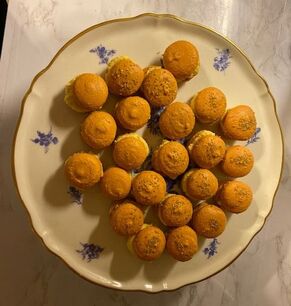
Why hello everyone! I am back at it this week with something I have not done in a while: a baking project! As someone who likes to bake, but doesn’t really enjoy following recipes precisely, I had never tried to make macarons which are notoriously difficult cookies. However, my fiancé, Sean, thought it was time for another baking project on the blog and agreed to help me out. We followed this Macaron Recipe from a blog called Preppy Kitchen: https://preppykitchen.com/french-macarons/. Overall, it was a great recipe so I would recommend giving it a try! To start off, I wouldn’t say that this recipe is something you can just make on a whim as I did have to buy a few things specifically for this recipe. Maybe other people have more sophisticated pantries than we do, but we did not already have almond flour or cream of tartar. I also want to say right here that anything that went slightly wrong with this recipe is almost certainly because Sean and I did not follow it closely enough so the blame definitely lies on us and not the recipe. We needed three egg whites at room temperature so we took some eggs out of the fridge to warm up a bit. I will admit that they were still slightly chilled when we ended up using them, but were not fridge cold. The first step was sifting almond flour and powdered sugar and we forgot that we had a decent sifter so we used this slightly rusty one that wasn’t that functional which led to our dry ingredients not being the smoothest. We then proceeded to find our better sifter so we would definitely use that going forward and probably would sift the ingredients twice just to be safe. We then whipped the eggs whites as instructed and added in the sugar, cream of tartar and dry ingredients. We decided to make these into pumpkin spice macarons so added some pumpkin spice and food coloring to the batter. The directions said that the batter was supposed to flow like lava and I think our batter was slightly chunkier than lava might be, but it wasn’t too bad. We originally forgot to add the vanilla and the batter definitely improved in texture upon adding that. We put the batter into a piping bag with a round tip and then piped small-ish circles of batter onto cookie sheets covered with parchment paper. We banged the trays on the table to release air bubbles and let the batter sit for about 40 minutes per the instructions. I also proceeded to add sprinkles to a few of the macaron tops even though Sean and I had agreed to not add any sprinkles. I live life on the wild side. While the macaron cookies were sitting out we started working on the buttercream filling. I will say that the buttercream filling, while delicious, did not have the best viscosity. I am also not sure if viscosity is the correct word here but I'm trying to say that the filling was somehow too thick and too melty at the same time. But again I will admit that we did not follow the recipe exactly. We were supposed to heat a water and sugar syrup up to precisely 240 degrees, but we do not have a candy thermometer so I kind of just guesstimated what I thought that temperature would be. We were also supposed to use unsalted butter and then add a small amount of salt, but we instead used salted butter. So those deviations from the recipe may have changed the filling. It was delicious, but the filing couldn’t be out of the fridge for more than about 5 minutes or it would just start melting. Once the cookies had sat out for 40 minutes we baked them for about 14 minutes and turned the trays halfway. The cookies came out really well! They had a pretty smooth, hard top and chewy center which is what you are looking for with a macaron cookie. We let the cookies cool and the filling harden in the fridge a bit and then assembled our macarons. And here they are! Sean and I were both pretty impressed with how these came out. They were delicious when we first assembled the cookies, but were even better the next few days once the filling had soaked into the cookie a bit. The main takeaways from this baking experience were that macarons are actually not as difficult to make as we thought, but that accuracy in following the recipe is key. Happy baking everyone!
- Rebecca |
AuthorI am a 27-year-old crafter and baker from New Hampshire! Archives
July 2024
Categories |


 RSS Feed