|
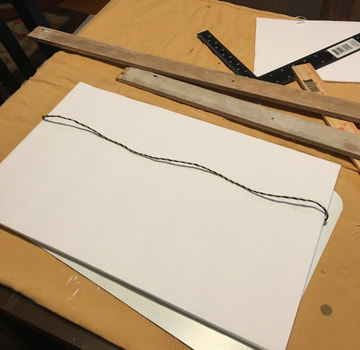
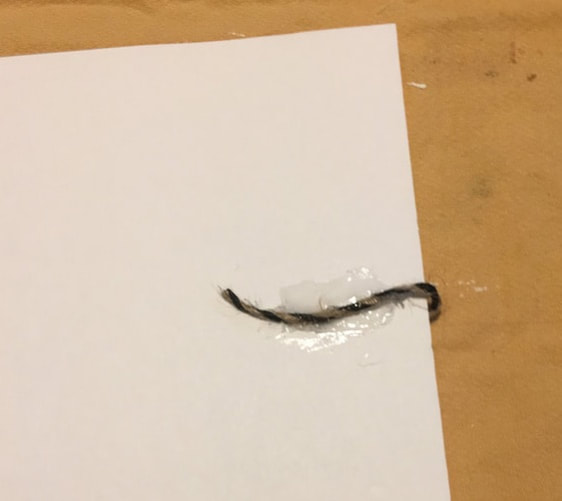
Hello, crafty friends. It’s Suzanne, Rebecca’s Momma, back today with a craft that’s a little bit Dollar Store, a little bit Recycled and a whole lot of Cute. Not long ago, I saw this sweet placemat at my local dollar store. It’s made to look like a chalkboard, complete with doodles and the shadow of “erased” chalk on it. I thought it would be the basis of a great décor piece in the farmhouse style that’s so popular right now, but it definitely needed a little sprucing up to make it display worthy. To do that, I decided to use some foam core board and old laths. Let’s talk about those first. 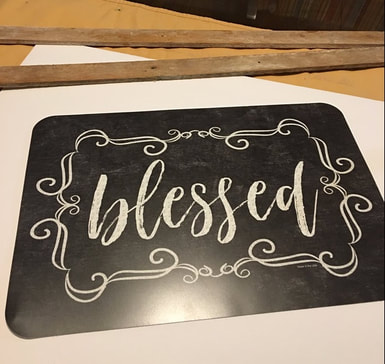 Foam core is available at the dollar store, but this would also be a great way to recycle some of those shipping boxes you might have. The foam core or cardboard was added to the back of the placemat to give it some stability and weight. Laths are narrow and thin pieces of wood that are used to hold plaster in place. They can also be used to make lattice. My nephew (Hi, Nathan!) works with a general contractor and salvaged some for me when tearing out a wall in an old house. You can certainly purchase new at a home improvement store, but I liked the raw look of this old stuff, with its rough edges and nail holes (not to mention that it was free!). The laths were used to make a frame. Let’s talk process now. First, I cut two pieces of foam core about one inch wider and the same height as my placemat. I made the foam core a little wider because the image on the placemat had a little more room top and bottom than it did side to side and I knew that I’d glue the wood pieces in such a way as to make the image centered equally in my frame. Using strong hot glue (Gorilla brand is excellent and a good choice for long term hold), I started by gluing a piece of twine to one piece of foam core and then sandwiched the ends between the two pieces when I glued them together. This is going to make a hanger. I didn’t want the twine to show, so the piece is only slightly longer than the width of the foam core board, but you can make it longer if you’d like it to show.
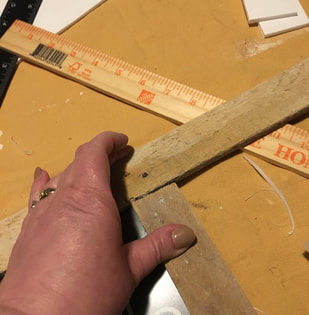
 Using some wet glue to give myself a little wiggle room, I glued the placemat, centered, on the stack. I opted to use a wet glue here because I was afraid hot glue would melt the plastic placemat. In the end, I did add a line of hot glue around the edge of the placemat to hold it in place. I was glad I didn’t get more aggressive with the hot glue because though it didn’t melt the placement, I could see a “bump” from the line of glue. While that was drying, I worked on the frame made of the laths. First, I had to decide how long my pieces needed to be. Using the super scientific “eyeballing” method, I laid one piece of lath on the edge of the placement and lined up the top piece with the outside edge. I moved the edge piece to the other side and marked the top piece at the outside edge. That was my cutting line.
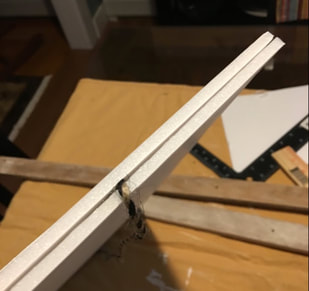
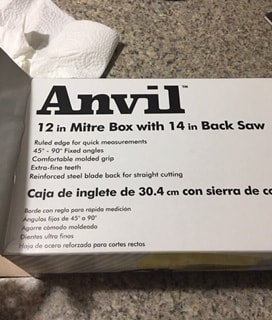
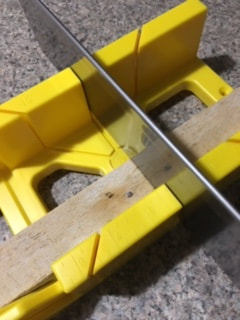
To cut, I used a handy dandy new tool I just bought called a miter box. This is a great little hand tool to use for crafting. It makes cutting small cuts easy and guides the saw in a groove to ensure the cuts are straight.
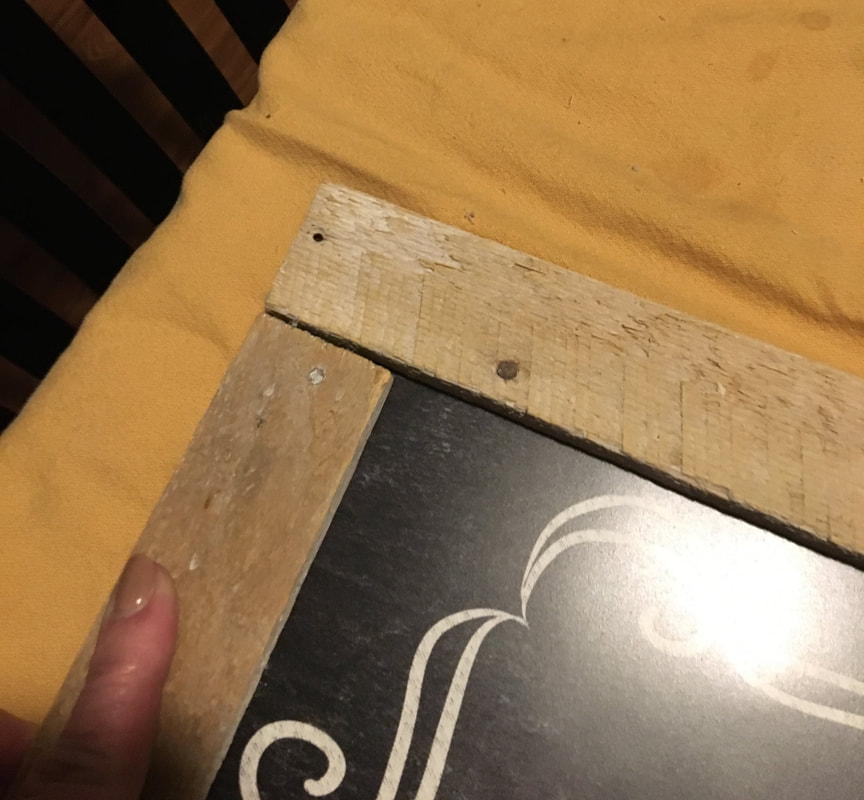
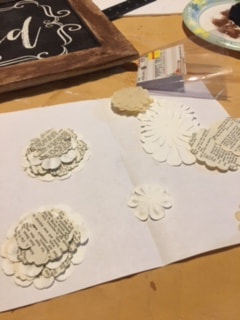
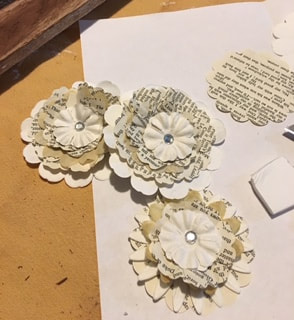
After gluing the top and bottom pieces in place, I measured the sides, cut two pieces to fit and glued those on as well. 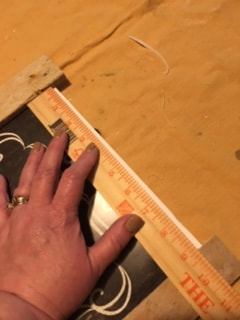 My basic frame was done! 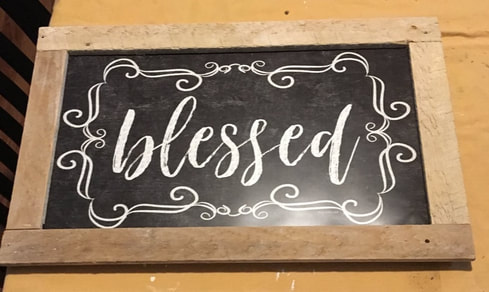 At this point, I decided that the frame was a little light, so using a dark brown craft paint and a stiff brush, I dry brushed on some paint. I wasn’t going to neatness or full coverage, so I just did a quick swipe, leaving some areas unpainted. It would certainly have been easier to paint before gluing, but sometimes things just evolve in the process. 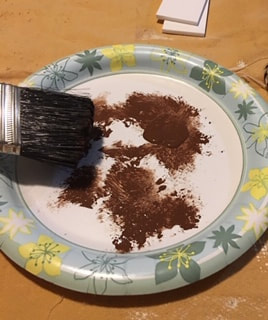 I thought the piece needed a little something more to jazz it up, so I made some stacked paper flowers. Using some paper flowers I’d picked up DEEPLY discounted at a craft store, some punched shapes made from old book pages and a little flower embellishment with a rhinestone at the center, I stacked the pieces up and used a brad to hold everything together. I scrunched up the book page layers to give the flowers some dimension.
I glued these to the bottom left corner of the frame, using a small square of foam core board to pop one up a bit higher. 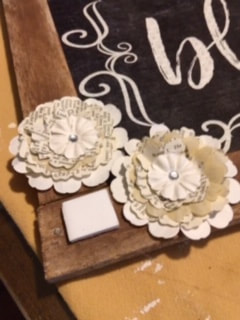 Here’s a view of the back of the piece. You can see that the lath frame is a little larger than the foam core board, which gives it a finished look when viewed from the side. 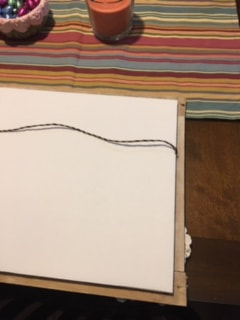 And here’s the finished piece hanging in my dining room. I’m quite proud of how it turned out and will be happy to display it in my home. 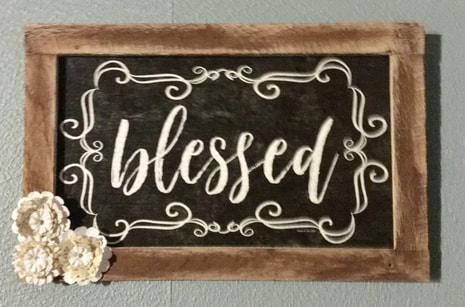 I think it looks like something you’d pay upwards of $20 for at a home décor store but cost just $2 ($1 for the placemat and $1 for the foam core board) to make. I haven’t counted the cost of the items from my stash or the cost of the miter box, because those get used over and over again and are negligible.
I hope you’ve enjoyed today’s project and it inspires you to look at everyday items in a different way. Until next time!
0 Comments
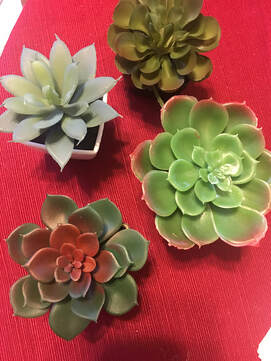
Hello friends! Today we have a quick blog about making cute little succulent decorations! My hope is to have the final part of the dollhouse blog in the next two weeks for you guys. Sorry that is taking so long! So as I mentioned, today we are talking succulents. They are adorable and everyone loves them. I do love to have plants but for succulents I prefer fake ones that can be moved around, put away during the off season and, most importantly, don't die. Since succulents are so popular, fake ones can be found at basically every store on the planet. But often they are stupidly expensive. So for today's craft we started at my favorite place: The Dollar Store. I was able to pick up a few of these little potted succulents, each a dollar.
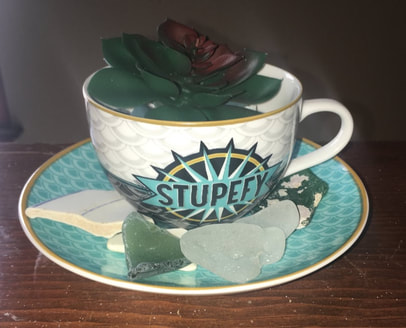
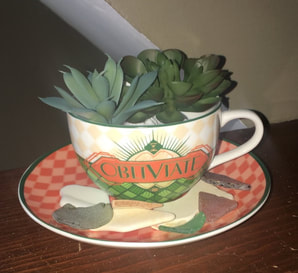
I have some beautiful Harry Potter teacups that my cousin gave to me which I had as decoration on a shelf in our living room and thought that they would be perfect for holding little succulents. All I needed for this quick craft was the succulents, the teacups and some small rocks. I started by pulling the succulents out of the small plastic pots they were in which was very easy as they were just stuck into some Styrofoam.  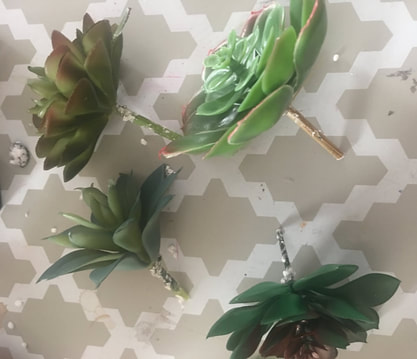 All I had to do was place some rocks in the teacups and add in the succulent pieces. Literally its that easy. For extra decorative fun I also added some sea glass I have collected over the years around the cup in the saucer.
Another thing to do with these Dollar Store succulents is to simply decorate them in the small pot that they come in. I did this to a few of them and just used whatever decorations I had on hand, including some more of those rocks I used in the teacups. Some hot glue and small decorations can really make a difference! 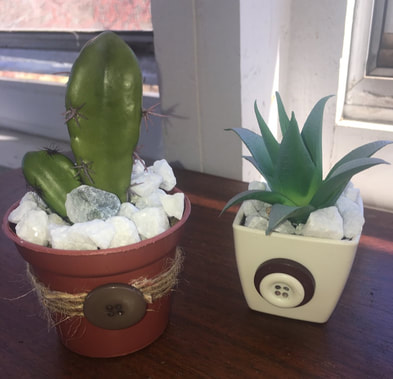 See what I mean? I hot glued some rocks inside the pot to cover up the Styrofoam and then added some twine and button accents. That's all it takes to give these little succulents a facelift!
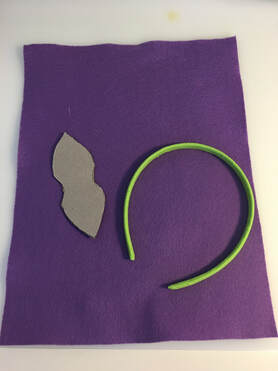
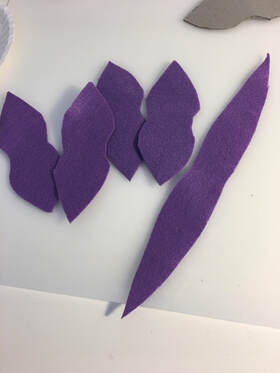
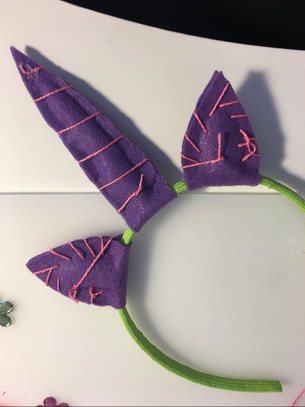
I hope you enjoyed today's quick little blog. I am interested in getting started on another video sometime soon. Any suggestions? Leave them in the comments below! - Rebecca Why hello there everyone! I am SO excited about today's craft because I think they are completely adorable. If you think unicorns are no longer cute and relevant, you are incorrect. Unicorns will forever be relevant. I am trying to stock up for craft fairs later this year and wanted a craft that might appeal to younger boys and girls. I got the inspiration for these types of unicorn headbands from several blogs and images on the internet (I don't claim AT ALL to be the first person to have ever made these). The blog that I drew the most inspiration from is called Life Is Made and here is the link to her post: http://www.lifeismade.com/diy/unicorn-headband-tutorial-with-free-pattern. So the basic supplies for these headbands are headbands (DUH), felt, high quality glue sticks and a glue gun to put those glue sticks in, thread/string/ribbon of some sort, tulle in various colors, stuffing/Polyester filling and then a variety of decorations such as buttons, beads, gems, patterned fabric etc. The most important pieces are clearly the felt, headbands, stuffing and hot glue. The extra added pieces like thread, decorations and tulle can be mixed and matched to meet your style and how you want your headbands to look. I used headbands from the Dollar Store which came in packs of 6 for one dollar. 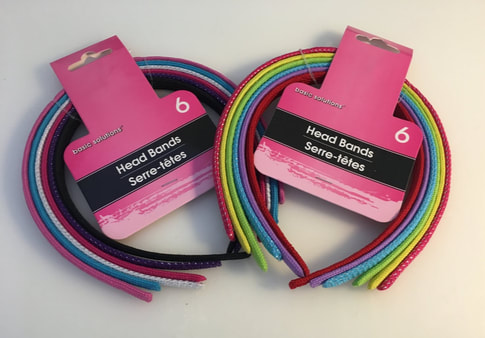 So I started off each headband by picking the headband color I wanted to use and then finding a piece of felt that I thought would go nicely. I had a large store of felt before starting this project but did go out and buy a few pieces of sparkly felt which I though were fun (77 cents a piece at Hobby Lobby!). I then used a template to cut out the ear and horn pieces. I used the ear template provided on Life is Made's blog and then improvised a little when cutting out the horn. Life is Made provided a template for the horn that had you roll the felt onto itself to get a cone shape, which looked awesome on her headbands, but I had such a hard time getting the felt to do what I wanted so I went a different route. I cut out a long piece of felt that was essentially two thin triangles connected at the base by a thin piece of felt. You can see below what the shapes looked like when I cut them out. In the picture below I have four ear pieces cut out, but you only need two ear cutouts per headband as each piece folds over to create one ear.
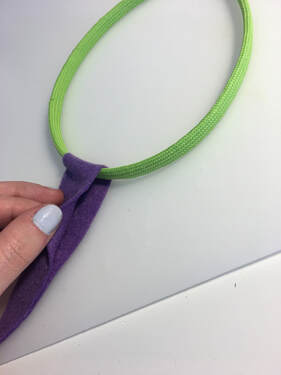
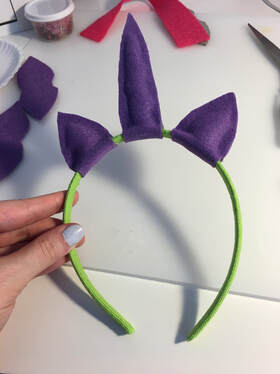
Once I had the pieces cut out, I began to glue them to the headband. I started with the horn piece each time as it was easiest to center it on the headband first. Once you have the horn in the middle of the headband apply some glue to the underside of the band and attach the horn at that point. Having the extra little piece of felt connecting the two halves of the horn allows you to attach it from the underneath and secure it firmly to the headband. Once that glue dried, I began gluing the edges of each side of the horn together. Keep the glue close to the edge as you will want room to add the stuffing. I glued all the way up one side of the horn and then about halfway down the other side, leaving a small space to push in stuffing with my finger. Once I got the horn full of as much stuffing as I wanted, I closed up the hole on the edge of the horn with more hot glue. Do the exact same process for each of the ears. With the combination of the stuffing, the hot glue and the fact that the pieces are essentially wrapped around the headband itself, the horns and ears should be fairly rigid and should easily stand up straight. If any of your pieces seem floppy or bend in half, then you may need to cut open a small hole and add more stuffing to stiffen it up.
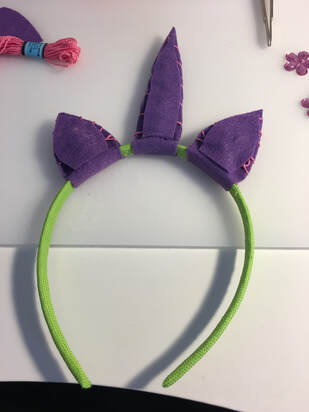
This is the basic structure of your headband all done! Now is really moving on to the decoration side of things. I will show you the steps that I took to decorate one particular headband and then at the end will show you the variety that I have made so far so that you can get an idea of the many different ways that you could decorate these. For this particular headband, I used some pink embroidery thread to give the ears a stitched detail and to add a spiral effect to the horn. I used a thick, long needle to allow me to push through felt that may have some hot glue on it. Once I got the effect that I wanted, I cut out small pieces of felt and glued them to the back of the horn and ears to cover up the messy looking string.
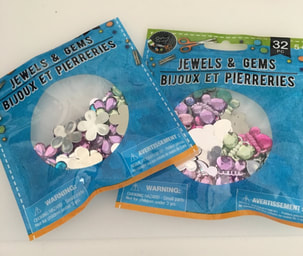
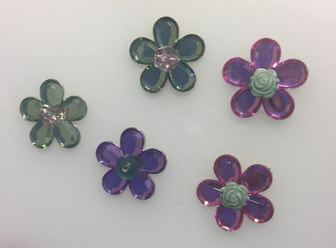
.The decorations I used for this headband were some small shiny gems from the Dollar Store and some beads I had on hand.
I attached the gems across the front of the headband to give a sort of flower crown effect. Here is the headband all done! 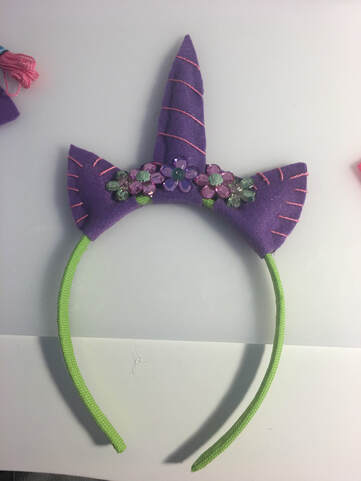 As I mentioned, I did not make all headbands the exact same way, so I will show you below others that I made to give you some ideas! For some I used fabric pieces in the middle of the ears, or buttons rather than gems or added some tulle to look like the unicorn had a crazy colorful mane. There are endless possibilities! 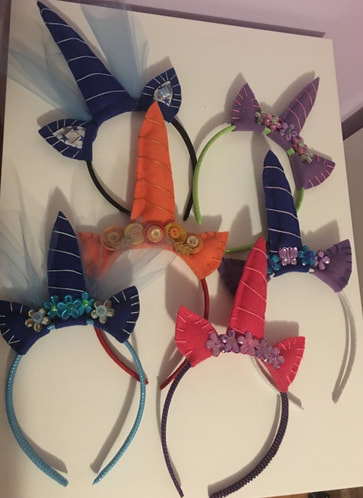 Let me know which is your favorite headband I've made so far in the comments below!
- Rebecca Hello! Okay, so I know I said last week that this week's blog would be part two of the dollhouse kit. That was my plan, but then this week got busy and dollhouses take a lot of time and I got sidetracked by other crafts. I apologize. Dollhouse Kit Part 2 will be coming this month, just maybe not for another week or so. I guess today's craft is sort of related to dollhouses? Well, not really but it is related to houses and designing them. My boyfriend and I have been living in our apartment for about 7 months now and finally have gotten everything in a way that we like it. Also shoutout to our amazing landlords (my parents) who give us a nice, cheap rent! I wanted to do something to kind of immortalize our first apartment and make sure we remembered the layout. I always love those blueprint type things you can buy on Etsy of the apartments from popular shows like FRIENDS, Seinfeld, New Girl, etc. and wanted to see if I could recreate something somewhat similar to that. Also just a quick disclaimer: I am aware that I'm not really using the word blueprint correctly here as a blueprint is what gives you the actual measurement and angles of a structure, but its the closest word I could think of to what I'm trying to explain, so just go with it please. So the first step of this project was getting the general measurement of the apartment overall; not the dimensions of each room but just the area from each of the outside walls. I was not going for extreme accuracy here, just a basic idea of the size of the whole apartment. It is about 32 by 28 ft. Obviously that is too big to draw out so I was going to use inches instead and half the measurement so draw a rectangle 16 by 14 inches. That was still too large for the drawing paper I had so I cut it in half again and drew a rectangle that was 8 inches by 7 inches. 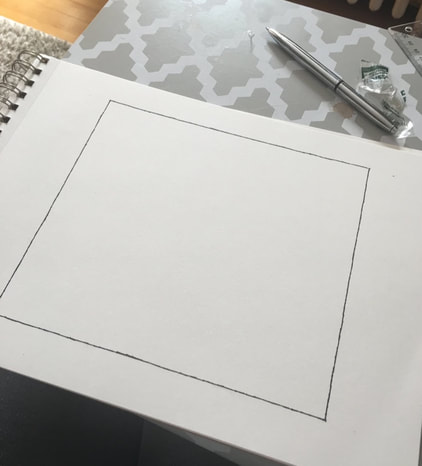 Then I went around and tried to get a somewhat accurate measurement of each room in the apartment. Once again, I wasn't going for perfection here, just for a basic idea of how to draw all of the different rooms. Once I got the rooms where I wanted them, I started to work on some of the finer details like windows and doors. 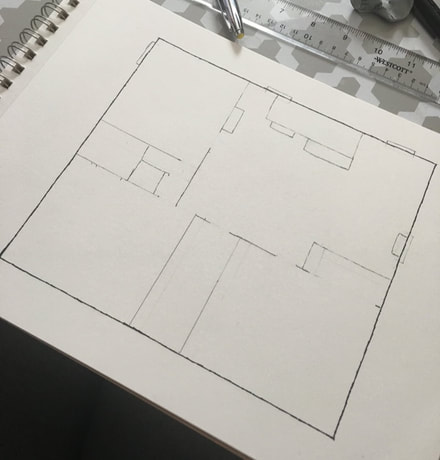 It was a lot of trial and error trying to get the furniture correct. I did not go and measure every single piece of furniture in our apartment because I do have other things to do with my life. So I did a guesstimation of each piece. It is not perfect by any means and I think I have the proportions wrong on some of the pieces, but I still think its cute in it's own imperfect way. I also added our porch to the left side since I forgot about that when beginning the sketch. Once I was sure of everything I went over the pencil with Sharpie and did an aggressive erase to get rid of any old pencil lines. 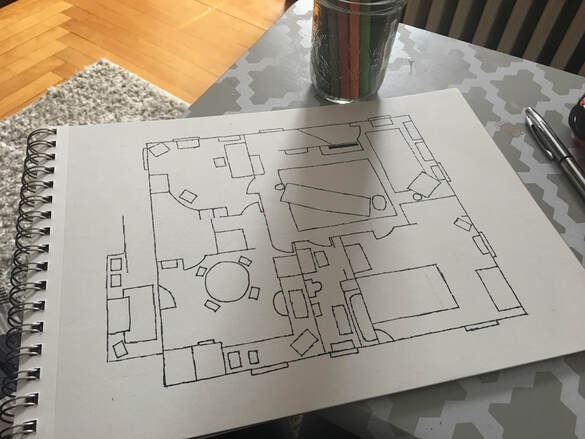 Finally, it was time for the fun part, coloring! I didn't want to go overboard with coloring, but just wanted a light bit of color to show the different pieces of furniture. Once coloring was done, my boyfriend and I signed the picture and that was it! 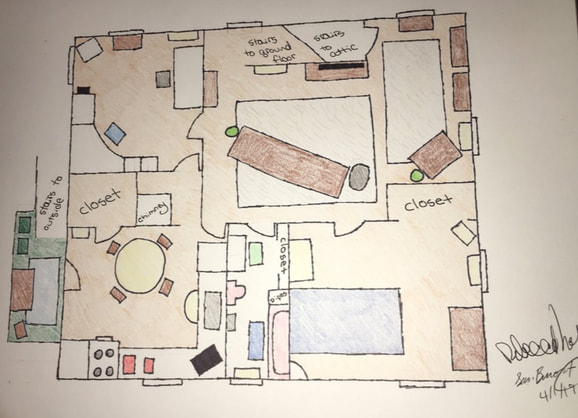 My boyfriend especially liked this craft and we are happy to have something to immortalize our first apartment! We will be buying a frame so that we can hang this up in our living room!
- Rebecca |
AuthorI am a 27-year-old crafter and baker from New Hampshire! Archives
July 2024
Categories |

 RSS Feed
Proudly powered by Weebly