|
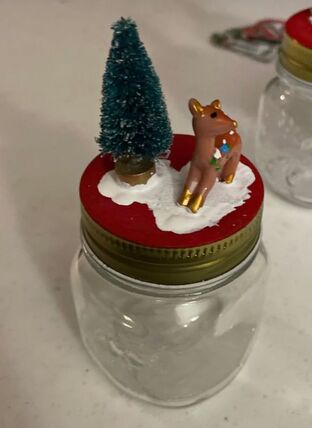
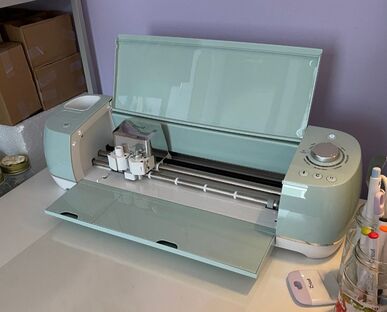
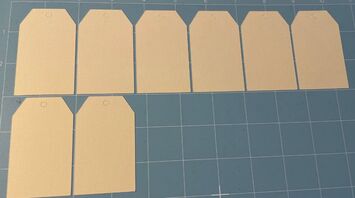
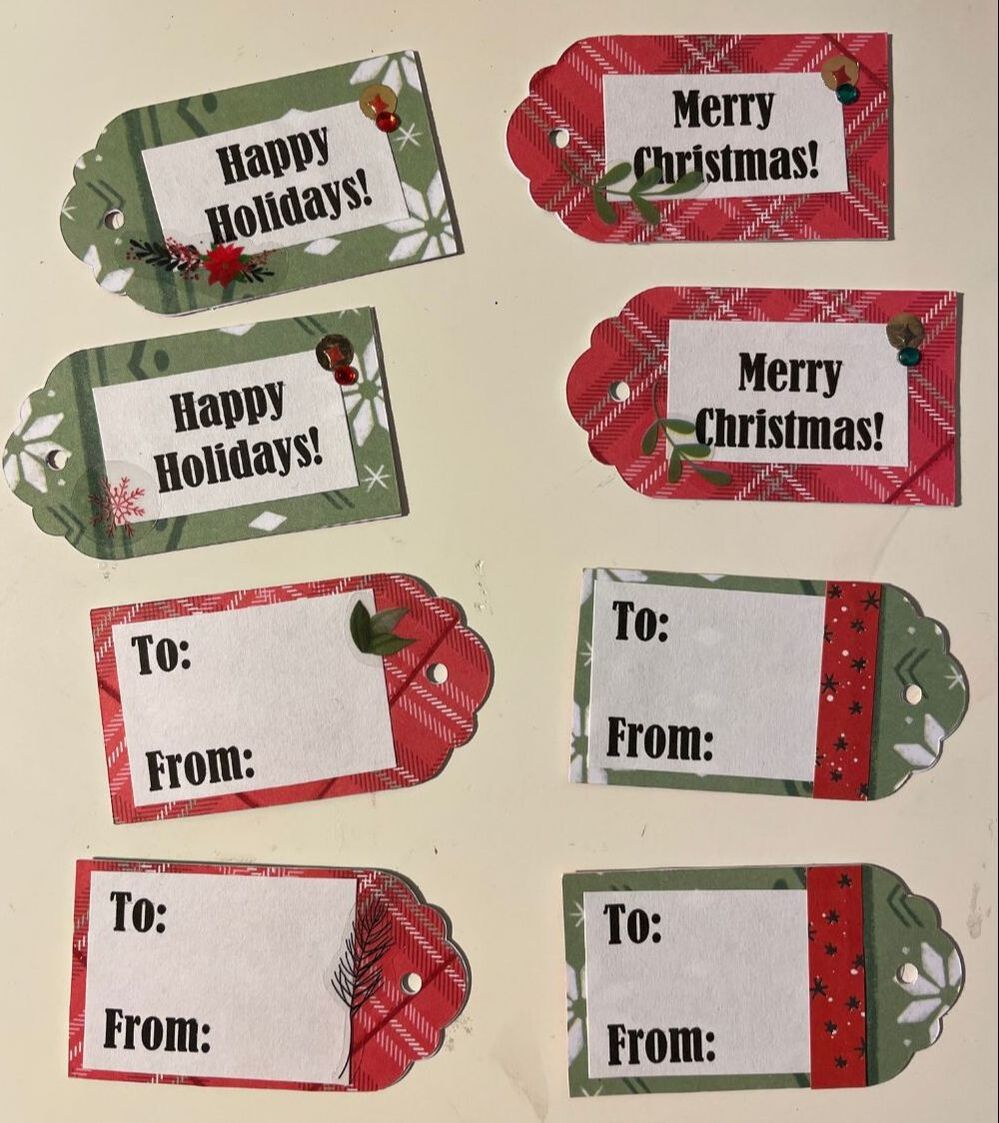
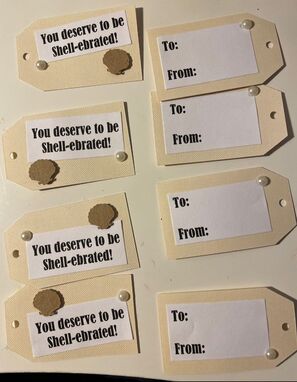
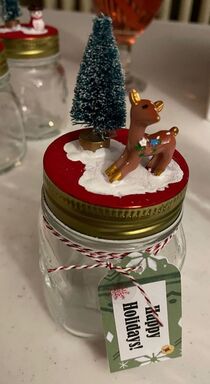
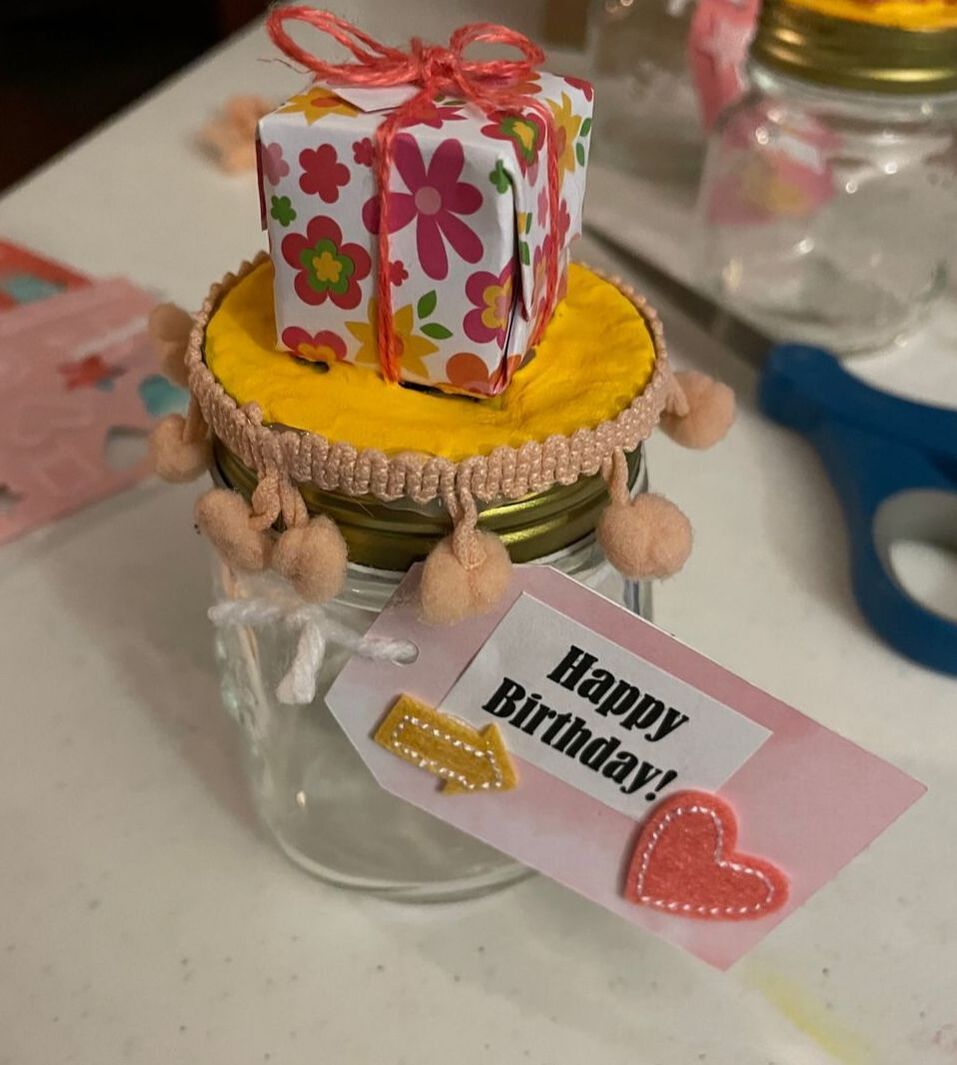
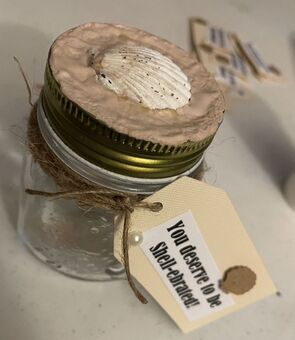
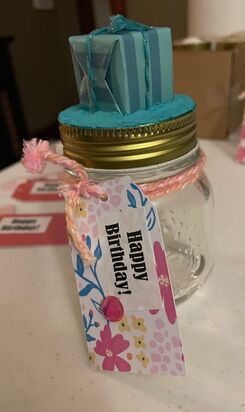
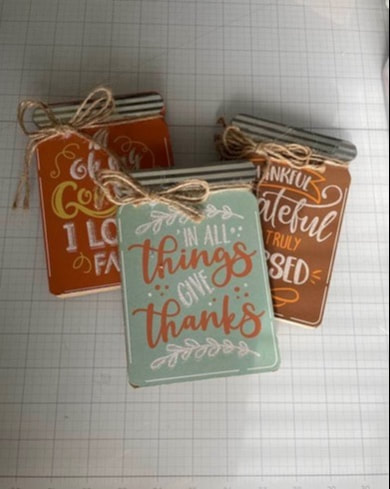
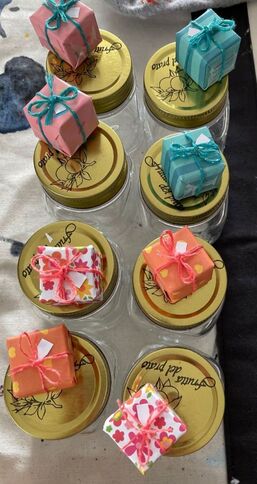
Hello friends! So this week we are back with the rest of the jam jar gifts project. Where I last left you, I had glued the little present boxes onto 8 jars and some shells on the other 8. I then created some homemade chalk paint (I've talked about this process a lot before!) to paint around the shells and presents. I used a sand-colored paint for the shell jars and some bright colors on the present jars which matched the paper on the present boxes. I also added some thicker white paint to mimic snow on the Christmas jars which definitely made them look a bit more cohesive. The most exciting part of the blog is the introduction of a new crafty tool that I used to make tags for these jars. THE CRICUT! If you don't know what a Cricut is, its a magical machine that can cut intricate shapes out of a variety of materials such as vinyl, paper and fabric. It can also write for you and do some fancy calligraphy. It is glorious and I have to thank my lovely husband for the gift. Look at it! She's beautiful! So using my fancy-shmancy machine, I cut out tags for each jar in a variety of paper. I then glued on some sentiments to the tags that I had printed out and added some stickers and gems here and there. I didn't take a dedicated picture of the birthday tags, but they are generally the same as the ones you'll see below! Then using either yarn or twine, I attached the appropriate tags to each jar. Below is an example of a finished jar of each style. Once we get closer to craft fair season, I'll fill each jar with some kind of candy. Of all the jars, I think that my favorite are the Christmas ones. The little trees are so cute! To be honest, my least favorites are the yellow and pink birthday jars. Yellow is probably my least favorite color and I am always on the fence about projects when they feature yellow heavily. I just try to remind myself that just because the color combo isn't my preference doesn't mean that it won't speak to someone! What do you guys think of the finished jam jars? Leave suggestions in the comments below on what candies to add to each jar!
- Rebecca
1 Comment
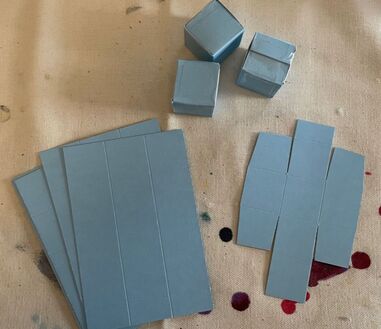
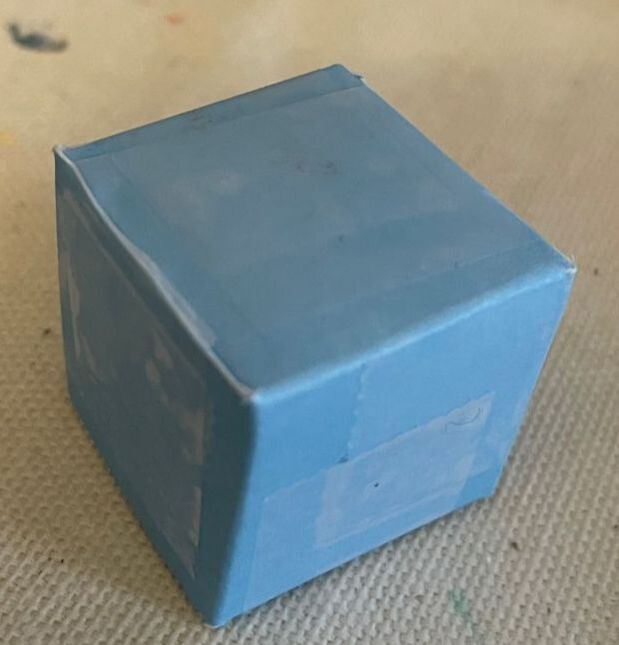
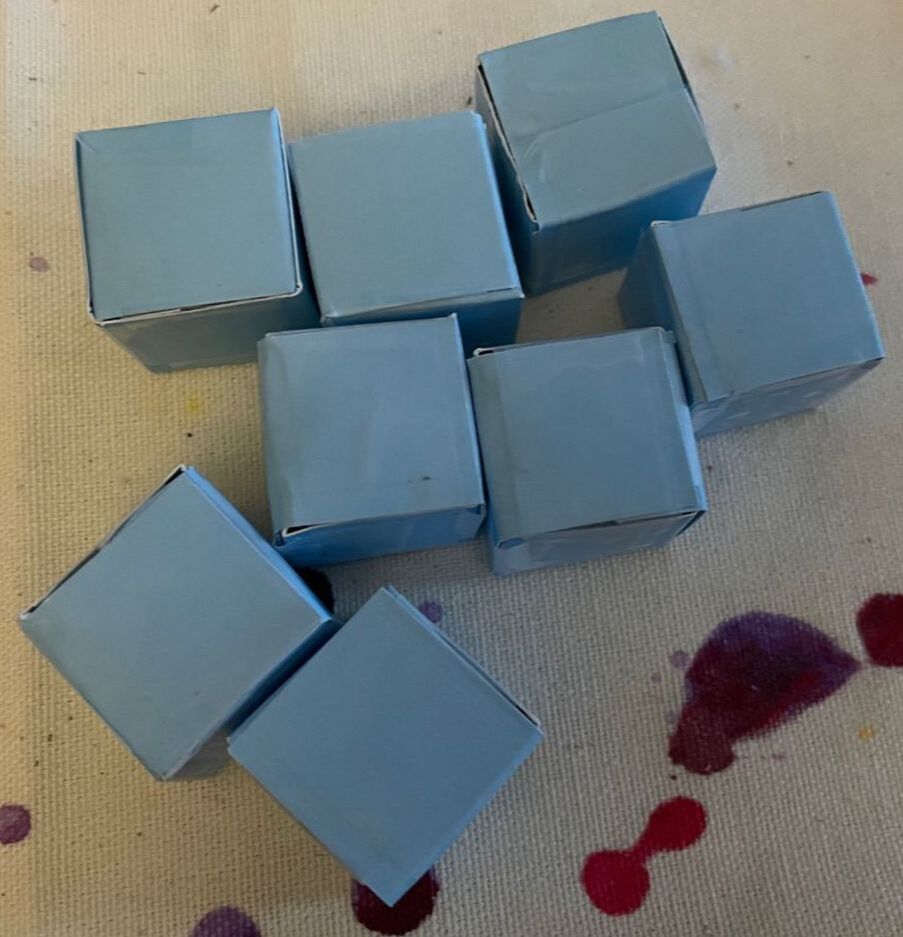
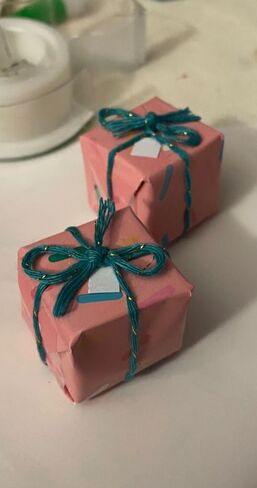
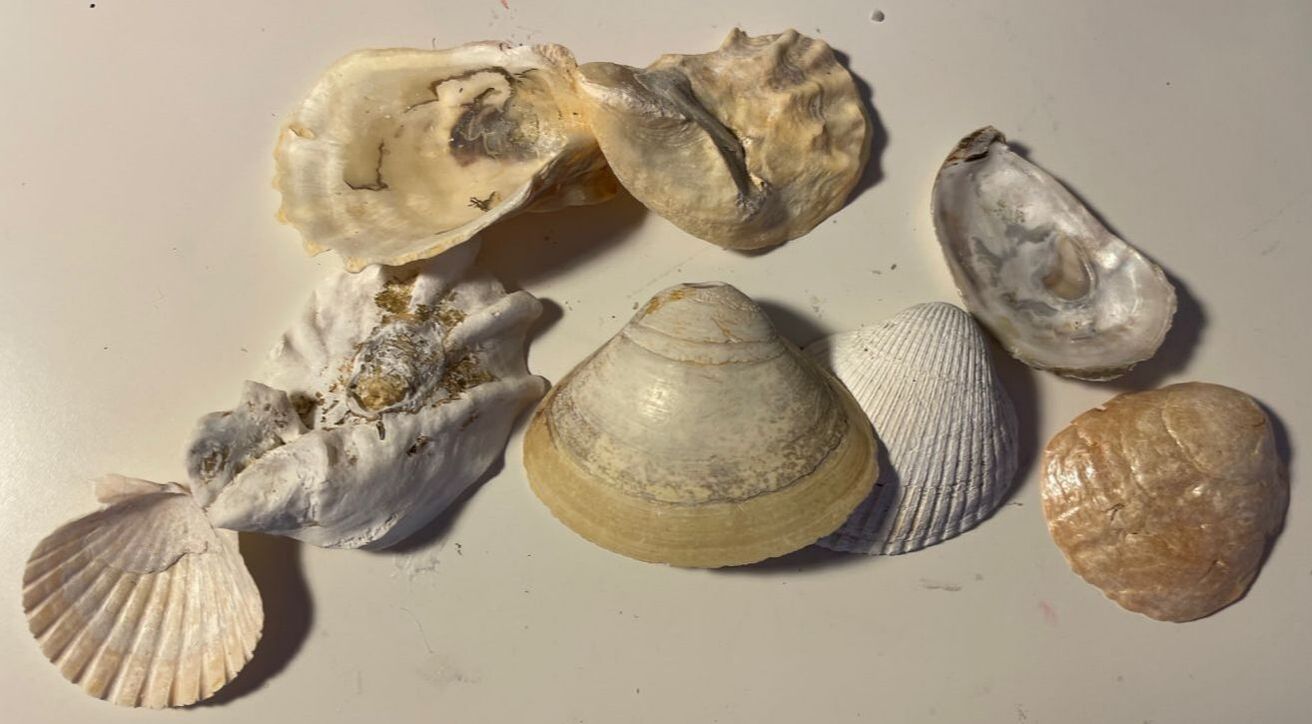
Hello friends! So today is part one of a new project that I've been working on, some jam jar gifts! I bought a ridiculous amount of small glass jars from Hobby Lobby last year to use as wedding favors. I ended up buying too many and have been trying to find out the best thing to do with them. Similar to the idea of my box gifts that I just made several blogs about, I thought it would be nice to cutify the jars, fill them with something, and have a quick little gift to sell at craft fairs. My thought at the moment is to fill the jars with candy, but I won't do that until closer to craft fair season. I am doing three styles of jars and eight of each style for a total of twenty-four. The first style that I worked on was Christmas theme. I started on these a while ago and wasn't aware that I'd be doing a full-blown blog on them, so I don't have any pictures of the process! My bad. Below is a picture of how they look so far. Take a peek and then I'll explain what I've done! Using hot glue and Superglue, I attached some adorable little tree, snowmen and deer figures that were purchased at deep clearance at a store that I can't recall! Maybe Michaels?? If you're wondering why the combo of Superglue and hot glue, sometimes hot glue can peel off when used on a nonporous surface such as metal. If you put a dab of Superglue down before the hot glue, this ensures that the hot glue will not peel away when dried. after the little figurines were attached, I used red homemade chalk paint to paint the covers of the jars. I know I've explained this at-home chalk paint hack before in a blog but the summary is: take paint and add baking soda. Voila, you have chalk paint. My mother suggested I add some kind snow effect to make the figures look a bot more like they are sitting on a snowy mountain as opposed to a red desert. I'll be doing that in the Part 2! I'm going to try and make a very thick at-home white chalk paint and see if it mimics snow. There is a brand of paint (Deco-Art) that sells a thick, bumpy textured white paint which is meant to mimic snow (see below) and I'm thinking I can get a similar look on my own. These jars will also be getting a tag which we will work on in Part 2. As I mentioned earlier, I had started on these Christmas jars quite a while ago without really knowing that I'd continue the theme to additional jars. Once I decided that I wanted to make a few more styles, my mother and I went on a little shopping day that took us to Dollar Tree, Hobby Lobby and Michaels. I was looking for more little figurines similar to the Christmas ones, but any that I found were very expensive or just not the style that I was looking for. My mother and I then put our heads together to think about what we might have at home or be able to make. We came up with shells and birthday boxes. As I am terrible at math and measurements, my lovely mother was kind enough to make a template for me which allowed me to make some little boxes out of cardstock. Once these boxes were made, I wrapped them in paper and added some ribbon and a tiny tag to make them look like real birthday gifts. Using the hot glue and Superglue method, I attached these boxes to the tops of the jars. I have also collected a ridiculous amount of shells over the course of my life and picked out 8 nice ones to attach to the other 8 jars. This time I just used hot glue as there were only a few points of contact between the shells and jar. Before you ask, I will be painting the lids of the jars with the shells and boxes. Although it may have made more sense to paint them before gluing everything on, I was worried that that glue would not adhere well to the paint and would just pull away the paint, so I now get the fun task of painting painstakingly around the objects that are already glued :) Next week we will be diving deeper into how I finish up the covers of these jars and add some tags, as well as what candies I'm planning to add in each.
Would you buy a little jam jar gift for a coworker or friend? Let me know if the comments below! - Rebecca |
AuthorI am a 27-year-old crafter and baker from New Hampshire! Archives
July 2024
Categories |
 RSS Feed