|
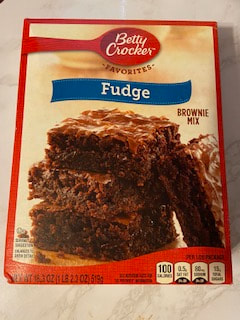
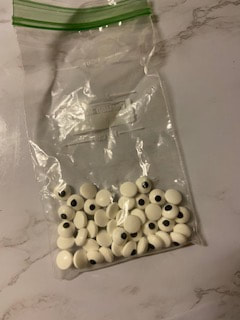
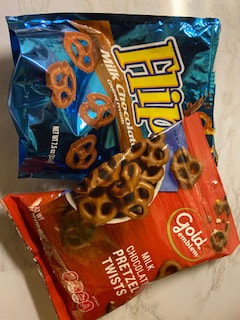
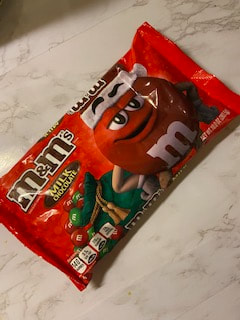
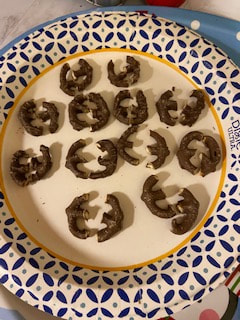
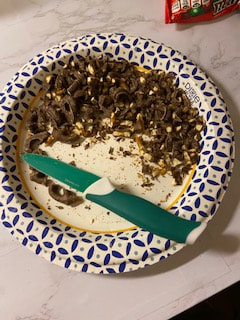
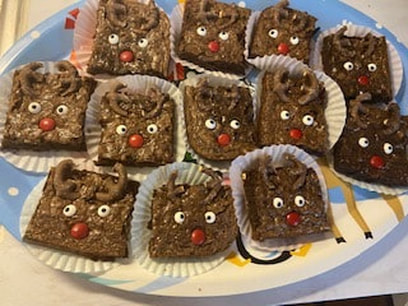
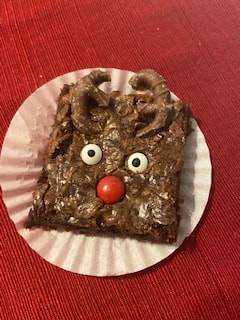
Why hello everyone! This week we are back with a blog post about a cute and easy Christmas baking project. This treat can be simplified so that you can whip it up last minute or can be more detailed if you are looking to spend a little more time on it. We are making reindeer brownies! This idea is not new and you have probably seen pictures of similar brownies scattered across Pinterest, but here is my take on the fun treat. I used a box brownie mix. If you have a favorite homemade brownie recipe, that you would rather use instead, please go ahead! I went for the easy choice and just doctored up a box mix. For this recipe you will also need some pretzels (I went with chocolate covered, but you could also just use plain ones), red and green M&Ms, some candy eye balls, and some cupcake pan liners. To start off this treat, I cut up some chocolate covered pretzels to resemble reindeer antlers. To do this I gingerly cut the pretzels in half and then chopped away a little more to get something that vaguely resembled a number 3 or letter E. As I’m sure you can imagine, there were a lot of pretzels shattered in this process, so I kept all of the fragments to add into the brownie batter. I cut 12 pairs of antlers as I planned on cutting 12 brownies from the pan. I also added some green M&Ms to the brownie batter for color and chocolatey goodness. I splashed in a bit of cinnamon and vanilla as well and the brownies were all set to go into the oven. Once the brownies were cooled, I cut them into 12 squares. I pushed the antlers into the top of the brownies so that they hung over the edge of the brownie a bit. I then pushed in the candy eyes (I honestly do not remember what brand these are as I had them leftover from a previous project) and a red M&M as the reindeer nose. These brownies were for a work party so I put each brownie in a cupcake liner to make them easier to grab. And then they were done! A few ways to simplify this even more would be to buy mini pretzels and just use 2 whole pretzels as the antlers. This would cut out the time spent meticulously cutting apart pretzels. You could also forgo the candy eyes entirely and just use any red candy you have on hand for the reindeer nose. If you have antlers and a red nose, I assume people will be able to understand that it’s a reindeer.
Some ways to fancy these treats up even more would be to use homemade brownies as I mentioned before and/or to cut the brownies into the shape of a reindeer head rather than leaving them in squares. You could also add frosting to the top of the brownies. If using frosting you could cover the entire brownie surface so that the nose, eyes and antlers could be stuck in the frosting instead of being pushed into the brownie itself or the frosting could be piped out in a more detailed way to give the reindeer face some shape and definition. What holiday baking projects have you been doing? Let me know in the comments below! - Rebecca
2 Comments
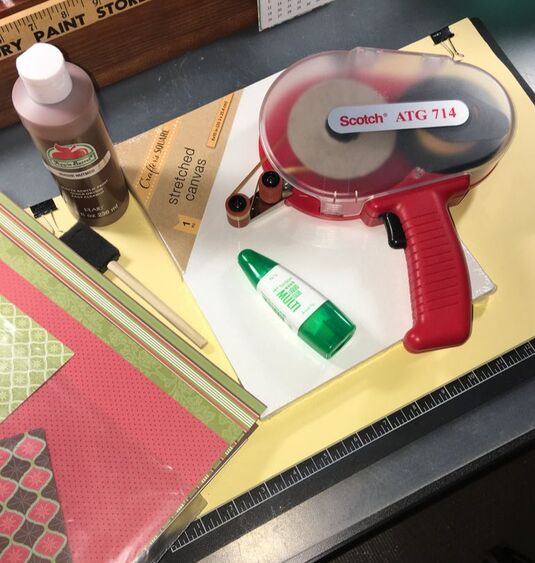
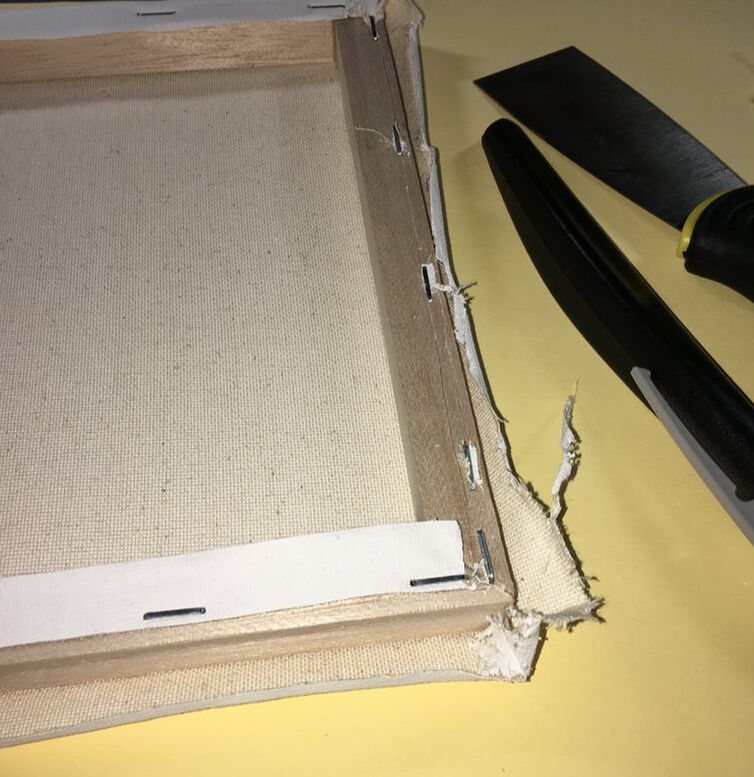
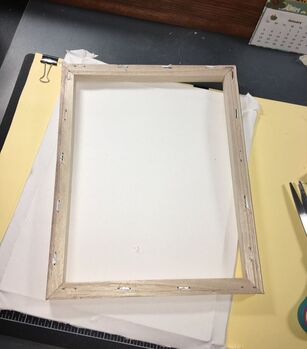
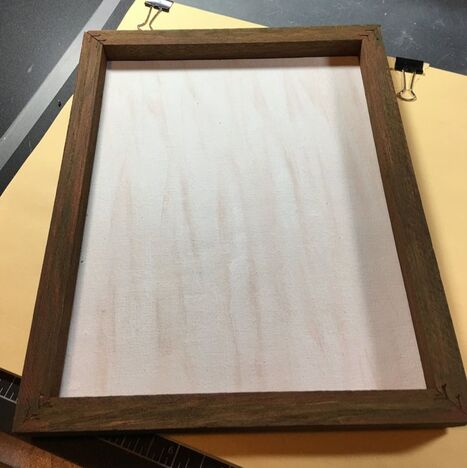
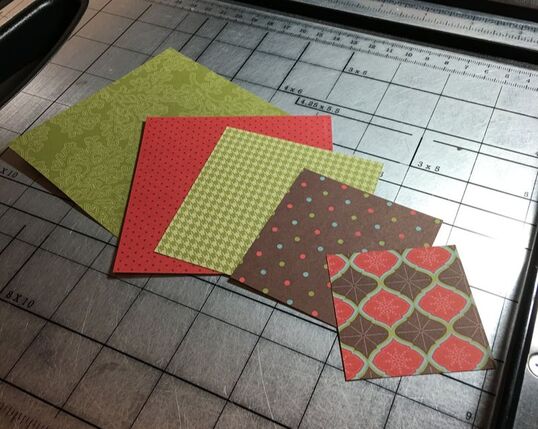
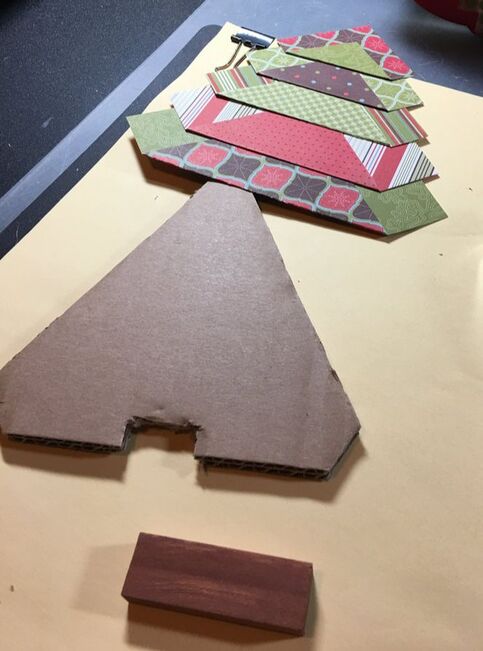
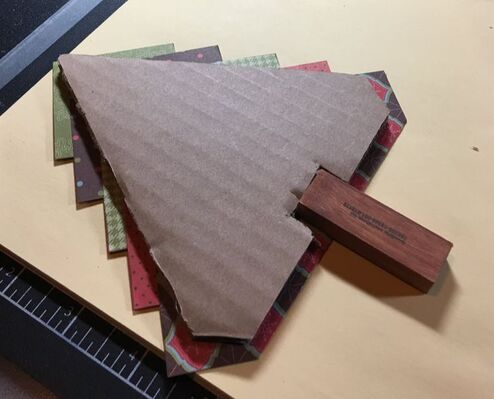
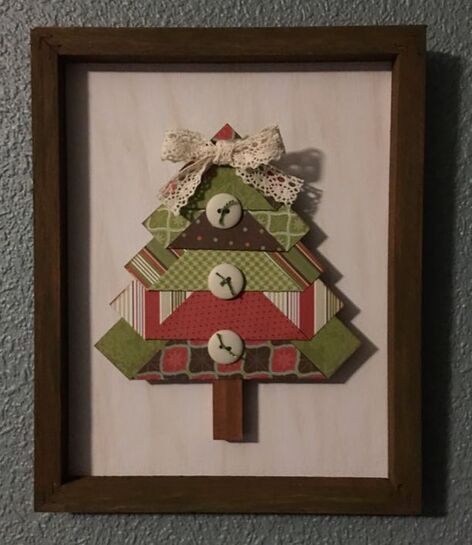
Hii All. Guest blogger time again here on the PPP. It’s Suzanne, Rebecca’s Momma, with a cute idea for a last minute gift or decoration. I’ve wanted to try a reverse canvas, which I’ve been seeing on Pinterest and some crafty blogs I follow (but none as good as the PPP, of course). I also recently pinned a quilted Christmas tree that was very cute. I’m not a quilter, but I thought I could reproduce the look with my preferred crafting medium – paper. The two ideas seemed like a good match to combine, so we are going to make a Reverse Canvas Paper Christmas Tree décor piece. Catchy, no? For this, you’ll need an 8 by 10 inch stretched canvas, some Christmas themed, double sided scrapbook paper and a piece of chipboard (heavy cardboard) that is 7.75 X 9.75 inches – just shy of the 8 by 10 of the canvas. You’ll also need some basic crafting supplies – paints and brushes, adhesives, scissors or a paper cutter, and a box cutter or craft knife. First, you need to take the canvas off the wooden stretcher. The stretcher will become the frame of the piece. Using the box cutter or craft knife, cut along the back of the canvas, to the outside of the staples, to release the canvas. Clean up the remaining leftover canvas and any staples that are popping up. You can try to remove the staples, but if they aren’t already loose, don’t struggle, because it’s not necessary. The cut side with the staples will be the back of the frame and covered. Now it’s time to paint the wood stretcher to turn it into a frame. Chose whatever color would complement your selected paper. I used brown with a little olive over it to pick up the olive color in my paper. While that dries, start working on the canvas. First, glue the chipboard to the back side of the canvas piece. The chipboard will stiffen the canvas so it stays straight across the frame. You can use Mod Podge or any other permanent wet glue. Personally, I have a love/hate relationship with Mod Podge -- I’d love to be able to use it, but I always hate the way it comes out – so I used a glue called Tombow Mono Multi. Finally, trim away the extra canvas around the chipboard. You’ll need to decide what color you’d like to paint the right side of the canvas. Because there was white in the paper I chose, I used white chalk paint and grubby-ed it up a little with brown. Once that’s dry, run a bead of hot glue around the back of the frame and glue on the canvas. The reverse canvas part of the project is done. For the Christmas tree, you’ll need 5 squares of double sided decorative paper. The squares should be 4, 3.5, 3, 2.5 and 2 inches square. Fold the squares not quite in half to make a kind of wonky triangle. You want both sides of the paper to show when folded. I folded using the following measurements, but it’s not an exact science – do what is pleasing to your eye. I imagined a line down the center of the paper from point to point. For the 4 inch and 3.5 inch square, I folded 3/4s of an inch from that line. For the 3 inch and 2.5 inch square, I folded 1/2 an inch from that imaginary center line. And finally, for the 2 inch square, I folded 3/8ths of inch from that imaginary line. Working inside of the frame for size reference, stack the folded paper squares, largest on the bottom and smallest on the top, to form the tree. Adhere them together and you have your tree. I wanted my piece to have a little dimension, so I cut a triangle of corrugated cardboard to back the tree. All trees need a trunk, so I used a tiny piece of wood that just happened to be in my craft room. (It’s one piece from a tiny tumbling tower game sold at the dollar store, painted brown.) You’ll notice that I notched out the cardboard so everything would be flush when glued to the back of the tree. I also used my not quite dry sponge brush to add a little brown shadow around the edges of the tree. Once everything was dry and secured, the whole she-bang got glued onto the canvas. Since this tree was inspired by a quilted one, I thought sewing notions would make the perfect decorations. I tied a small bow with a scrap of lace for the topper and added buttons down the center. I don’t like the look of a “naked” button so before I glued them down, I ran olive embroidery floss through the holes. Since I didn’t want to cover too much of the paper, three down the middle seemed enough for me. Use your imagination to decorate the tree with whatever compliments the paper you’ve used - sequins, pearls, small punched shapes are all options. Thanks for reading! May your holidays, however you celebrate, be filled with joy! As for me, I will say Merry Christmas! |
AuthorI am a 27-year-old crafter and baker from New Hampshire! Archives
July 2024
Categories |
 RSS Feed