|
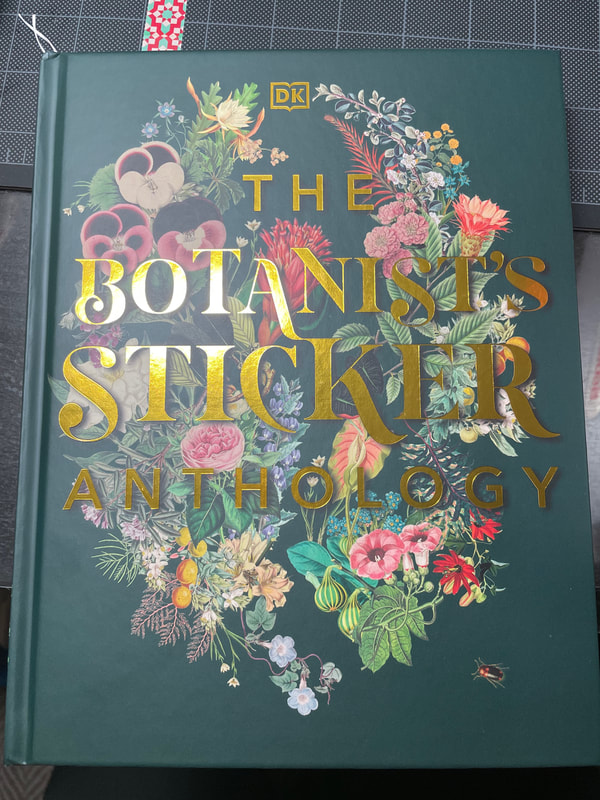
Hello everyone! So today we are here with Part 1 of a notecard project I started recently. I want to preface this by saying that I generally do not enjoy making cards. I don't really enjoy stamping or cutting paper or folding paper or pretty much any of the steps involved in making cards .... so let's just say this project was heavily inspired, assisted and motivated by my mother who does in fact enjoy making cards! Despite not enjoying card making, I have been wanting to make some recently for the Etsy shop. Recently for Christmas I received this beautiful book of vintage-looking floral stickers which seemed like the perfect first step towards these cards.
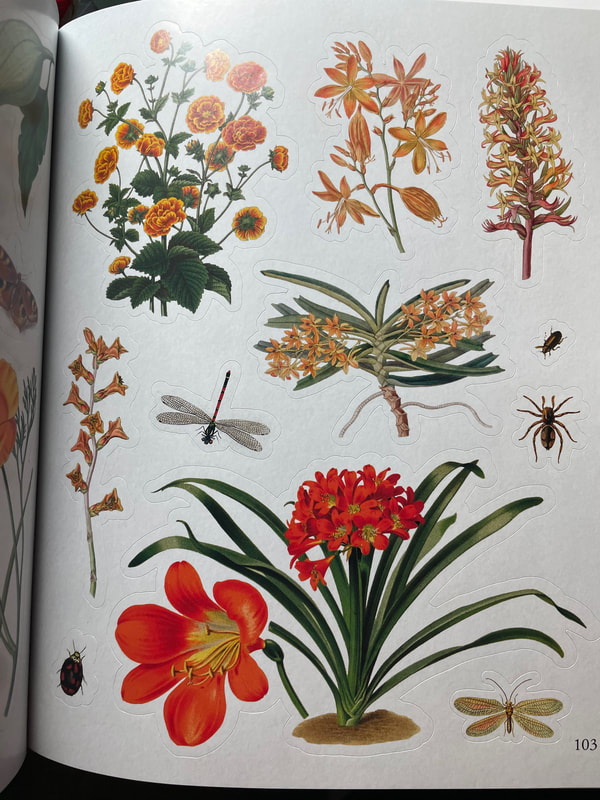
The page above is just a small example of the many varieties of beautiful stickers in the book! The stickers have an off-white edge around the images so my creative consultant cut some card bases for me in a very similar shade.
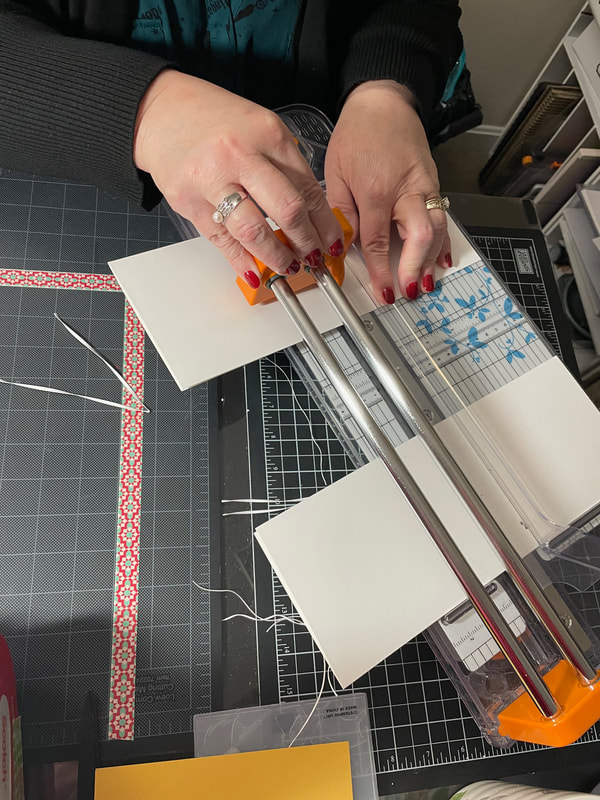
Once I had the card bases, I was then able to focus on picking the stickers! I decided I would be doing sets of 4 cards so I found 4 stickers for each set that looked good together but did not match too perfectly. Here is an example below! 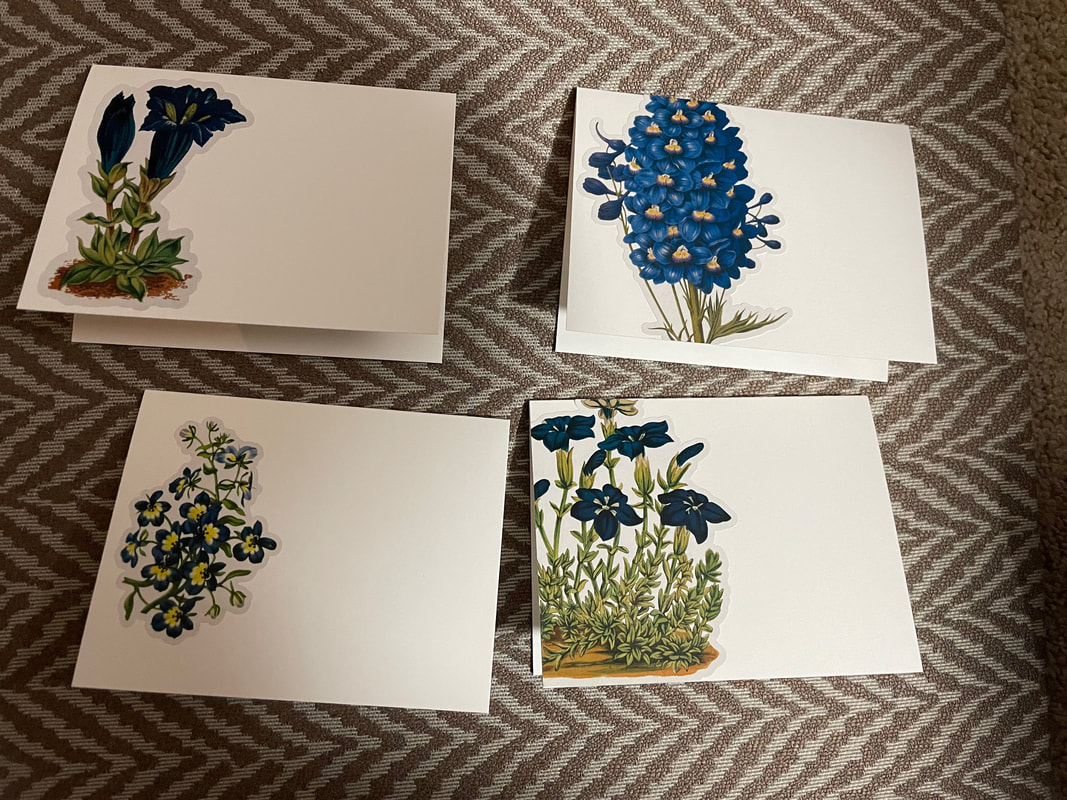 In terms of adhering the stickers to the cards, although they are sticky already (duh), I did also put some glue all over the back as well. When I put the stickers down with no glue, the edges were peeling up slightly which I did not want so I used an all purpose white glue to ensure they were very stuck down. The process was a bit tedious but very worth it! We then picked a corresponding color to use for some additional details on the cards, For these blue flowers, we went with a nice yellow. 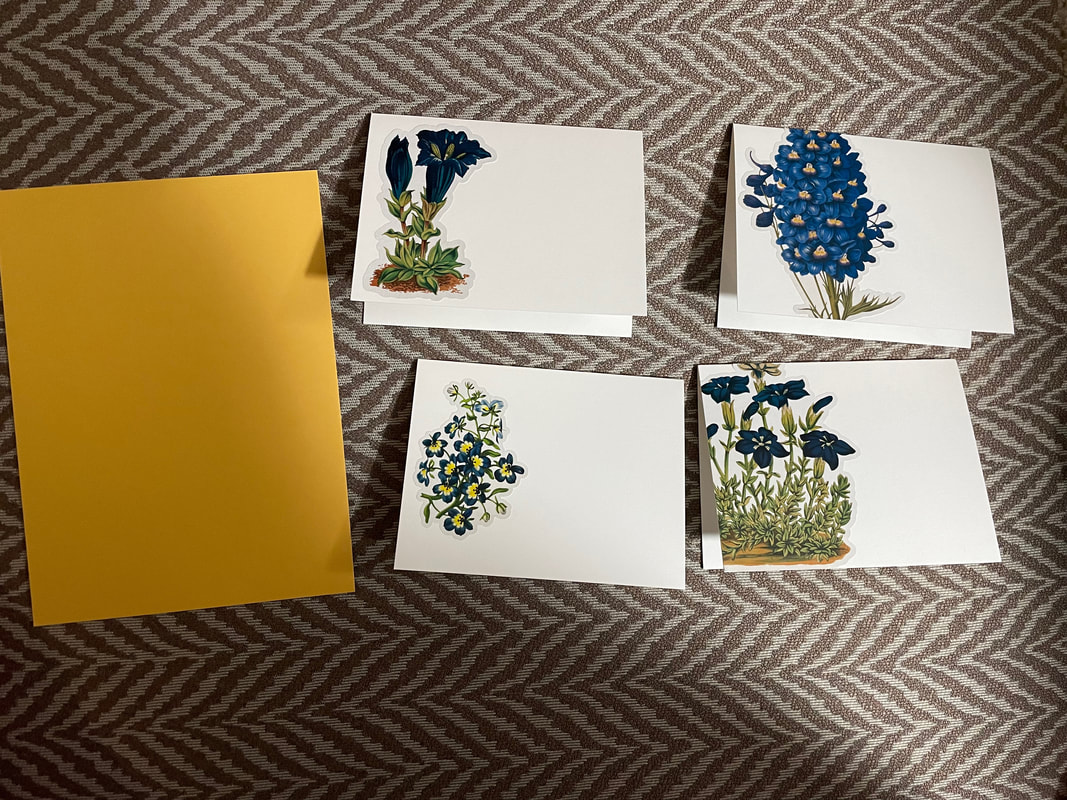 To add some visual interest to the paper, we ran it through my mother's Gemini Junior which is an embossing machine. It is the same concept as the Cuttlebug, only it automatically feeds the paper through as opposed to having to be hand-cranked. 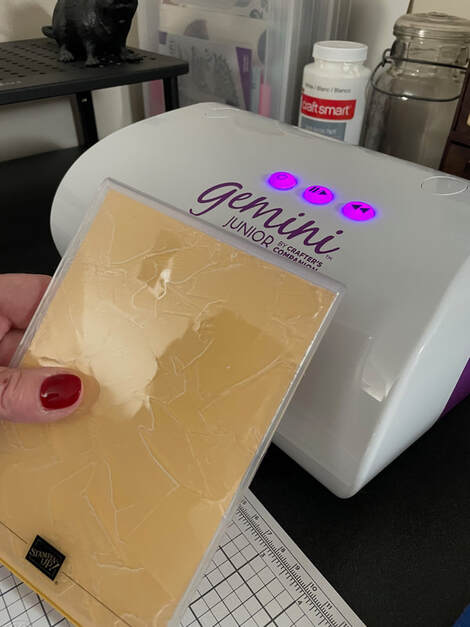 We then cut this textured paper into little strips to be added to the front of the cards. And that is where I will leave you! The next steps in these cards are to use the Cricut to draw out some sentiments and add those to the front and maybe add some additional small stickers if I feel like they need them. Next time I will show you the final product of all the sets as well! For someone who does not enjoy card making, having these beautiful stickers already really helped make the process much easier for me. Having a mother who enjoys cutting paper also helped :)
Have a good Sunday everyone! - Rebecca P.S. Today's photo on the homepage is from Pexels user Natasha Babenko: www.pexels.com/photo/selective-focus-photography-of-flower-arrangement-2565348/
2 Comments
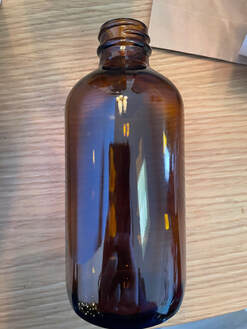
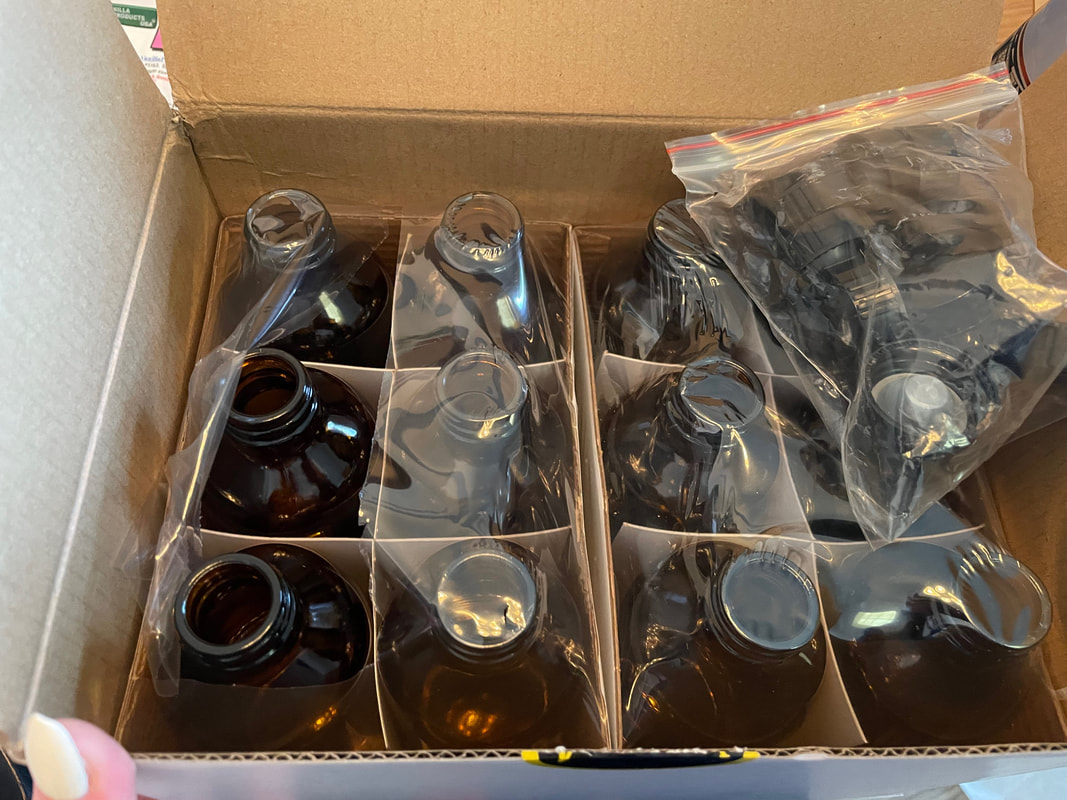
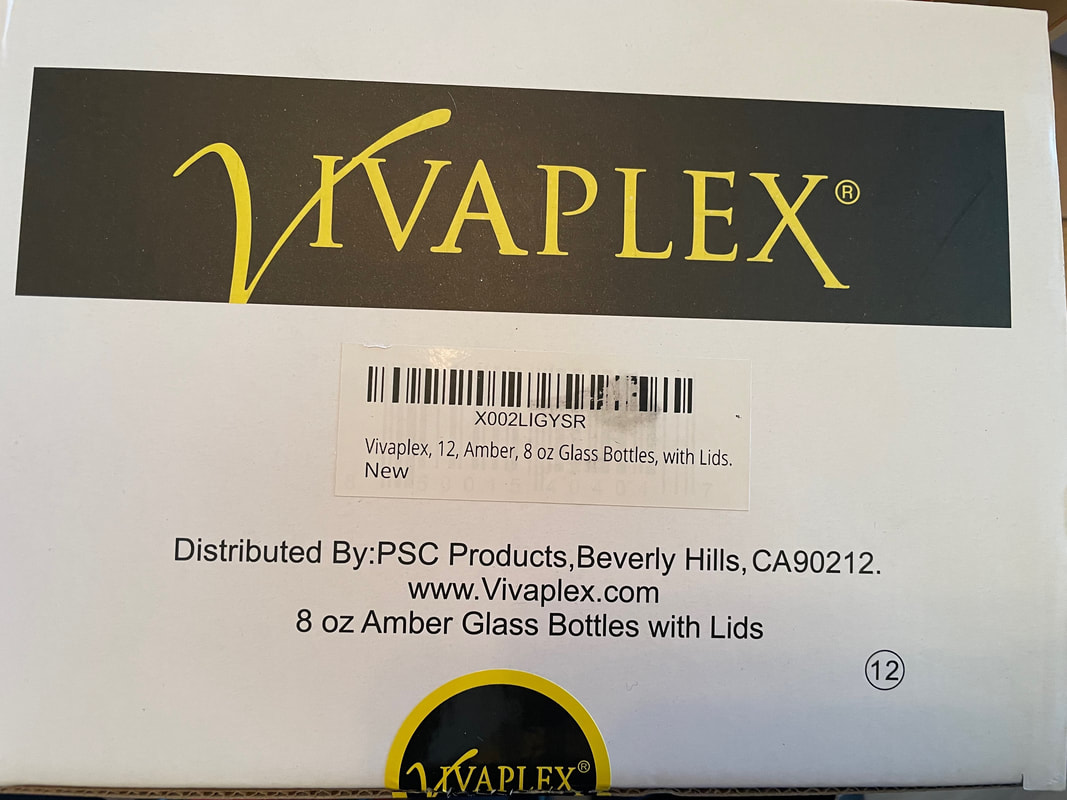
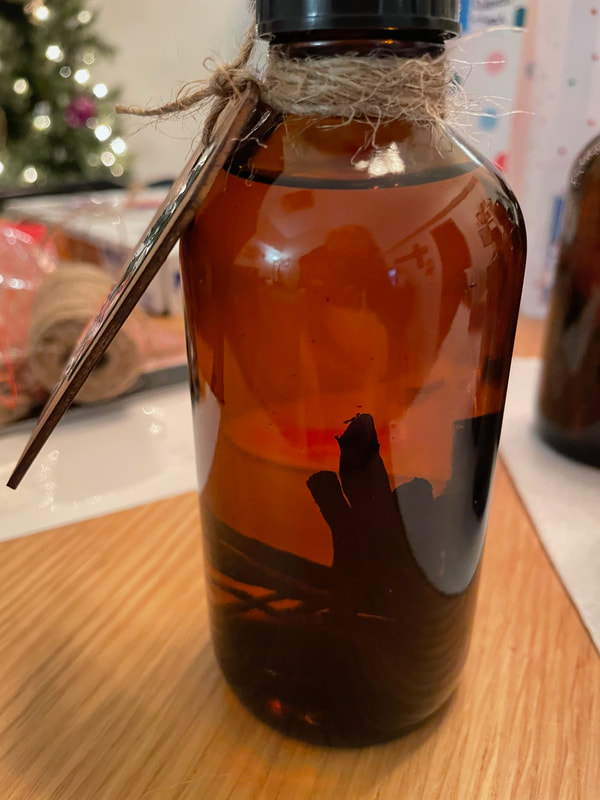
Hello everyone and Happy New Year! I'm back with the first blog of 2023 and today I am sharing a simple gift that you can make for anyone you might need to this year. This year the annual Christmas party with my mother's side of the family was able to happen again for the first time since 2019 and I wanted to have a small gift to give to my aunts/uncles and cousins. My mother had the idea to do homemade vanilla extract which seemed like a great idea as it is not too difficult to do and hopefully something that everyone would use. I read a few blogs about making vanilla and the advice ranged from needing 2-3 vanilla beans per 8 oz of alcohol to 10 beans per 8 oz. I ended up going with about 5-6 vanilla beans per 8 oz to keep the project a little more cost effective. I bought two packages of these vanilla beans from Amazon. The beans were already split down the middle; if they had not been, I would have had to cut each bean individually which frankly seemed like something I did not want to do! There is also a difference between Grade A and Grade B vanilla beans, the Grade B are usually a little less "pretty" which is why they are great for using for extract. 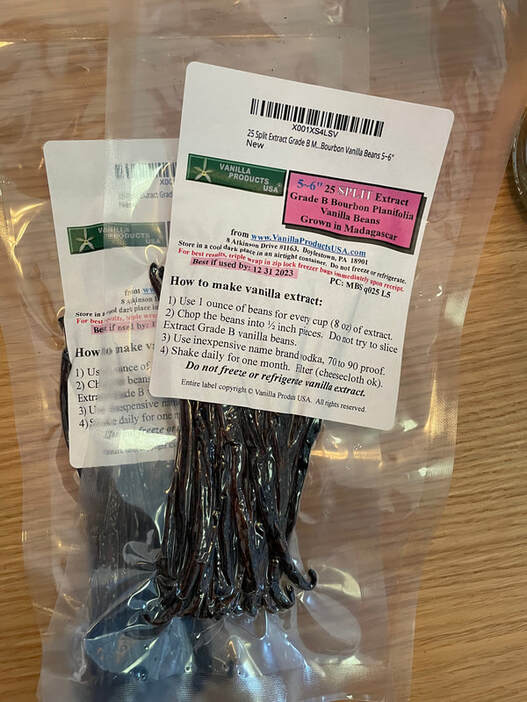 It's better for vanilla extract to be in amber bottles where it is protected from light so I purchased this set of 8 oz amber bottles on Amazon as well.
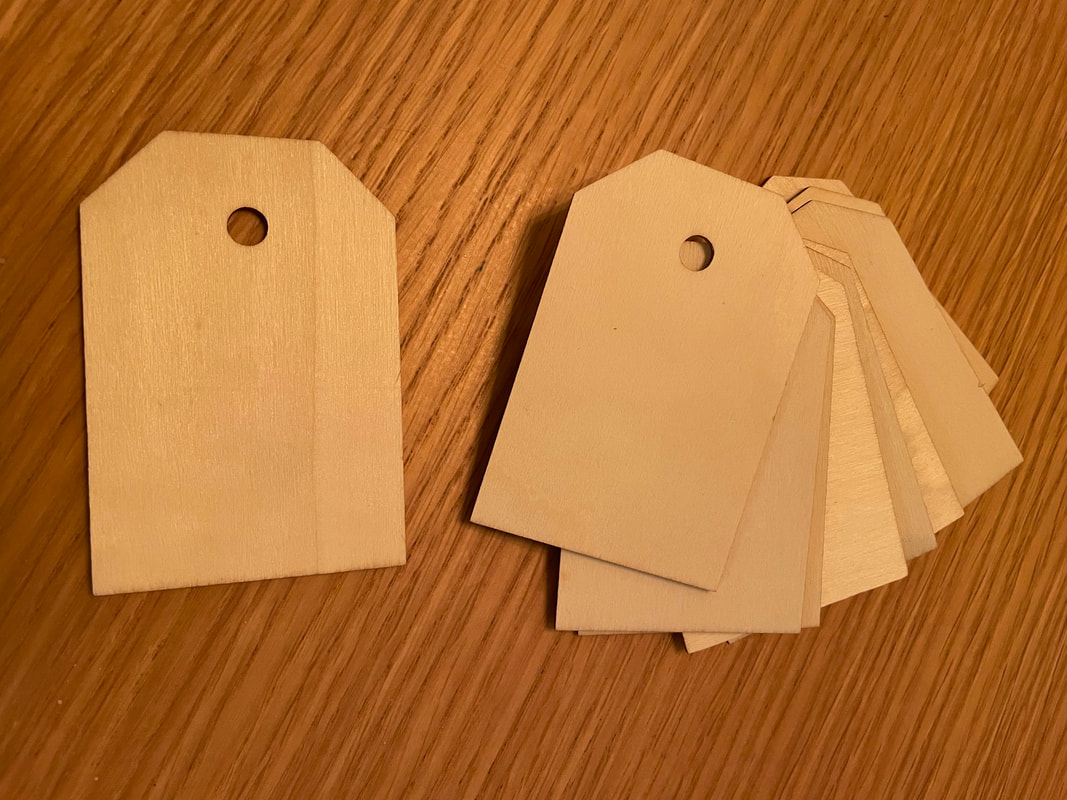
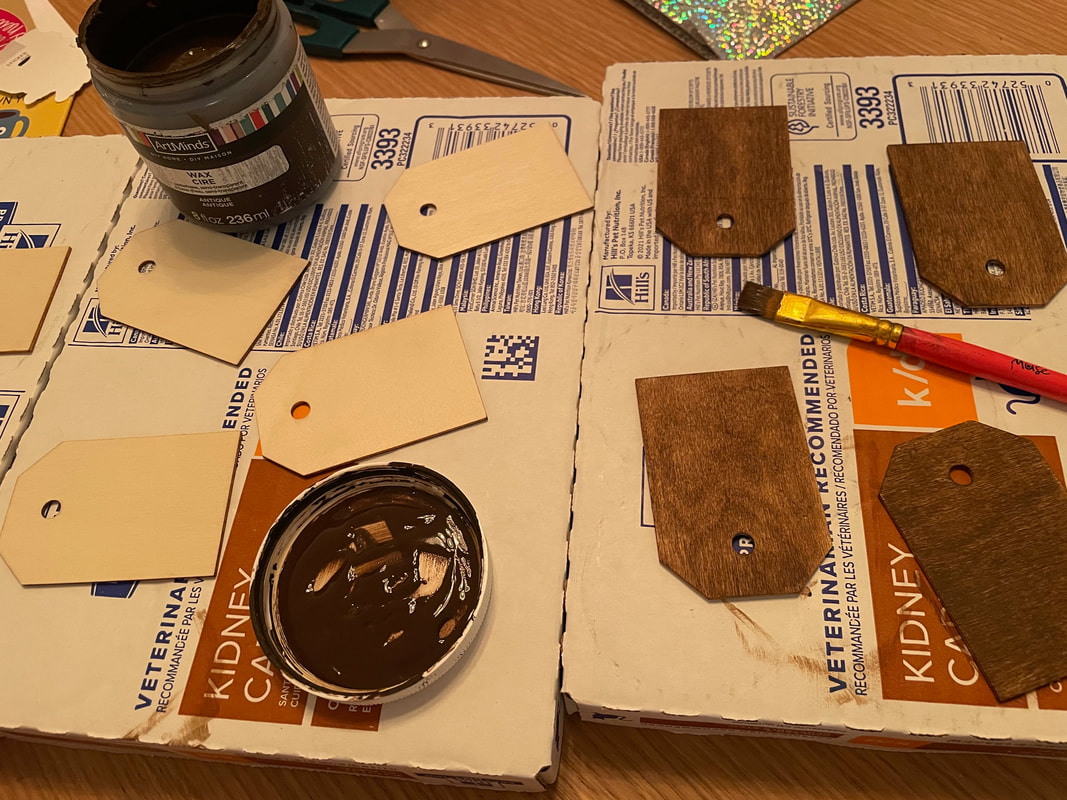
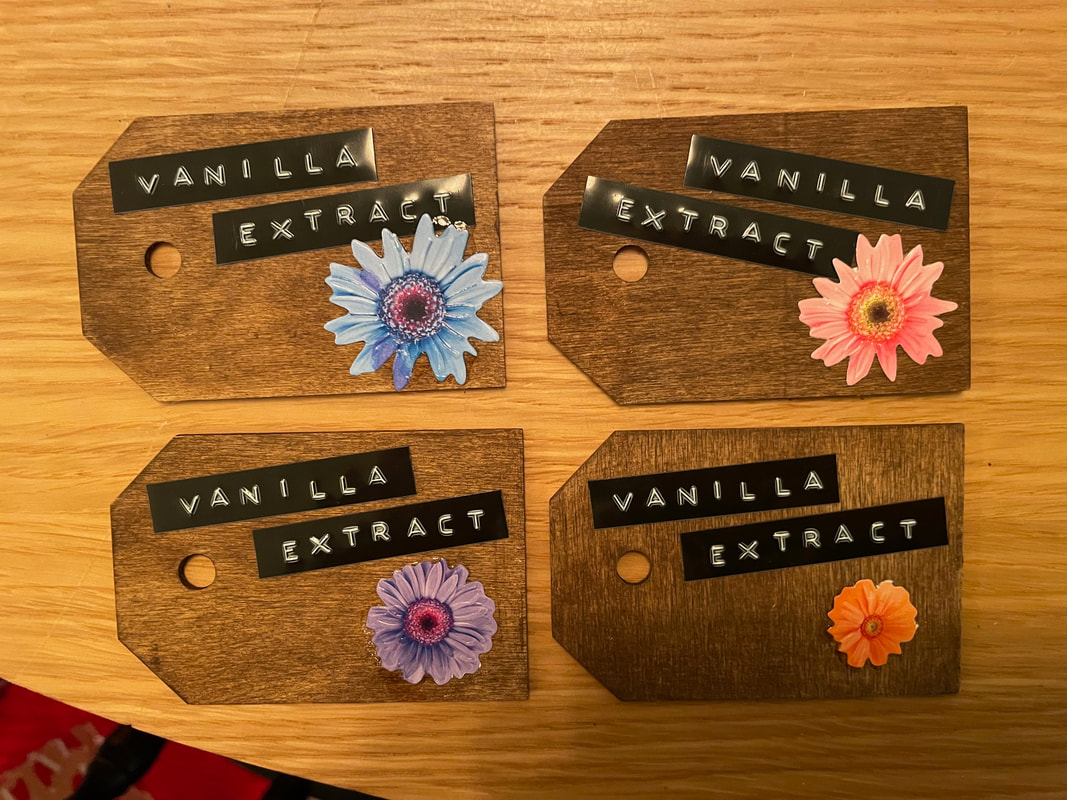
 I wanted to make cute tags for these bottles so I pulled out some wooden tags I have had for a while but not used yet. I used some brown wax to give the tags some color and also provide a protective coat on the wood.
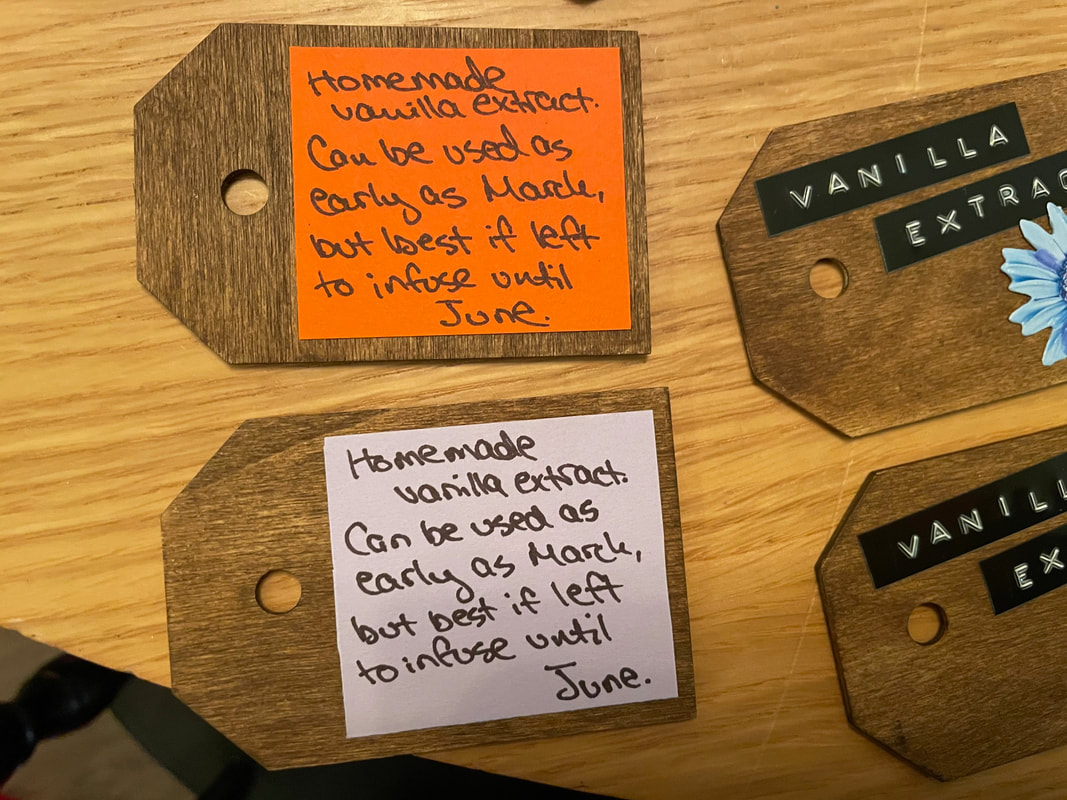
I then added a flower sticker to one side of the tag and a label that I made using my DYMO handheld label maker. On the other side I added a little note about when the vanilla could be used. In my research I also found a variety of opinions on how long the vanilla should infuse for ranging from one month to a full year. Because I ended up using a good amount of beans in my vanilla, I made a tag that said it could be used in about 2 months but would be best if left to infuse up to 6 months.
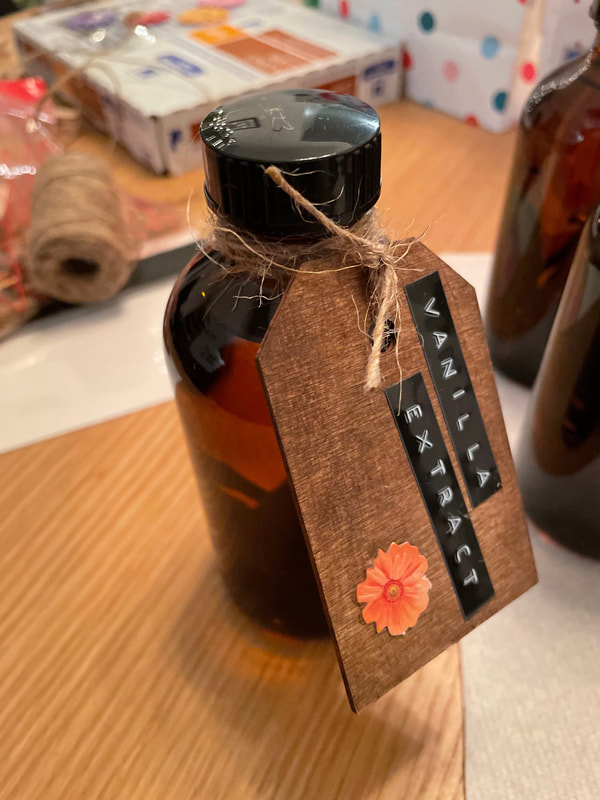
I used 80 proof unflavored vodka for this extract as it has very little flavor on its own and will let the vanilla flavor really come through. I did however make a bottle for my husband and myself where I used spiced rum instead of vodka as I wanted to experiment and thought it would be fun to try with rum. Hopefully it's good when we end up using it! I ended up needing about 3 regular sized bottles of vodka to make 10 8 oz bottles of extract. As I mentioned, my beans were already split so all I had to do before putting them in the bottles was group them in bundles of 5-6 and cut down the middle so they would fit. And that's really all! Once the beans and vodka were in the bottles, I closed them up and then used some twine to attach the tags to the bottles.
I was really happy with how these bottles came out and I think this is a great gift that allows you to make many gifts at once without having to think of a specific gift for each person. Everyone seemed to like it!
Here's hoping everyone has had a great start to the year so far and that it continues to go well! - Rebecca P.S. Today's photo on the homepage is by Pexels user Qwirki & Co. www.pexels.com/photo/food-love-woman-art-14381802/ |
AuthorI am a 27-year-old crafter and baker from New Hampshire! Archives
July 2024
Categories |

 RSS Feed
Proudly powered by Weebly