|
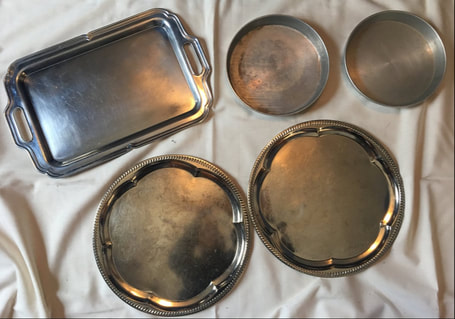
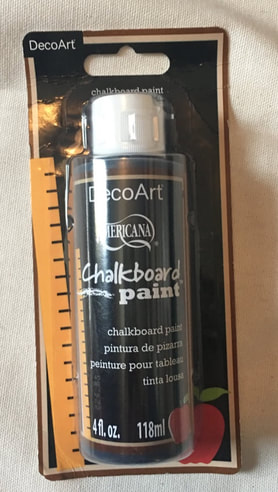
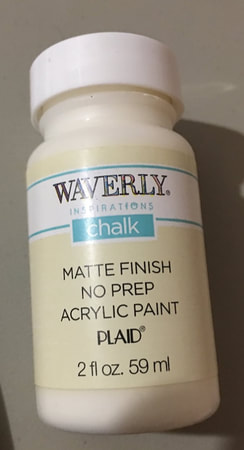
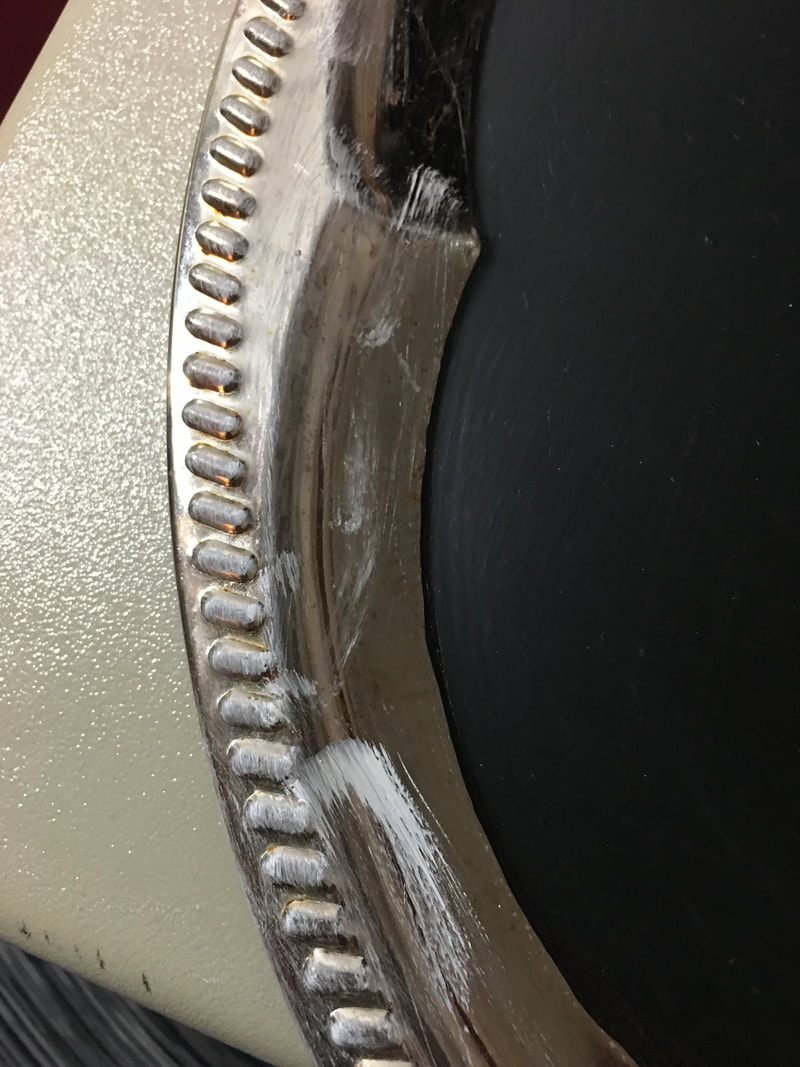
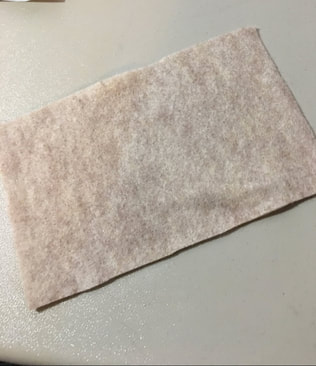
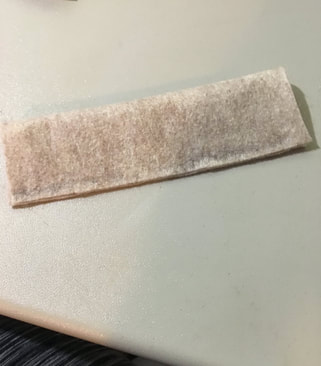
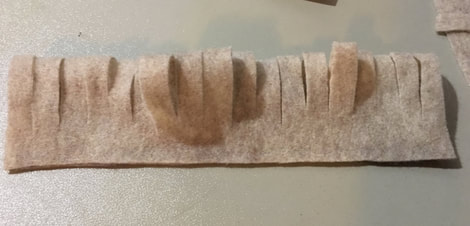
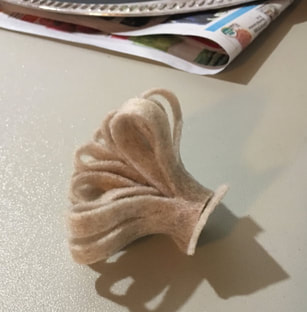
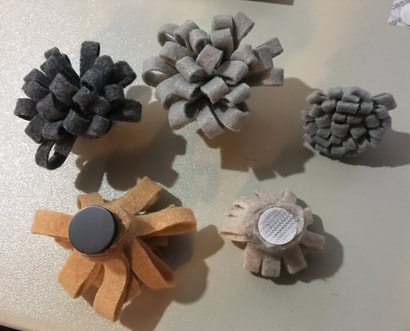
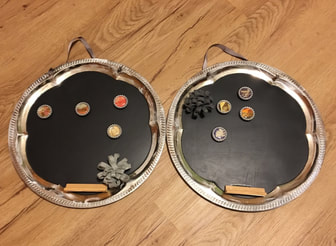
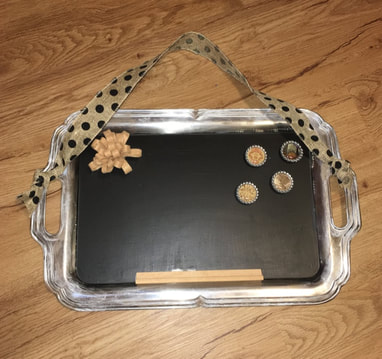
Hello friends! Thank you all for bearing with me for the past few weeks while I gave you some updates and more general posts. We are back to a craft project today! I love how these chalkboards turned out and can't wait to explain how to make them! So the first step in making these chalkboards is getting some old metal baking pans and platters. I got the two smaller pans at a large indoor yard sale and the three bigger platters at a local Habitat for Humanity ReStore. I think buying second-hand pieces is a great way to reuse something and having a piece of somewhat scuffed and aged metal gives the entire project more character as well! I scrubbed at these pieces a little to clean them up and then got started with the chalkboard paint (you should be able to find black chalkboard paint at any craft store). I followed the basic directions on the bottle, but did end up adding a few more coats because I wanted to make sure everything was adequately covered. After you paint the chalkboard and let it dry, you also have to "season" the chalkboard which i did as per the directions on the bottle. This just means covering the entire surface with a thin layer of chalk and then wiping it off. I'm not 100% sure the science behind this, but I think the basic idea is that covering the entire board with a thin layer of chalk ensures that all of the future writing will be able to wipe off cleanly. Once again, I am not a chalkboard expert so don't quote me on that. After seasoning these boards, it was then time to add some detail to metal that was still exposed. For this I used some chalk paint (courtesy of my mother). Chalk paint has a somewhat thicker formula than typical craft paint and dries down very matte and sticks well to materials that other paint may rub off of such as metal. I used some cream, grey and brown paint and some paintbrushes just to dab small amounts of the paint around the edges of boards to highlight any details in the metal and to just enhance the aged look of the metal. if you want to try and make something like this yourself, don't confuse chalkboard paint and chalk paint. I almost did when I was in the craft store! Chalkboard paint is used to cover a surface and make it into a chalkboard while chalk paint is a heavy duty paint that can cover all of the things. Next was making the erasers for the board. I used a technique for these eraser's that my mother had to make erasers for a similar project that she had done. All you need for these erasers is felt, scissors, hot glue and then something to attach it to the board itself like a magnet or Velcro tabs. Cut a rectangular piece of felt whatever size you would like, just keeping in mind that the bigger you make your rectangle, the larger and more unwieldy your eraser will be. Put a line of hot glue along one of the long edges of your felt rectangle and then fold it in half the long way, securing it in with the hot glue. Once the hot glue is dry, make small cuts in the felt on the side without the glue. You want to keep the felt in one piece, but have small cuts about 1/4 inch apart that go almost all of the way through the piece. ALMOST. Do not cut all the way through! Next, you are going to wrap the piece of felt onto itself, attaching it with hot glue along the uncut edge as you roll. This will leave you with something that looks like a flower. Attach one more circular piece of felt to the bottom of the roll with hot glue to make a flat surface for the magnet or Velcro tab. I realized the hard way that my two smaller baking pans were not magnetic so I had to attach those erasers to the board with the Velcro. On the other three, I was able to use magnets! As I type this, I'm realizing that it's somewhat difficult to explain how to make these erasers. They are very easy, I swear! If you have any questions about my wording or need further clarification about the steps, please leave a comment below and I will be happy to help! I was then trying to think of something that I could use as a ledge to hold chalk and my mother had a fantastic idea: Scrabble tile holders! And, of course, she happened to have some spare ones lying around. In case you haven't noticed the common theme in this post, my mother helped a lot with the inspiration for these chalkboards! My father cut a few Scrabble tile holders in half to be a better size and then I was able to attach them to the front of the board with hot glue. The large rectangular platter is the only one that I used a full scrabble tile holder on. I've mentioned hot glue a few times in this post and would like to clarify that I used Gorilla Glue sticks for this project as I wanted to ensure an extra strong hold for everything that I glued down. The final step for these boards was making them hangable. I'm not sure if that is a real word but I'm using it. Hangable: able to be hung. For the largest board it was easy as I was just able to loop some thick ribbon through the handles, but for the other 4 pieces I had to get slightly dangerous and bang a large nail through the metal with a hammer to get some holes. I am fairly certain there are at least 15 safer way to get holes in metal, but I went with big nail and hammer. Use the hole-making process that seems right for you. I strung some ribbon through these holes and we were done! As an extra added bonus, I put some magnets (made by my crafty mother) on the magnetic board to show that they could be used for a chalkboard or memo board. At craft fairs later this year I will be trying to sell these boards. Due to the size and the magnetic-ness (there I go making up words again) of the larger boards I will be selling them for more than the two smaller boards, but all will be sold with chalk as well. Here they are! I'm really happy with how these came out and am so happy to be able to write a post again about an actual craft project!
- Rebecca
3 Comments
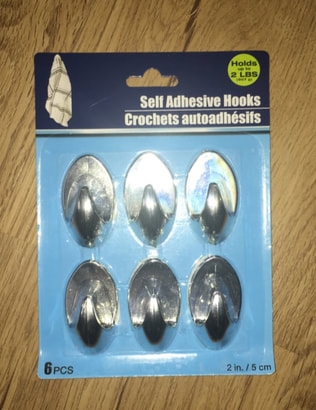
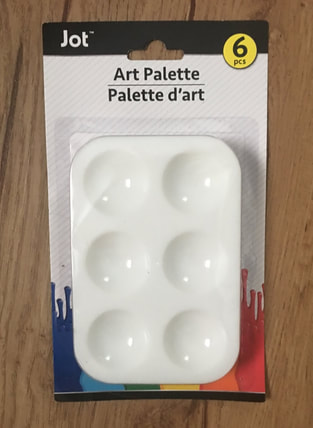
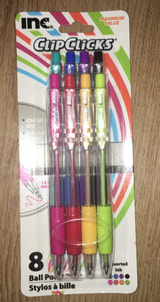
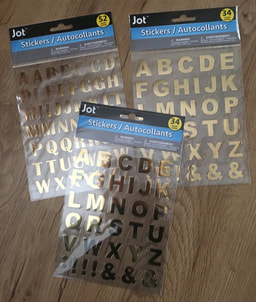
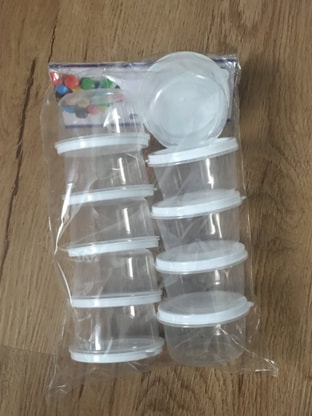
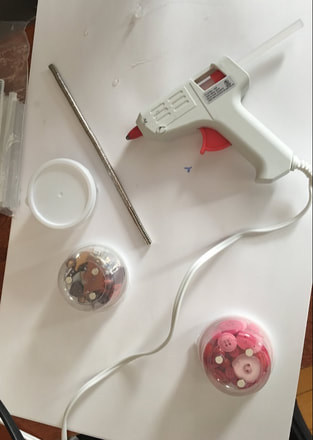
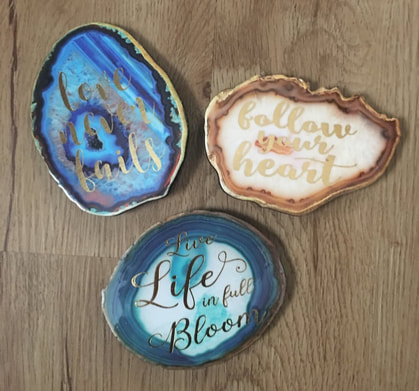
Why hello friends! Today's blog is going to be a huge shout out to one of my FAVORITE stores in the entire world: The Dollar Tree. This is not sponsored, I just freaking love that place. I know everyone probably has a dollar store close to them, but in New England the most popular chain of these stores is Dollar Tree. You may judge, but the dollar store is a crafter's wonderland, full of cheap, interesting little things that are just yearning to be turned into a craft or an organizational solution. From some of my mother's guest posts, as well as my own. you may be able to tell that we absolutely love the dollar store. We went to a new store near us over the weekend and I wanted to share with you all some of the things I bought and what I plan on using them for! First, I bought some silver Command hook "ish" sticky hooks. I think I may be using these for my mail organization shelf I talked about in last week's blog that I am making for my boyfriend and I. These will do just as well as Command hooks for the job I have planned for them and are much cheaper! Next, I bought some small plastic artist palettes. I have bought these before and would highly recommend them! Craft paint dries very quickly, so sometimes when you are trying to mix colors together on a flat surface like a paper plate, you lose a lot of the paint because it dries up on the sides. Having a little rounded palette like this makes mixing much easier because you can keep all of the paint wet. Once you are done with a color, you can either clean it out of the palette or simply let it dry completely and use the space again. You get quite a few of these in a package and are well worth the dollar. The next few things I just bought for fun and for future crafting, not because I had a specific plan for them right now: STICKERS AND COLORFUL PENS! I really don't have an exact purpose for these things yet, but who doesn't just need shiny stickers and colorful pens in their stash? This next thing I purchased can be used for a great organizational hack. Little mini plastic containers! I had already purchased some of these and done this hack, and loved it so much that I had to get some more! So my boyfriend and I are going to be using our tax returns to get all new furniture and organizational stuff for our office/craft room. The new desk that we have picked out for me has a magnetic board and I wanted to be able to stick containers of small decorations like buttons, paper clip etc. on this board so that they were well-organized and easily accessible. I had some tiny magnets and used my hot glue gun to adhere a few magnets to the back of the containers. These magnetic containers are a popular thing, but are typically pretty expensive. This hack is a much cheaper option, even if you have to buy the magnets separate from the containers. And finally, I bought some decor pieces. You may be surprised, but the Dollar Tree often has seasonal decor that can be fancied up a little or is even cute enough all on it's own. For example, I was honestly blown away by how cute these little signs were and don't think I need to do anything to them at all! I plan on using them on my porch when it is warm enough for me to put all my plants back out there on a table. I think these adorable little pieces will give some charm to my small garden! Aren't they adorable?!? I thought so. So there you have it, the dollar store is a great place to get crafting supplies, organizational pieces and even inspiration for seasonal decor. It may take a few minutes to find the good stuff, but once you do its amazing! What is your favorite place to get cheap craft supplies? Let me know in the comments below?
- Rebecca P.S. Here is little peak at what's coming next week. This weekend, I am finally finishing up the chalkboards I mentioned in last week's blog, so you will be seeing how I made those next Wednesday! I also mentioned above how my boyfriend and I have a big craft room renovation in the works. I am SO excited about this and think my next video will be focused on the transformation of this room. We will be working on this room next month so I am hoping that the last Wednesday of March or the first Wednesday of April will be when I have another video for you all showing off the new craft room! Why hello everyone! Today is not a typical blog post about a specific craft or baking project, but just a little insight on some of the things I have been working on and things you can expect coming over the next few months. First of all, I hinted at something coming soon a few weeks ago on my "Extras" page and here it is! I got a wonderful logo made for me by the lovely and talented Emily! Look at it! IT'S SO PRETTY! I am so excited about this logo and can't wait to use it everywhere. It is now the profile picture on my Instagram and I am working on getting some business cards made so that I can have them to hand out at craft fairs. I also currently have it on the homepage of the website here, but it is a small image a little ways down on the page and I am working on re-configuring the page so that the logo can be shown more prominently.
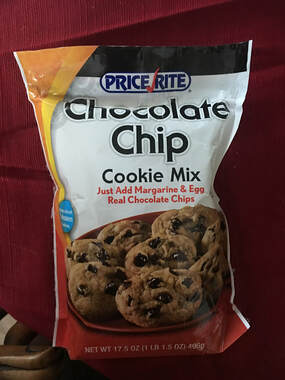
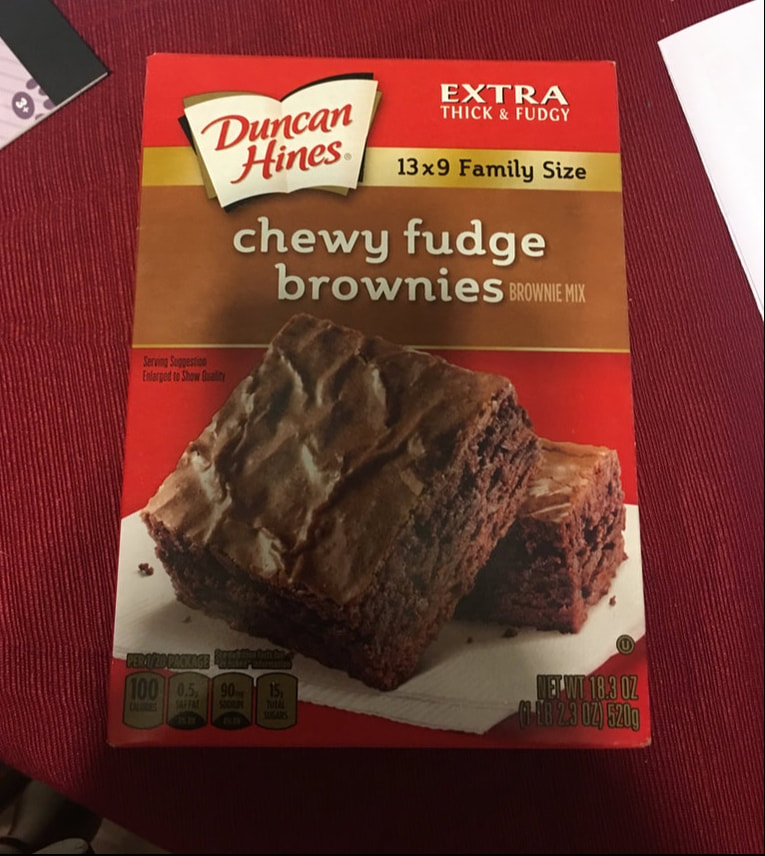
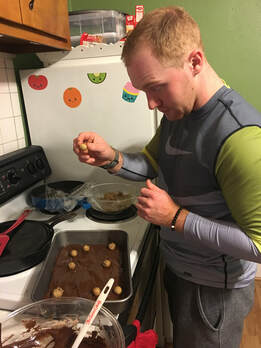
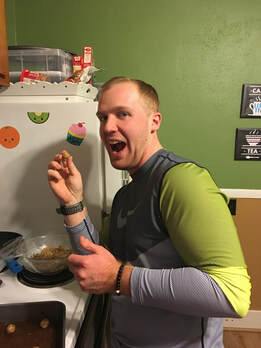
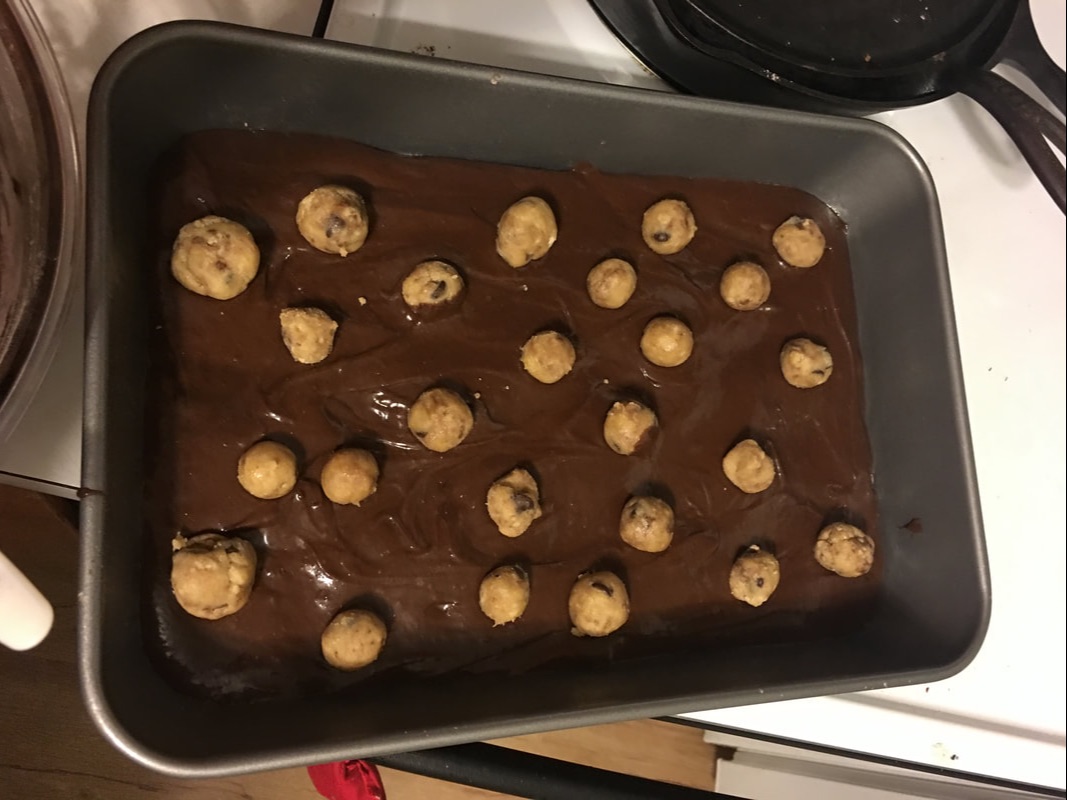
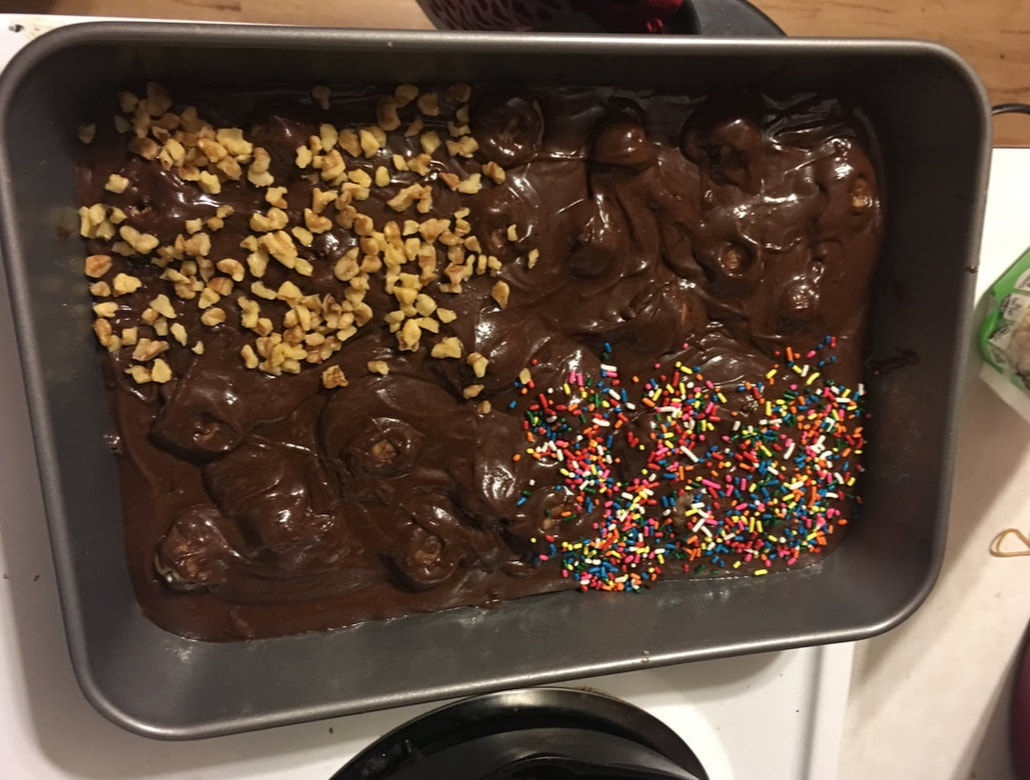
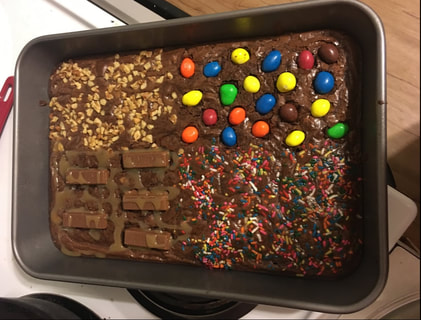
If anyone would like some logos made, send Emily a message on Instagram; her handle is @armed_with_arrows. In addition to crafty things she also sells a brand of activewear called Zyia. Please check her out when you have a minute! Second, I have also created a Facebook page for the blog! I will be using Facebook in a way similar to Instagram, giving updates about upcoming blogs and letting people know when the Wednesday blogs have officially been posted. I am hoping that using both Instagram and Facebook may help me reach a few more people! If you are interested in looking at the page, you can look for The Patterned Paper Plate in the search bar on Facebook. This should bring you to my page. Third, over the next few months I would really like to try and make some more videos. The video I posted in January was a tough thing for me to do, but I tried my best and would really like to try and create some videos showing how to do a project. Hopefully by the time March rolls around I will have a video coming your way! If anyone would ever be interested in videos where I answer questions as well, please feel free to leave questions in the comments and I would be happy to use them in a future video! And lastly, I wanted to give a little hint of some of the projects you can be expecting to hear about in blog posts coming up. 1. I am working on some antique looking chalkboards using pretty metal platters and baking pans. 2. I am also starting to move forward on my clocks which I talked about back in my January video. I have found some beautiful plates and pretty baking pans I am going to attempt to turn into clocks; this is quite the project so wish me luck! 3. Finally, I am getting started on a "mail center" shelf for my boyfriend and I for our kitchen so that we have a place to put current mail instead of just dumping it on the kitchen table. Our kitchen table is currently not usable for eating things so this is an important project. All three of these projects are fairly intensive and I want to give them the time they deserve so that's why I didn't have something particularly crafty for you today! I also felt it was important to give a little update to the people who have been reading this blog since I started it. I truly appreciate everyone who takes the time to read about my crafty projects each week. This blog means a lot to me and I cant wait to keep sharing my creativity with you! - Rebecca P.S. This is the first week that the blog has gotten more than 100 visitors so THANK YOU EVERYONE! Happy Wednesday everyone! I hope you are doing well this fine day. This week's project is back to the world of baking. My boyfriend is making his blog debut and we are here to show you that you can make fancy-looking brownies easily at home! We made these particular brownies to bring to a Super Bowl get together. GO PATS! I know all of America except New England hates the Pats, but I am a NH girl so you just have to deal with it! Anyways, back to brownies. These brownies were made using two different box/bagged mixes, a brownie mix and a chocolate chip cookie mix. Below are the mixes we used simply because we had them on hand, but obviously any mixes would do. the only think I would recommend is using a brownie mix that is just plain brownies and not also filled with chocolate chunks or chips. There are many other components that go into these brownies, so having just a plain base ensures that the brownies don't go overboard. So first we mixed together the cookie mix according to the directions on the package, while also adding in a little vanilla and cinnamon. I would recommend making the cookie dough a few hours before you plan on baking the brownies. Making the dough from a powdered mix leaves you with a very room temperature, sticky dough and this recipe works better with a chilled dough. If you don't have the time to wait, another option would be to use refrigerated, pre-made cookie dough which would already have the firmness you are looking for. After the cookie dough was chilled we mixed up the brownie batter according to the directions on the package. We sprayed a glass 9 by 13 pan with non-stick spray and poured half of the brownie batter into the pan. Then we used about a third of the cookie dough and rolled about 25 one inch balls and dropped them all over the brownie batter. Since it was my boyfriend's idea to use the cookie dough in this way it seems only appropriate to insert some action shots of him right here. He said it was fine for me to use these pictures, don't worry. We then poured the remaining brownie batter over the cookie dough balls and spread it out as best we could so that all of the dough was covered by batter. It was my idea to cover different sections of the brownies with different toppings so we then scavanged through our cabinets to see what we could use. We settled on rainbow sprinkles, walnuts, Kit Kats and peanut M&Ms. We added some rainbow sprinkles and walnuts each to their own corner of the brownies and then put them into the oven to bake. Since we didn't want the Kit Kats and M&Ms to melt, we decided to wait and add those after the brownies were cooked. The brownies took about 25 minutes to cook; you could easily use a smaller pan for this recipe and end up with a thicker brownie; it would just require a longer cook time. After the brownies were cooked and had cooled for about 10 minutes we pushed in the peanut M&Ms and the Kit Kats. We also added some caramel to the Kit Kat section for extra fun. And here you have our fancy shmancy brownies! I think these brownies came out well (and they tasted great) and I loved doing this project with my guy. What is your favorite dessert to bake? Let me know in the comments below!
- Rebecca |
AuthorI am a 27-year-old crafter and baker from New Hampshire! Archives
July 2024
Categories |
 RSS Feed