|
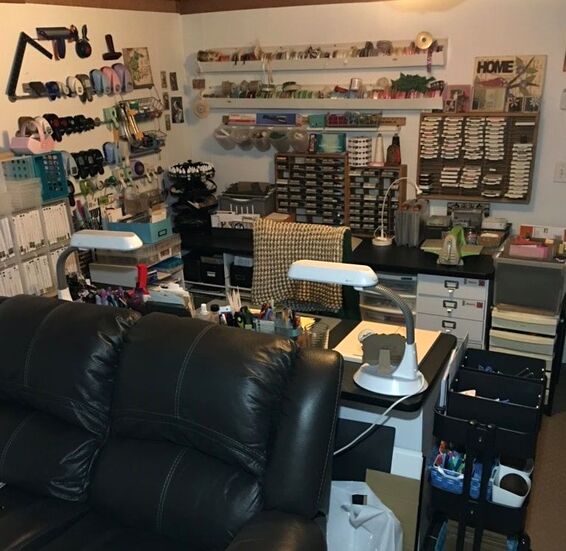
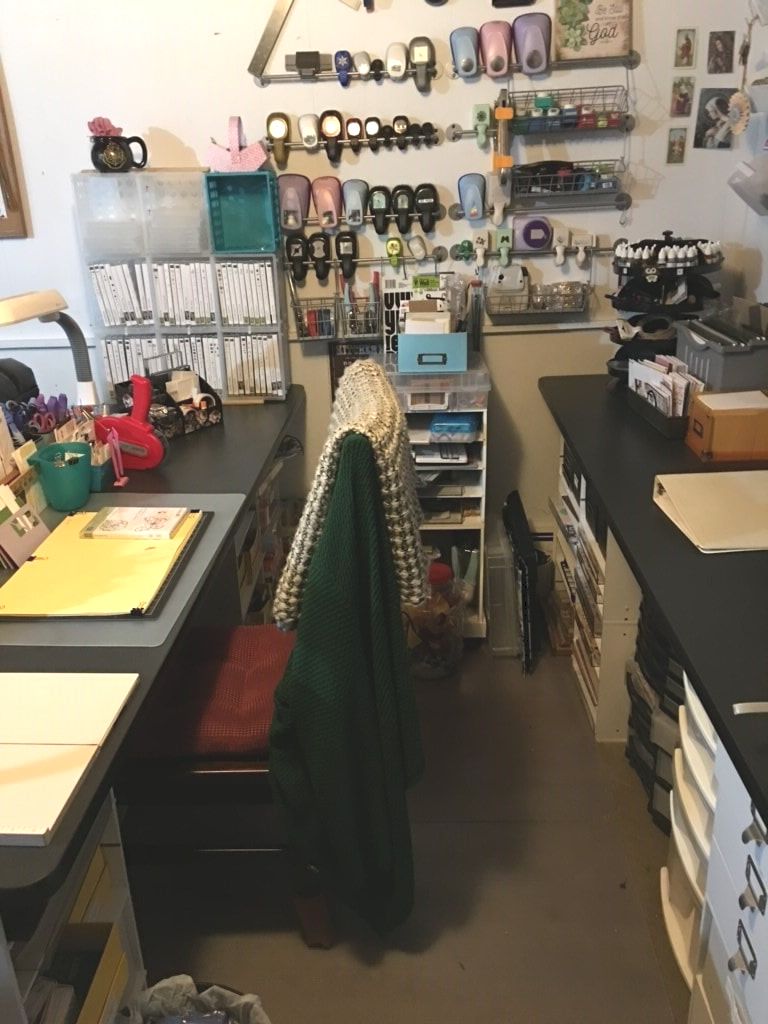
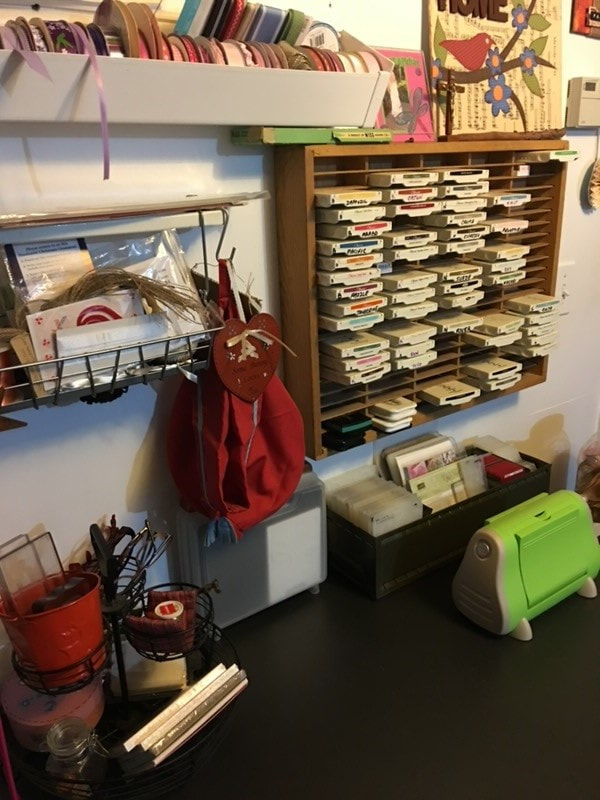
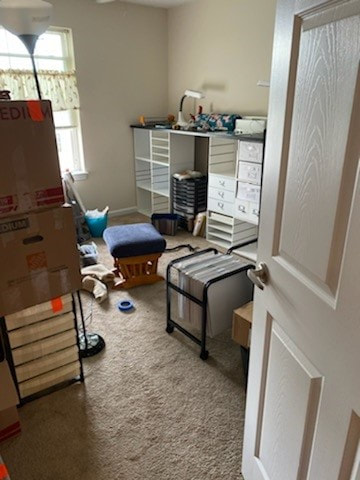
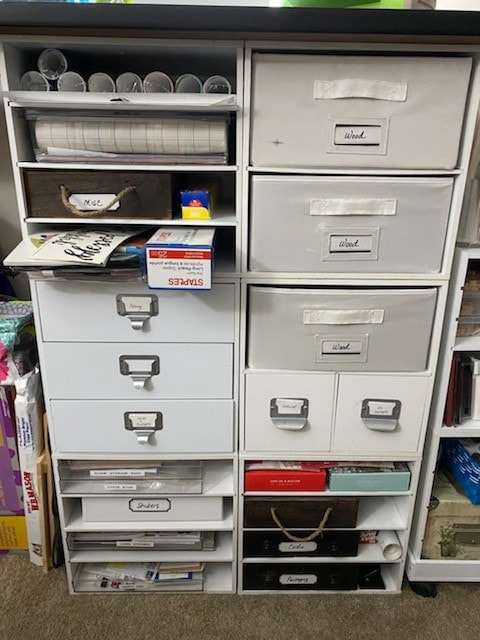
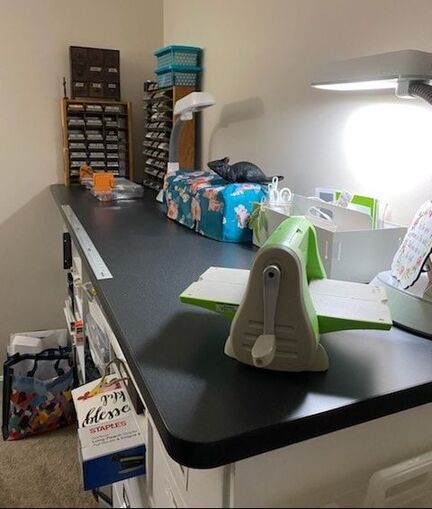
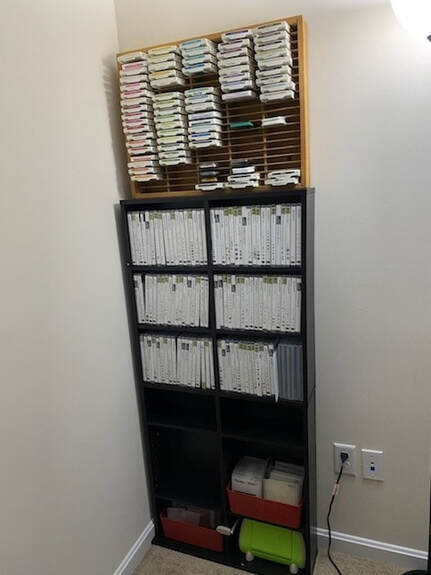
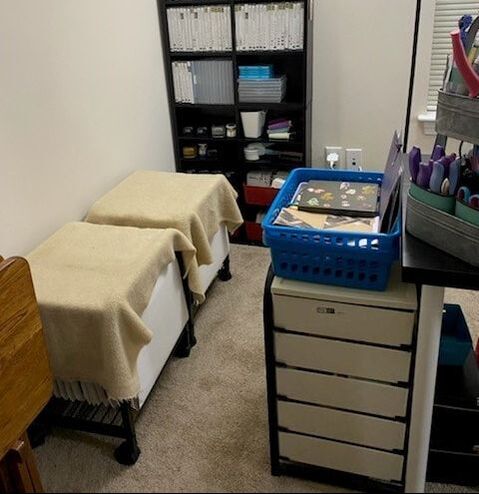
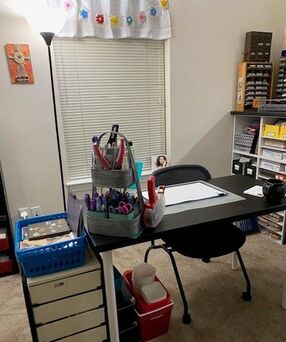
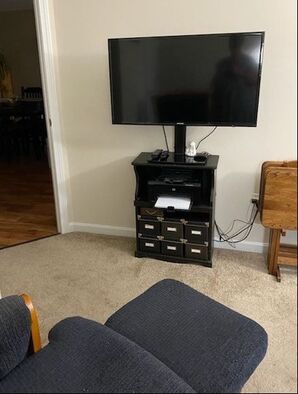
Hello Friends – It’s Suzanne, Rebecca’s Momma, back with you on the PPP after an extended absence while we prepared and sold our home of over 20 years and moved to a suburban “luxury apartment”. Rebecca suggested that the process I went through to purge, downsize, and pack my former craft space and set myself back up in our new home would be an interesting journey to share with you. In our former home, my craft space was in the finished part of the basement and measured 8 feet by 12 feet. In this space, I had two 7-foot by 2-foot table tops on top of craft cubes from Michaels, two bookcases chock full of things and lengths of gutters to hold spools of ribbon and towels racks from which to hand punches on the walls. Screwing things into the walls was no issue in our own home because we owned the walls! In addition to this space, I had a spare room, the laundry room, the garage, and the unfinished part of the basement to stash all sorts of things in a relatively organized way. In addition to standard craft supplies like paper, ink pads, stickers, and paints, my stash included items from the dollar store to refurbish, recyclables to upcycle into new things, cuts of wood, tiles, large envelopes, file folders . . . and the list goes on. I was dangerously close to hoarder territory, which is the fate of the crafty person who sees the potential in almost anything. The first step in my purge to downsize came from having to get the house staged for selling. Our realtor recommended to lighted and open up spaces all over the house, so for the craft area, that meant taking things off the walls and reducing the inventory in the space by half. As the paper punches and ribbon came down, I took a serious look at each of them, assessing the last time I’d used each of them, the potential for future use and the way it worked with other items I had. Not surprisingly, many of the punches were duplicated by dies, which store in a much smaller space, or hadn’t been used in a very long time. I reduced ribbon to neutrals, knowing that I could use coloring mediums on white ribbon to make it any color I want. Next, I set a personal goal to reduce from four paper carts to two. I went through each sheet and each pack, keeping only those sheets that really appealed to me and not the whole pack just because it all came together. We took one of the tables down and gave the tabletop to a friend to organize her space. I packed up the rest of the items in the cubes and put those boxes and the cubes into storage. That really helped to open up the space for the showings. I went to each of my stash locations and each time I said “Wow, I forgot I even had this!,” that was a sure sign it was meant for the donate box. Some friends came ‘shopping,’ I donated some paper crafting items to a local children’s group and the rest went to a local charity shop. When it was time to move, I packed up the rest of the craft items and the movers delivered them to the new space together with the cubes and boxes that were in storage. They were a little shocked at the number of boxes for the craft room and just kept piling them in. The first step was to get the cubes and tabletop together so that the stuff in the boxes had a place to go. I ended up with a counter height work surface, made by stacking the storage cubes three high as a base for one 7-foot tabletop. This holds my paper punches, large paper cutter, Cricut (electronic cutter) and Cuttlebug (manual cutter and dry embosser). The cubes underneath hold everything from craft paint and paintbrushes, paper for card bases, a last few wood mounted stamp sets, wood items to embellish and repurpose, rolls of vinyl for the Cricut and packaging items. The black tower holds all things Christmas. A new item in the space is a DVD holder, which is perfect for all my newer Stampin’ Up stamps since they come in DVD sized cases. Ink pads sit on top, and the extra shelves hold some of the paper punches that used to hang on the wall. I have a smaller desk to work at, a side set of drawers that holds my downsized collection of ribbon and other embellishments like buttons and sequins as well as adhesives. Two carts of decorative and colored paper are covered to keep the sunlight from fading the colors. Most important, there’s room for a rocker and TV so Rebecca’s dad has a spot to sit, and we can be together while I’m crafting. A big change in this space is that, as renters, we can’t screw things into the walls willy-nilly as we did in our own home. The three biggest lessons I learned from this move, relative to my craft room, were to:
1)Recognize the past crafter, the fantasy crafter and the now crafter. When Rebecca was a child, I was an avid scrapbooker and completed many scrapbooks of events in her life and our family vacations. Those scrapbooks and the supplies used to make them take a lot of space. I’ve found a company which will digitize the scrapbooks and the pictures and memorabilia I’ve been saving. Not only will this protect those memories, but the space also this will free up will be huge. It’s OK that this is Suzanne the past crafter. It’s also OK to acknowledge the things that I tried, didn’t enjoy, and won’t continue to do. I love paper crafts, but I’m not a heat embosser or someone who enjoys coloring. That’s Suzanne the fantasy crafter, so embossing powders and lots of various coloring medium hit the road during this purge. Keeping those things does not put the money I spent for them back in my account! 2)Let the store be my storage room. I was always a big advocate of a “stock-up” and having a stash. When I had a lot of extra space, it was easy to shop “on spec,” seeing things that might be useful and buying them “just in case.” Now, with less space, I will have to be more deliberate in my shopping. It’s unlikely the dollar store will run out of stuff to repurpose, or Michaels will not have paper. I don’t really have to have it all in my room. 3)Realize that having too much stuff to manage is overwhelming and actually diminishes my creativity. With the exception of one stamp set (which I replaced on E-bay) there is not one thing from my craft purge that I regret getting rid of. Each pass through lightens the load and lightens my heart. Having things that I really use and love instead of an excess of things to wade through has allowed me to focus more on doing the things I really enjoy. The process of downsizing for our move has involved more than just my craft room. Our clothes, kitchen appliances and dishes, seasonal décor and memorabilia, tools – just about everything we own has gone under review. I gained so much inspiration and encouragement throughout this process from a YouTube channel called The Minimal Mom. If you are feeling overwhelmed in your space or feel like it’s time to start to downsize, I highly recommend her. She’s very gentle, very practical, and very real. Now that I have a great new space, I will see you soon with some new craft projects! Rebecca here! I’ve decided I’m going to start crediting the free pictures I use in this blog more. They often come from a website called Pexels which allows you to use pictures free of charge without the need to credit the photographer, but I’ve been feeling lately like it’s just the right thing to do. So to start off, the image used in this blog’s icon on the home page was retrieved from https://www.pexels.com/photo/pencils-in-stainless-steel-bucket-159644/ and provided by user Pixabay in 2016. All other pictures in this blog were taken by my mother. Thanks all and see you soon!
1 Comment
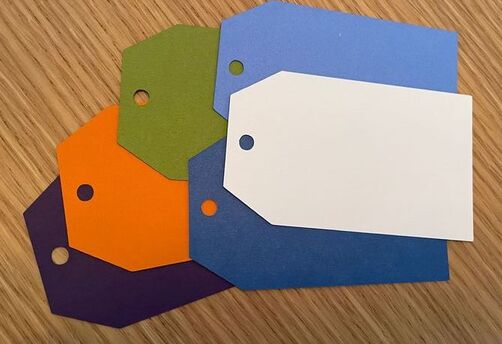
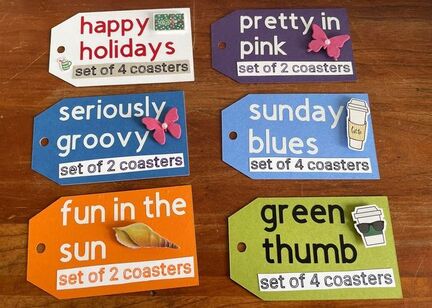
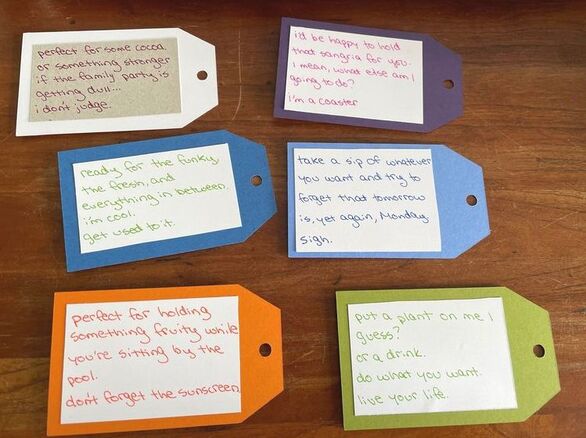
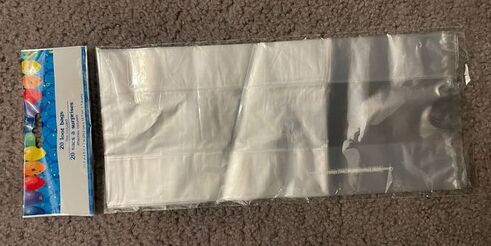
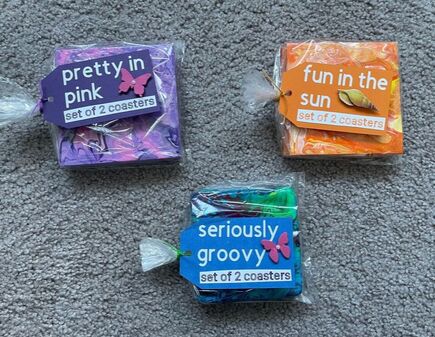
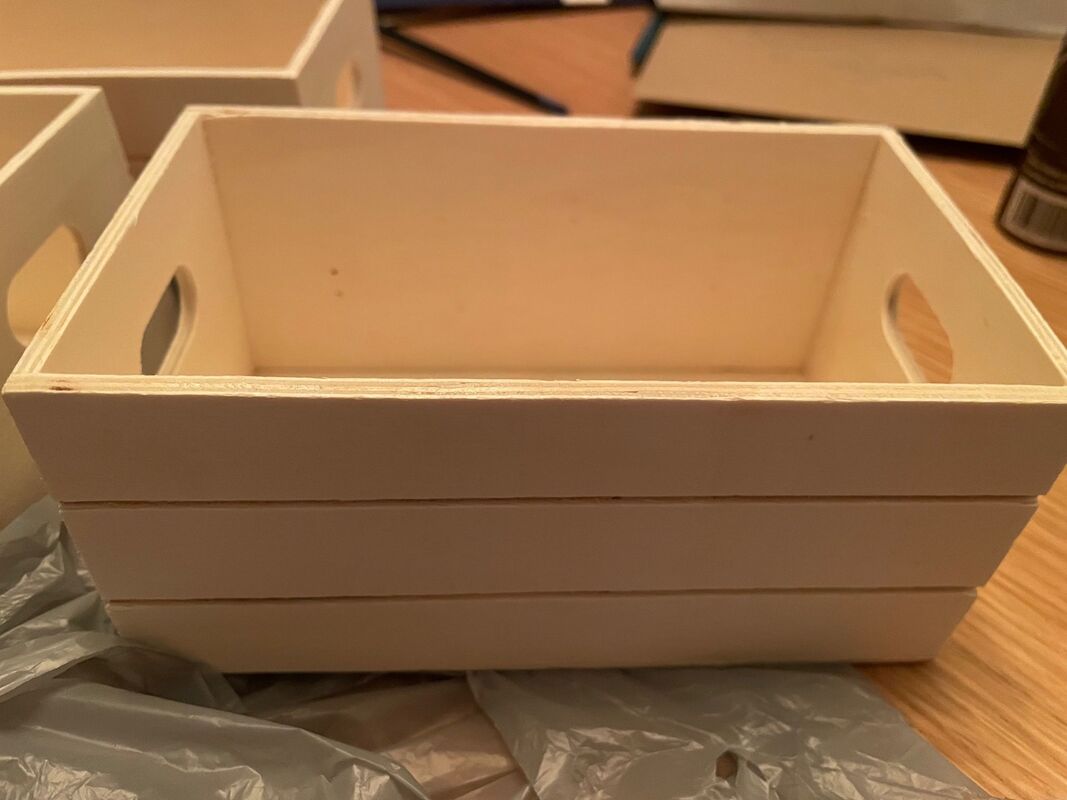
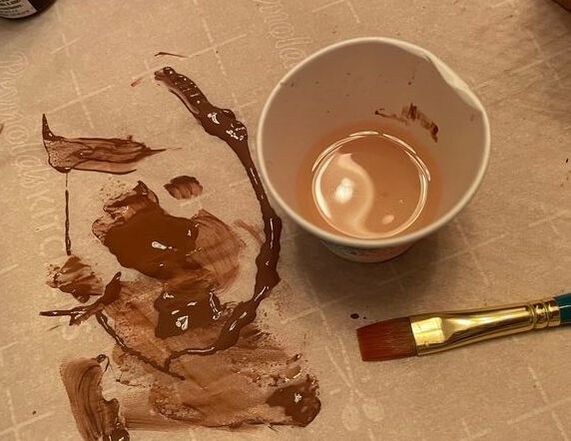
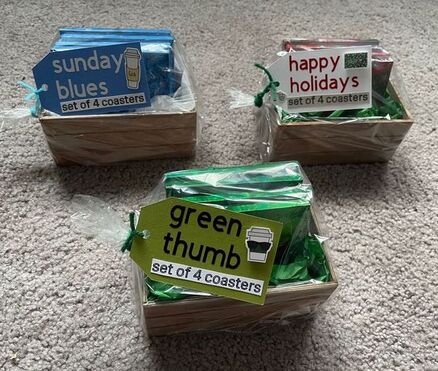
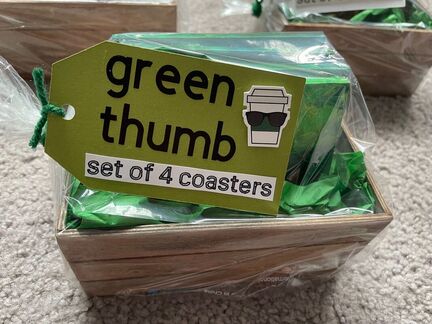
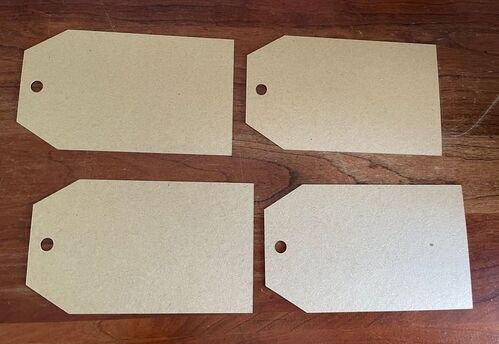
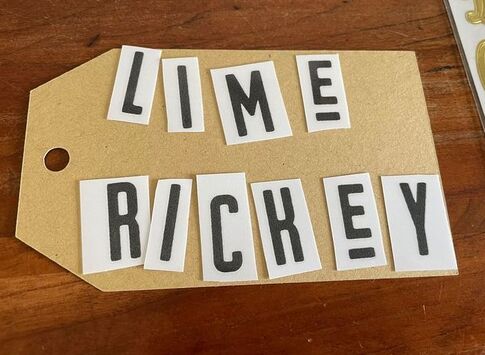
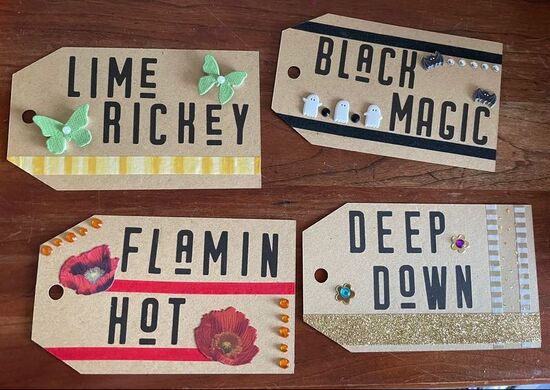
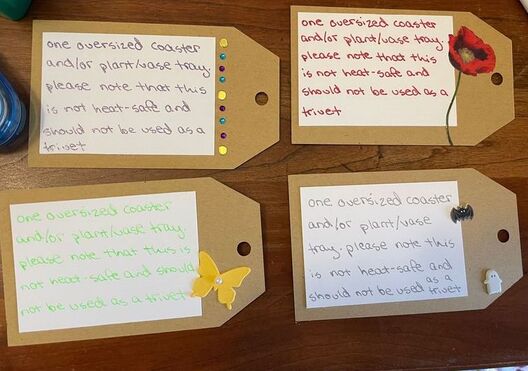
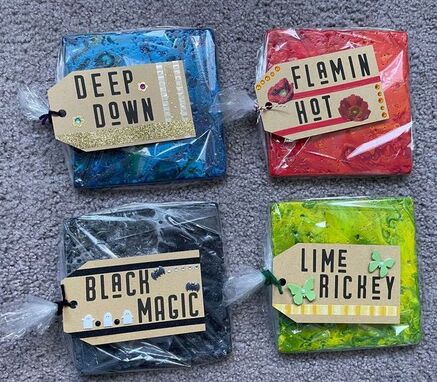
Hello everyone! So we are back with part two of the acrylic pour coaster journey and I will be showing you how I packaged these up to sell and/or gift in the future. I wanted to make some very cute tags for the coasters and I started by making tags for the 3 sets of 4 and the 3 sets of 2. I used my Cricut to cut out tag shapes that fit the color scheme of each set. I then also used my Cricut to cut out adhesive vinyl with the names of the coater sets. I had fun coming up with the names! I also found a little sticker for each tag. Finally, I used my, say it with me, Cricut, to draw out the little piece of paper that said how many were in each set. Here was the front of the tags all finished. I then put a piece of white paper on the back of each tag and wrote a little blurb for each. I used some clear small bags to package up the sets of 2 and tied the tag on the front. For the sets of 4, my mother and I went to several Dollar Trees to find some little wooden crates to package these in. The crates were bare wood, so I used a mixture of acrylic paint and water to make them look like they had a light stain. I put the sets of 4 in each crate and then again packaged them up in a clear bag with the tag on the front. I packaged the larger single coasters very similarly to the sets of 2, but did something a little different on the tags. I again cut out the tags with my Cricut, but used rub on transfers for the names of each coaster. For those that don't know, rub on transfers come packaged somewhat like stickers. You pull the transfer off with the front packaging as opposed to pulling it off of the back sheet like a sticker. The transfer sticks to the front sheet and you use something flat like a popsicle stick to gently scratch until the transfer has unstuck from the front sheet and stuck to your surface. I used some stickers, adhesive gems and washi tape to decorate these. I also put a little handwritten blurb on the back, this time mentioning that these were not heat-safe and could not be used as a trivet for something that had come directly out of the oven. The single coasters then each went in a bag with their own tag. And there they are all packaged up! I really love all the silly names I came up with for the coasters and think the packaging will make a big difference when trying to sell these or giving them as gifts.
What do you guys think of the packaging? Let me know in the comments below! Happy Sunday everyone! - Rebecca |
AuthorI am a 27-year-old crafter and baker from New Hampshire! Archives
July 2024
Categories |


 RSS Feed