|
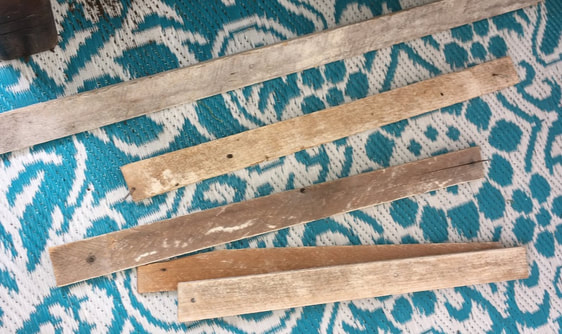
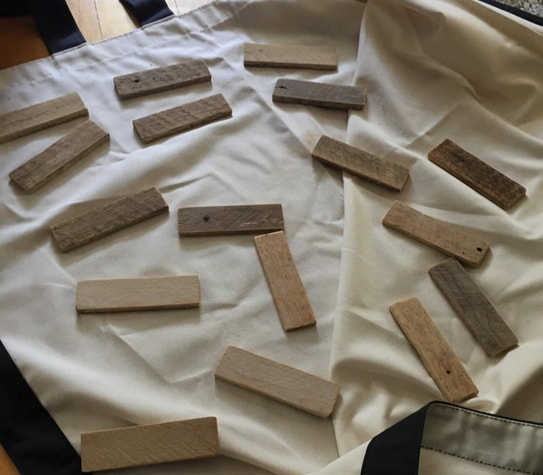
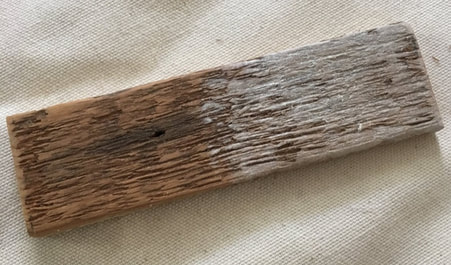
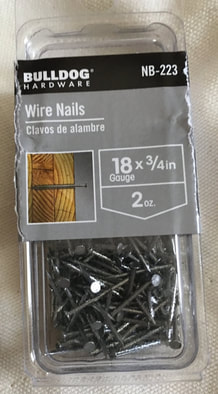
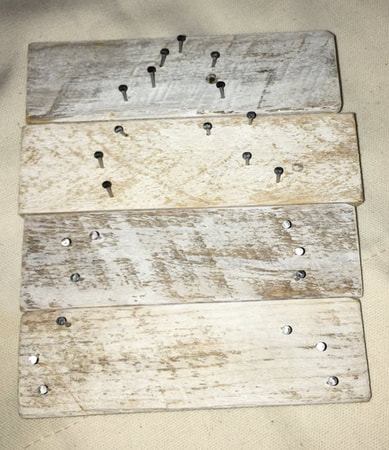
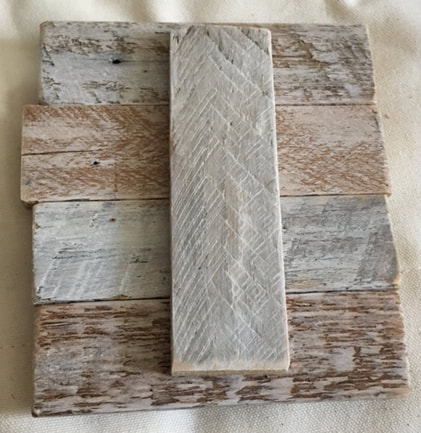
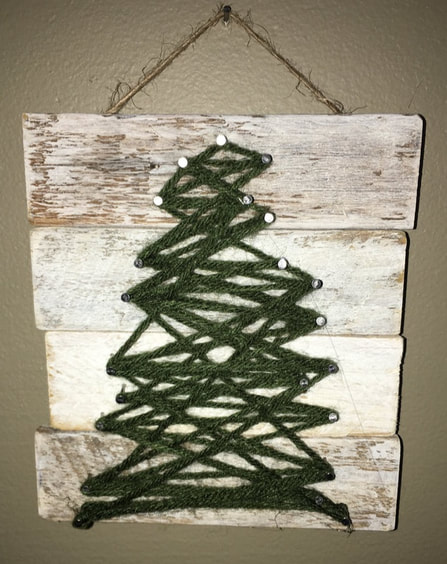
Hello friends! This week's craft is bringing the holidays around a little bit early. I want to start off by saying I am clearly not the first person to do string art; I got some inspiration from several Pinterest posts for the art I did this week. This project started off with some lath that my cousin had collected for my mother from an older house he was working on. Luckily she let me snag a few pieces! It is very important to sand lath aggressively as it is a hotbed for splinters. After sanding the lath, I marked off 5 inch segments and my wonderful father cut these pieces for me. I sanded each piece again after it had been cut to get rid of any leftover rough edges and then the pieces were ready to paint. I wanted to let the character of the wood pieces show through, but also thought that they would look more uniform with a bit of white paint. I didn't want to completely cover the wood, so I mixed white craft paint with a few drops of water to make a sort of white wash. I gave each of the pieces one coat of white wash on all sides and let that dry. Then it was time to add some nails. I bought these nails at Walmart. I was just looking for a short nail with enough of a head to stop the string from popping off. I lined up four pieces of the wood, one on top of the other to make roughly a square shape and then began to add the nails. I decided to add the nails before I glued all of the wood pieces together as it would be easier to make changes if it was not all one piece yet. When adding the nails I went for a generally triangular shape to mimic a Christmas tree, but wasn't worried about making the triangle perfect since I wanted a more organic shape anyway. Once I was happy with how the nails looked, I used some Gorilla Glue sticks in a hot glue gun to attach the pieces together. I flipped the boards with the nails over, added a line of hot glue down the middle of all the pieces, and placed another piece of wood down the middle as a support to hold everything together. Now it was time for the string! Technically I used an olive toned green yarn, but you could use any type of string that you had. I made several knots around one nail with the yarn to start off and then simply went back and forth throughout the nails with the yarn until I felt like there was enough there. There is no art to this, just go for it! Once I was satisfied, I tied off another knot to keep the yarn secure. I also dotted a tiny bit of hot glue on any knots I had made in the yarn so that they would not unravel or untie. Finally, I added two nails to the back of the whole piece and tied some twine to make a hanger. And here is the finished product! I ended up making three of these string arts and I love how they look. My boyfriend thinks a star at the top of the tree would like nice so I may end up adding some kind of star to each piece. I am still trying to decide what kind of star I would want so if you have any suggestions, leave them in the comments below!
- Rebecca
2 Comments
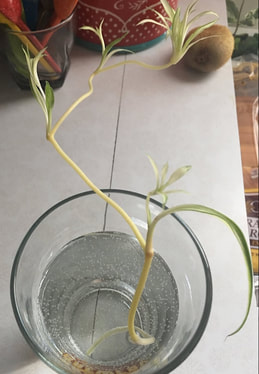
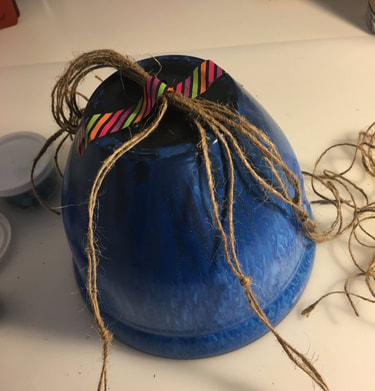
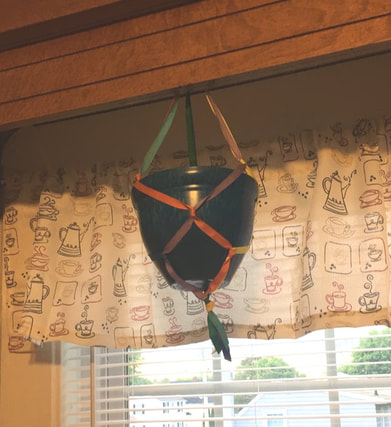
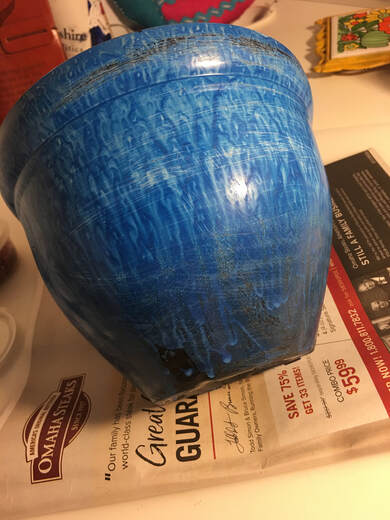
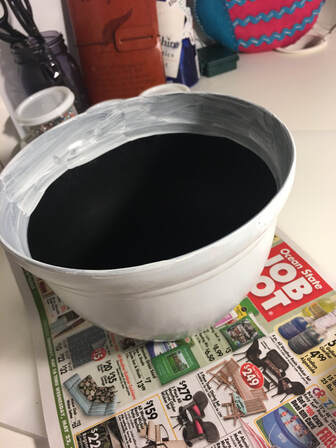
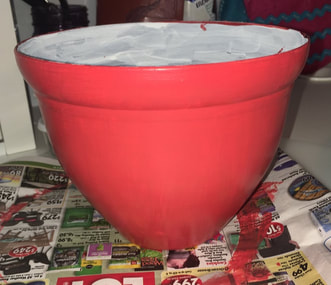
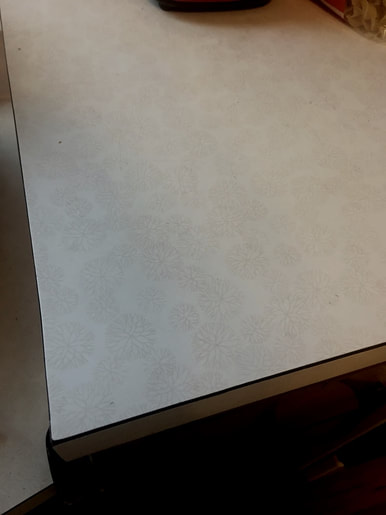
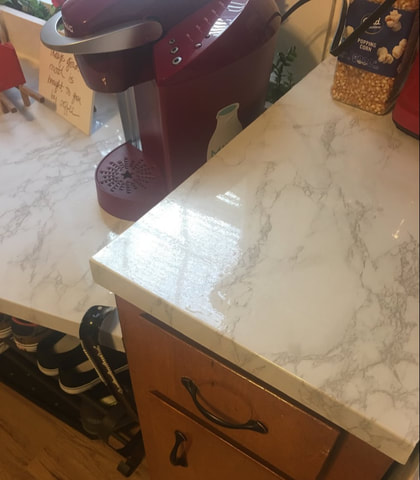
Happy Wednesday everyone! Sorry, I took last week off, but I am back now! I have to apologize again though because the title of this blog is a little bit misleading. I will indeed be talking about some kitchen DIYs, but these DIYs didn't go exactly how I planned. Much like how this blog post may not have been what you were expecting, sometimes craft projects don't go the way that you were expecting! So I had some big plans for this week. I just recently reorganized our bedroom and kitchen and wanted to finish the kitchen with a few easy (at least I thought easy) projects. The first DIY was repainting a plant pot and making one of those macrame plants hangers that every person in their 20s has in their home. And I am 22 and want one of them in my home. I just cut off a little baby from one of my parents' spider plants and wanted to create a wonderful hanging home for it once it grows a little more. However, I did not have any of the rope that is typically used to make these plant holders so I thought I could use a material that I already had to create a fun new take on the knotted plant hanger. I was very incorrect. First, I started with twine, but that just looked kind of silly because of how thin it was. Then I tried colored ribbon which worked a little better than twine, but still I think it looked kind of silly because the ribbon is a bit stiff and didn't hang the way I wanted it to. So this is when I admitted defeat and bought some premade macrame hangers from Amazon. 6 for just about $12. Thats better than all the stress of trying to make one myself! Its okay to be creative, but also realize there are some things that you just can't do! I did successfully repaint the plant pot, but I don't think I deserve much praise for that. The pot had a shiny blue paint on it so I sanded it down a little to get the paint to stick better. Then I went out on the porch and gave the pot two coats of white spray paint which allowed the red paint to show up much better when I applied that later. Red is our accent color in our kitchen which is why I wanted to paint it that. So yes I successfully repainted a pot. Good for me! The other project I am working on for the kitchen is recovering the outdated laminate countertops with marble contact paper. This is what our counters looked like before: Contact paper really humbled me I must say. It was not as easy as I wanted it to be. At all. I bought a smoothing tool (you also could probably use a credit card) and sharp box cutting knife to help me with this project. The best way to apply the contact paper is to lift off the backing in small sections at a time and smooth as you go. The idea is that by only working with a small piece at a time, the chance of air bubbles will be reduced. We love how the marble effect looks, but I think my first attempt at laying down some pieces wasn't perfect as there are more air bubbles than I would like left in the paper. These are a few pieces that I layed down and the effect of the marble is so pretty, but we bought some more contact paper so that I can redo the spots where I want to try again and finish the rest of the counter. Its hard to tell in the photo above, but there are quite a few air bubbles in the pieces above and I think I can do better! So this DIY is not a fail, but it is definitely a work in progress that brought me down a peg. Much like my mother, I have a strong belief that I can successfully complete every craft project I attempt so sometimes its nice to be brought back down to earth! Once I successfully lay down all of this contact paper (without bubbles), I think it's going to look great!
Have you guys ever started a craft project and had to change your plans or admit defeat? Let me know in the comments below! - Rebecca
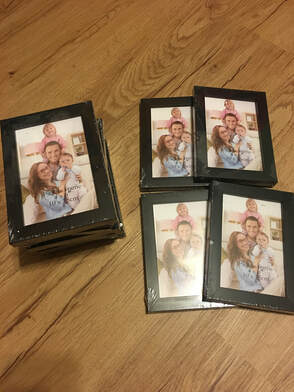
Happy Wednesday crafty people! This week I am here to talk about a super easy craft that I am so excited about: some mixed media collages! Collages are not really my kind of craft typically, but I decided to try some out and I am really proud with how they came out. I wanted the collages to be framed so that they could be the type of art that someone would put on their desk or on a shelf. I bought a pack of 12 4 by 6 black frames on Amazon and they ended up being just over $2 each. I have provided the Amazon link below to the frames that I bought; if you make any purchases through this link, I will receive some of the sale. You could also probably get frames this size at your local dollar store if you were willing to put in the effort!
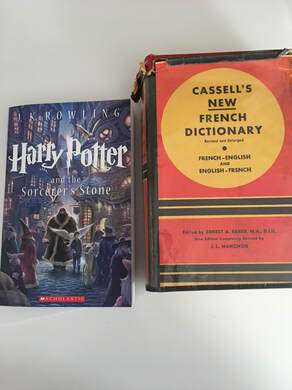
I really got the idea for the collages when my mom gave me some old National Geographic magazines that I had from when I was younger. Those magazines have such gorgeous glossy photos in them and I decided to cut out some images of things like wildlife and food. Then I thought it would look nice to have a contrast with these bright colorful pictures and thought that a good base for the collages would be book pages. I have a spare Harry Potter and the Sorcerer's Stone and an old French-English Dictionary that I have to use for crafting.
I know that some people won't notice and I am probably crazy for paying such attention to detail, but I made sure to pick book pages that went with the theme of each collage so that the words in the background of each frame held some significance. I will give you some examples of this as I show the details of a few specific collages that I made.
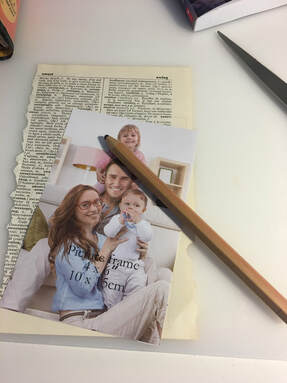
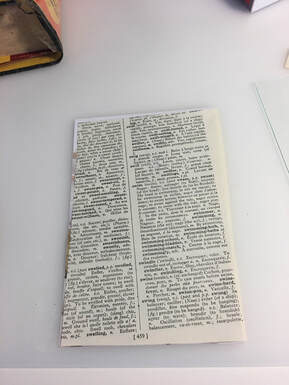
To start off each collage, I picked the page I wanted to use and then cut it down to size. I also glued the page to the stock photo insert that came with the frame to give it more support. For my first collage I picked the dictionary page that had the word "swim."
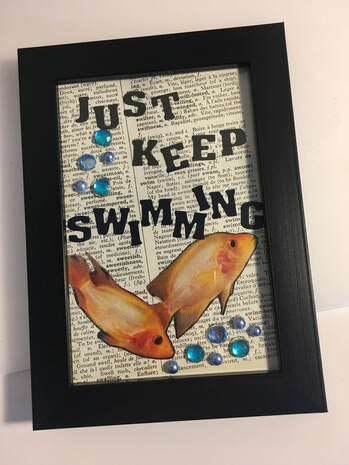
Then I attached one of the images that I had cut from the magazine, which was some fish, and using some letter stickers added the phrase "just keep swimming." And its that simple! I added the image and glass to the frame and then wanted to add some dimension to the front of the collage. Using both Gorilla Glue and Super Glue, I attached some gems to the front of the glass itself to simulate bubbles. I have a huge jug of gems because I'm crazy. Here it is!
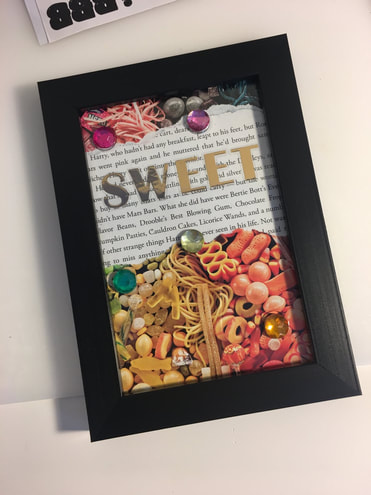
For another collage I used a page from the Harry Potter book which described several types of candy. I paired this with an image of candy from National Geographic and the word "sweet" in letter stickers. Similar to the collage above, I added some gems to the glass itself.
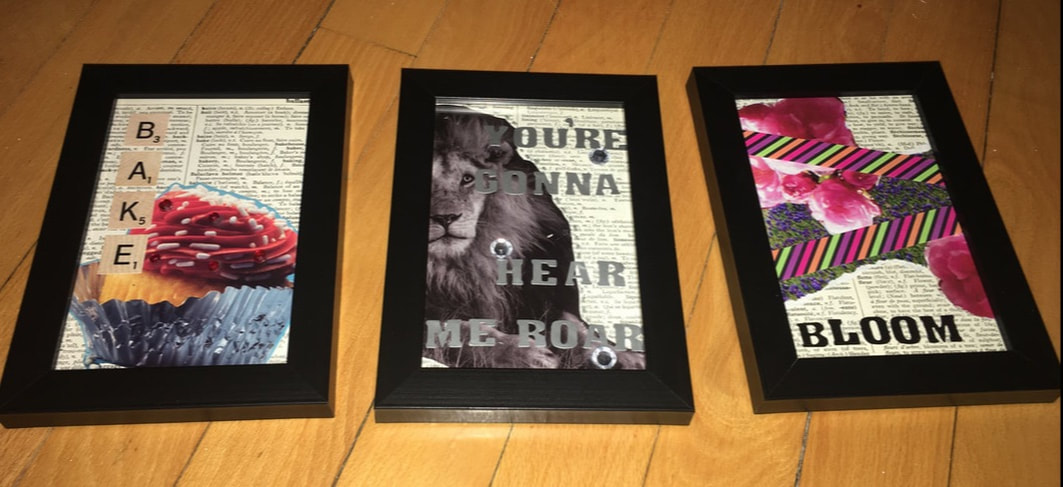
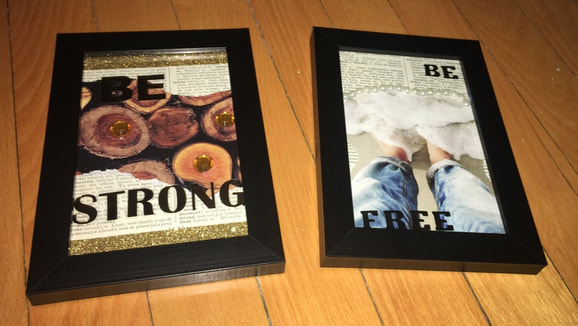
Collages are a great craft because there is no hard and fast rule to what you can or can't put into them. Use whatever paper or pictures you want and go crazy! Here are a few others that I made:
I have 4 frames left, so will be finishing up the last few collages this week. Let me know what you think in the comments below!
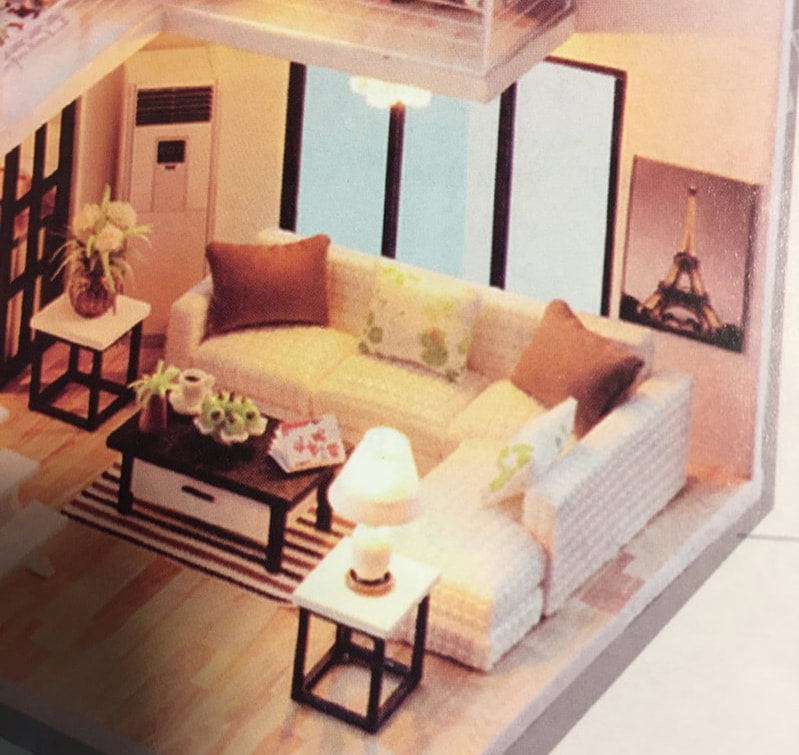
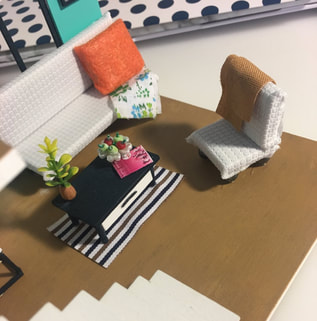
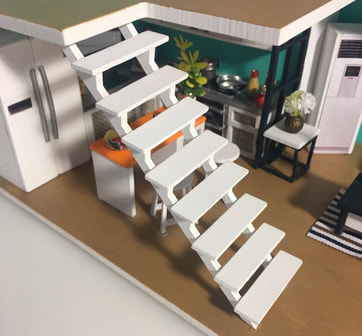
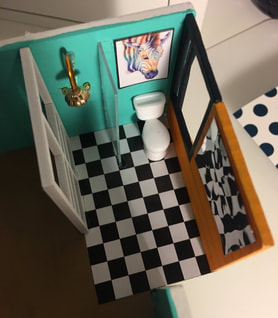
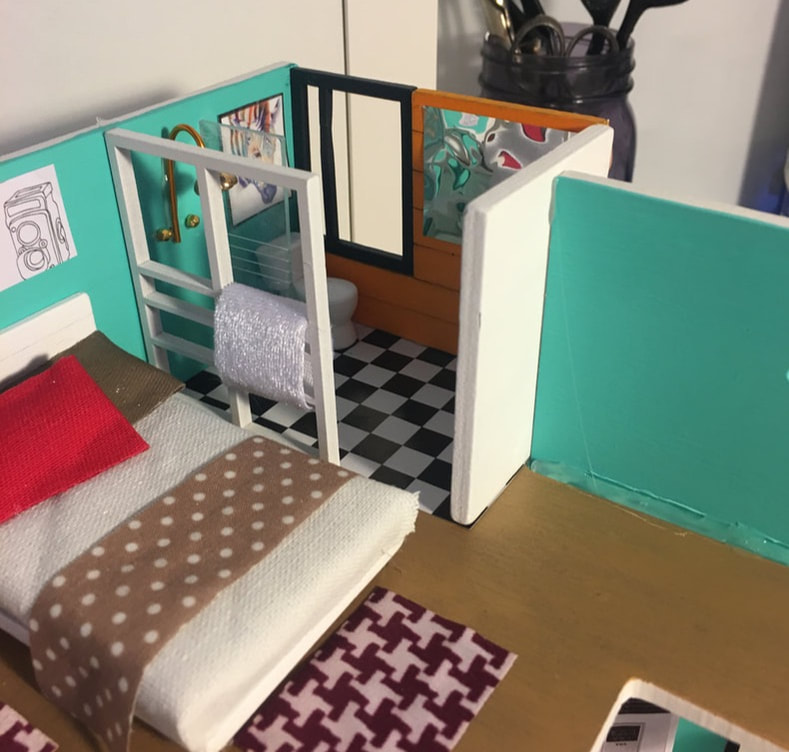
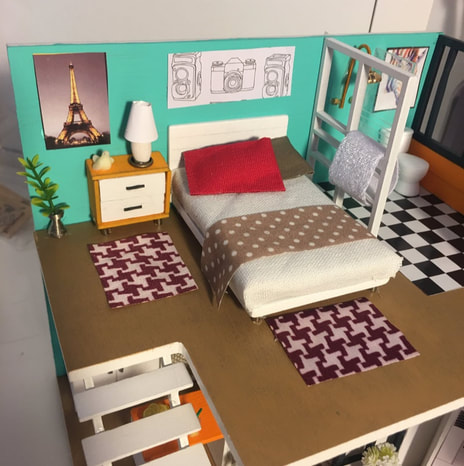
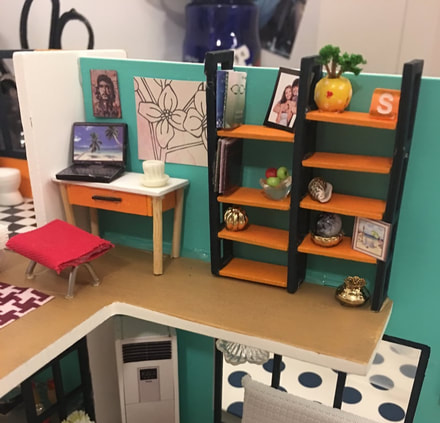
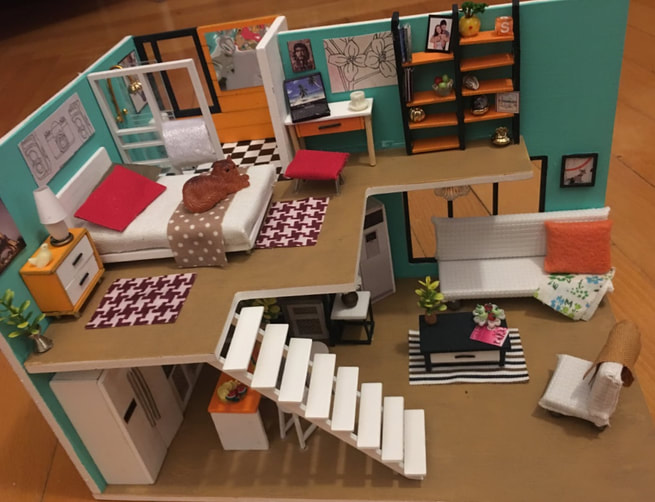
- Rebecca Hello friends! So today I am finally back with the part two of my dollhouse kit blog. I must admit that I am not 100% finished with the dollhouse still, but I am about 90% done so I thought it would be a good time to wrap up the blog and finish off the dollhouse when I am able to. So to start off, I had to finish up the first floor of the dollhouse. As I explained in my previous post, I had already done the entire kitchen, but now needed to finish up the living room. I went a bit rogue with the couch which was supposed to be a large sectional type piece, but I instead ended up making a more modern couch and chair combo. I did this for two reasons. The first is because its annoying to wrap fabric around small pieces of wood and I didn't feel like wrapping all of the pieces for the sectional. The second is because I wanted to have a small piece of furniture that could cover the hole in the floor where wiring for lighting was meant to go through. I decided not to light this dollhouse or use the pieces and cutouts made for the lighting to go into so I had to cover these up. After this I made and attached the stairs to the first and second floors exactly as the directions described. Next it was time to work on the bathroom. The shower was supposed to be much more complicated and was meant to be surrounded by clear panels that simulated glass, but I went for a simpler approach and just added one piece of "glass" to create a shower stall that shared the same floor as the rest of the bathroom. I also added a piece of shiny paper as a mirror and the toilet, artwork and beads and wire to simulate a shower head and knobs. The beads and wire were provided in the kit. I realized I had forgotten to add a wall piece between the bathroom and the rest of the second floor so I added that in and draped a small piece of fabric between the bedroom and bathroom to look like a towel. I haven't fully finished the bathroom and need to add the sink and vanity piece, but I am not finished with those pieces yet. After this it was time to work on the bedroom. I followed the directions fairly closely for the pieces but just made a few small changes like not adding the actual bulb to the small light on the side table and adding some different art to the walls. I also eventually stuck a cat on the bed because I do indeed have a bag full of small plastic cats. Don't judge me. Finally it was time for the little office section of the house. I made the desk and bookcase according to the directions but created a different chair for the desk. Instead of a full chair, I made a little stool, again because I was sick of wrapping fabric around little wooden pieces. So I do still have a few pieces left to finish for the dollhouse such as the vanity for the bathroom. There is also a border I have to add around the office section to simulate a glass wall. I also want to touch up the wall and floor paint in some places, but overall we are done here! Even when given a kit, you can make it your own and change it up a bit! Here is the (almost) finished product! Please leave any questions in the comments below!
- Rebecca |
AuthorI am a 27-year-old crafter and baker from New Hampshire! Archives
July 2024
Categories |
 RSS Feed