|
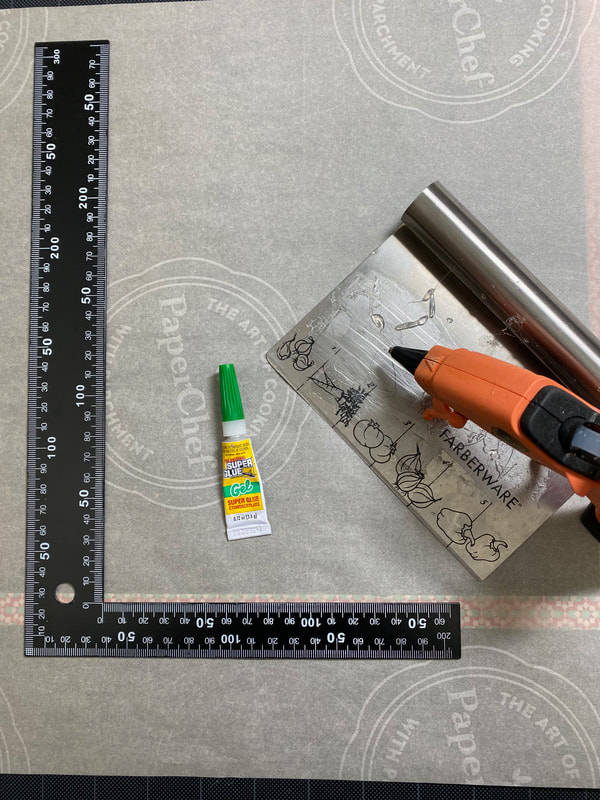
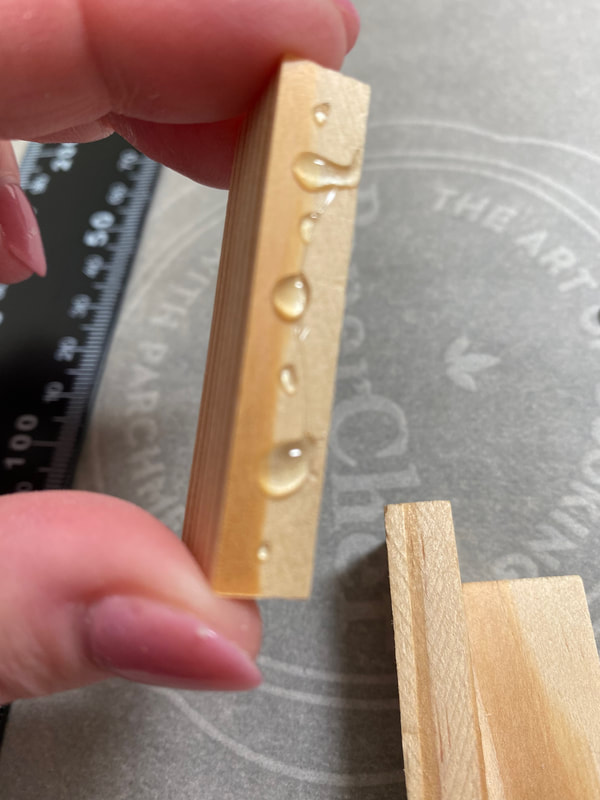
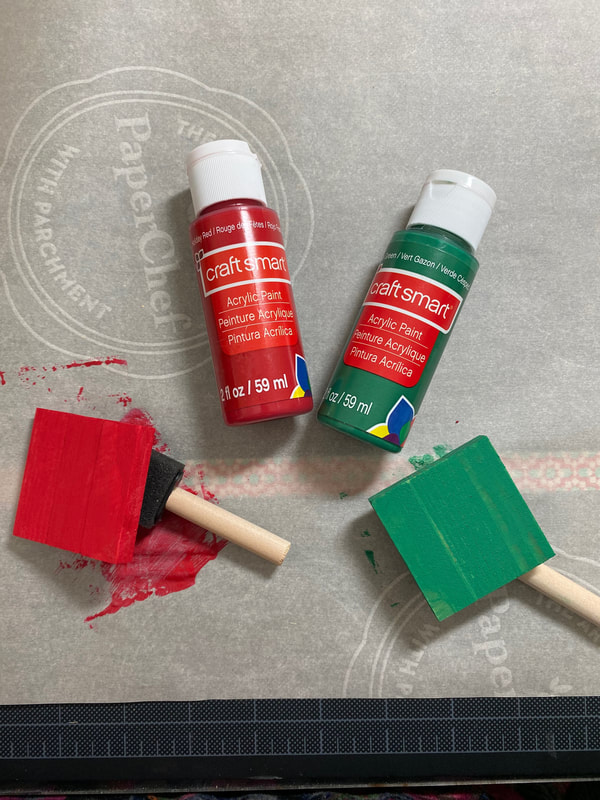
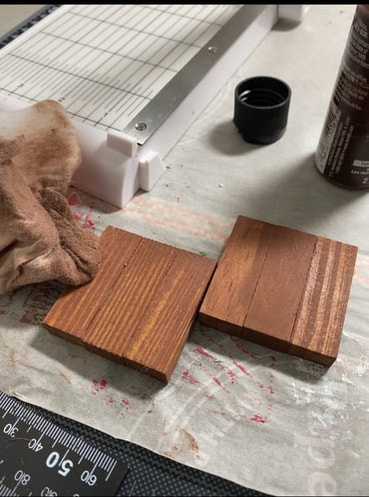
Hello Friends – It’s Suzanne, Rebecca’s Momma, and as always, I am happy to join you back on the PPP with some cute Christmas ornament ideas. These adorable ornaments are all made with a foundation of pieces from this “Tumbling Tower” game from the Dollar Tree. This is their version of a Jenga game, but the pieces are much smaller than a traditional Jenga game, as you can see. 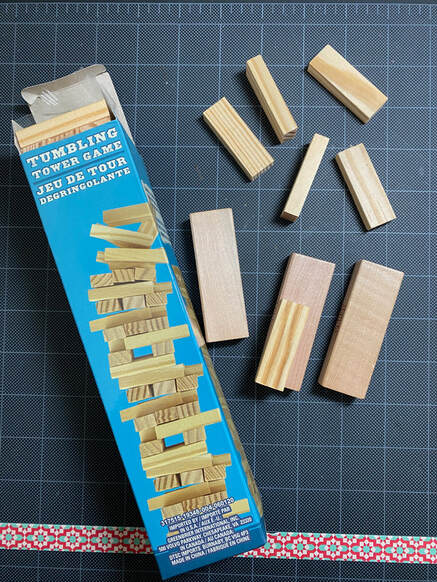 We are going to also use a few other items readily available at the Dollar Tree right now, as they are fully stocked with Christmas items. For less than $10, you can outfit your tree this year with a new batch of ornaments or whip up a few to gift to friends and neighbors. The first step to these ornaments is to glue the game pieces together into one of two configurations. For this step, I use a combination of gel super glue and a touch of hot glue. The hot glue gives an immediate hold while the gel glue dries and gives a long-lasting hold. I also use a metal square to ensure that the game pieces are lined up evenly.
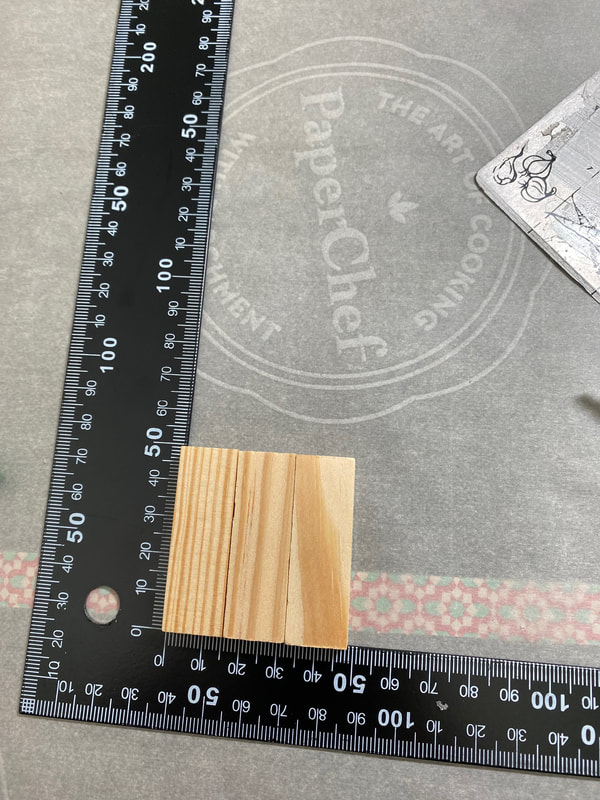
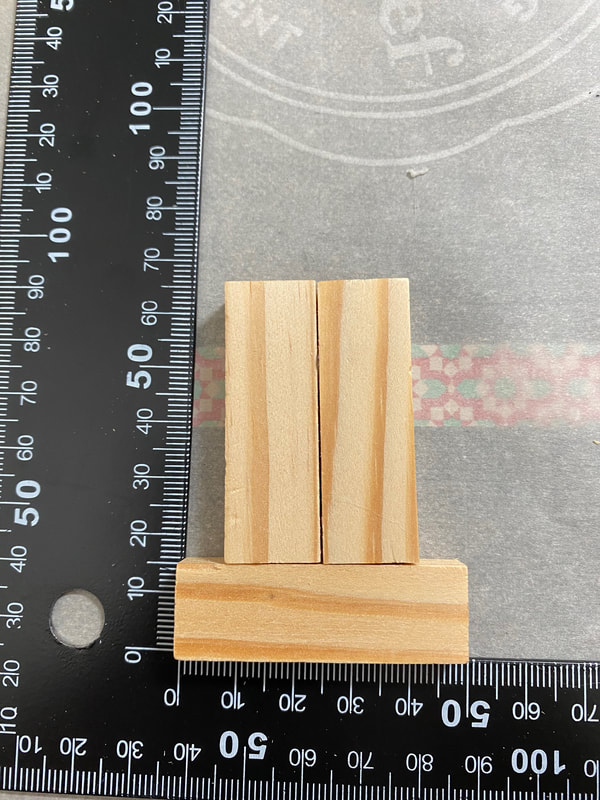
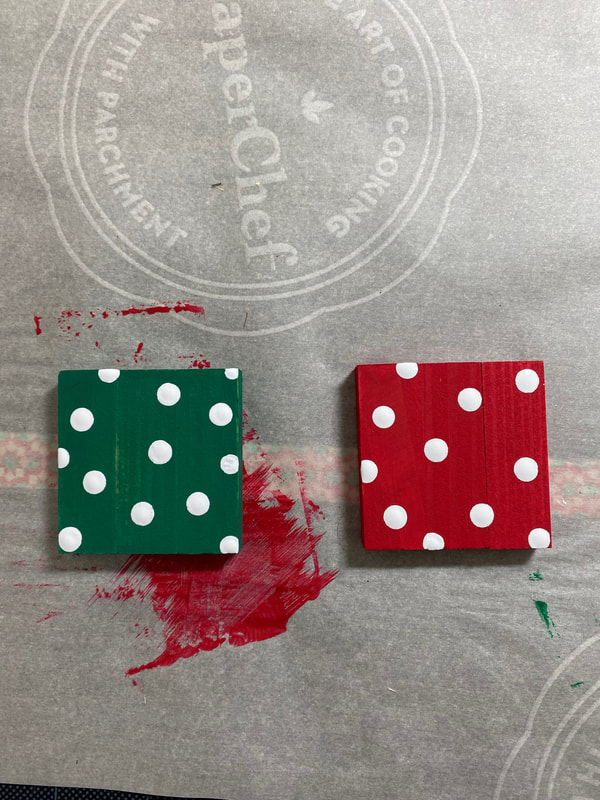
The first configuration is to glue three of the game pieces together side by side on their long, thin sides to form a small block. The second configuration is to glue two game pieces side by side and then glue one game piece across the bottom with the set of two centered on it.
Once these are all set, it’s time to get creative. Let’s start with the small blocks. For the first one, I paint one bright red and one bright green. Once the paint is dry, I add some polka dots in white.
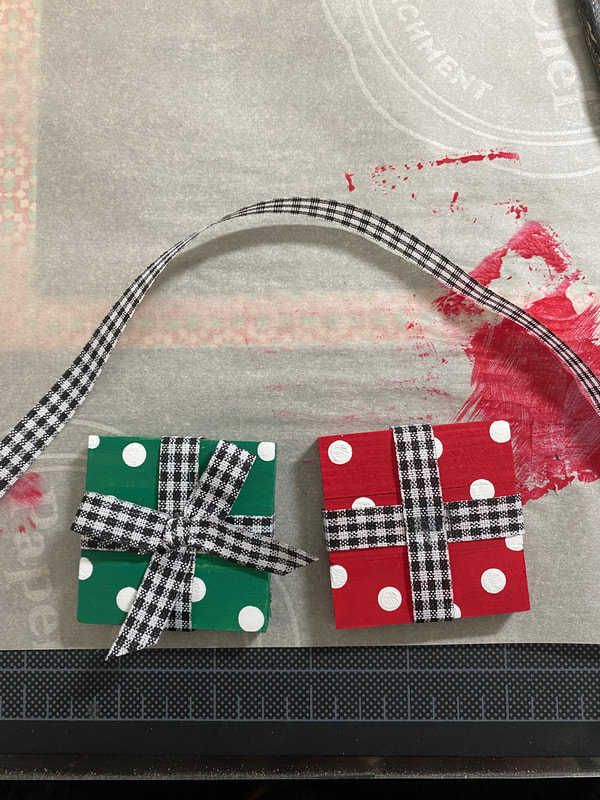
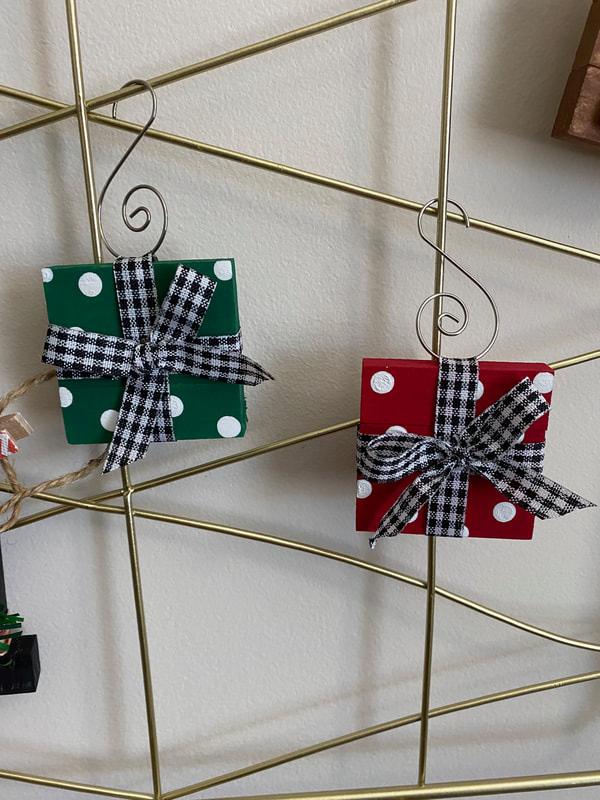
From there, I wrap some black and white gingham ribbon around the blocks like a package and add a bow to the middle. To hang these, I add a wire ornament hanger into the ribbon, and they are done.
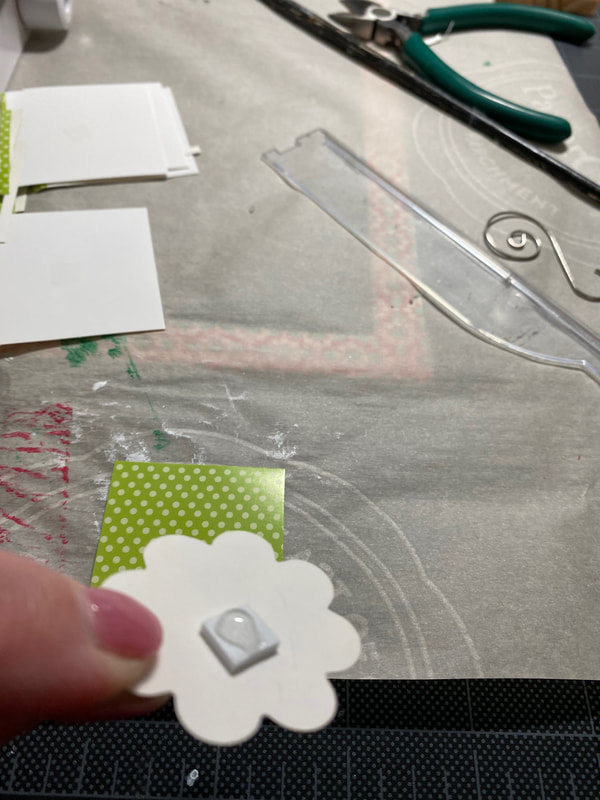
For the next set, I go back to the red paint and give two more of the blocks a coat of paint. For these, I’m using these gift tags.  Since the tags are 2 inches square, which is roughly the same size as the block, I remove the raised element, cut the colorful background down to 1 5/8 inches square and return the element to the center of the colorful background with a drop of hot glue to secure it.
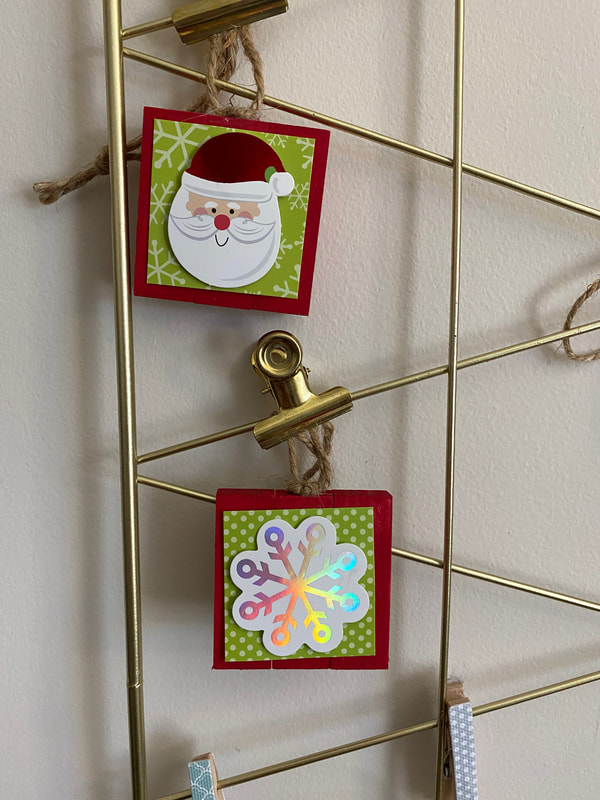
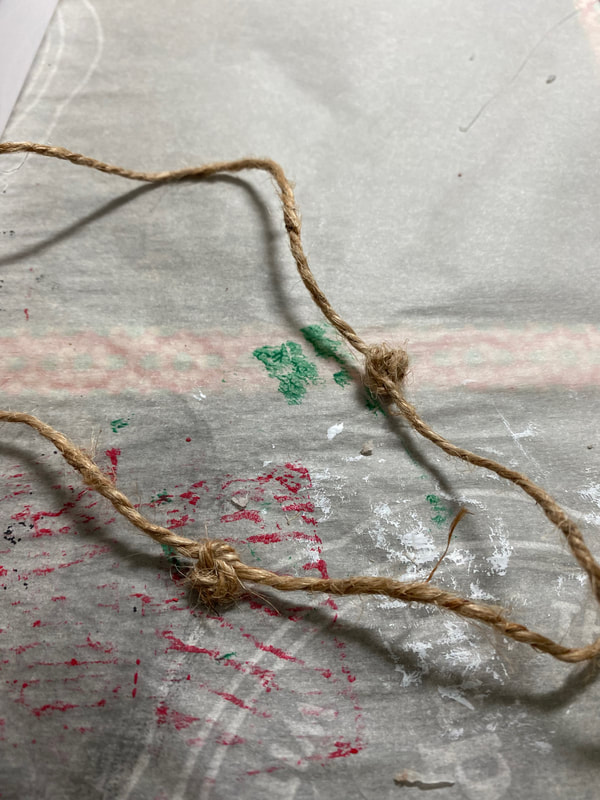
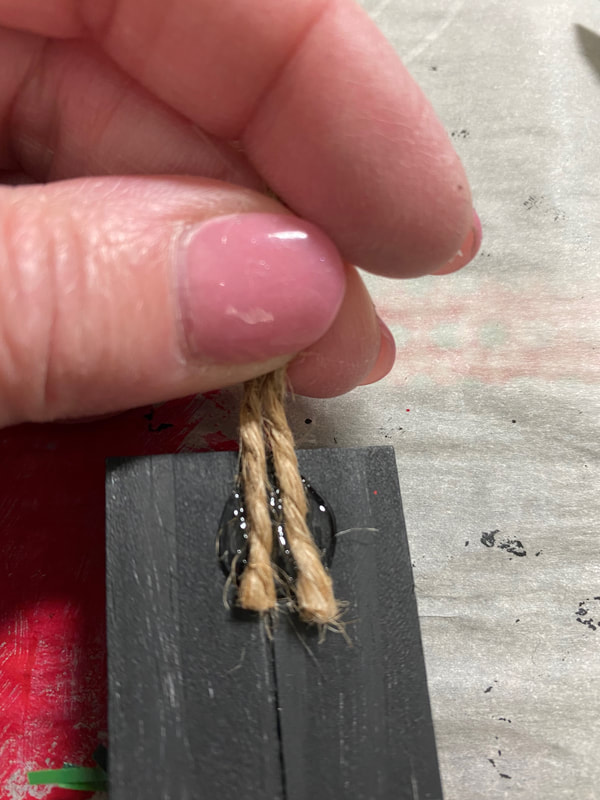
One gets glued to each side of the block and to hang, I tie a couple of knots into the center of a piece of jute twine and glue that to the center of the top of the ornament. The knot gives a little more surface area for the glue to adhere. I then tie the ends together for hanging.
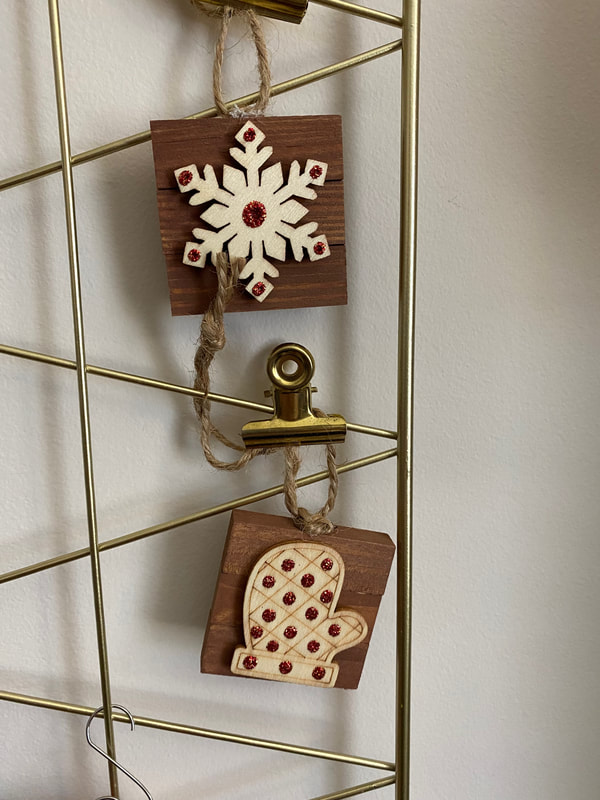
These next two are a bit of variation of the earlier set. Rather than a paint brush, I use a baby wipe to add brown paint to the block to give a stained look. These thin wooden shapes are also from the Dollar Tree. To give then a little sparkle, I add some glitter glue to them. These also get the knotted jute hanger like the ones above.
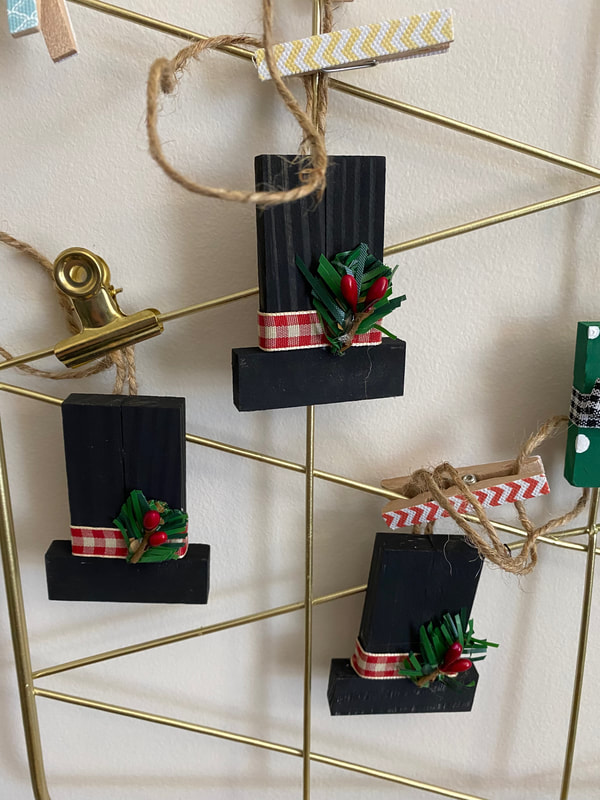
Next up is the other configuration. If you thought those looked like a top hat, you are exactly right! I paint those black and add a length of red gingham ribbon just above the brim. I also cut a tiny piece from a pine bough and a pip berry garland to decorate the hat. 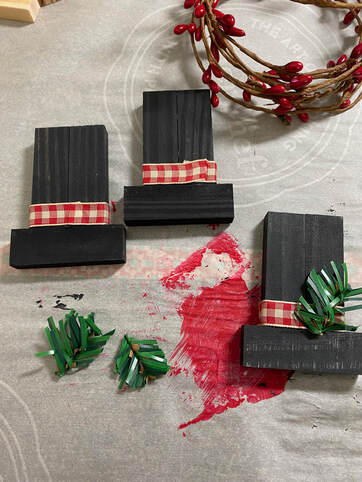 To hang these, I glue a length of twine to the back of the ornament. I also cover the ends of the twine with a small circle of cardstock so it looks neat.
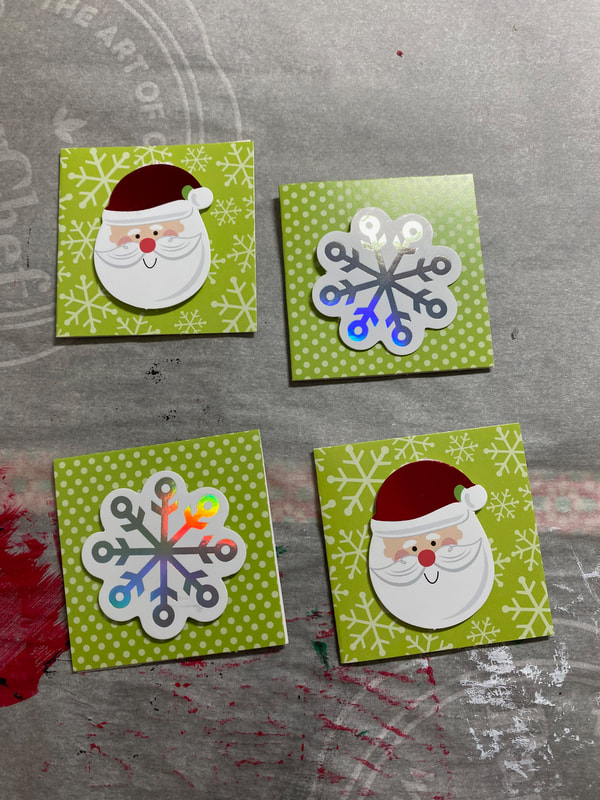
For the last ornaments (and by far my favorites) I paint one with a stripe of red, a stripe of peach and a stripe of white. The other gets one stripe of black and two of white. Can you guess where we are going here? 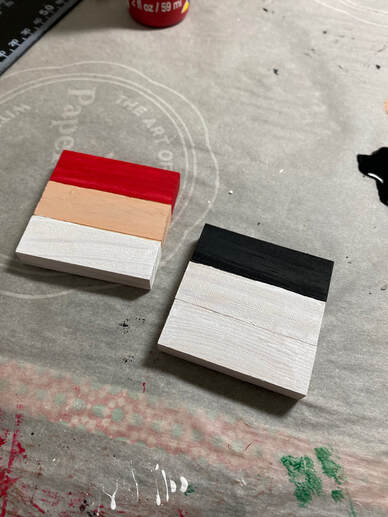 If you guessed Santa and Frosty, you are correct! For Santa, I just add some tan gingham ribbon and a snowflake sticker to define his hat and a furniture plug for his nose. The tip of a paint brush to make polka dots are all it takes to make eyes. Frosty just takes some black and white gingham for his scarf and a flat toothpick painted orange for his nose. He also gets a snowflake sticker on his cap and the polka dot eyes. Both get the same twine hanger glued to the back of them as the top hats above. 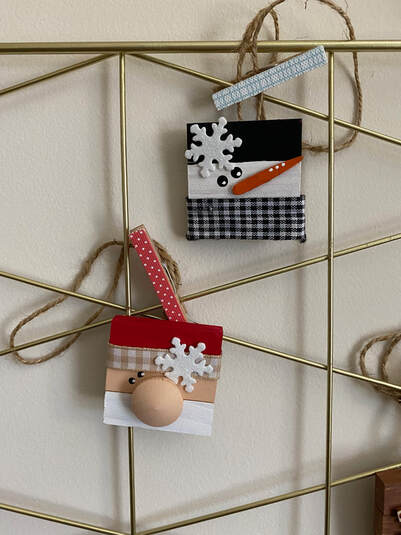 I hope these ideas have gotten your wheels turning. It’s never too early to start holiday crafting!
- Suzanne Thank you mom for the adorable ornament idea! Let us know what you think in the comments below! - Rebecca P.S. Today's photo on the homepage is from Pixels user Ketut Subiyanto: www.pexels.com/photo/set-of-wooden-blocks-for-jenga-game-4473494/
1 Comment
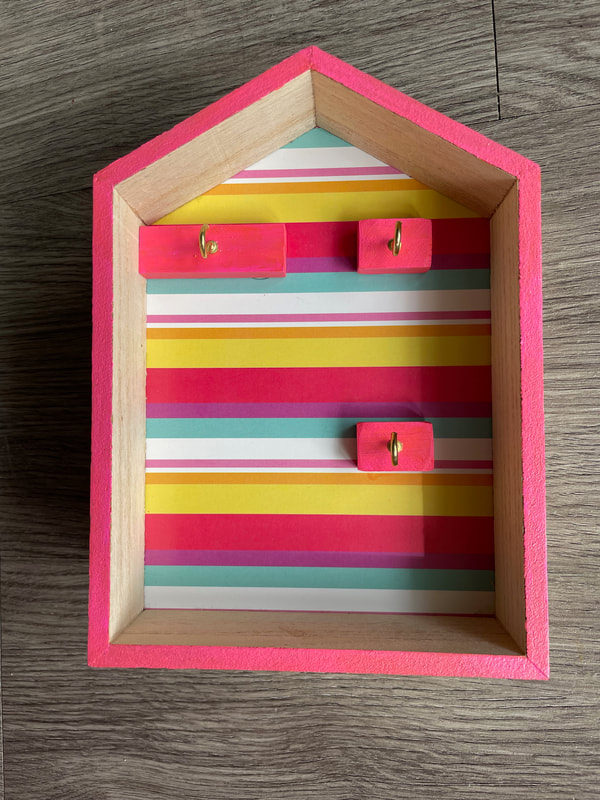
Hello friends! So I would love to be able to tell you that I got all the perpetual calendars completed, but alas that is not the case. The little trunks are still in progress but whenever those are completed and up on the Etsy shop I will let you guys know! So for today, I wanted to show some more in depth photos of the house calendars with some additional information on how I made them. For a refresher on the first steps to this project, you can check out part 1 here: perpetual-calendars-part-1.html So here is calendar one:
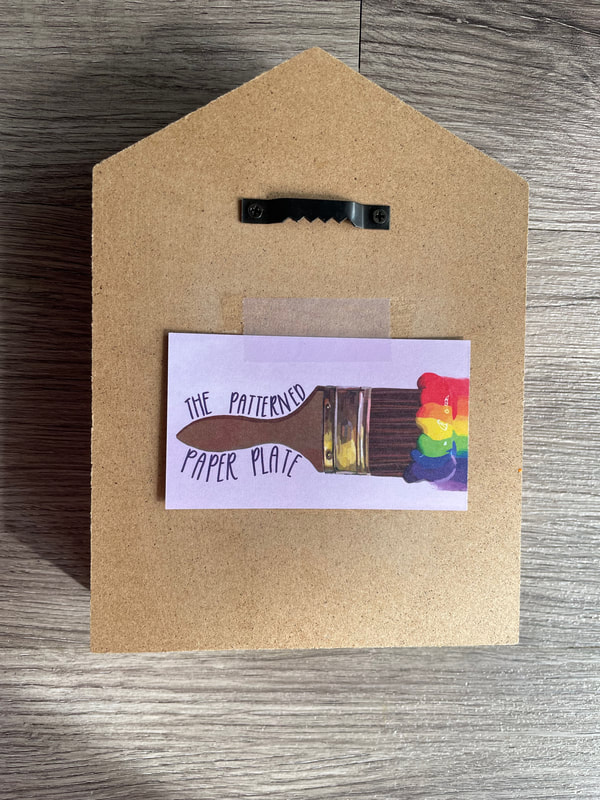
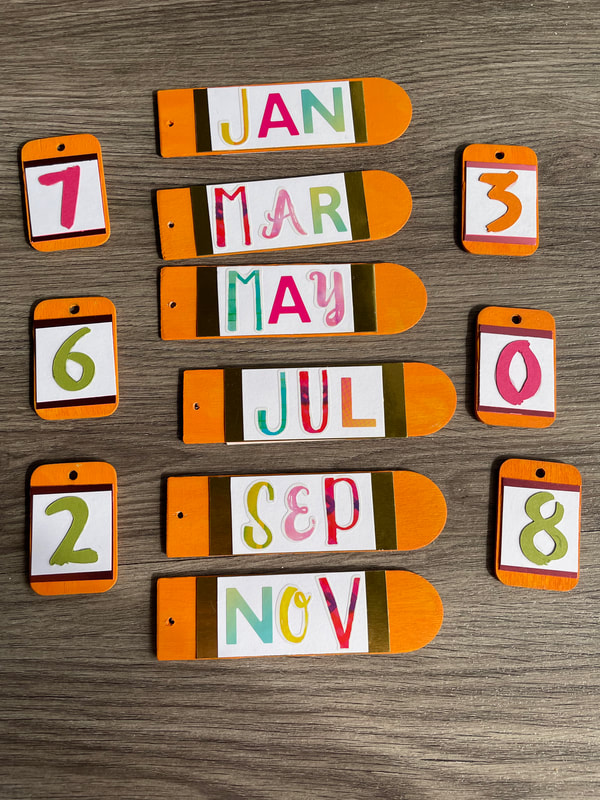
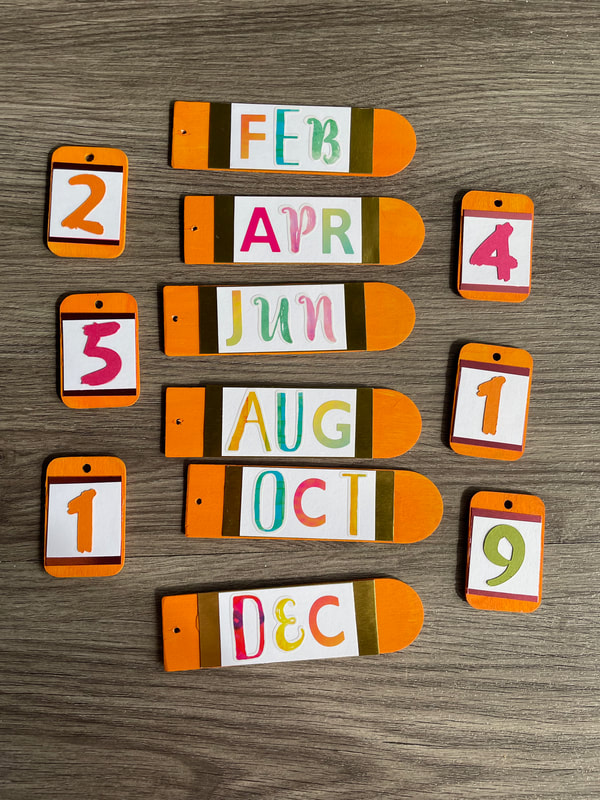
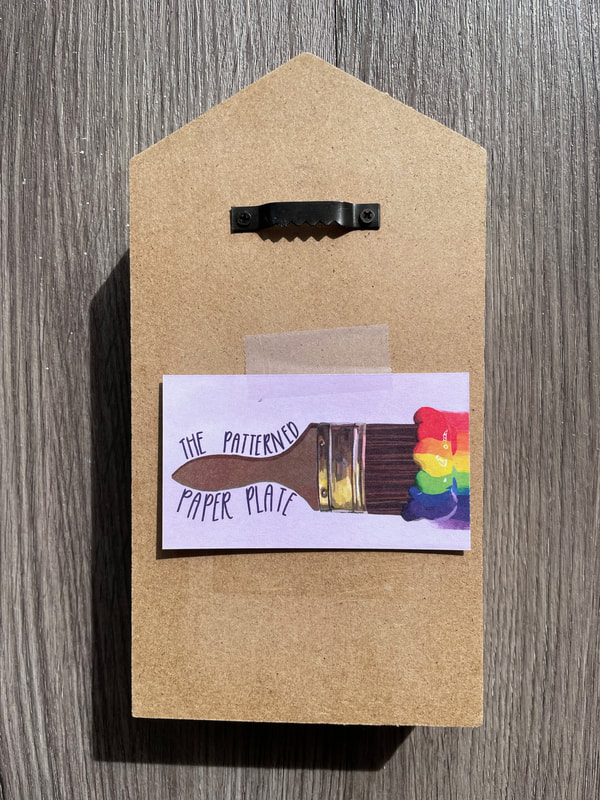
The striped background was already part of the house shadow box, so I went ahead and painted the edges of the house and the wooden blocks for the cup hooks a matching pink. I also attached a sawtooth hanger to the back. For the tags, I painted them a matching orange color. The months tags have a gold shiny paper as a layer, while the day tags have a pink shiny paper. I then used colorful stickers for the month tags, and cut out paper numbers for the day tags out of matching paper using my Cricut. They are all reversible so here are both sides:
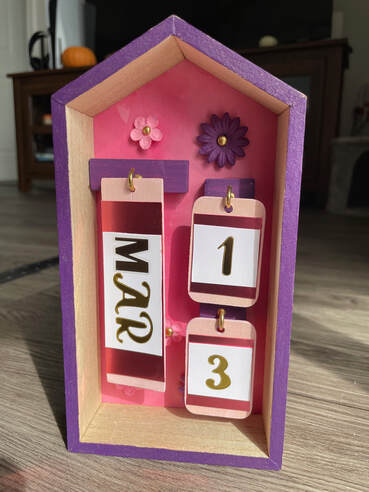
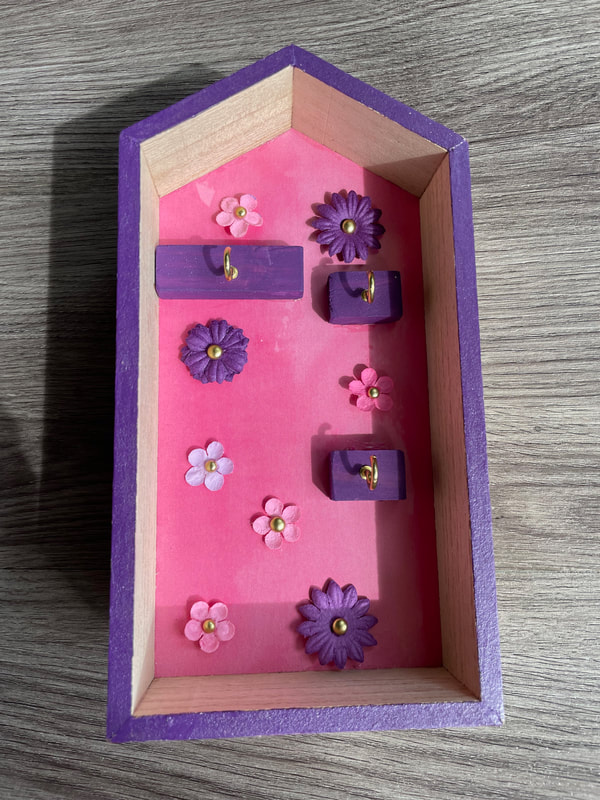
And here it is in action! It can either be hung on the wall with the hanger or stand up on its own on a table/desk. 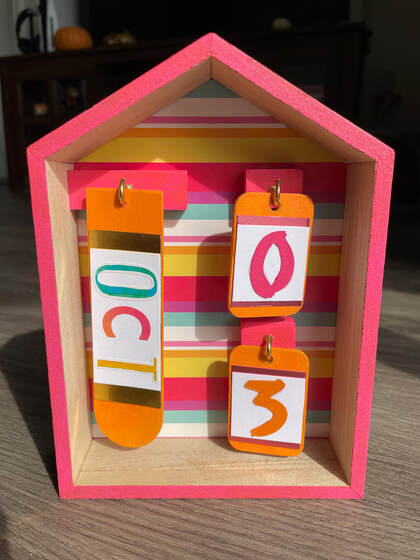 Calendar two! Same idea, the pink paper was already there so I painted the edges and blocks purple while also adding some flowers inside and a sawtooth hanger to the back.
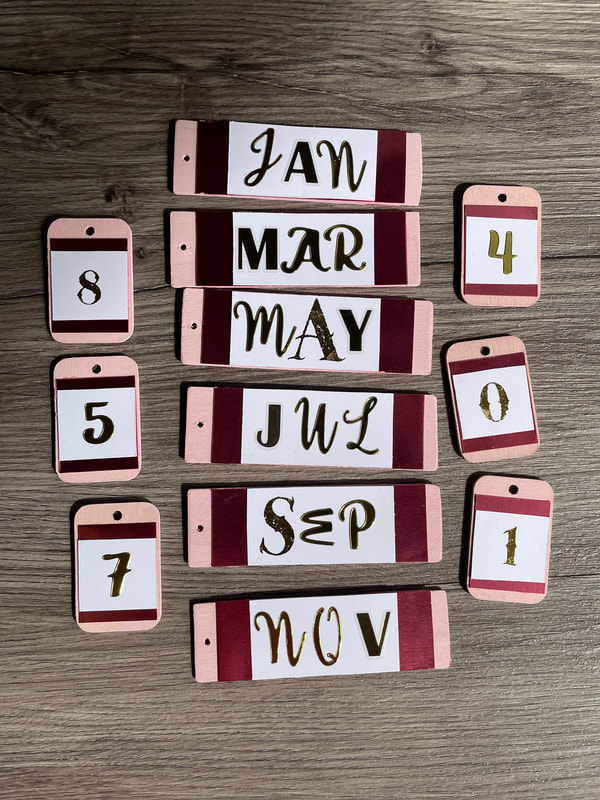
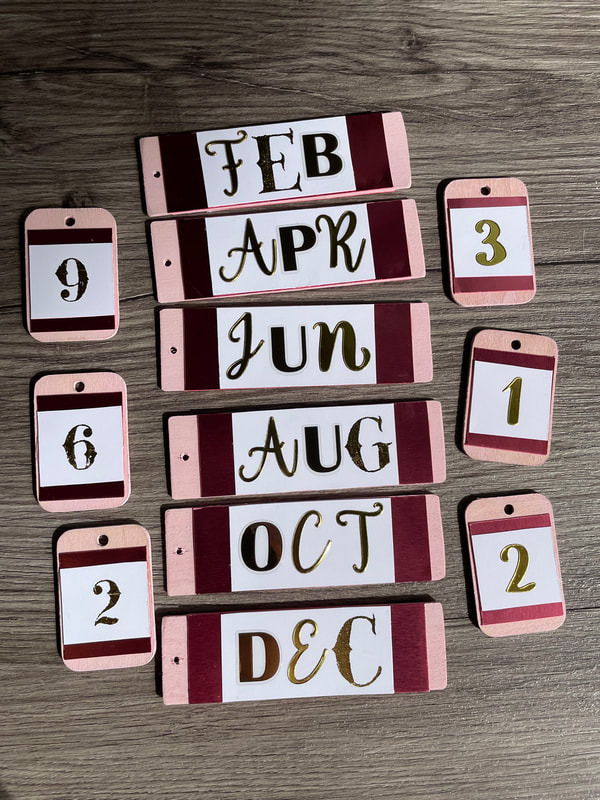
For these tags, I painted them a pale pink and used shiny pink paper as a layer, then finished with gold stickers/rub-ons for the months and days. I love how the gold looks on the tags!
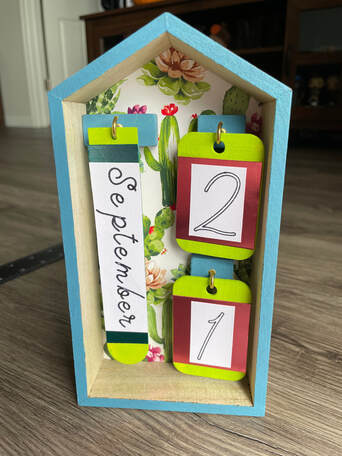
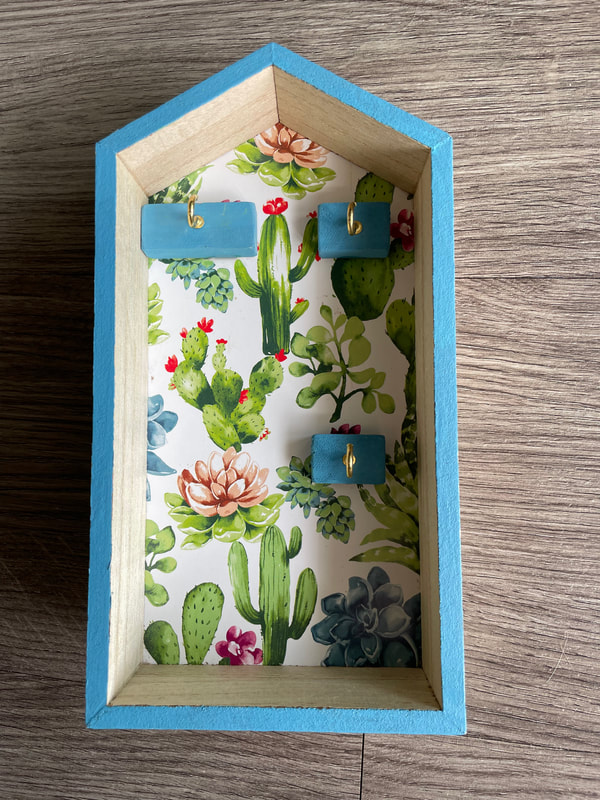
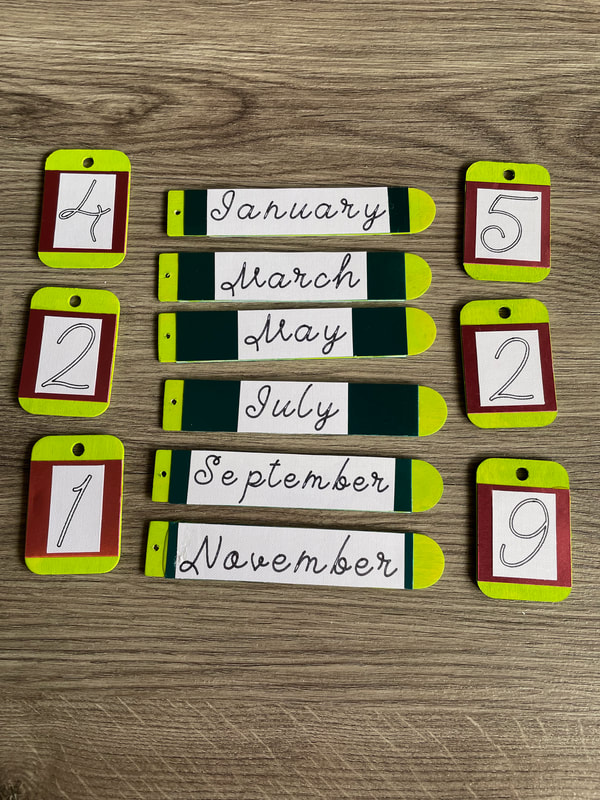
 Number three! I loved the succulent/cactus paper this box already came with so I painted the edges and blocks a fun dusty blue to match and added the hanger to the back.
For these tags, I painted them a bright green, used shiny blue paper on the months, shiny pink paper on the days and then finished them with words/numbers that I drew out using my Cricut.
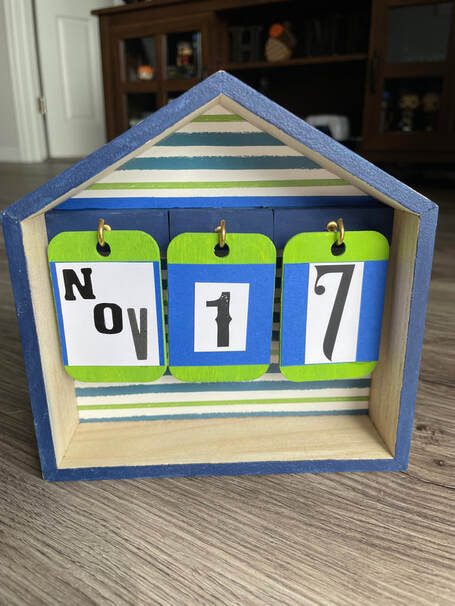
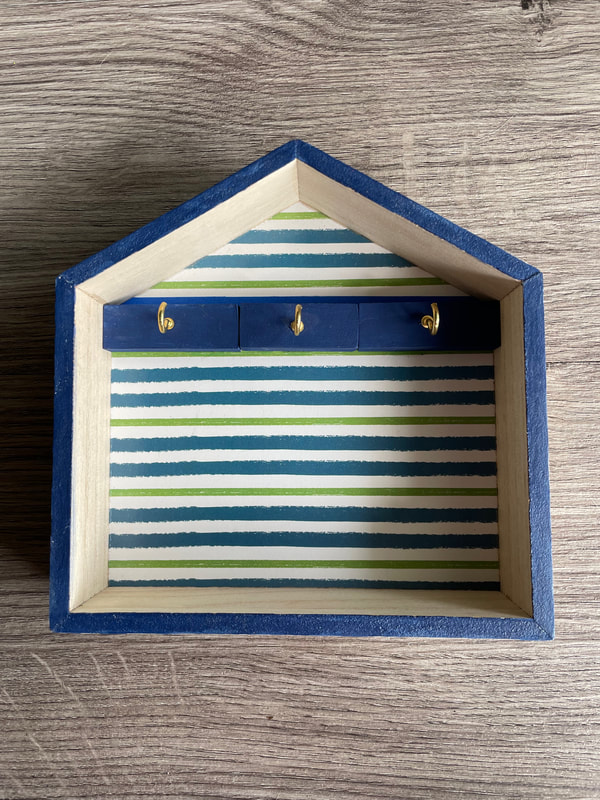
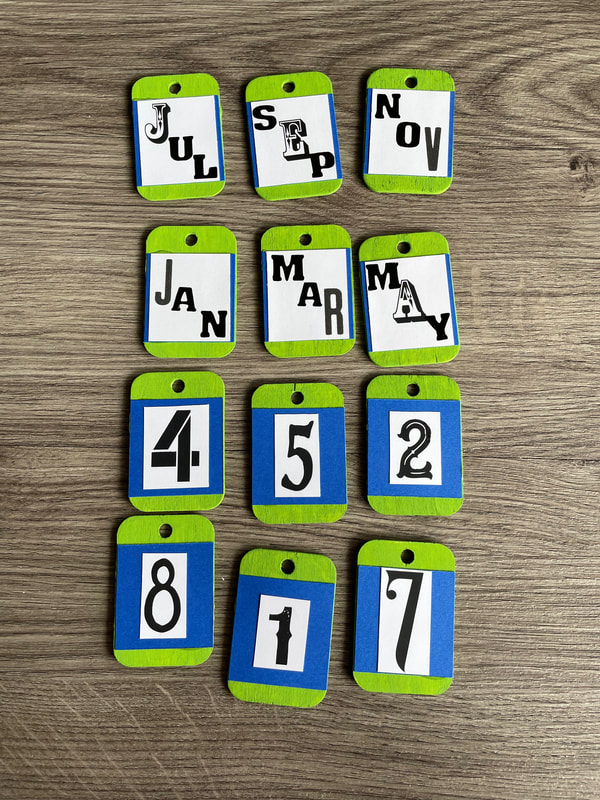
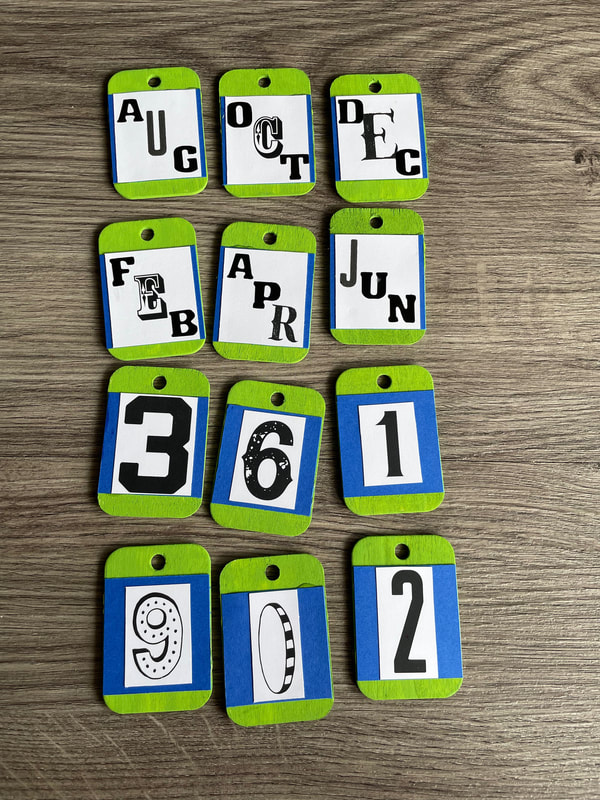
 And here's the final one! I did the edges and blocks blue to match the striped background and added the hanger on the back.
For the tags, I painted them lime green with blue paper as a layer and then black sticker/rub-ons for the months and days.
 And there they are! These calendars are an idea I've had in my head for a while and I'm so happy to see them finished. If they weren't making sense to you before, I hope they are now! Just as an FYI, they are over on the Etsy shop for sale if you are at all interested. You can check it out over on my shop tab. Happy Monday everyone!
- Rebecca Today's photo on the home page is from pixels user Pixabay: www.pexels.com/photo/calendar-conceptual-data-date-272976/ |
AuthorI am a 27-year-old crafter and baker from New Hampshire! Archives
July 2024
Categories |


 RSS Feed
Proudly powered by Weebly