|
Hello friends! So the past few weeks I've been doing some crafty things, but have been very bad about taking pictures. So please excuse this shorter blog with more words and less pictures! A few blogs ago I explained how I tie-dyed some socks and made "sock boxes" that were ready to sell gifts. Well I had more of the paper boxes I used to package up the socks and started to think about other things I could package up in boxes as ready to go gifts. I've found that having things already packaged is a big selling point for people and they like to be able to buy a gift they hand to someone as is. The first idea I had was inspired by my friend Cara so please go check out her Etsy shop: www.etsy.com/shop/SeptemberSunStudio?ref=shop_sugg She recently made some wool wall hangings and I purchased one which now hangs on my wall next to my desk. She has more on her shop and they are gorgeous!! I was so in love with this wall hanging that I decided to try a mini version that is far less impressive than Cara's. I cut down some small wooden dowels to make sure they would fit in the boxes and then cut some strands of yarn to wrap around. I trimmed the bottom of the yarn on each hanging and added some string on the top for hanging. I also tied a knot around each yarn loop and added a tiny bit of Super Glue to the back to keep it from unraveling. I used a small comb to comb out some of the yarn and give it a fluffier look. Again, these are the simplest wall hangings known to womankind, but Cara inspired me to give it a try on a tiny scale! 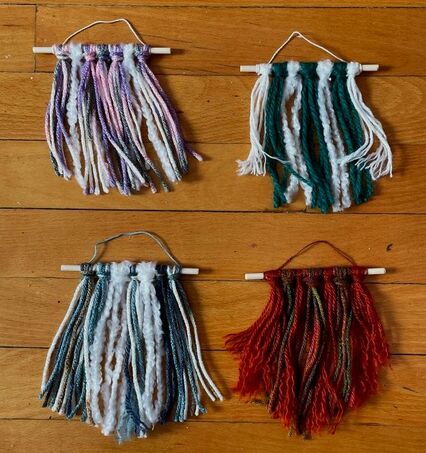 I was in love with the idea of the mini art theme so I then broke open some tiny 3 inch by 3 inch canvases that I had bought and made some matching acrylic pour paintings. I've done a few blogs on acrylic pour painting so check those out if you would like to learn more about the process! You can search acrylic pour painting in the search bar at the top of the page to find those. 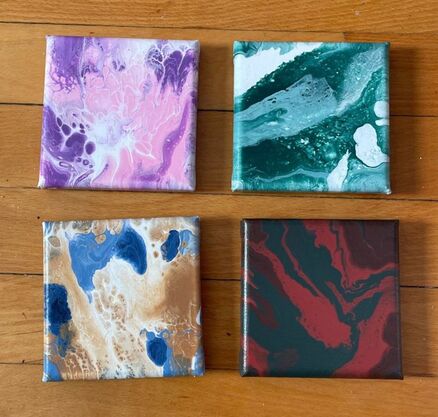 I'm going to package up the matching hangings and paintings together in a box and sell them as a mini desk art package. I think they are a cute bundle that you would buy someone to spice up their work space or craft desk! I also want to make a few boxes each with tea supplies and then a few that are a relaxation/spa bundle. For the tea boxes, I have some honey sticks to add and will also add a few tea bags to each box. I am working on coasters so that I can put a coaster in each box and also made some little tea time tags out of air dry clay that I stamped into. With the coasters, I am going to add some felt to the bottom and splatter some paint for a galaxy feel. I know galaxy and tea doesn't really go together, but I'll find a way to make it all work! I still feel like these boxes will need something else, but am trying to decide what that "something else" is. 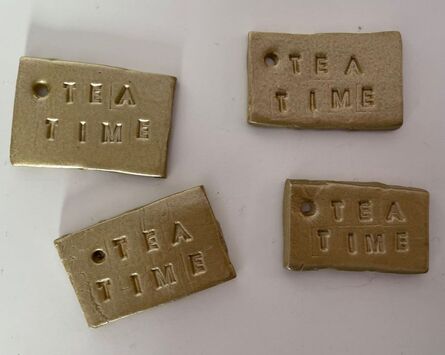 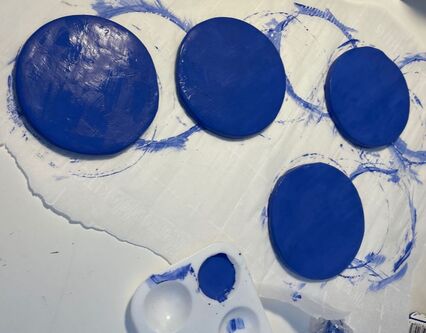 And finally, I also want to make a relaxation/spa bundle box. I started out by using some jars to make mini candles using leftover wax I had from current candles I own which have burned to the end of the wick. So far these boxes only have little candles and matches. I'm trying to decide if I want these boxes to be more about relaxing smells and add some incense and a DIY incense stick holder or if I want to go towards the spa vibe and maybe add some DIY sugar scrub and things like that. If you guys have any suggestions, please leave them in the comments below! 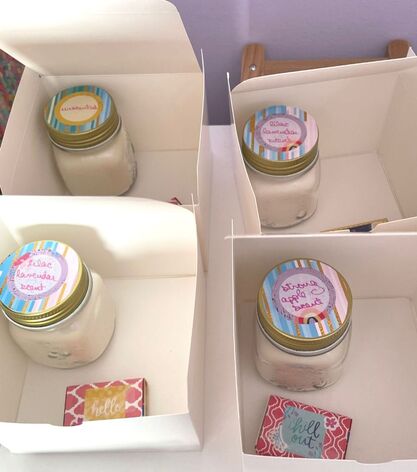 Sorry that this blog is a little more informal, but I hope it gives some ideas of small gifts that you could make to give to someone or try to sell. Go be creative people! And please, please, please check out Cara's Etsy shop because she has amazing wall hangings, paintings and stickers!!
- Rebecca
0 Comments
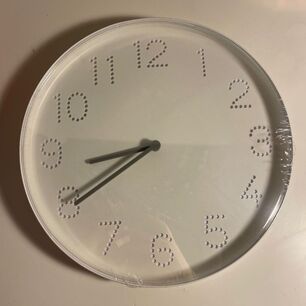
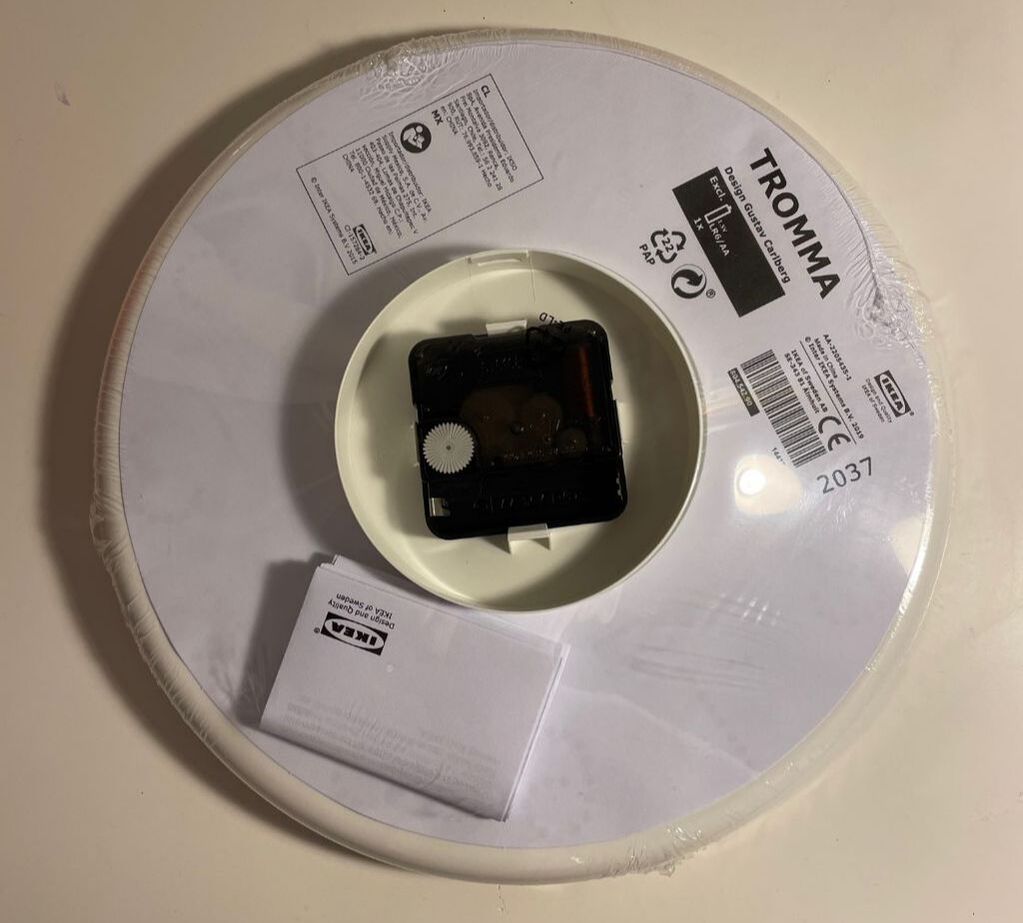
Hello friends! Today I am here to show you how you can upgrade a cheap IKEA clock and give it some new life. I was first introduced to this IKEA clock and the idea of DIYing it by a Youtuber I watch, Tina Le. Give her video a watch below: After watching Tina's video, I was all extremely excited about this Tromma IKEA clock which is $2. TWO DOLLARS! As someone who had made clocks in the past, that is a very good price, even if you are just buying these clocks for the mechanical parts themselves. So naturally I went and bought 10 clocks . . . 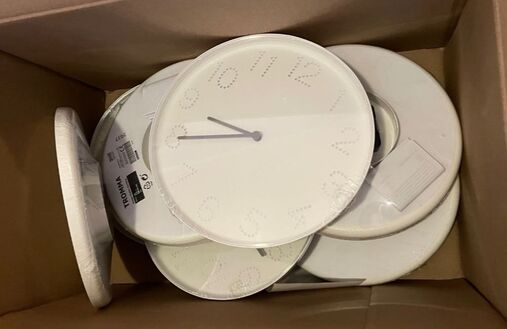
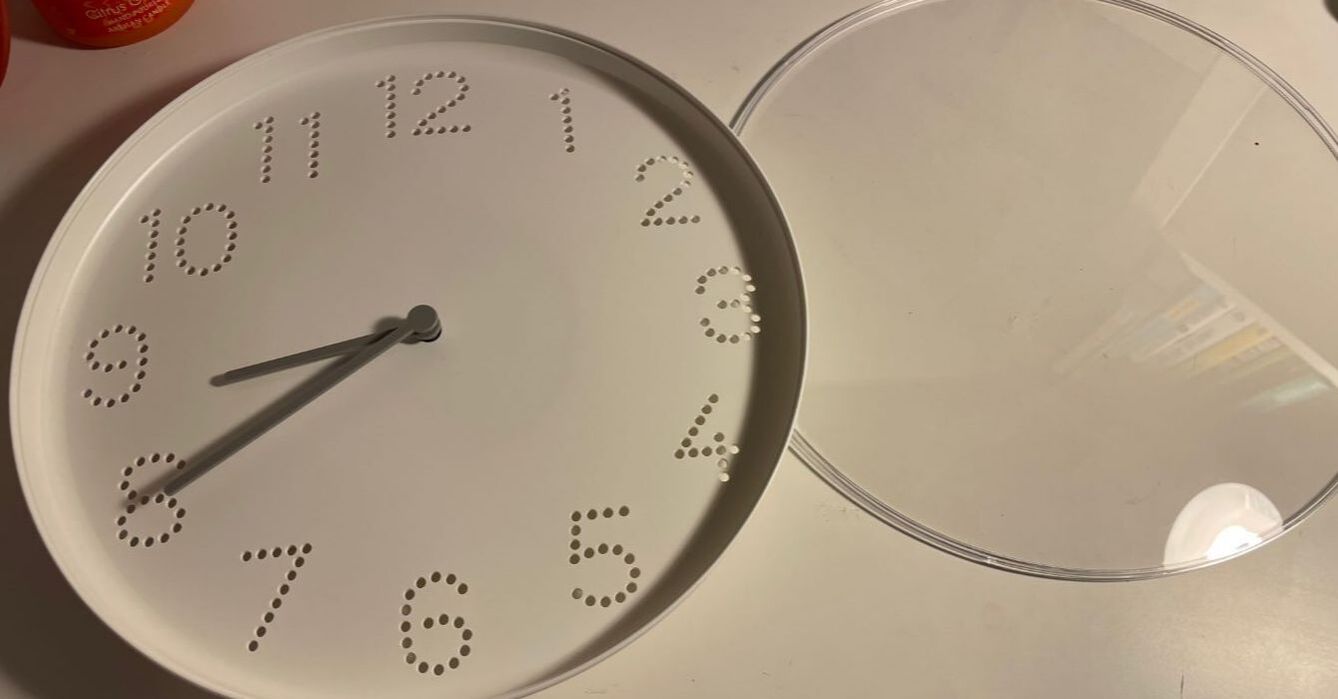
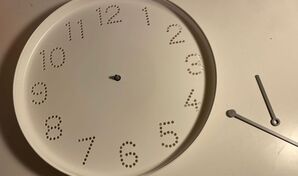
With these clocks, it is very easy to gently pop the plastic cover off, remove the hands and HAVE FUN!
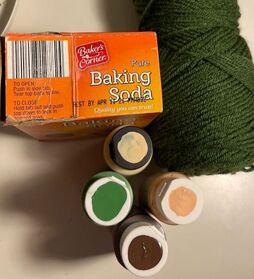
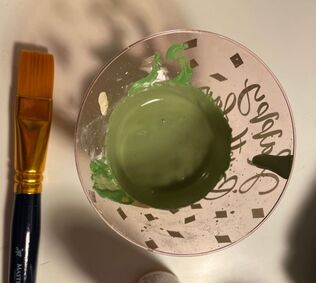
I'm going to share the process of one clock DIY I did and then give a quick overview of the others. For this first clock, I decided to use some baking soda paint on the plastic for better coverage. For those of you that don't know, baking soda paint is a hack to make chalk paint at home. Chalk paint is a thicker, matte paint that typically sticks to plastic and glass better then acrylic paint and provides better coverage. Chalk paint can get expensive so a hack is to mix acrylic paint with baking soda. I have seen so many different iterations of this hack with a wide array of ratios. I say add as much baking soda as you want. If your paint isn't thick enough, add more and if you've added too much, thin it out with some water. I went for a deep green color that would complement the dark green yarn I was going to use on the clock as well.
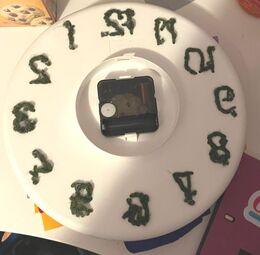
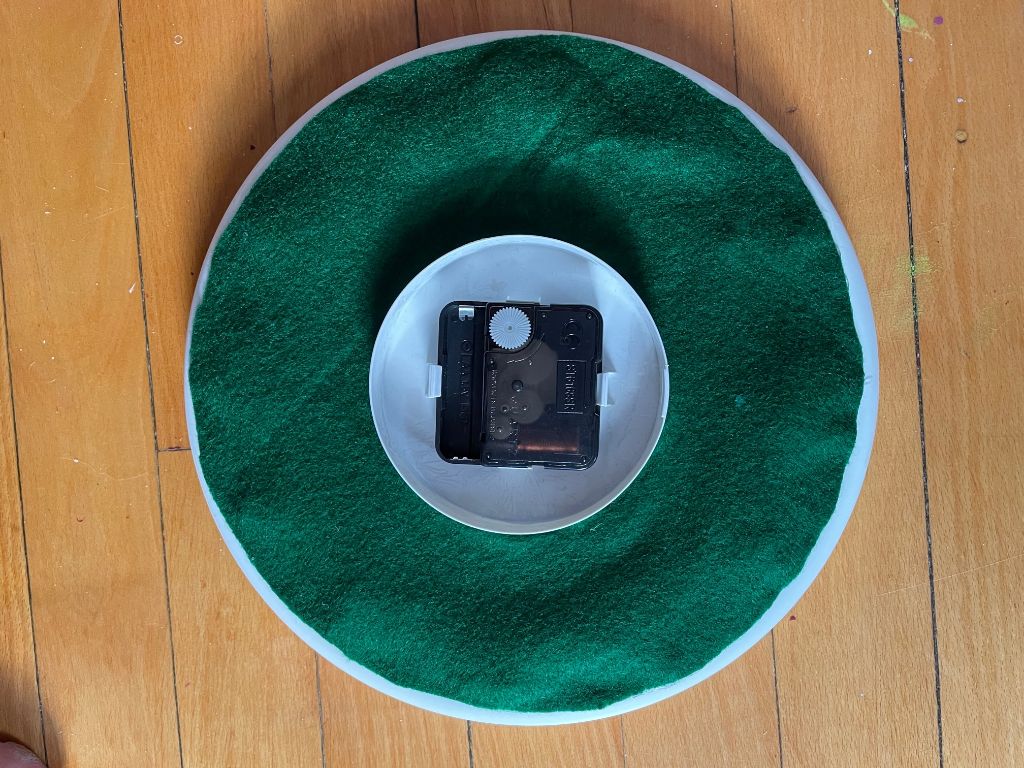
I applied about two coats of the paint, the second of which I thinned out with a bit of water to be smoother and thinner. I went for an abstract blob of sorts and did not bring the paint all the way to the edges of the clock. 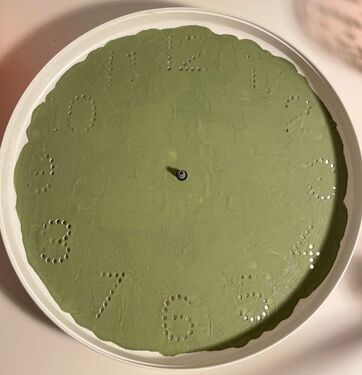 The paint clogged the clock number holes a bit so I used a thin metal tool to clean them out. I then used the dark green yarn to weave throughout the holes. I used a gold Sharpie to outline my green blob and spray painted the clock handles gold as well. 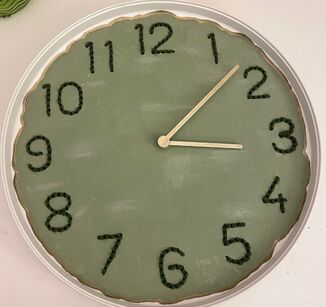 As you may imagine, weaving left the back of the clock a bit unfinished. After a creative consultation with my mother, we decided that the back needed to be more finished. I cut a piece of felt the size of the clock back and attached it with hot glue.
I popped the cover back on and that clock was done! Please ignore the subtle reflection of my craft room/office in the clocks :). It is hard to get a well-lit photo of reflective plastic! My lovely husband took these clock pictures for me because he is wonderful! 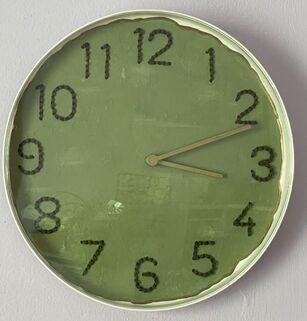 As I mentioned above, I bought 10 clocks, we have 8 finished in all, including the green one above. I had one which I spray painted and the paint didn't adhere right and was altogether not good! I have another that is still in process and needs some paint touch-ups so I'm not including it here. So enjoy 7 more clocks!  This clock above has a background of a few shades of turquoise acrylic paint, some tan yarn weaved through the holes, clock handles painted with tan acrylic paint and some paper shell accents. I made sure that the clock hands could still move over the paper accents and would not get stuck on them. 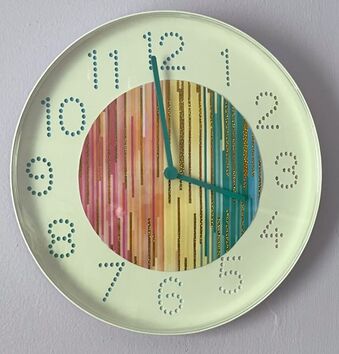 This clock has a circle of paper attached to the center, some paper behind the clock holes and hands painted turquoise. 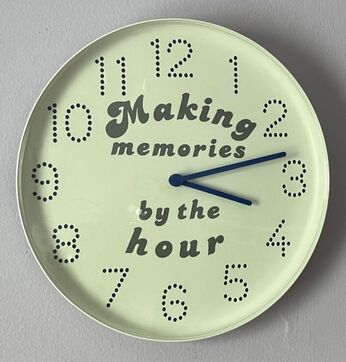 This clock features an adhesive vinyl cutout created with my mother's new Cricut that she got for Christmas, hands painted blue and blue paper behind the holes. 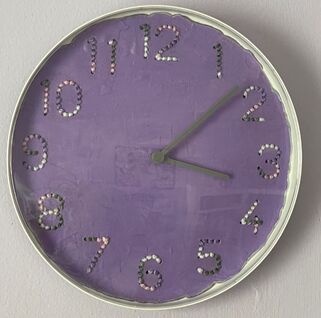 This clock has another baking soda paint blob outlined in grey Sharpie, variegated yarn in the number holes and the hands were left their original grey as there is grey in the yarn. 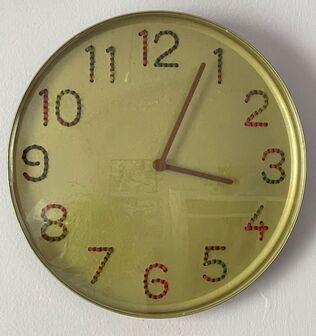 This clock was spray painted gold, with variegated yarn in the number holes and clock hands painted brown. 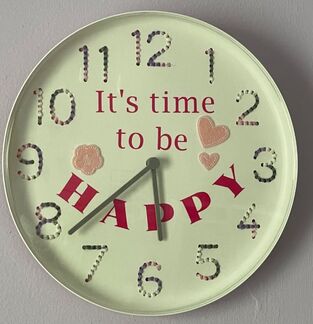 This clock features another vinyl cutout, some variegated yarn and some felt accents. I again made sure that the clock hands would not catch on them and left the hands grey. 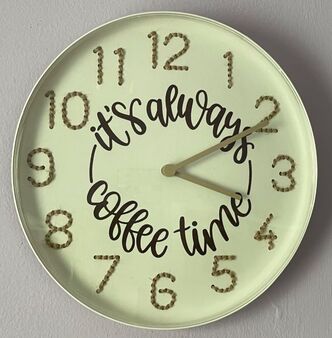 Another vinyl cutout, some twine through the number holes and clock hands painted a deep tan color. Each clock that had something weaved through the holes was also finished with felt on the back.
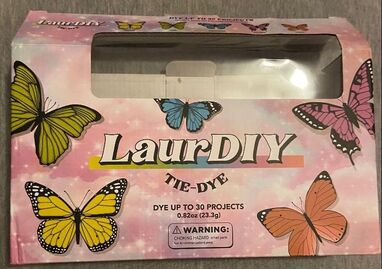
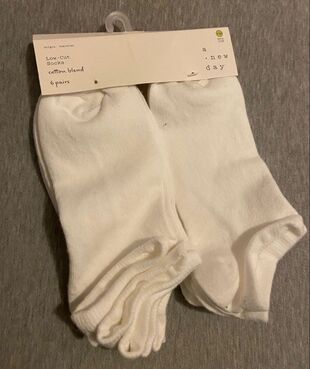
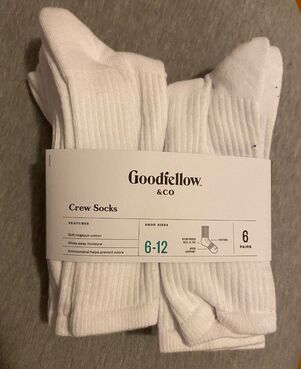
There you have it! I have always loved making clocks and these cheap IKEA clocks provided a great base to start with. How do you feel about this IKEA hack? Let me know in the thoughts below! - Rebecca Happy New Year everyone! 2021 just began, but I am already getting started on crafts for the summer/fall craft fair season. Today's blog is about tie-dye, as well as how to package something for selling. I received a tie-dye kit for Christmas from my husband; this kit is merchandise of one of my favorite Youtubers. I picked up a 6-pack each of crew and low-cut socks from Target. The socks were both at least 65% cotton as dye will usually not be absorbed well by other materials.
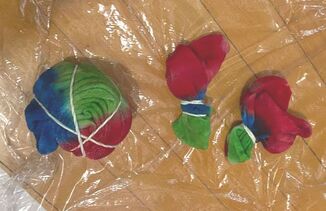
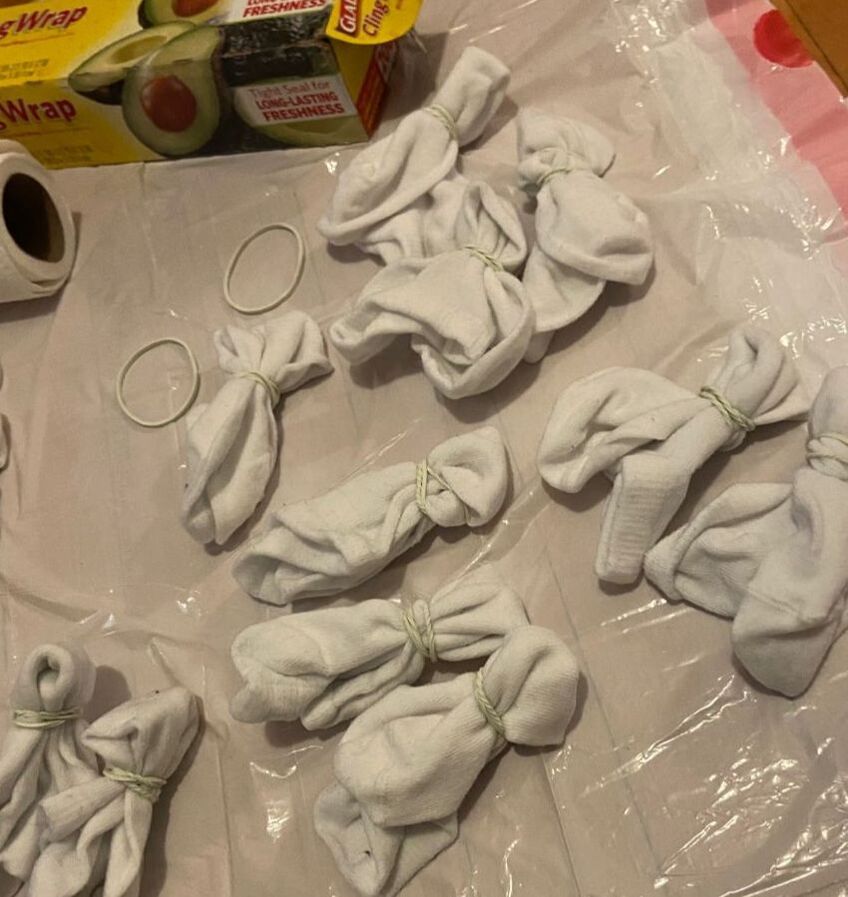
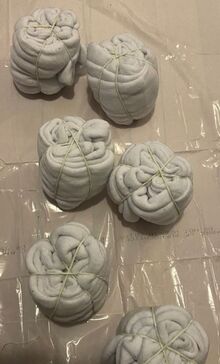
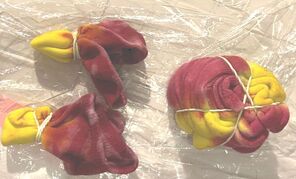
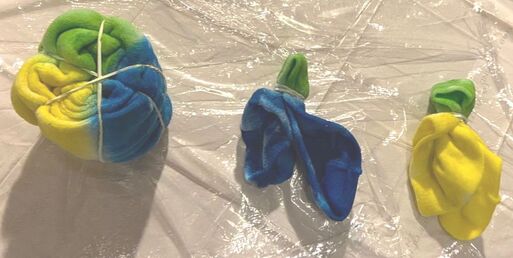
 I washed the socks once before dying them and left them damp from the washer. You can typically tie-dye with either wet or dry fabric. I'm not an expert, but my understanding is that using wet fabric typically means that the dye absorbs better, but the colors may end up being a bit softer after washing. I prepared my craft room floor and got to tying. I did the classic tie-dye spiral for the larger socks and just one small "dot" tie for the low socks. You'll notice that there are 6 pairs of each type of socks, but I only end up with 5 finished products. I kept one pair of each for myself. I'm wearing one pair as I type this!
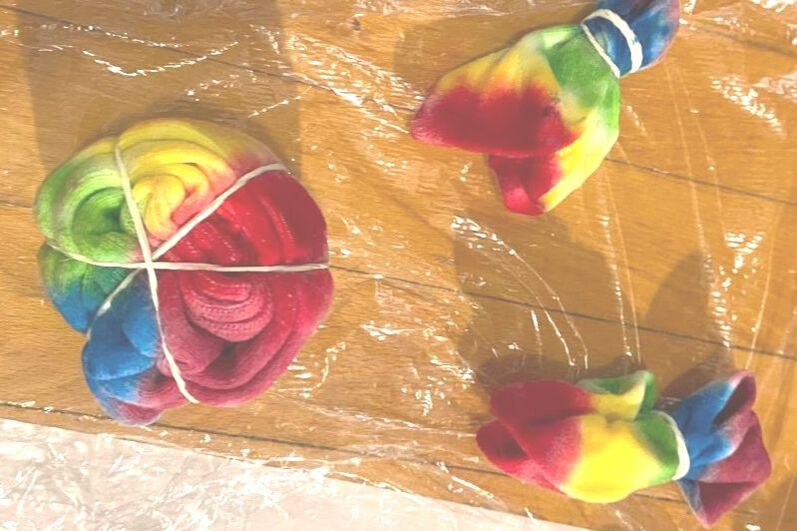
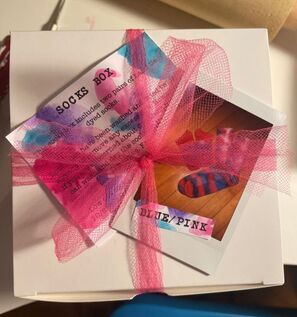
The color combos I went with were yellow/pink, yellow/green/blue, blue/pink, pink/green/blue and two rainbow sets.
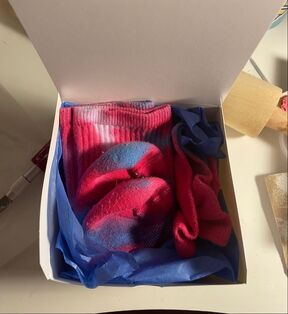
 I wrapped up the socks in cling wrap and let them sit and then washed and dried them twice to remove extra dye. Now it was time for packaging. I had the idea of making boxes with the matching pairs of high and low socks. I found these boxes on amazon and thought they were a great price and size. 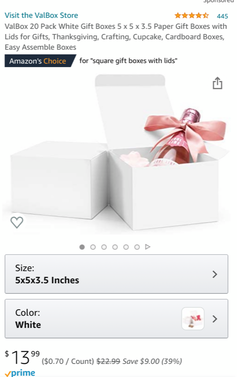 Then on to the labels. I printed out some labels explaining the contents of the boxes as well as what colors the socks were. I then took some watercolor and added some color which matched the contents of each socks box. 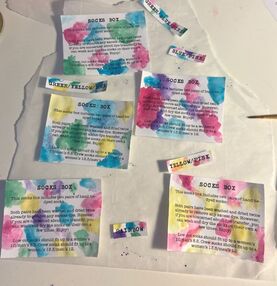 I also took a Polaroid picture of each set of socks so that people could easily see what they looked like without opening the boxes. 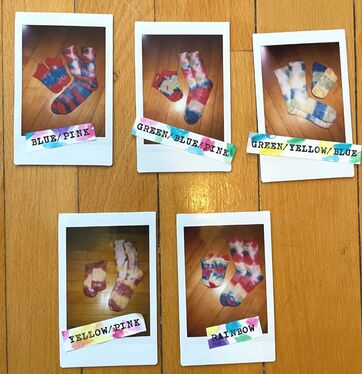 I put each set of socks in the boxes, nestled in a piece of tissue paper. I then used some tulle to tie up the boxes and tucked the labels and pictures under the tulle.
I did up the other 4 boxes in the same way and there you have it! I now have 5 sock boxes ready to go for the craft fair season! I think that packaging is often just as important as the product itself. I think many people would see a pair of socks and think they were cute, but not buy "just" a pair of socks. A nice box, bow and catchy title can often make the difference between making a sale or not. So take care to ensure that your packaging is as cute as the product itself!
- Rebecca |
AuthorI am a 27-year-old crafter and baker from New Hampshire! Archives
July 2024
Categories |

 RSS Feed
Proudly powered by Weebly