|
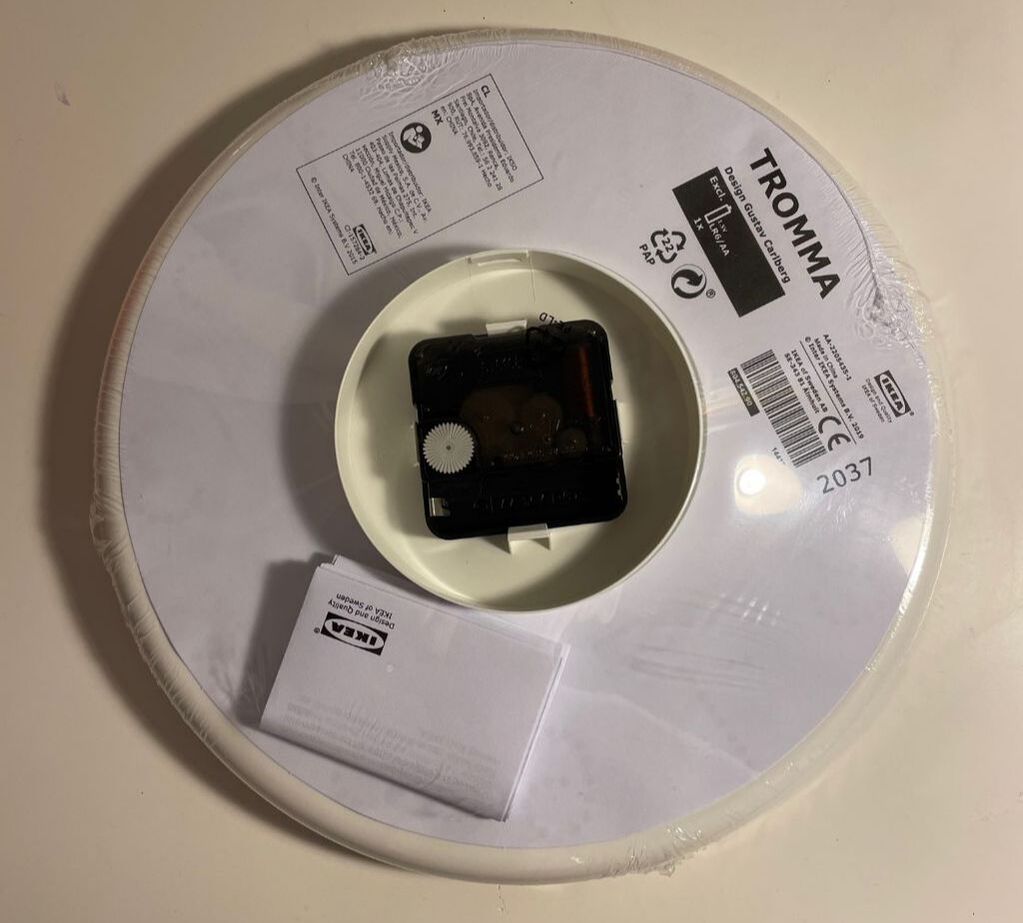
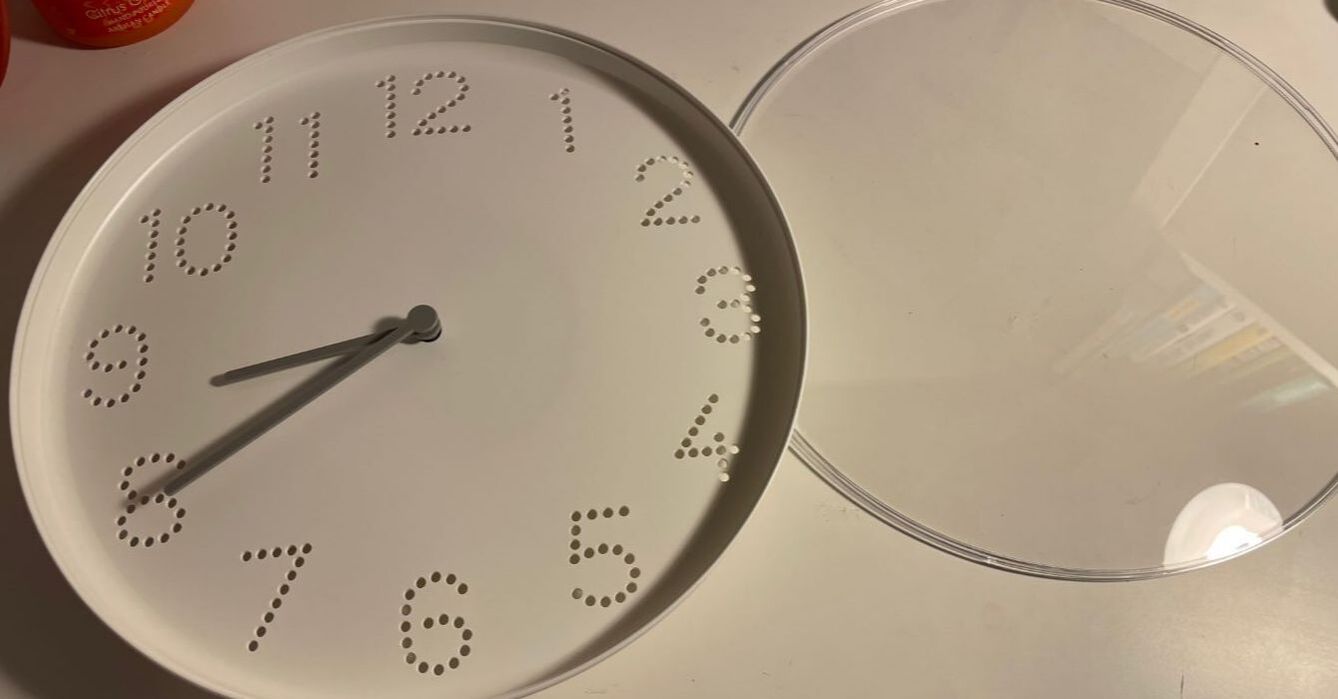
Hello friends! Today I am here to show you how you can upgrade a cheap IKEA clock and give it some new life. I was first introduced to this IKEA clock and the idea of DIYing it by a Youtuber I watch, Tina Le. Give her video a watch below: After watching Tina's video, I was all extremely excited about this Tromma IKEA clock which is $2. TWO DOLLARS! As someone who had made clocks in the past, that is a very good price, even if you are just buying these clocks for the mechanical parts themselves. So naturally I went and bought 10 clocks . . . 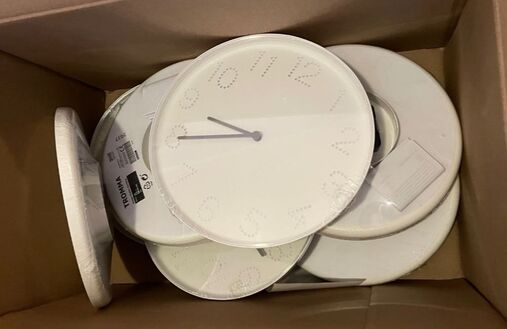
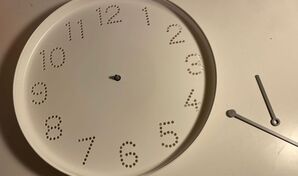
With these clocks, it is very easy to gently pop the plastic cover off, remove the hands and HAVE FUN!
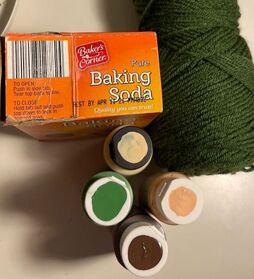
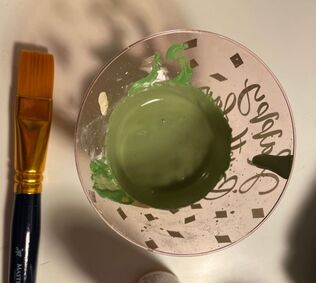
I'm going to share the process of one clock DIY I did and then give a quick overview of the others. For this first clock, I decided to use some baking soda paint on the plastic for better coverage. For those of you that don't know, baking soda paint is a hack to make chalk paint at home. Chalk paint is a thicker, matte paint that typically sticks to plastic and glass better then acrylic paint and provides better coverage. Chalk paint can get expensive so a hack is to mix acrylic paint with baking soda. I have seen so many different iterations of this hack with a wide array of ratios. I say add as much baking soda as you want. If your paint isn't thick enough, add more and if you've added too much, thin it out with some water. I went for a deep green color that would complement the dark green yarn I was going to use on the clock as well.
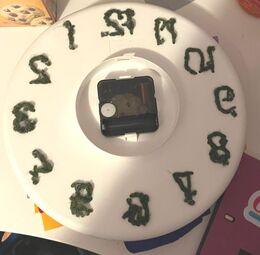
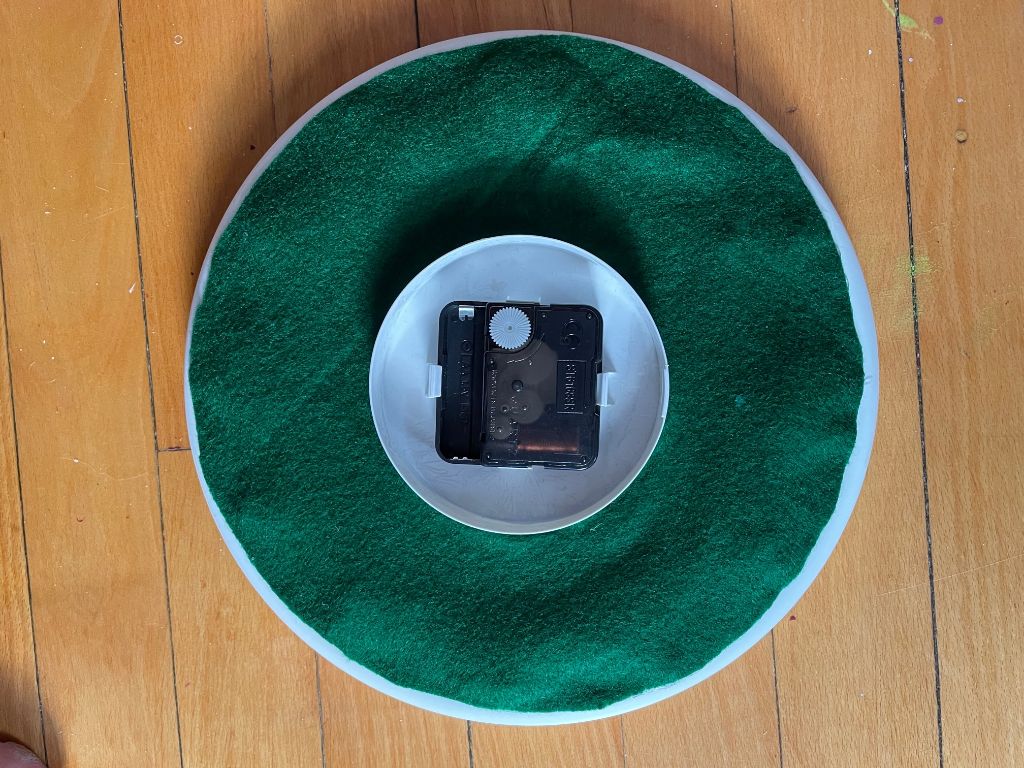
I applied about two coats of the paint, the second of which I thinned out with a bit of water to be smoother and thinner. I went for an abstract blob of sorts and did not bring the paint all the way to the edges of the clock. 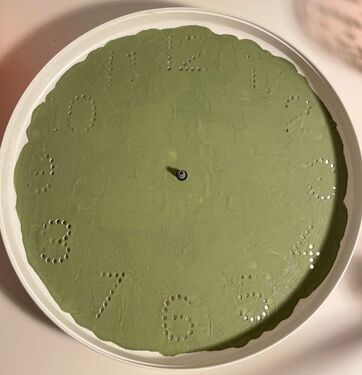 The paint clogged the clock number holes a bit so I used a thin metal tool to clean them out. I then used the dark green yarn to weave throughout the holes. I used a gold Sharpie to outline my green blob and spray painted the clock handles gold as well. 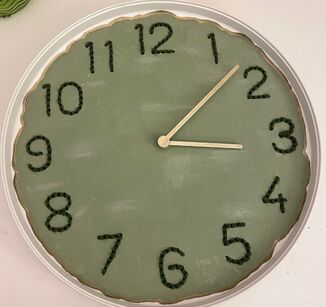 As you may imagine, weaving left the back of the clock a bit unfinished. After a creative consultation with my mother, we decided that the back needed to be more finished. I cut a piece of felt the size of the clock back and attached it with hot glue.
I popped the cover back on and that clock was done! Please ignore the subtle reflection of my craft room/office in the clocks :). It is hard to get a well-lit photo of reflective plastic! My lovely husband took these clock pictures for me because he is wonderful! 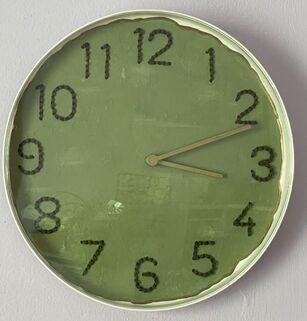 As I mentioned above, I bought 10 clocks, we have 8 finished in all, including the green one above. I had one which I spray painted and the paint didn't adhere right and was altogether not good! I have another that is still in process and needs some paint touch-ups so I'm not including it here. So enjoy 7 more clocks!  This clock above has a background of a few shades of turquoise acrylic paint, some tan yarn weaved through the holes, clock handles painted with tan acrylic paint and some paper shell accents. I made sure that the clock hands could still move over the paper accents and would not get stuck on them. 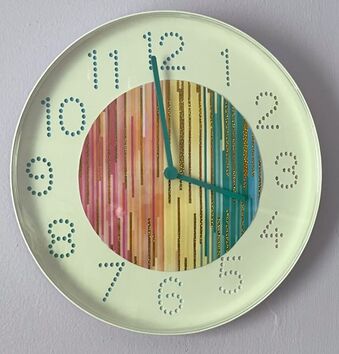 This clock has a circle of paper attached to the center, some paper behind the clock holes and hands painted turquoise. 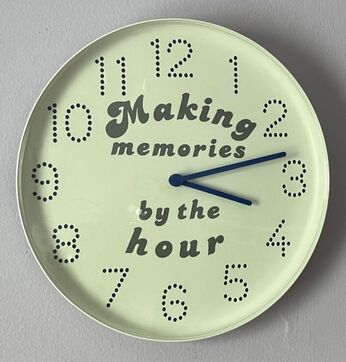 This clock features an adhesive vinyl cutout created with my mother's new Cricut that she got for Christmas, hands painted blue and blue paper behind the holes. 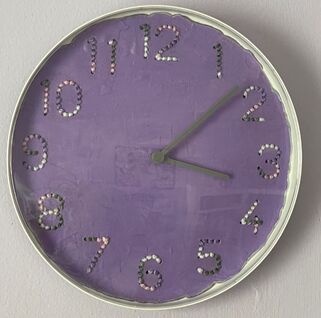 This clock has another baking soda paint blob outlined in grey Sharpie, variegated yarn in the number holes and the hands were left their original grey as there is grey in the yarn. 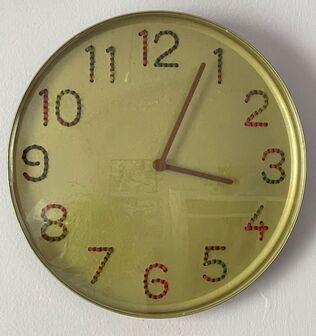 This clock was spray painted gold, with variegated yarn in the number holes and clock hands painted brown. 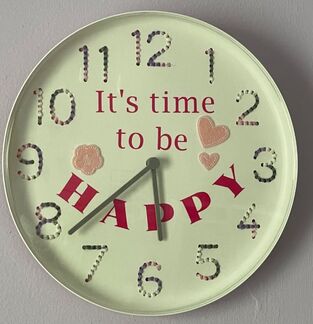 This clock features another vinyl cutout, some variegated yarn and some felt accents. I again made sure that the clock hands would not catch on them and left the hands grey. 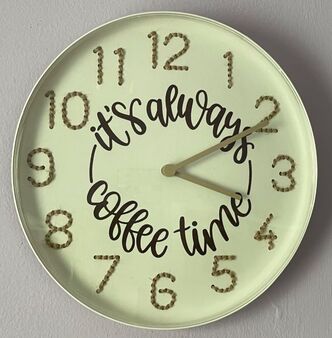 Another vinyl cutout, some twine through the number holes and clock hands painted a deep tan color. Each clock that had something weaved through the holes was also finished with felt on the back.
There you have it! I have always loved making clocks and these cheap IKEA clocks provided a great base to start with. How do you feel about this IKEA hack? Let me know in the thoughts below! - Rebecca
1 Comment
Momma
1/17/2021 04:37:17 pm
Oh, the things we will Cricut! :) Leave a Reply. |
AuthorI am a 27-year-old crafter and baker from New Hampshire! Archives
July 2024
Categories |
 RSS Feed
Proudly powered by Weebly