|
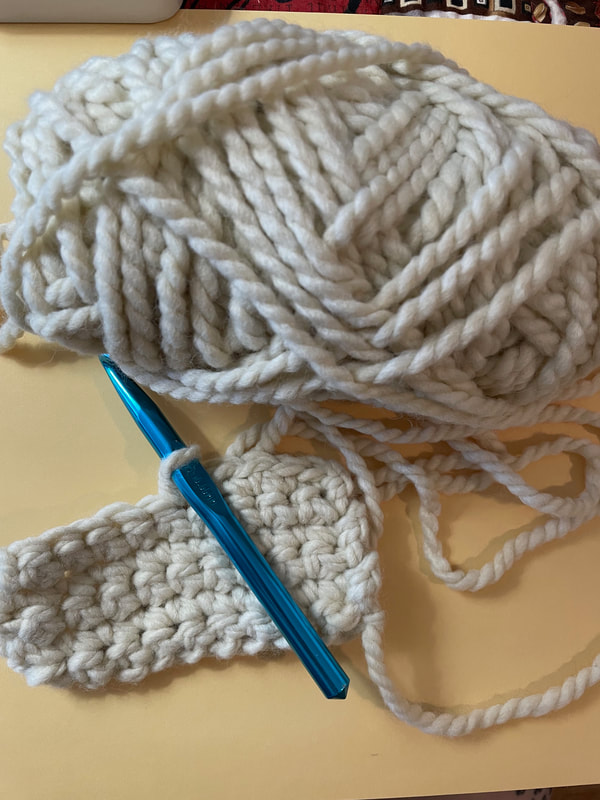
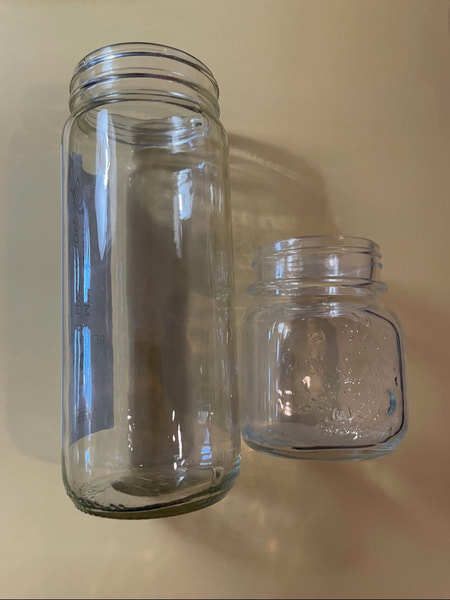
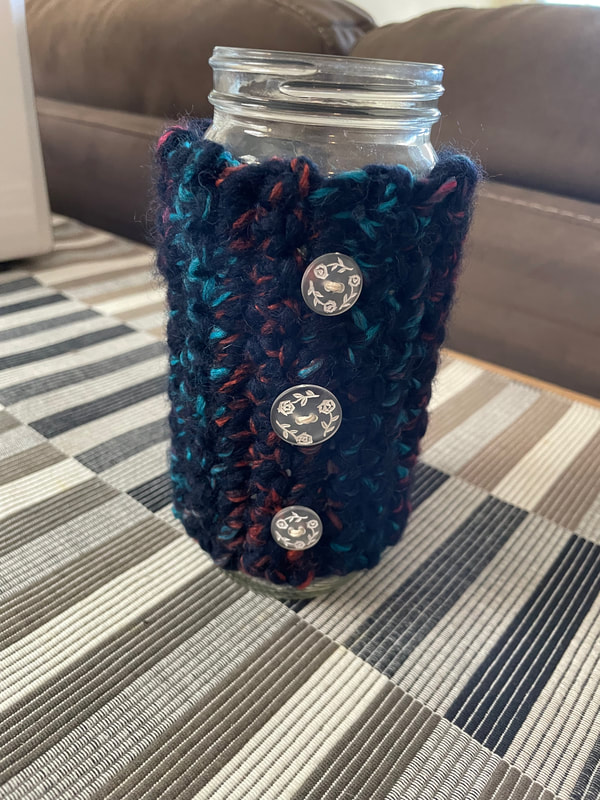
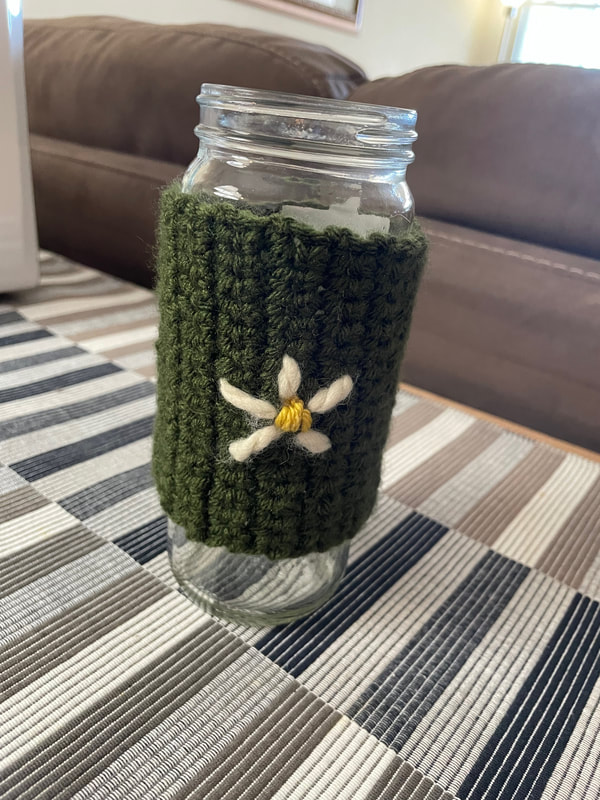
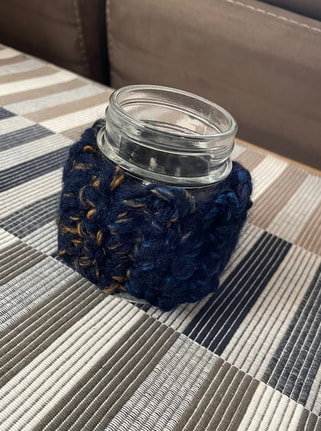
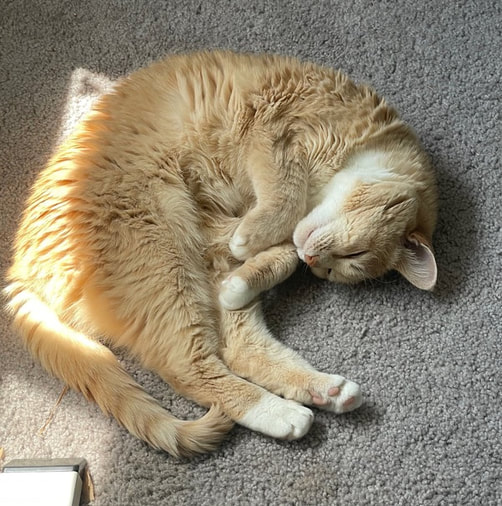
Hello everyone! Happy Sunday! Today I wanted to show you a project that I started recently and am loving so far! So this project came together because of 2 reasons: I wanted to learn to crochet and I also had some glass bottles/jars that I wanted to do something with. My Memere used to crochet and she had tried to teach me a few times but it had never really stuck for me. I'm not sure what prompted it but recently I decided that I wanted to learn and now know how to do a single stitch crocheting pretty well! I have plans to keep working on my crocheting and learn new stitches, but right now I am just getting comfortable with the single stitch. The video I used to help me learn is this one: www.youtube.com/watch?v=GcOzdAzmtNM. This lady has a very helpful series of crocheting for beginners! Next we have the jars/bottles. I have a decent amount of both these taller glass bottles and these smaller jars. The bottles are from some overpriced juice I sometimes partake of from a restaurant near me. The smaller jars are actually leftover from the favors that were at our wedding. I thought these jars would be perfect to make into candles as I also happen to have one million wicks because I once needed a few so I bought a giant pack on Amazon. To give these candles a little more something something, I thought it would be adorable to make little crocheted koozies of sorts for the jars. I have been working on them for the past few weeks and will continue to work on them until I have enough. The two general styles I am going for is a thicker yarn with some buttons and a thinner yarn with a little design crocheted on the front. Here are some examples: Next time I talk about these I will show you how I candle-ified them and some more of the crocheted designs. And, to end the blog for today, here is a picture of my cat. Nobody asked for it, but she is adorable so I will be blessing you all with her cuteness. Have a good rest of your Sunday everyone!
- Rebecca P.S. Today's photo on the homepage is from Pexels user Castorly Stock: www.pexels.com/search/crochet/
1 Comment
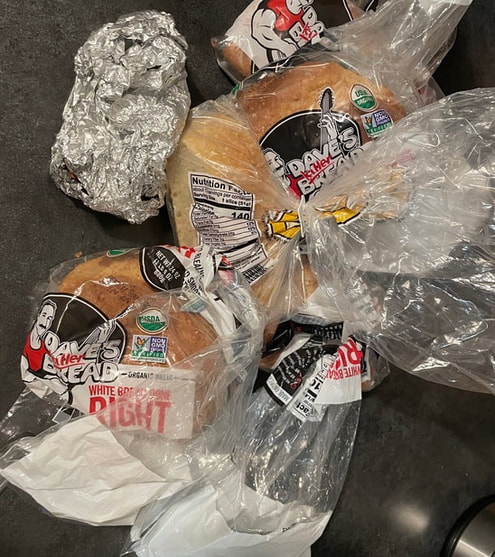
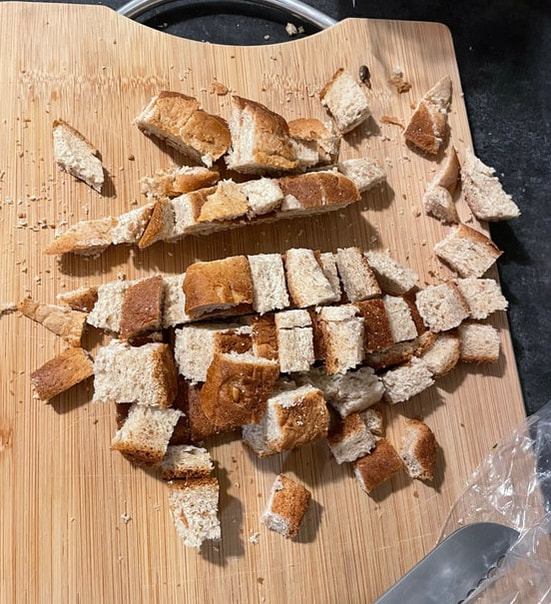
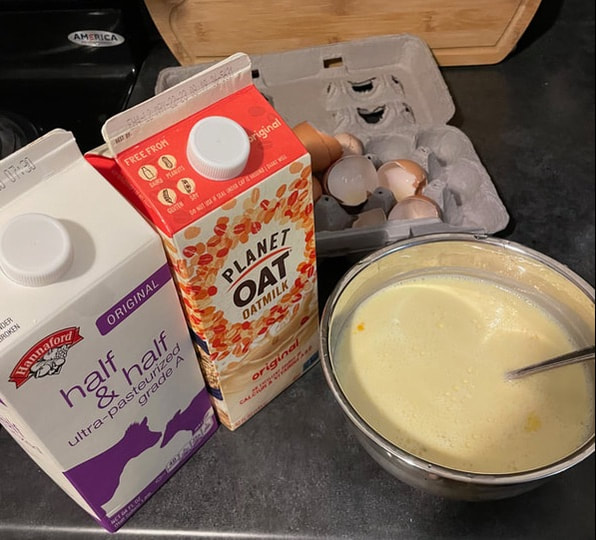
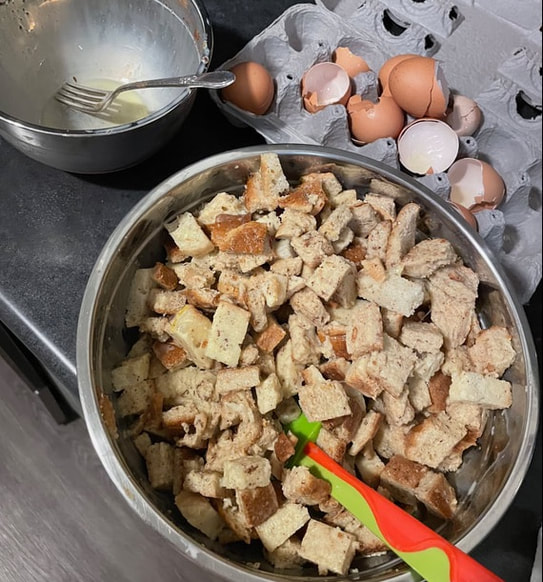
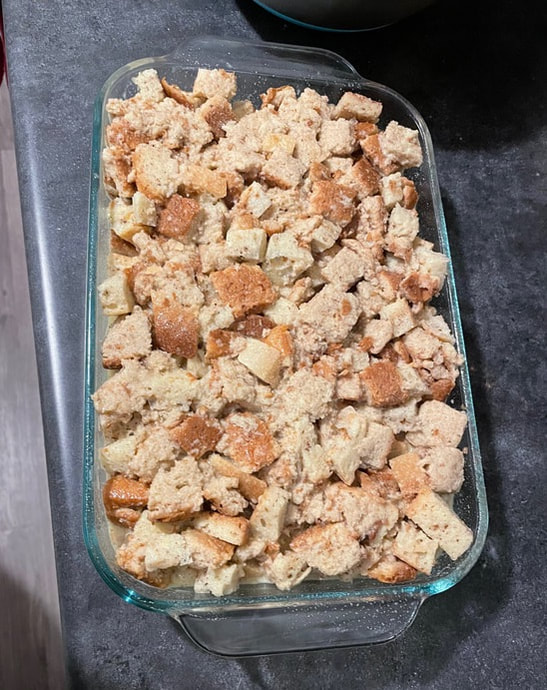
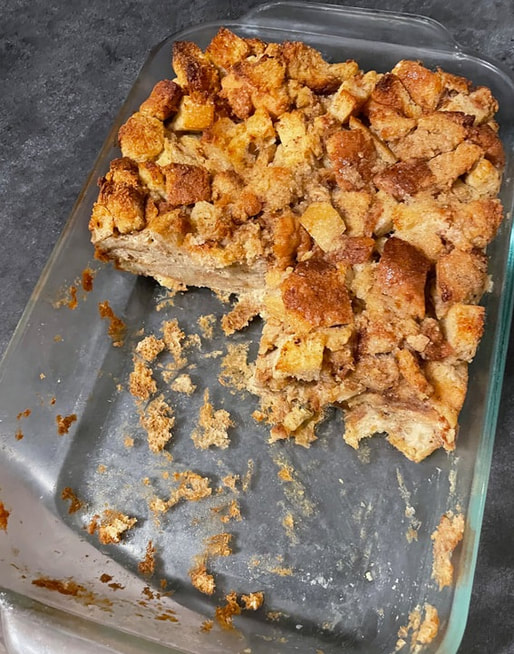
Happy Sunday everyone! I recently made some bread pudding and wanted to share what an easy breakfast/dessert it is! For those who don't know what bread pudding is, I think it can best be described as French toast but in casserole form. Whenever my husband and I have the "butt" ends of the bread left, I throw them in the freezer. Over the span of a few months, we had collected a good amount of white bread ends, as well as a little bit of sourdough and some bread I had made. I will say that sourdough is not my bread of choice for bread pudding as it is a bit tougher and bread pudding is best with a soft bread, but it worked out fine this time as I had just a tiny bit of it. I will also say that you should probably put the bread into freezer bags before throwing it into the freezer, but I won't pretend that I don't just throw it in there in its original bag ..... The first step with bread pudding is to cut up the bread into small pieces like so: Throw all of your bread into a bowl and put t aside for a moment. I will say I never really decide what size of pan I will need until my bread is all cut up. I like a thicker bread pudding so I usually use a smaller and deeper pan as opposed to a larger, shallower one. The other key component of bread pudding, besides the bread, is an eggy, milky mixture. The goal is to have enough liquid so that all of the bread is fully soaked. For this amount of bread I ended up using about 8 eggs and maybe a cup each of half and half and oat milk. I also added some sugar (however much you feel is right), as well as some cinnamon and vanilla. Once the eggs and milk are all mixed up, you can then pour it over the bread and mix together until fully combined. The bread may start to get a little mushy but that is fine! Next it is time to plop all of the bread into a baking dish! I would recommend buttering or greasing the pan so that the cooked bread pudding is easier to get out when cooked. If you see a little bit of the eggy mixture pooling at the bottom, that is okay. It will all get soaked up as the pudding cooks! I ended up cooking my bread pudding for about 45 minutes at 350° Fahrenheit, but this would depend on the size of your pan and thickness of the bread pudding. I forgot to take a picture of it once it was just out of the over, but here is the cooked pudding with some already enjoyed! You can also go for a savory bread pudding, but I have always preferred a sweet version! We usually eat this with some maple syrup or some cut up fruit and whipped cream on top. It is a great way to use up the end pieces of bread that may otherwise go to waste. If you give it a try, I hope you enjoy!
- Rebecca P.S. Today's photo on the homepage is from Pexels user Mariana Kurnyk: www.pexels.com/photo/sliced-bread-on-gray-surface-1775043/ |
AuthorI am a 27-year-old crafter and baker from New Hampshire! Archives
July 2024
Categories |
 RSS Feed