|
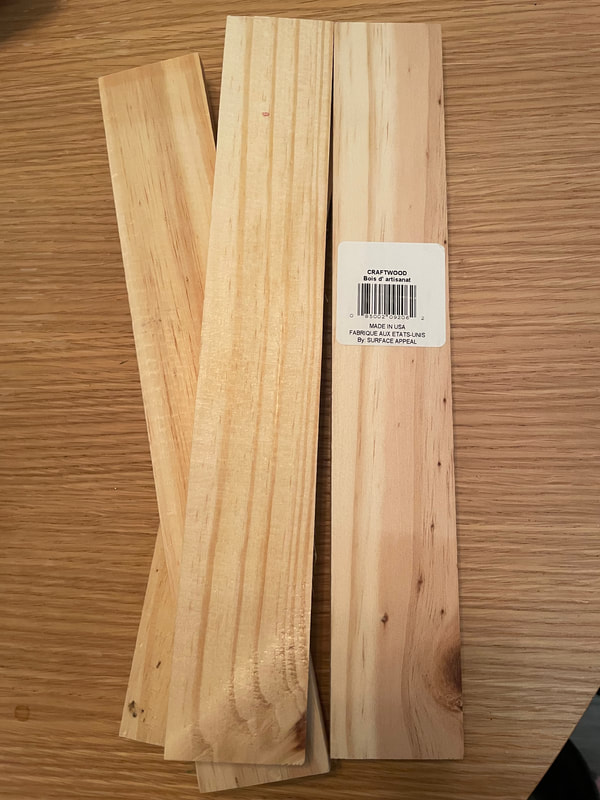
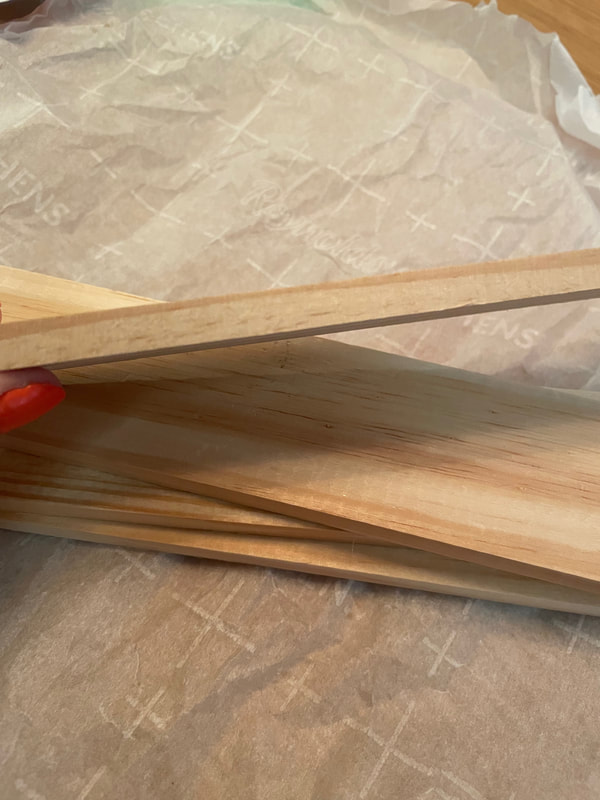
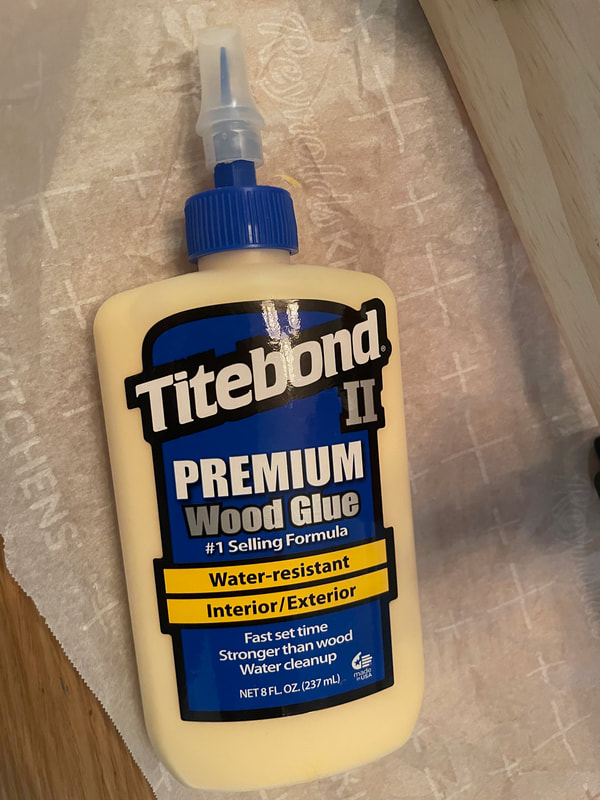
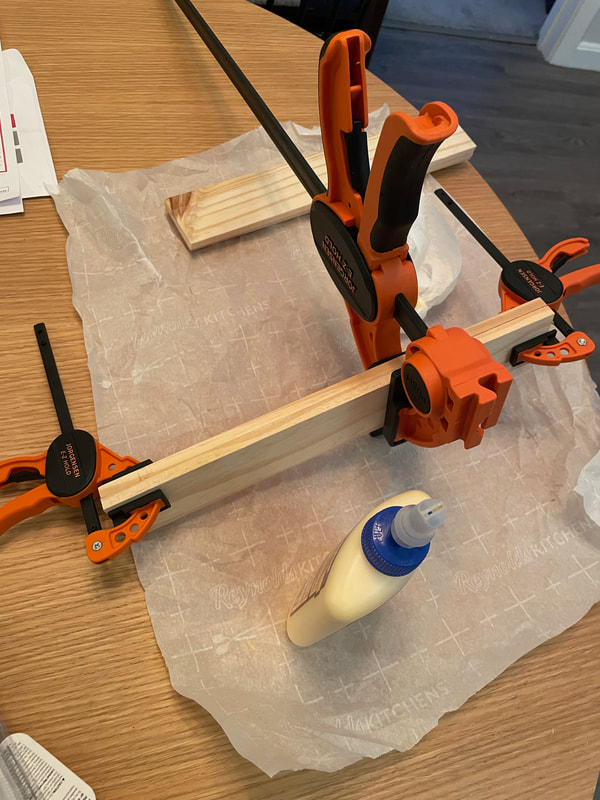
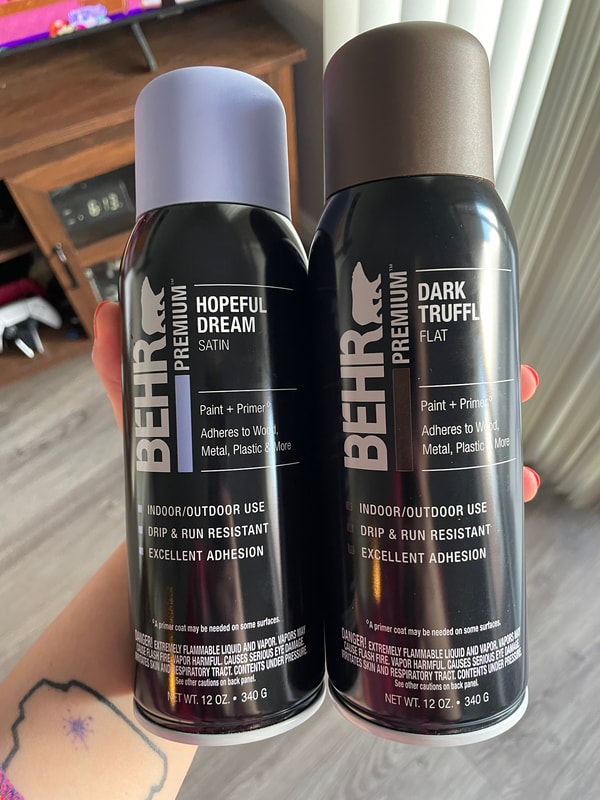
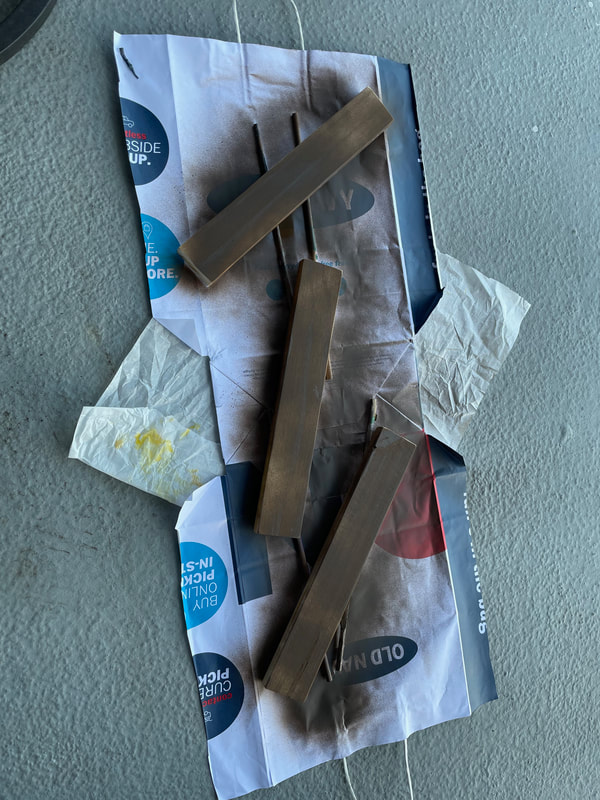
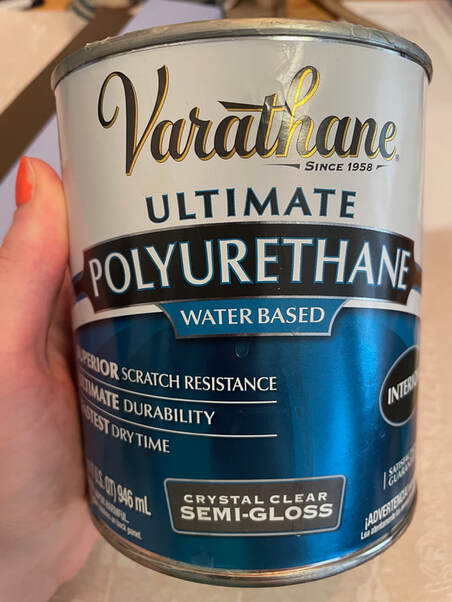
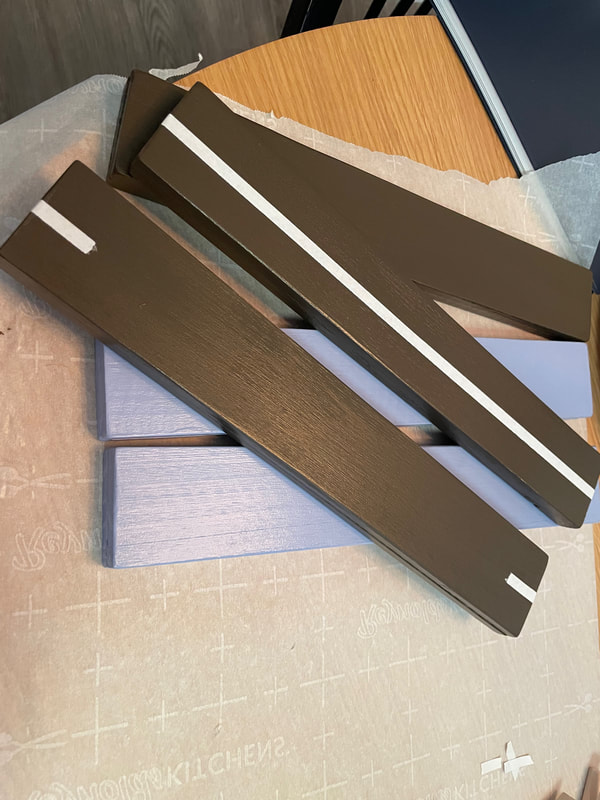
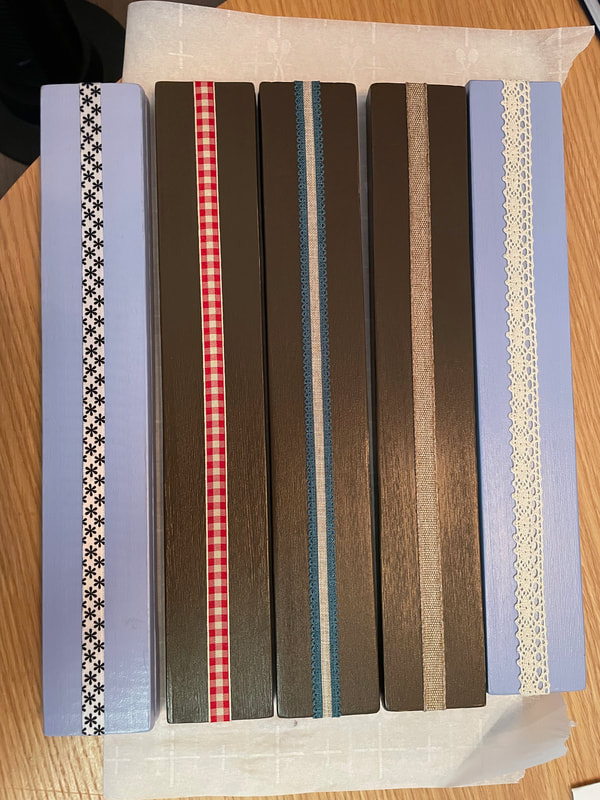
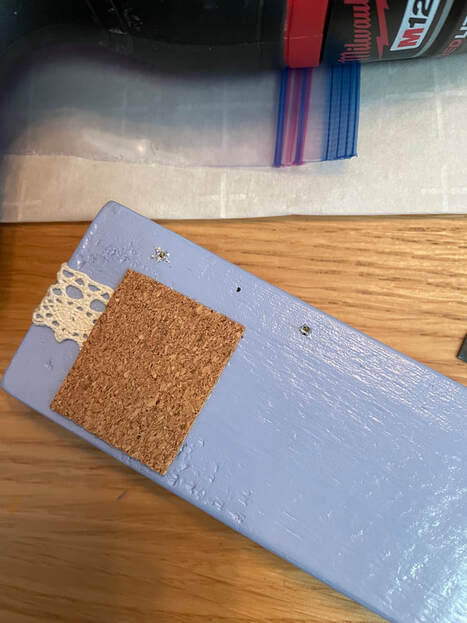
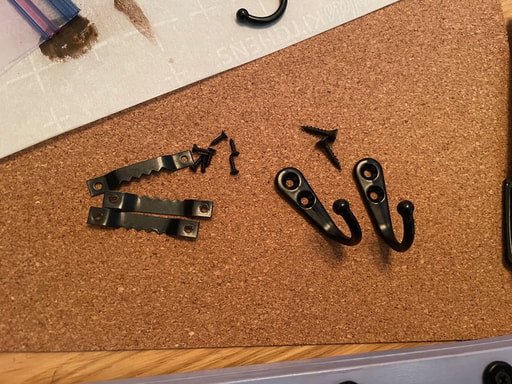
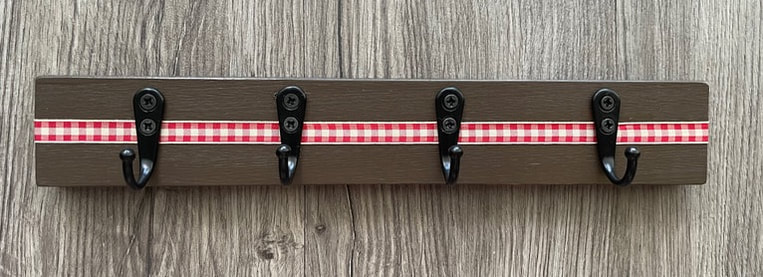
Happy Sunday everyone! Today we are back with a new DIY project: some DIY key/hat holders! This is an idea that I have had in my head for a while and was excited to actually make it happen! The beginnings of this idea came from some thin craft wood planks I had picked up from the Dollar Tree: These planks were about 12 inches long by 2 inches wide and maybe 1/2 inch thick. I wanted the base of these key holders to be a bit more substantial so I started by gluing 2 of the wood planks together using some wood glue and some clamps. Once the planks were glued together and dried I went ahead and sanded them down. In addition to sanding away some wood glue that had seeped out, I also sanded the edges to give a slightly rounded edge as opposed to the sharp corners. Once the wood had been sanded, it was time to paint. I thought that spray paint would work well for these so I picked up 2 colors of a Behr spray paint. It was cheaper than Rustoleum spray paint and also seemed to be made to stick to many surfaces, including wood. I ended up with three wood pieces, so I did 3 in the brown and 2 in the grayish blue. All sides and edges of the wooden planks got three coats of the spray paint. As wood is a very porous surface, the spray paint dried very quickly in between coats Once the paint had set for a day or so, I went over the planks with 2 coats of a varnish I already had on. This helped to give them some shine and would keep them protected from scratches. I wanted to keep these fairly simple, but did think that a strip of ribbon across would add a fun little touch. After raiding my own (very small) ribbon stash and my mother's (much larger) ribbon stash I found a good variety of ribbons. To stick the ribbon to the planks, I used some double-sided permanent tape that I placed across the center of the planks. I would love to tell you that I measured where the exact center line of these was but that would simply be a lie, I just eyeballed it. I also wrapped the tape over the edges and onto the back so the ribbon would carry over the edges as well. Here's a fun little tip I learned from my mother specifically about lacey ribbon, As you can see, the fifth plank in the photo above has a lace ribbon that has some holes throughout it. Since it was stuck down onto a strip of adhesive, some of the adhesive is left accessible through the holes of the lace. This creates the opportunity for dust or other debris to settle in the uncovered adhesive and mess up your work! To help prevent this, take a small paintbrush and some type of powder and gently brush a light amount of powder onto the adhesive. This will help get rid of the remaining stick and make it so that no debris finds its way onto your project. I used a makeup setting powder as it had a slightly off-white shade that matched the ribbon color well. Now I had to deal with the edges of the ribbon on the backside of the planks. I decided that a good solution would be using a small piece of adhesive cork. This would not only seal in the edge of the ribbon, but also would provide a soft surface on the back of the holders. I planned to add some sawtooth hangers to the backs of these and the cork would ensure that the wood itself would not touch the wall and potentially scratch it; only the cork and the wall would come into contact. I cut small squares of the cork and although it had an adhesive backing I also added a few dots of SuperGlue for some added support. As I mentioned, I added some sawtooth hangers to the back of these so that they could be hung on the wall. I measured an equal distance from the edges and added 2 hangers so that the holder would be level when hung. I also bought some small black metal hooks from Amazon for the front of the planks. For the hooks on the front, I ended up using 4 per plank. As these had more substantial screws than the sawtooth hangers, I drilled a small pilot hole for each of the holes in the hooks before using a screwdriver to screw them in. I was able to easily drill through the ribbon, adhesive and wood to get the hooks secure. And here are the 5 key holders all done! As these are fairly lightweight, I do think they would be best suited for smaller items such as keys, sunglasses or hats/mittens. What do you guys think about these? They are available for purchase on my Etsy shop so give it a peek if you are interested:
www.etsy.com/shop/patternedpaperplate?ref=shop_sugg - Rebecca P.S. Today's photo on the homepage is from Pexels user George Becker: www.pexels.com/photo/close-up-of-keys-333837/
0 Comments
|
AuthorI am a 27-year-old crafter and baker from New Hampshire! Archives
July 2024
Categories |


 RSS Feed