|
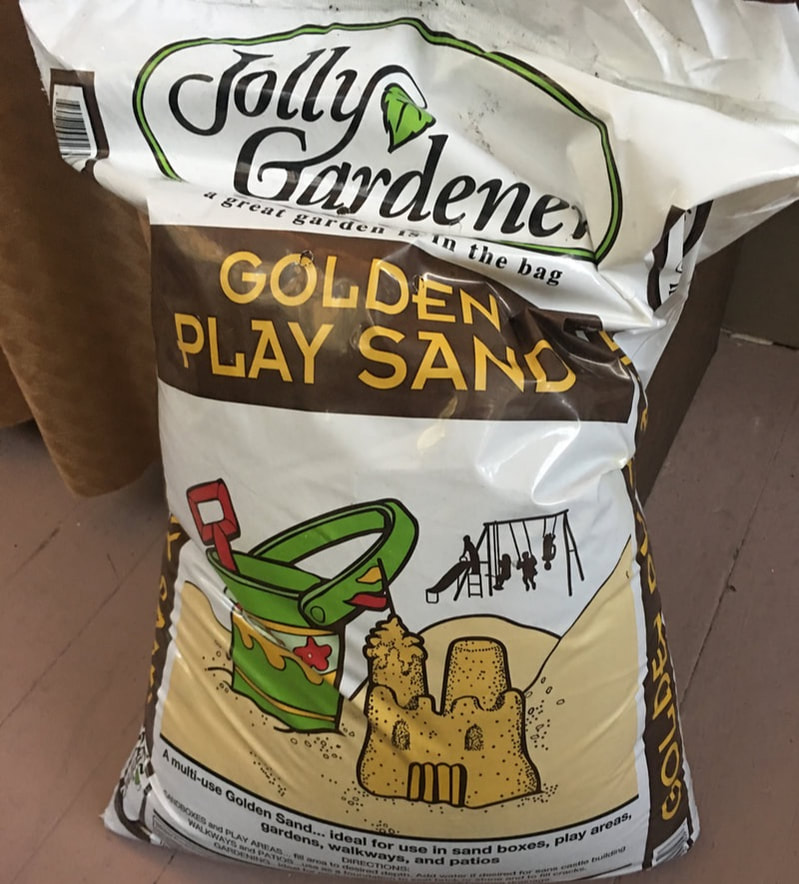
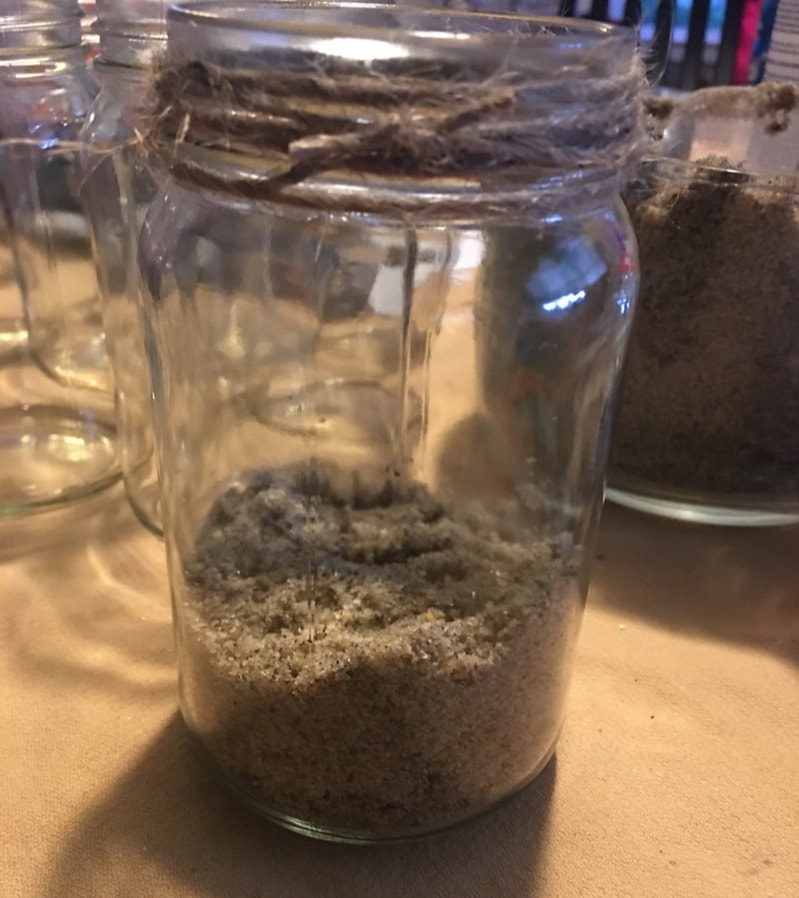
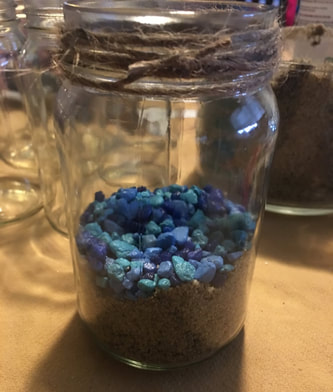
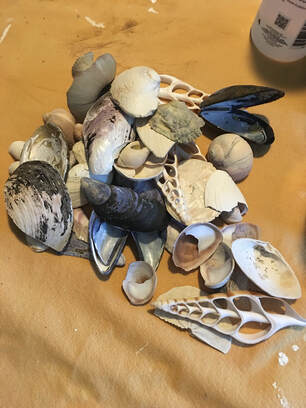
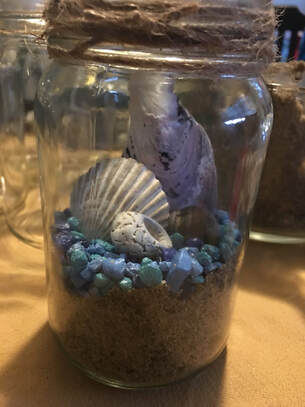
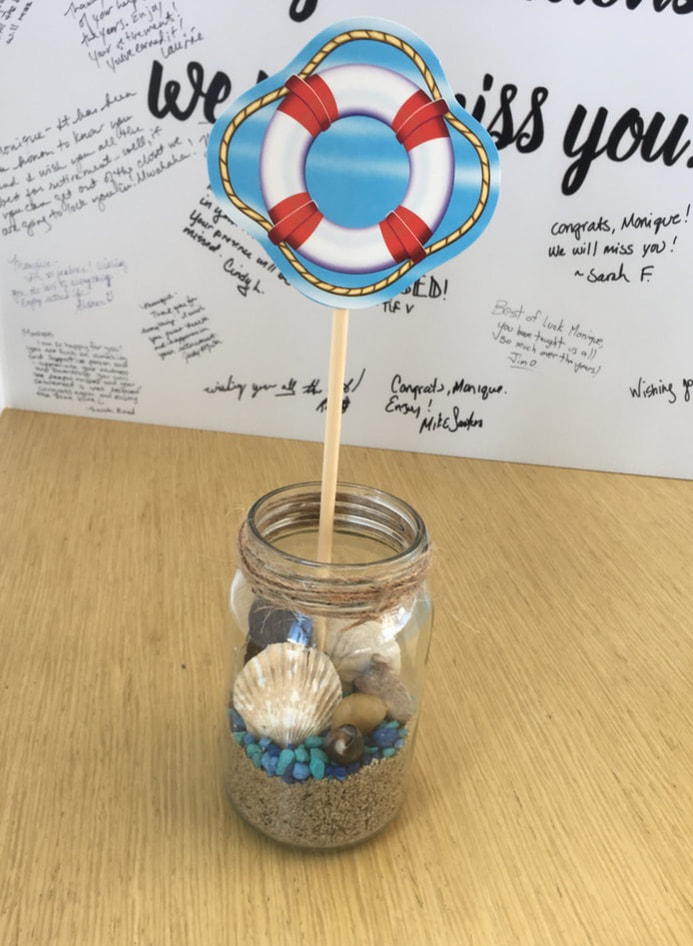
Hello friends! Today's blog is short and sweet, but I am showing you something a little different: some cute centerpieces my mother and I made! I had to push the blog back a day as the centerpieces were being used at a party that happened earlier today. My wonderful aunt is retiring tomorrow so a party was thrown at her work (where my mother and I also happen to work) to celebrate her 42 years spent there. She and my uncle love to go on cruises, so the whole party was beach/cruise themed and we made some simple centerpieces to go along. We started out with some basic glass jars that my mother had collected from the Dollar Tree. We wrapped some twine around the mouths of each jar just to give them a little extra something. My father picked up a bag of sandbox sand and we filled each jar about a third of the way with sand. We then added a thin layer of blue aquarium rocks (we had picked up a bag at Goodwill) to be the "ocean." Next we went through my enormous stockpile of shells I have collected over the years to find some pretty ones that would fit in the jars. Finally, we got some little cruise ship images (anchors, life vests etc.) and hot glued those to some wooden skewers to stick into the jars. And here they are all done at the party! It's so easy to whip up some adorable centerpieces with cheap supplies. What do you guys think of these ocean centerpieces? And Happy Retirement to my wonderful aunt!!
- Rebecca
1 Comment
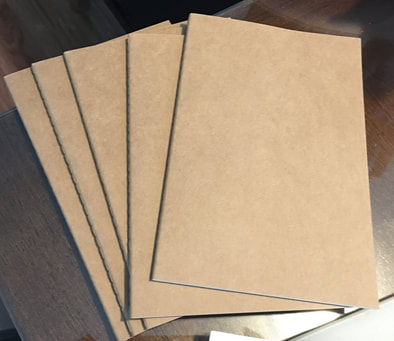
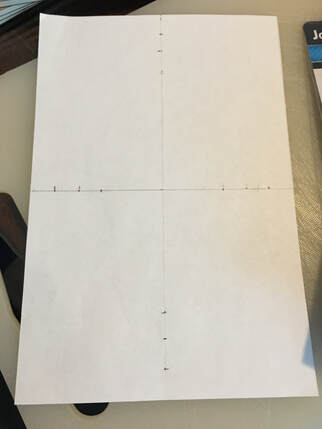
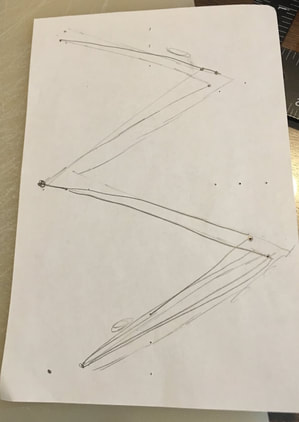
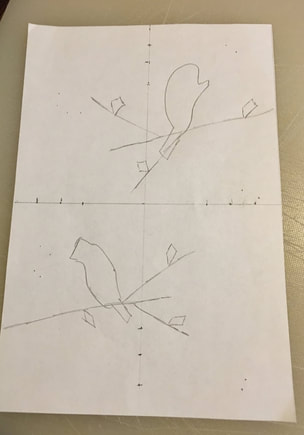
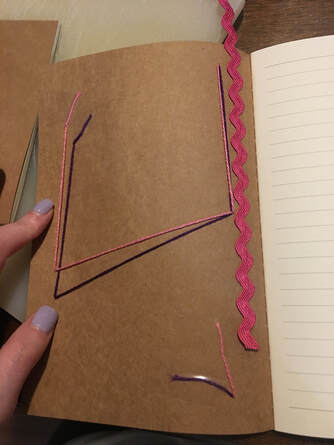
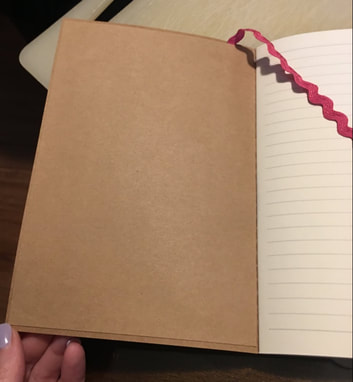
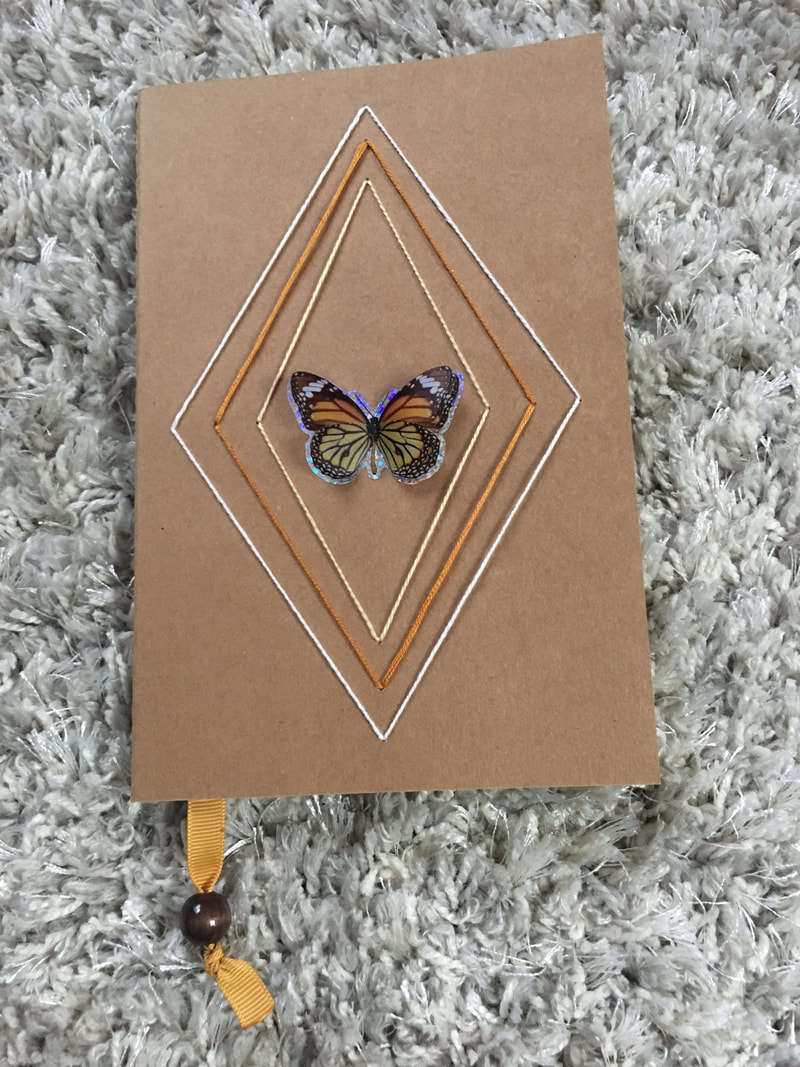
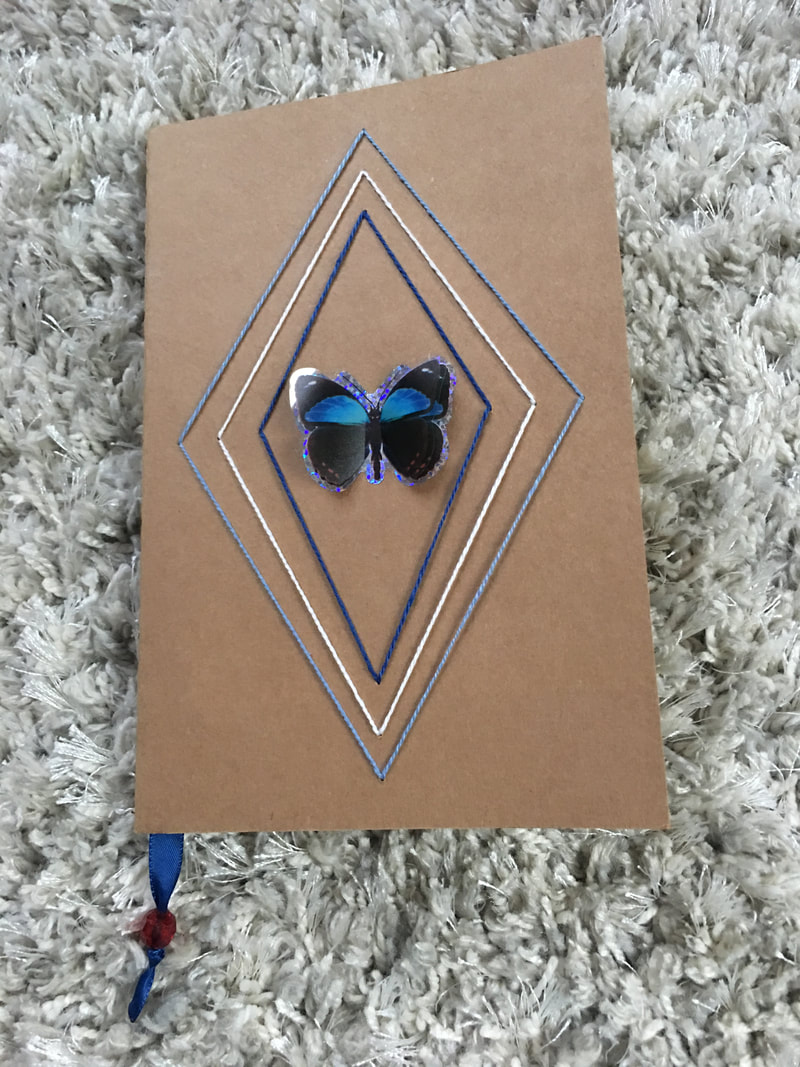
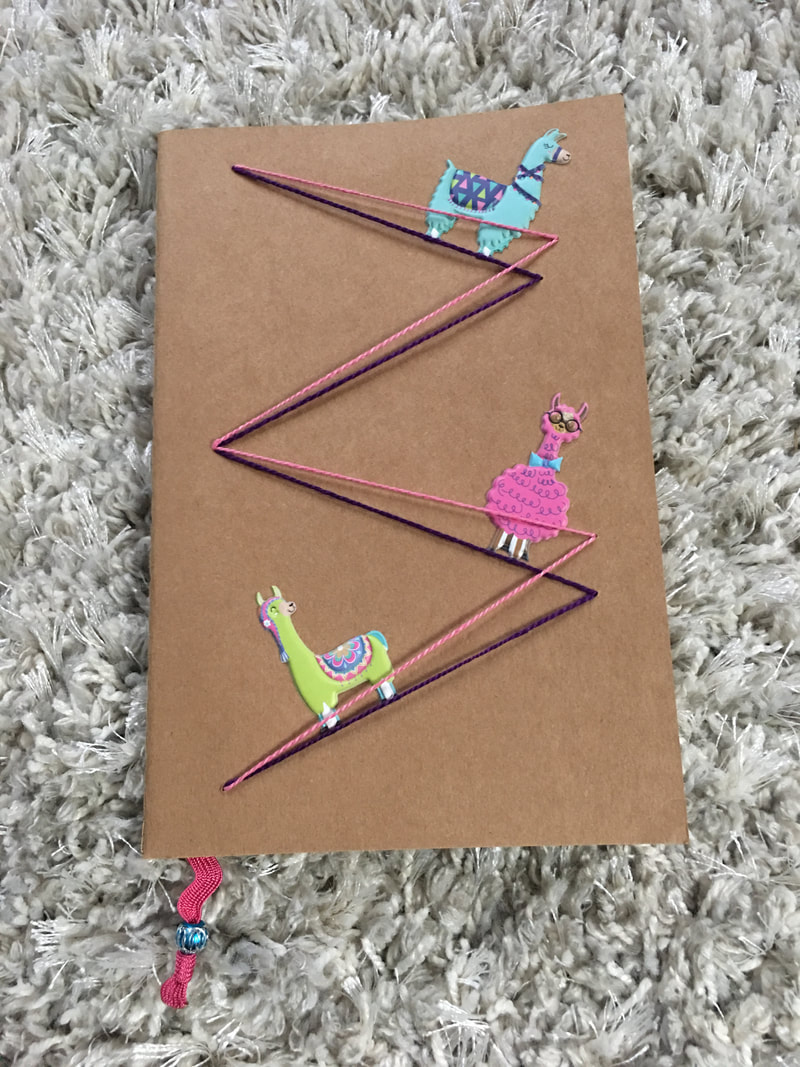
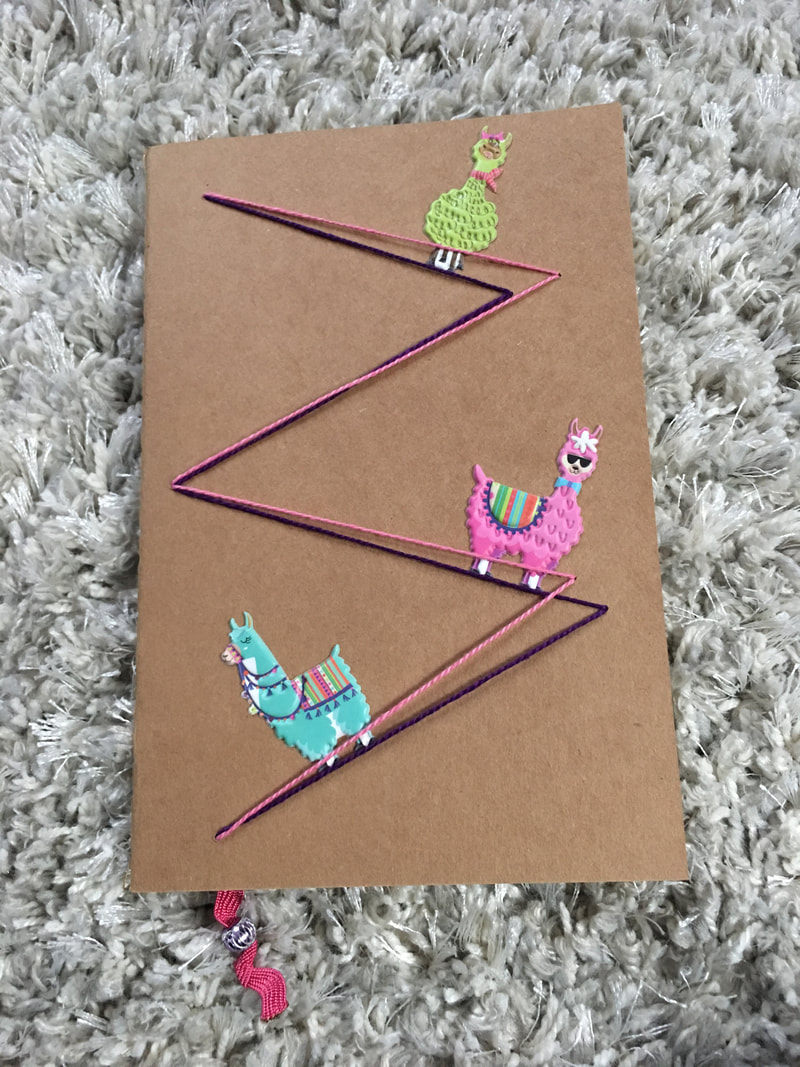
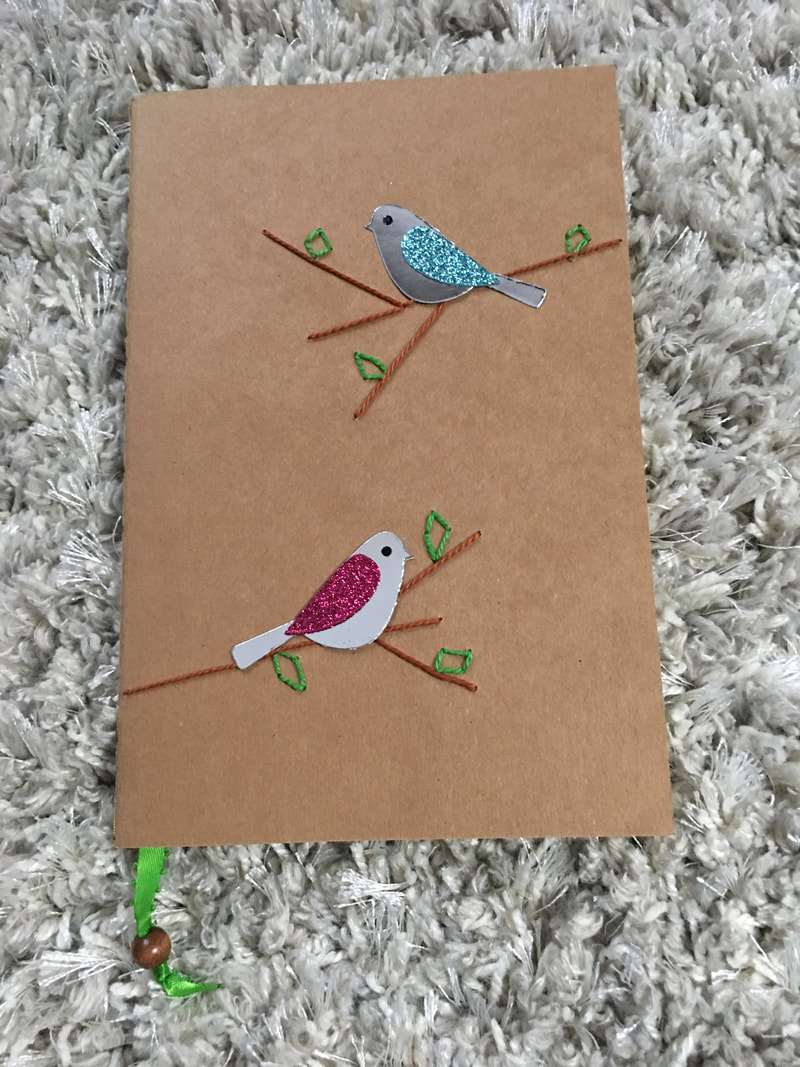
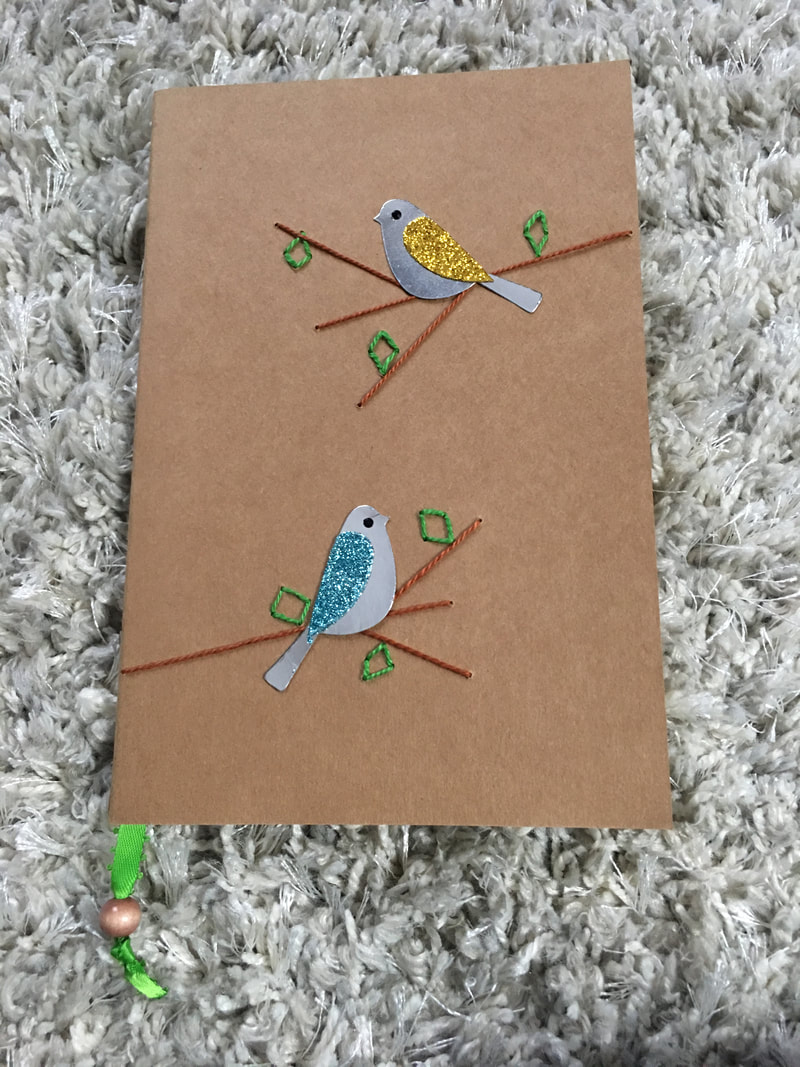
Hello everyone! This week's craft is some adorable embellished kraft notebooks. Kraft paper is brown toned paper that looks a bit like thin cardboard. I first of all want to say that this craft is HEAVILY inspired by a video from one of my favorite crafty Youtubers, LaurDIY. She gave me the inspiration for the base of this project and then I took her idea and went a little farther with it. Here is the link to the Youtube video where she makes some similar kraft notebooks! https://www.youtube.com/watch?v=5zVYoy51TvA I just bought a pack of 6 kraft notebooks on Amazon. I could choose whether I wanted the inside pages to be blank or have lines so I went with lined pages. The idea that I got from LaurDIY was to poke holes into the covers of the notebooks and string some embroidery thread through the holes to creat different designs. You can use any color of embroidery thread you want for this. I just went into my large stash of thread I have from years of friendship bracelet phases. I also had some cute stickers I had gotten (some butterflies, llamas and birds) so I tried to create designs with the embroidery thread that worked well with the stickers. The first step to creating the thread designs was to trace out the size of the notebook cover on printer paper. Then I cut this rectangle out and used it as the base for my design templates. For the first two notebooks, I just wanted a diamond pattern with a space in the middle for a sticker, so I marked holes in appropriate spots on my template. Then I took my template and laid it over the cover of the notebook. You should probably put something in between the cover of the notebook and the first few pages so that you don't poke holes all the way into your pages. I used a long, thicker needle to poke holes through my template into the cover of the notebook itself. After this was done, I chose what colors of thread I wanted to use and started threading them through with the needle. I taped the loose ends of the thread to the inside of the front cover. For the notebooks I wanted to use the llama stickers with, I planned a zig-zag design to kind of look like a hill that the llamas could be climbing up. For the final two notebooks, I thought it would be cute to make some tree branch and leaf designs for the bird stickers to be resting on. Once I got all of the thread designs done, I added the stickers that I wanted to each notebook cover (you will be able to see the stickers when I show you the final products). I knew that I wanted to cover up the taped thread that was on the inside of the notebook covers and my crafty mother luckily had some sheets of kraft paper that we could cut the size of the cover. Before I stuck this paper on the inside of the cover to cover up the loose ends, I added another touch to these notebooks. My mother made a great suggestion: add a piece of ribbon to be used as a page marker like you often see in fancy notebooks. To do this, I found matching ribbon and cut a piece about 1 1/2 times the length of the notebook cover. This allowed enough length for the ribbon to be able to be glued to the inner cover and for it to hang between the pages. I also added a bead to the end of each page marker ribbon and used a lighter to burn the edges of the ribbon so that it wouldn't fray. Because most crafting ribbon is made of some kind of synthetic stuff, applying a gentle flame to the end very quickly kind of "caramelizes" the ribbon end and seals it up so it doesnt fray. That was a terrible description of he science behind all this, but you hopefully get my point. Once the ribbon was secured to the inside of the cover, I then added the piece of kraft paper to cover up the thread end and make the notebook look seamless. I used a combination of strong, double-sided crafting tape on the edges and liquid glue in the center of the page to make sure this piece of paper stuck really well over the ribbon and thread. And then the notebooks were done! Here are the final products, complete with their stickers and page markers. What do you guys think! I love how these turned out and really appreciate LaurDIY and my mother giving me the inspiration to get them just how I wanted!
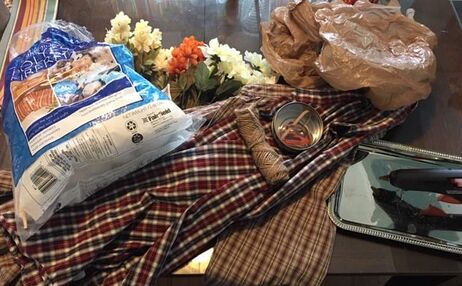
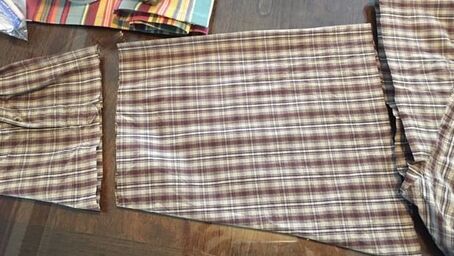
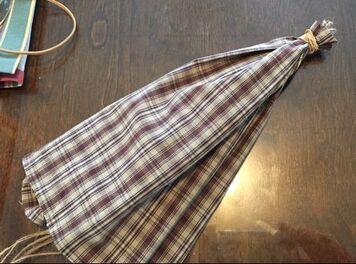
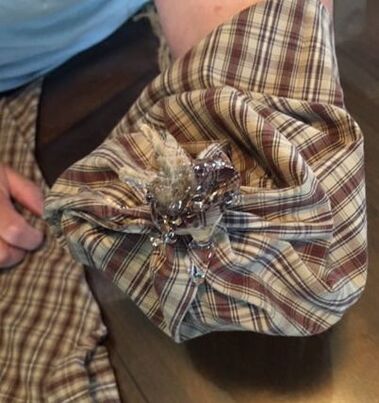
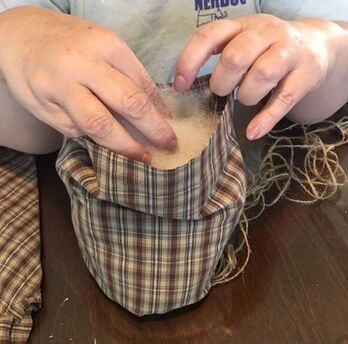
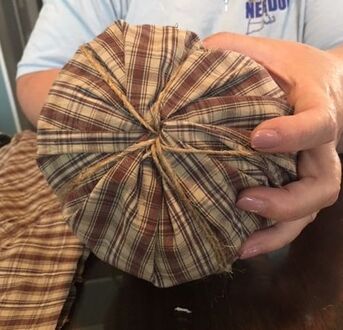
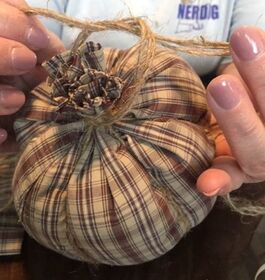
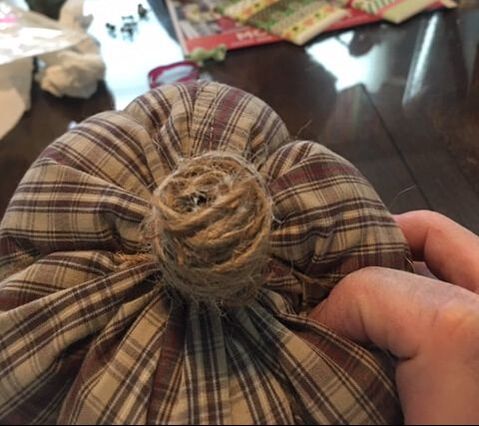
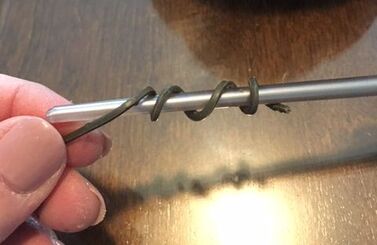
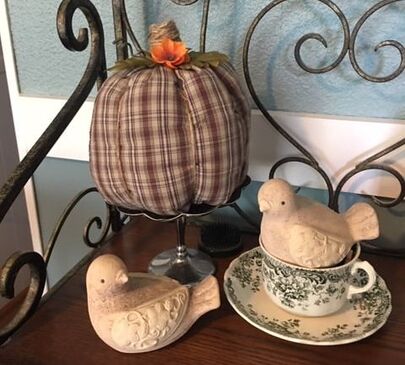
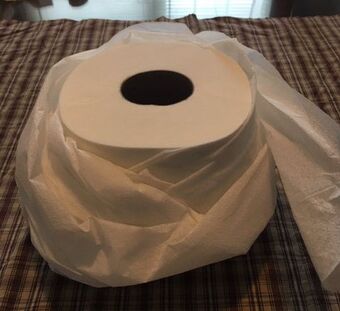
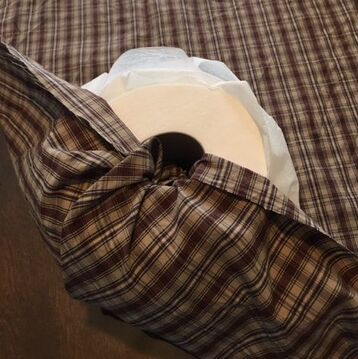
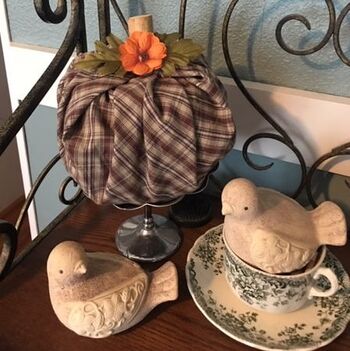
- Rebecca Hi All! It’s Suzanne, Rebecca’s Momma, cooling things down a bit during the dog days of August. Before we know it, autumn will be here, so today I’m going to show you how to turn a plaid shirt into a trio of cute pumpkins to add a little fall flair to your home. I picked up, for just $1 each, a couple of size XL men’s shirts at a yard sale recently with the intention of crafting with them. First, I ran them through the wash and gave them a quick ironing, just to take the worse of the wrinkles out. Today, I’m going to use just one shirt and will keep the other for another set of pumpkins. In addition to the shirt, you’ll need a glue gun, twine, polyfill or plastic grocery bags, some fake florals and a pair of scissors. Pumpkin 1 is going to use the sleeve of the shirt. Cut the sleeve straight from the underarm to the outside edge and straight across, just above the cuff. This will leave you with a tube. Turn the tube inside out and lay 6 pieces of twine inside the tube. The length of the twine should be about double the length of your sleeve tube. Gather the larger end of the tube together with the twine in the center and secure the end tightly with a rubber band. Once secure, add a little hot glue over the end to ensure that the twine does not pull out when tugging on them later. Let the glue dry, then turn the tube right side out. The twine should now be hanging out of the bottom of the tube. Stuff the tube with polyfill to about two inches from the top. If you wish, make this an even lower cost project by stuffing with recycled grocery bags. Once the pumpkin is tightly stuffed, gather the top of the tube together and bring the strands of twine up, all around the pumpkin, separating it into 6 equal parts. Hold everything together with another rubber band. Once the top is cinched together, it’s time to fuss with it. Pull each piece of twine and the top of the fabric bit by bit until you have the shape you are looking for. Once you have the shape and separations to your liking, take three strands of twine to one side and three strands to the other side and tie a tight knot. Starting with one set of three, wrap the twine around the nub of fabric to start to create the stem. Secure the end with hot glue and wrap the second set of three over the first. Be sure to leave a bit of twine to circle over the top of the nub to completely cover the fabric. Decide which side you like the best and that will be the front and the side featured by a little additional decoration using the fake florals. First, use the actual wire stem of the floral bush to make a tendril. Wrap it around a paint brush or pencil and glue at the base of the stem. Leaf options are many. You could grab a couple from outside, cut some out of paper or, as I did, use some silk ones from the fake floral bush. Since the plaid of my shirt was a bit muted, I also added a little orange silk flower to the center of the leaves. Cute and done! Pumpkin 2 is a repeat of Pumpkin 1, since, you know, shirts have two sleeves! Pumpkin 3 is a bonus project and one perfect for anyone who has no room to store seasonal décor. For this one, you’ll cut out the back panel of the shirt to make a square of fabric roughly 20 inches by 20 inches. The secret inside of this pumpkin is a household necessity, a roll of bathroom tissue. Unroll approximately 15 to 20 feet of the roll and reroll it loosely with a twist every now and then, to puff it up a bit. Place the roll in the center of the square of fabric. Gather up one corner of the fabric and stuff it into the center of the roll. Repeat with the three additional corners. Voila, a pumpkin! Tuck a stick in the hole for the stem. For this little guy, I used the same leaves and flower as the first pumpkin, gluing the flower to the leaves, but just laid that piece at the base of the stem. The beauty of this pumpkin is that since nothing is glued in place, it can be easily disassembled after the season. And here it is! The fabric and flower/leaf can be stored in very little space and the roll of bathroom tissue can be returned to its, ahem, original use. Next year, grab a new roll and rewrap it!
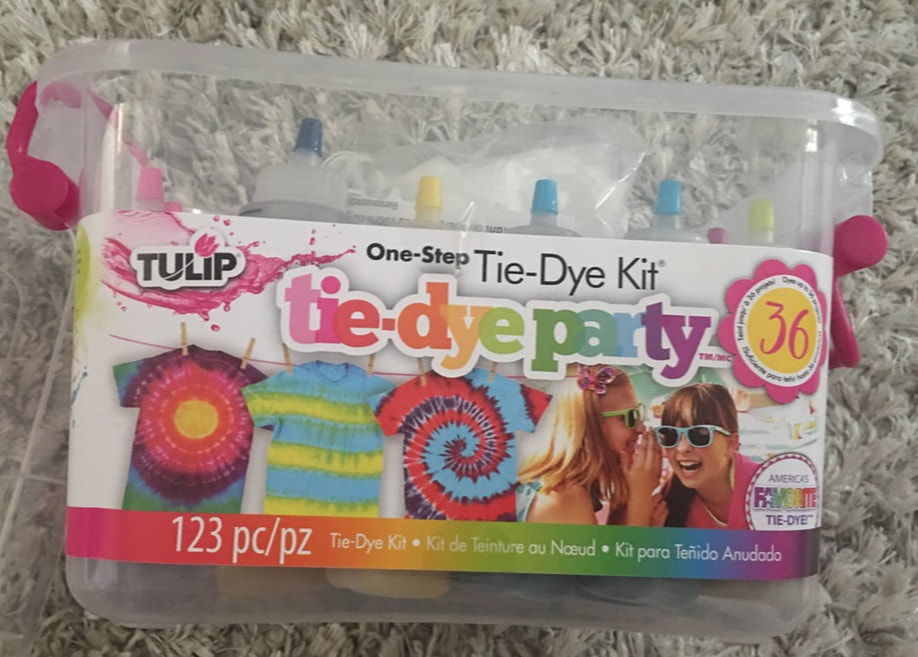
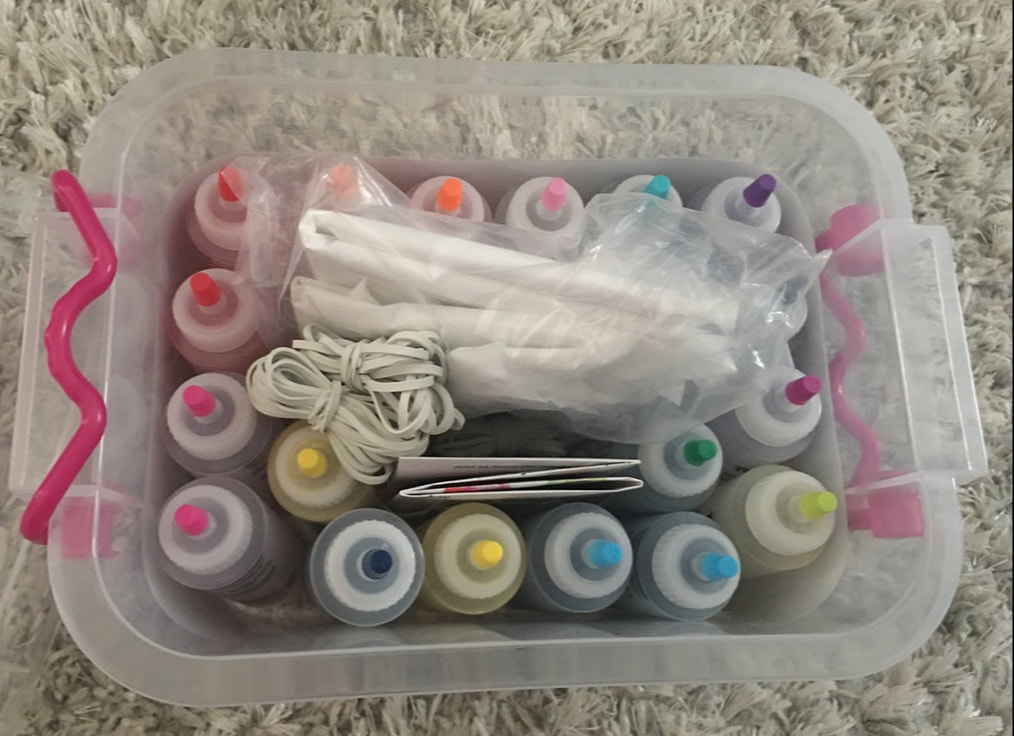
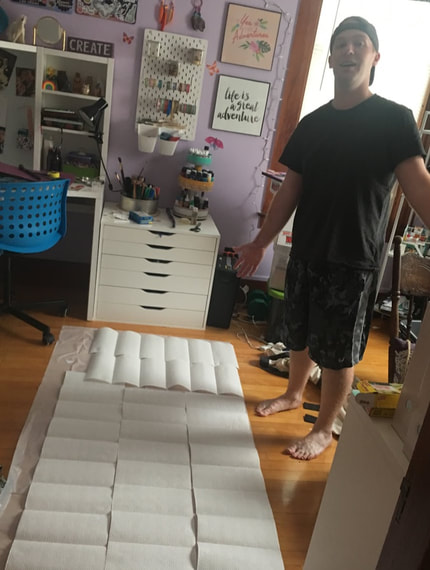
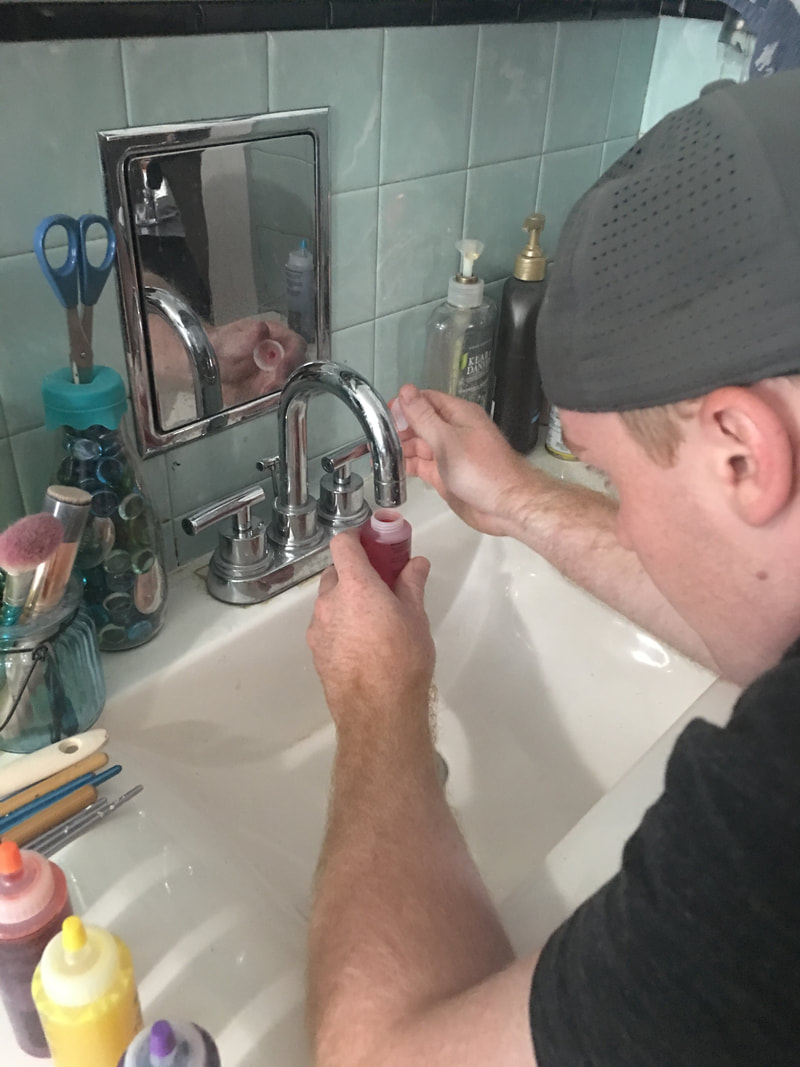
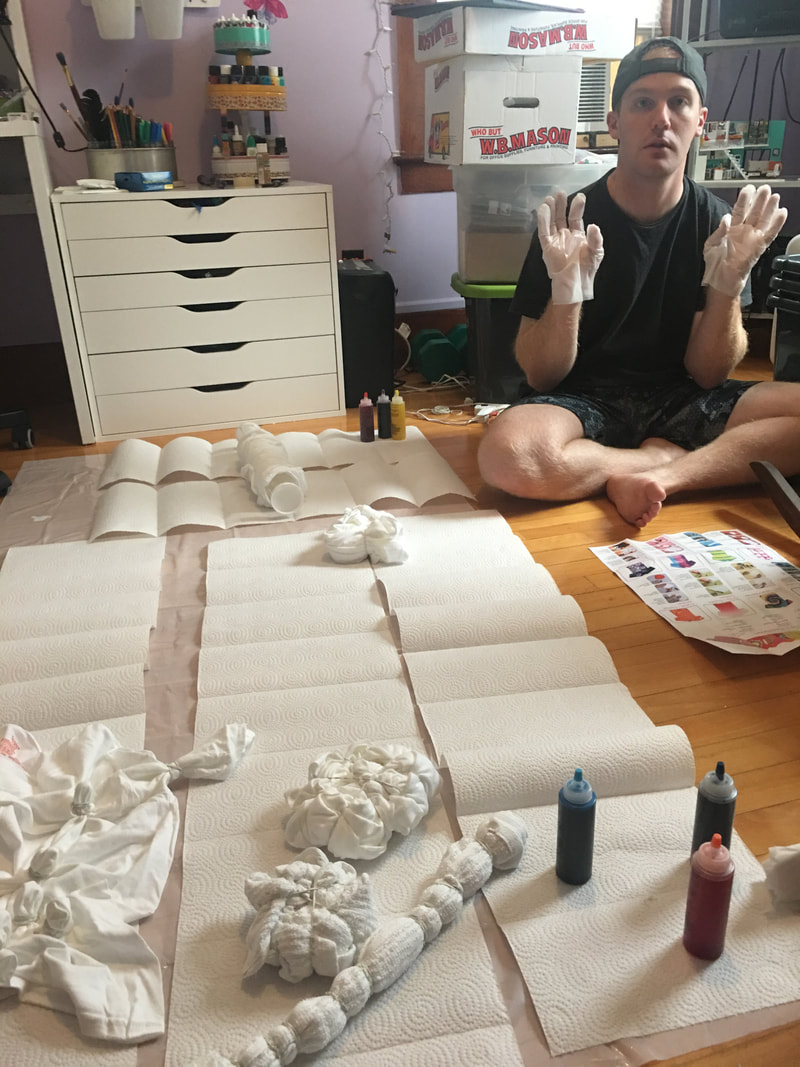
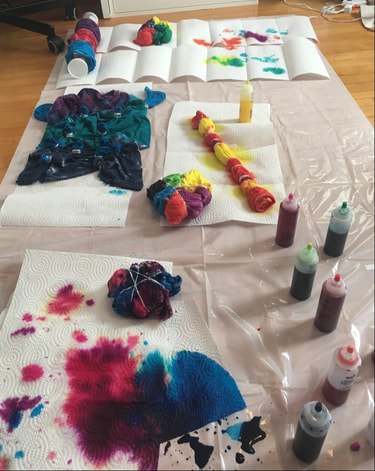
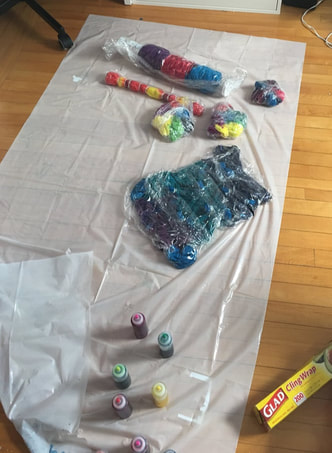
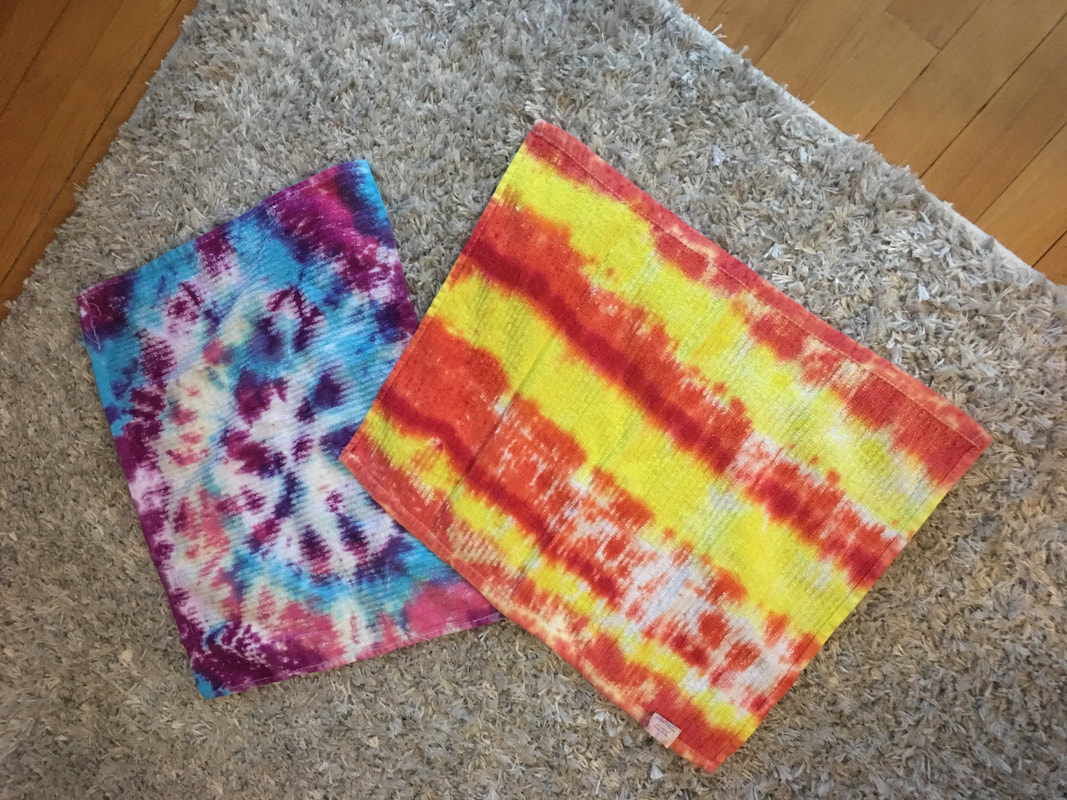
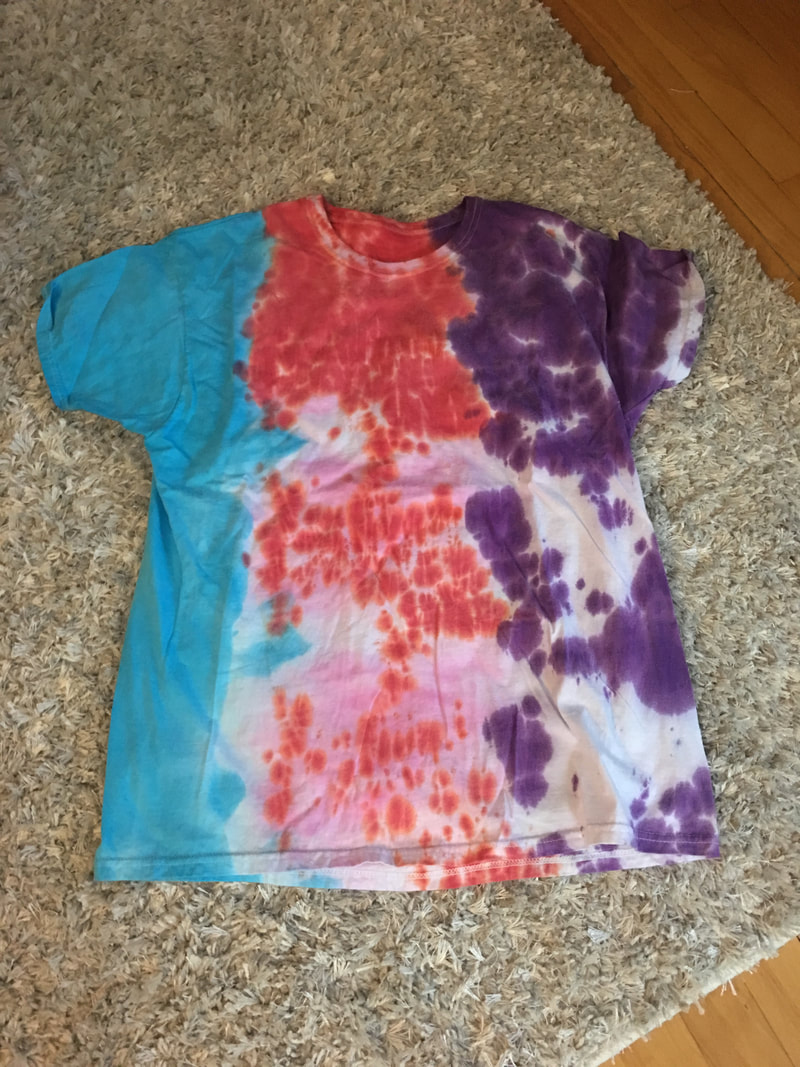
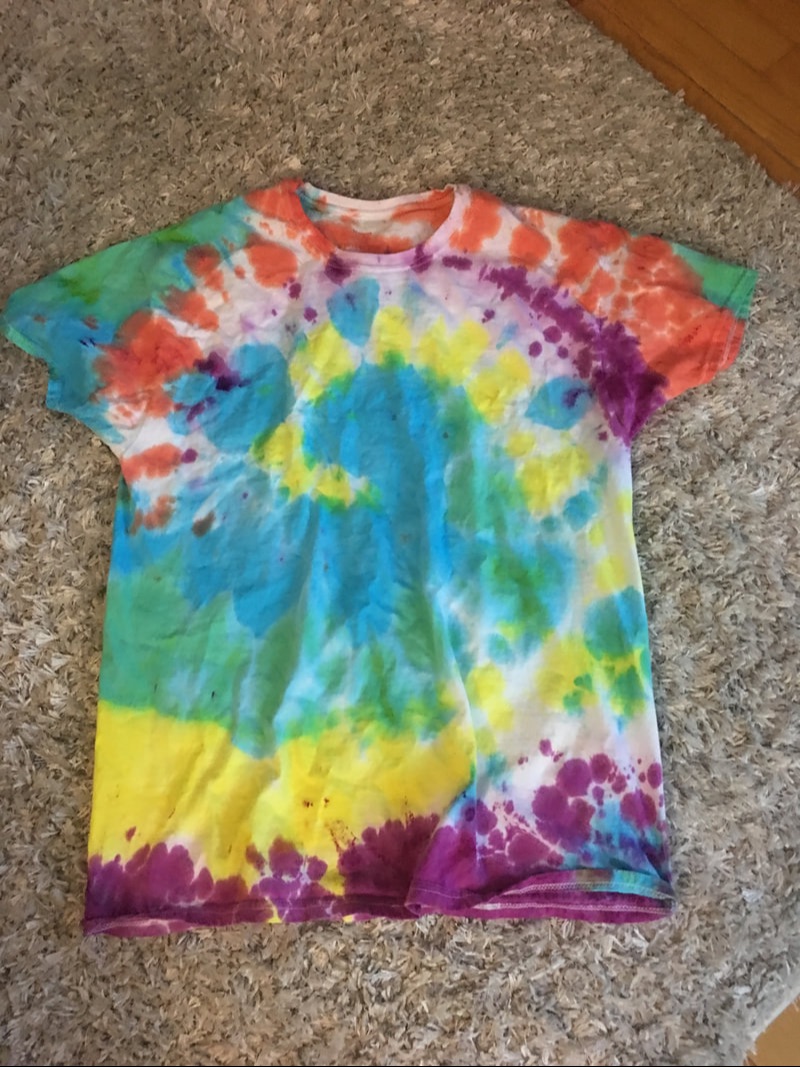
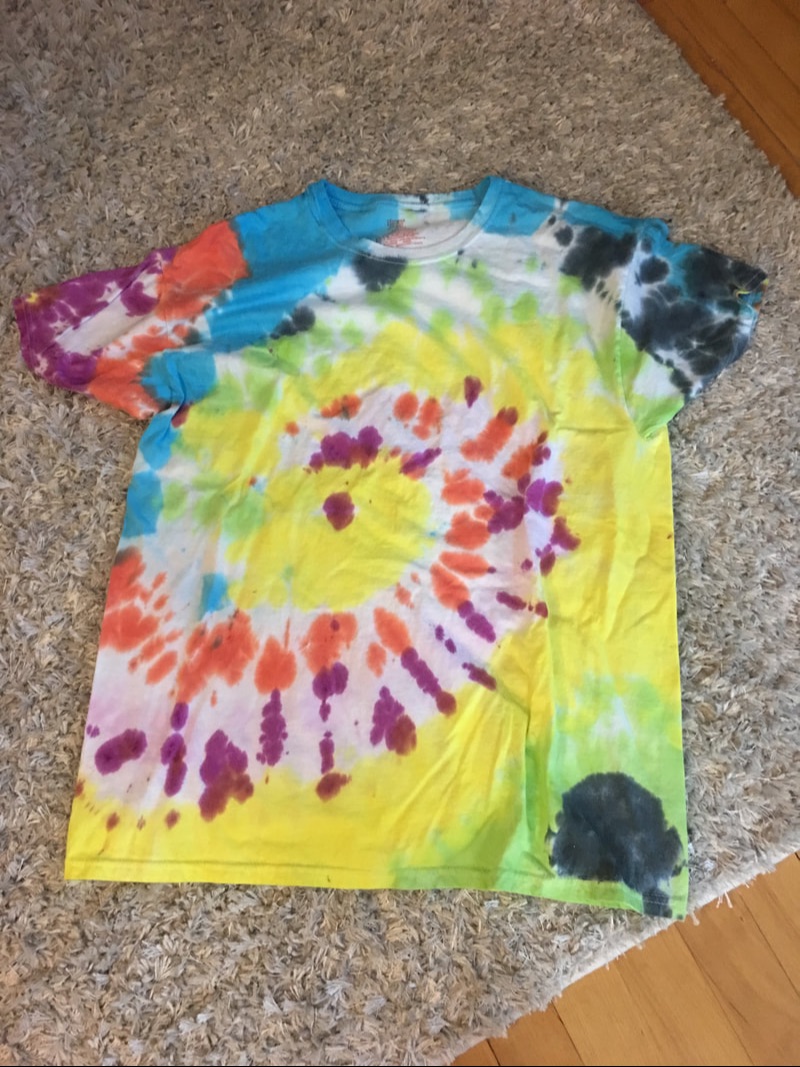
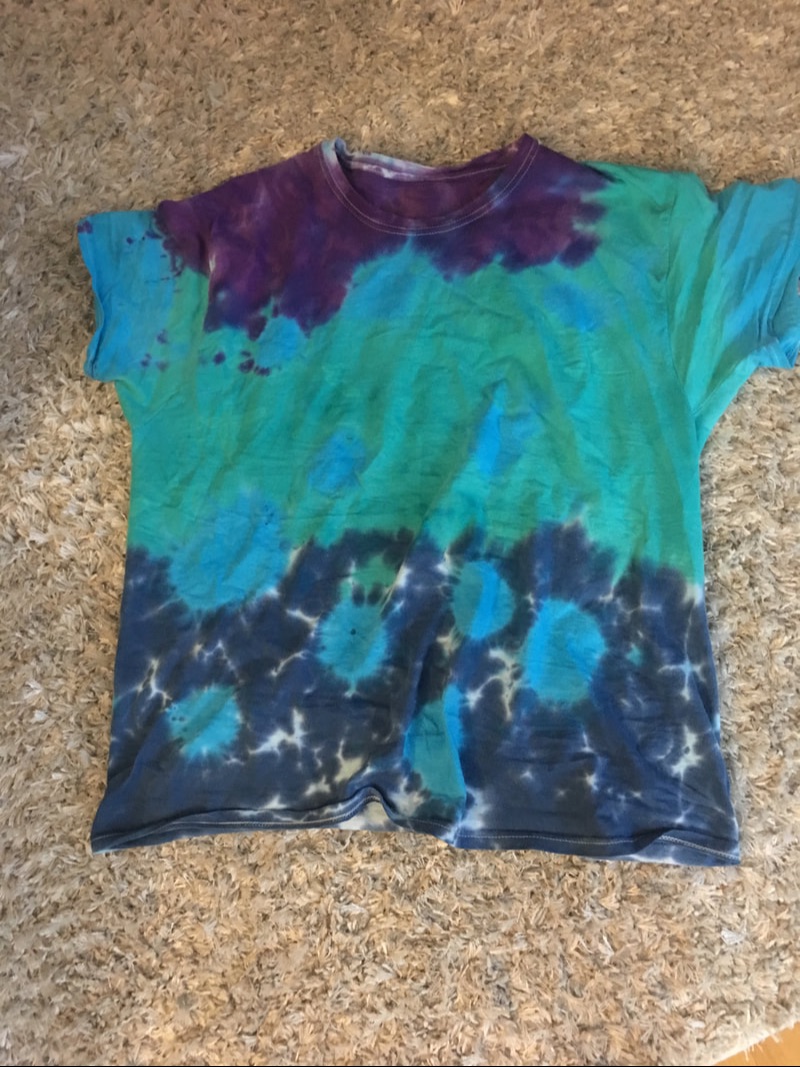
Happy Fall, y ’all! Happy Wednesday everyone! How are you doing? Today's blog will document the adventure that my boyfriend and I embarked on when trying tie-dye at home. I think the last time I tie-dyed before this craft was maybe a birthday party when I was about 8 so this was a fairly new experience for us both. We bought this tie-dye kit on Amazon and I think it's meant for a child's birthday party, but it looked like it would get the job done. I had bought some white kitchen towels at the dollar store and wanted to try and tie-dye those to see if they would be cool enough to sell and we also bought a pack of men's white undershirts to try as well. We started off this craft really strong by not following the directions which told us to wash the fabric first to get rid of anything left on the fabric from the factory or store. We chose to ignore that step and got right to prepping our surface. We did this on the floor of our craft room, placing down the plastic liner that came in the box and then covering that with paper towels as per the directions. Once we got the floor all ready, we filled up some of the bottles of colors from the kit. The bottles each come with a little bit of colored powder at the bottom. You fill the bottle with water and shake it up until the powder and the water are fully mixed and then you have your colors. We originally just got a few colors ready, but then realized that we underestimated that amount of dye we would use and ended up mixing all the colors. The directions had a really helpful guide that showed you how to tie up and apply die to get some classic tie-dye looks such as a spiral, striped or sunburst design. My boyfriend (his name is Sean so I will now stop saying my boyfriend and just say Sean) and I each decided to make one spiral shirt and I wanted to try this technique on a towel as well. For Sean's second shirt he wanted to try something called the shibori method which is supposed to give the shirt a sort of crinkled appearance. I just went rogue on my second shirt and went for a sort of polka dot pattern with various colors and for the second towel I attempted a striped design. We tied up our fabric and then got to dyeing! It took us maybe an hour or so to dye everything and I did notice that the towels did not absorb the dye as well as the cotton shirts did. The shirts easily soaked up the dye, but the towels were fairly resistant to the dye and you had to apply it very slowly or it would all just pool up and drip off instead of soaking in. We used gloves while dying (most of the time) but still managed to stain our hands a decent amount. After we had everything dyed, we wrapped each item up in plastic wrap per the directions and let it sit. We let the pieces sit for over 8 hours as we carried on with our day. After letting them sit, we took each piece and brought it to the sink to wash out the dye that hadn't been soaked into the fabric. This was actually kind of difficult as there was so much dye in the fabric and it took a while for the water to run through the pieces semi-clear. After we washed out the pieces by hand, we threw them in the washing machine with a small amount of detergent. The directions said to use hot water, but for some reason our washing machine wasn't really in the mood for hot water so we just used cold instead. After washing, we threw the pieces in the dryer and then we got to see what they really looked like! The towels definitely didn't come out as good as the shirts and I'm still trying to decide if they are cute enough to sell. Since the dye had a harder time getting into the towels, the designs came out a little more splotchy. But I still think they are cute overall and maybe we will use them in our kitchen! And here are Sean's shirts! He was a little disappointed with his shibori shirt as the colors were kind of uneven, but I still like it. His spiral shirt came out awesome! And here are mine! My spiral was not quite as good as Sean's but it still is cute. My favorite shirt of mine is the one where I went rogue and made polka dots everywhere. This was such a fun craft and a great project for Sean and I to do together on a Saturday. What do you guys think of our attempt at tie-dye?
- Rebecca |
AuthorI am a 27-year-old crafter and baker from New Hampshire! Archives
July 2024
Categories |

 RSS Feed