|
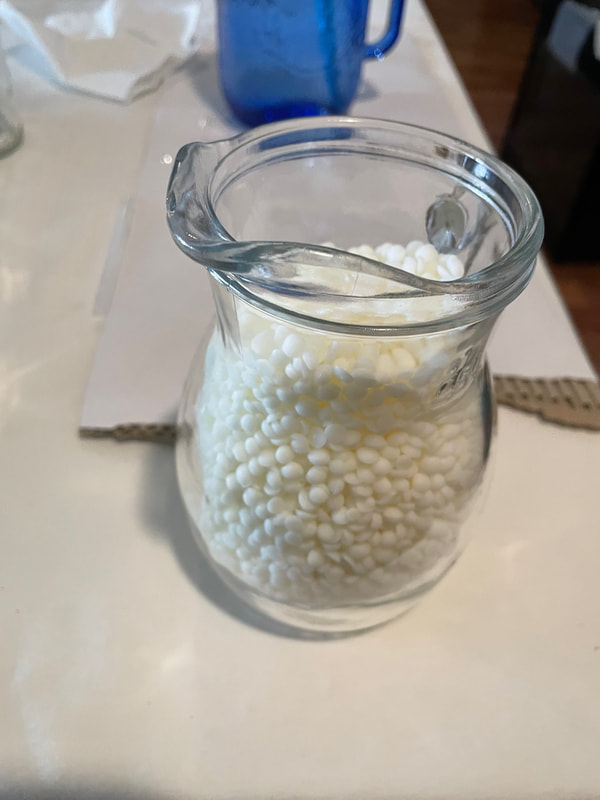
Hello everyone! Today I am back with Part 2 of the candle project I started a few weeks ago. You can get caught up on part one here: recycled-rustic-candles-part-1.html. This is actually going to have one other part in the future as I still have some work left to do on these, but I will catch up with what's happened recently! Where I last left you, I had started crocheting some cute little koozies to go around glass jars I had collected and planned to turn into candles. The crocheting is still in process as I have quite a few to make, but the step I took care of most recently was the candle-ification. The wax that I used for this project were these soy wax beads that came in large bags. I bought two 5 pound bags for this project and ended up running out so I will need to buy another 5 pound bag. I did a price comparison of looking at some wax like this at Michaels and these bags that I found on Amazon were significantly cheaper than buying it in stores. This wax was microwavable and very easy to use; I picked up a glass jug with a pour spout from a thrift store and used that to melt the wax. It took many rounds of melting and pouring as my jug was fairly small, but it was an easy process overall.
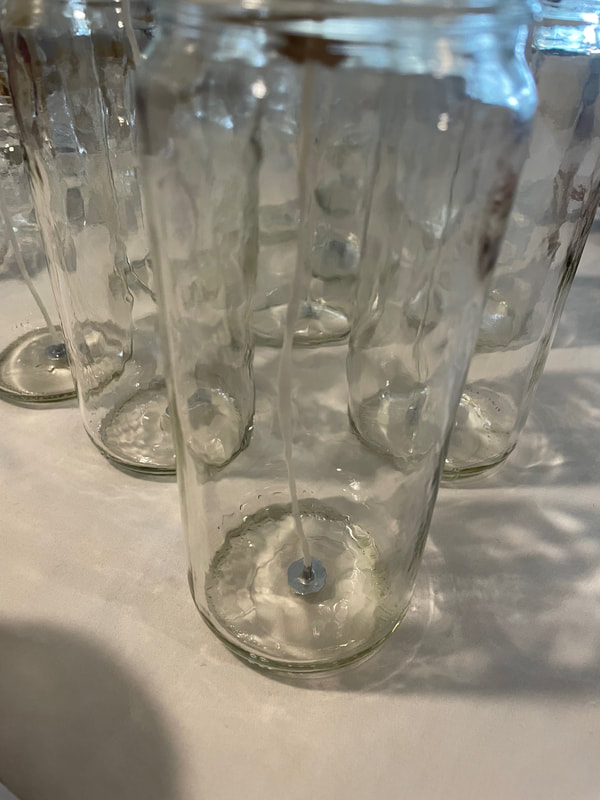
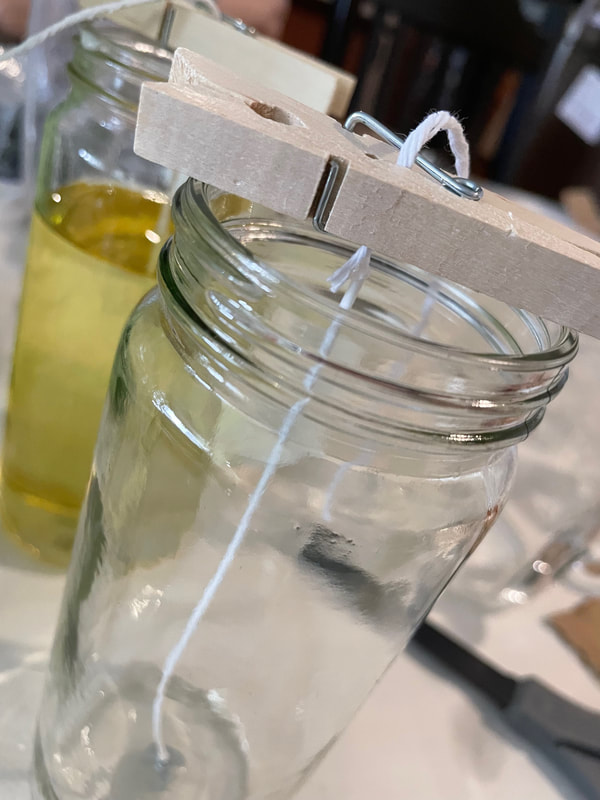
To attach the wicks to the bottom of the jars, I used a dab of hot glue on the metal bottom of the wick. I then used a large clothespin to keep the wick in place. For the taller candles, I was having trouble keeping the wicks up as they were just tall enough for the jars and there was no overage at the top for the clothespin to hang on to. My mother had the very smart idea to hot glue a piece of string to the very top of the wick to allow me to hold it up, I can then cut that bit of the wick off when I am done pouring.
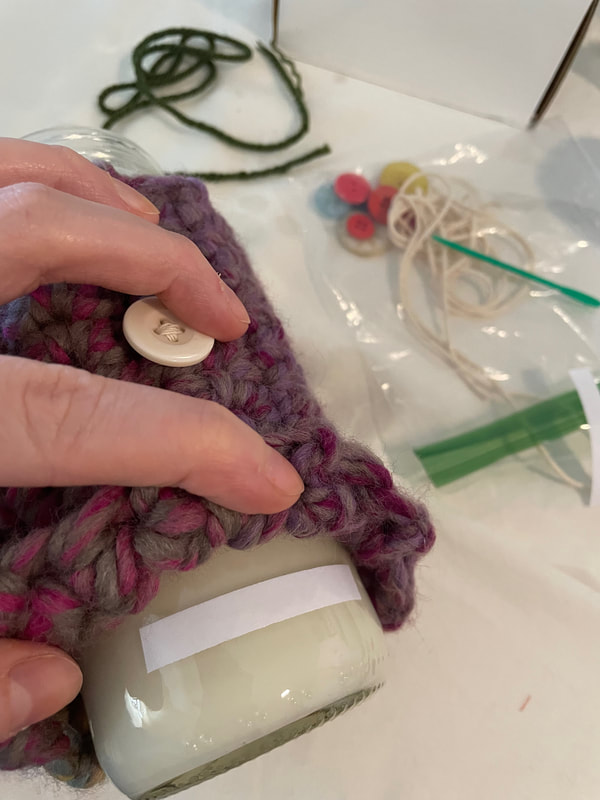
I made half of the candles with just the unscented wax as I know some people are not a big fan of fragrance. I then used a vanilla fragrance oil to add some scent to the other half of the candles. I will be honest that I did not really have a measurement for the fragrance oil and simply added until I thought it was smelly enough. 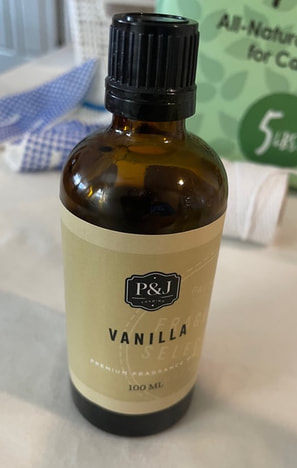 The unscented half I was able to get all poured and all the koozies completed. To protect the tops of the candles I punched out a circle of parchment paper with a tiny hole in the middle for the wick, This allowed the paper to sit flush on the candle and hopefully prevent any dust from clinging to the top of the candle while they sit and wait for craft fair season. I was also somewhat worried about the yarn koozies slipping off as people were handling the candles so I went ahead and added a few strips of double sided tape between the glass and the yarn to better keep them in place. This adhesive would be permanent if used on paper, but with the glass and yarn it will simply provide a light hold. If someone wanted to remove the koozie and reuse the jar after the candle was burnt, they should be able to easily pull the yarn away from the adhesive and then remove the adhesive from the glass with some adhesive remover or perhaps soap and patience!
That's where things stand at the moment for these candles! The unscented batch is all done and, as I mentioned above, I will need to get some additional wax to finish pouring the scented ones. I also need to finish crocheting some more koozies and make tags for both the scented and unscented batches. In part 3 I will show you all the finished batches, along with the tags and what all the crocheting looks like! Let me know what you think of these candles so far in the comments below!
- Rebecca P.S. Today's photo on the homepage comes from Pexels user Rene Rasmussen: www.pexels.com/photo/pillar-candle-near-clear-glass-window-1405520/
2 Comments
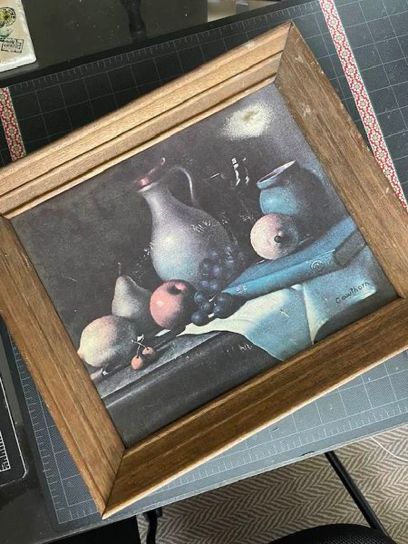
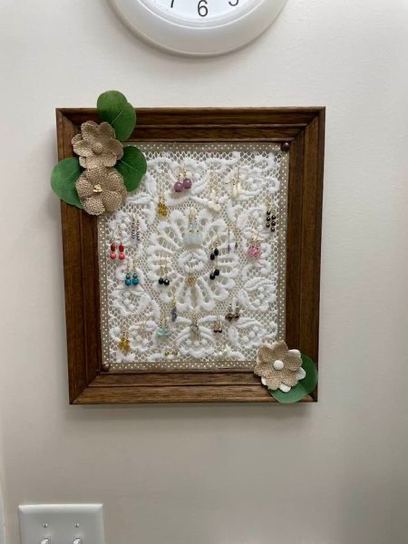
Hi everyone! It's Suzanne, Rebecca's Momma, happy to be back with you on the blog. One thing the Patterned Paper Dad and I really enjoy doing now that the weather is good is taking a drive to see what treasures we can find at local thrift stores and yard sales. On a recent excursion, we went to a thrift store that looked like the owner might drive around and pick up all the boxes that get left out for free at the end of a yard sale. It was a little overwhelming but amid the chaos, I found an old sad framed picture and doily which had seen better days. I've been trying to come up with a way to display my earrings so that when I get dressed in the morning I can find a pair that match what I'm wearing. I have quite a few beautiful pairs of earrings that my talented sister made but I found I was not wearing them because I'd have to go dig in my jewelry box to find them. When I saw the frame and doily, I was reminded of something I’d seen in my niece Corinne’s bathroom (we are a crafty family!) and an idea started brewing. Since I was able to purchase both for just a couple of dollars, I decided to give it a try. The first thing I did was remove the old, warped cardboard print from the frame by pulling out the staples that were holding it in place. I gave the frame a good scrub and let it dry thoroughly. I ran the doily through the washing machine but it was still stained and discolored. To try to bring it back to original whiteness, I soaked it in a bleach bath for about half an hour and then rinsed it thoroughly. That got rid of all the discoloration and I was ready to go.
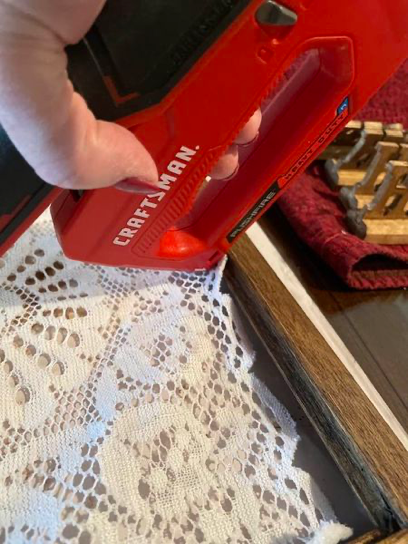
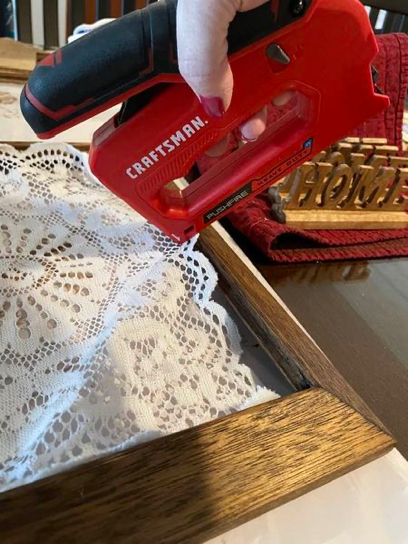
 I started by giving the frame a coat of brown wax. That helped bring the finish back to life a bit and even out the color (Ignore the other items I’m waxing – you may see those on a future post!). 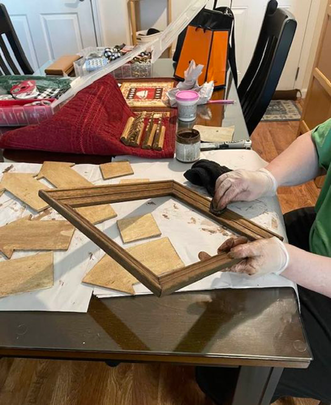 After both the frame and the doily were dry, I used a staple gun to begin stretching the doily into the back of the frame. I started in the middle of each side and then continued to add staples, pulling the doily tight.
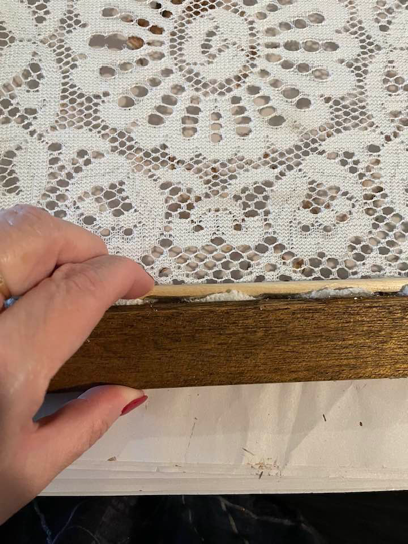
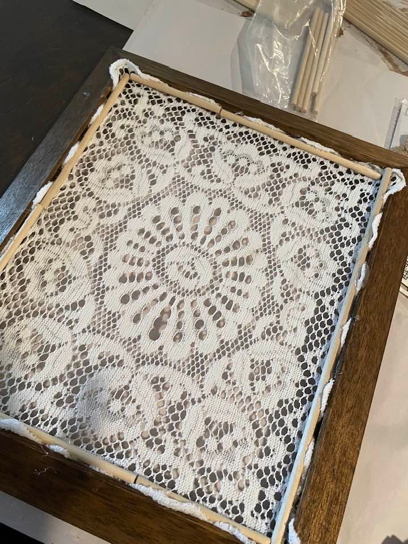
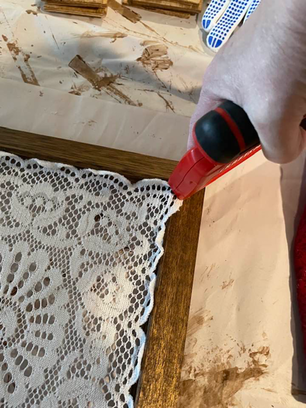 After going around the perimeter of the frame stapling in the doily, I used some small dowels and hot glue to secure the doily even tighter.
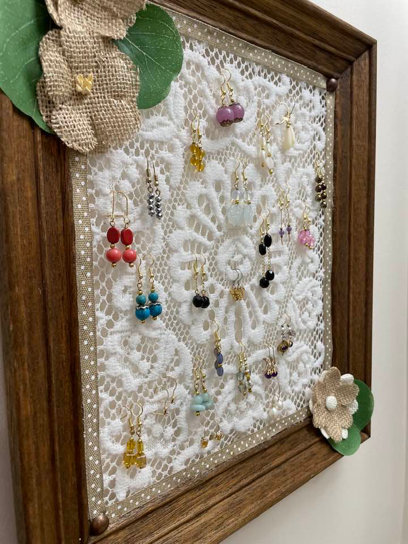
Now that the basic construction was done, it was time for decoration. The first thing I did was add a piece of ribbon around the inside of the frame. This added a bit of color and helped to hide the dowels on the back as well as the hot glue holding the towels in place. I then added some leaves and burlap flowers into two corners of the frame and a couple of upholstery tacks into the other two corners to finish them off neatly. 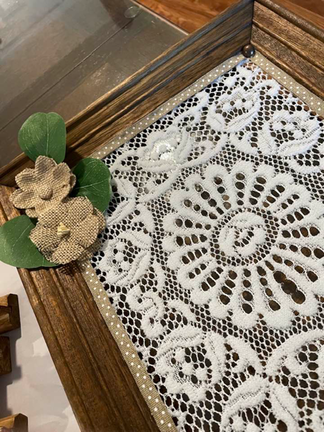 I added command hooks to the back of the frame and was ready to put my new earring holder up on the wall. 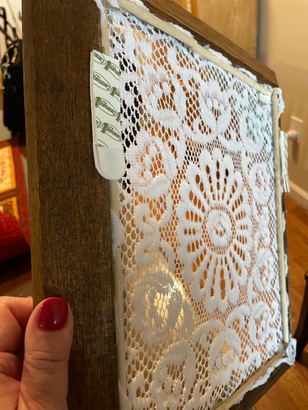 Because the command hooks allow the frame to sit away from the wall a bit, it's easy to pass the French wires of my earrings through the doily to hang them. Now I'll be able to see them each morning and find a pair that match my outfit for the day.
I hope you enjoyed this little trash to treasure project and are inspired to look at old junk with fresh eyes. See you next time!
P.S. from Rebecca: Today's photo on the homepage is from Pexels user Maria Tyutina www.pexels.com/photo/small-flowers-on-a-white-and-blue-fabric-7498816/ P.P.S from Rebecca: Don't forget to check out the Etsy shop to see if anything strikes your fancy! www.etsy.com/shop/patternedpaperplate?ref=shop_sugg |
AuthorI am a 27-year-old crafter and baker from New Hampshire! Archives
July 2024
Categories |


 RSS Feed
Proudly powered by Weebly