|
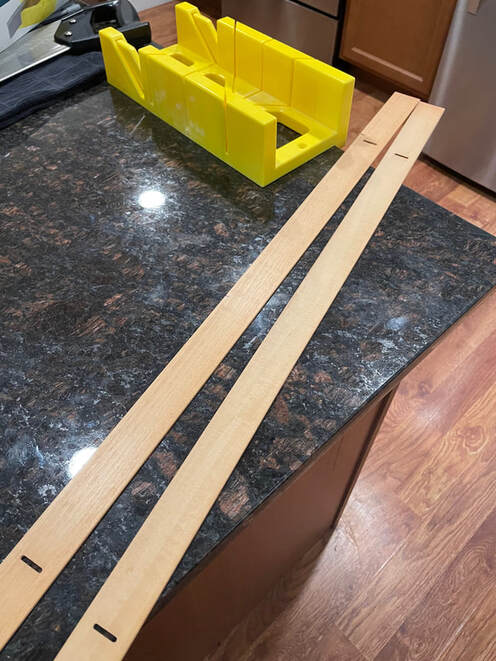
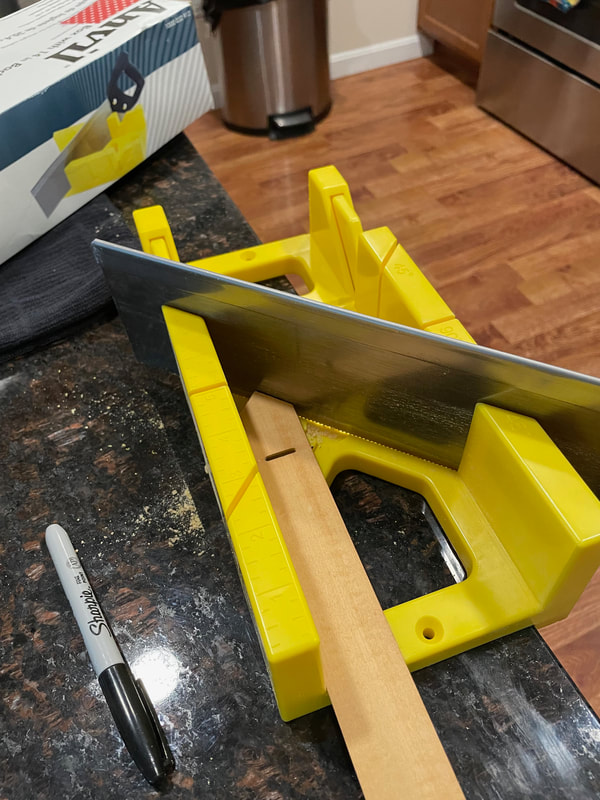
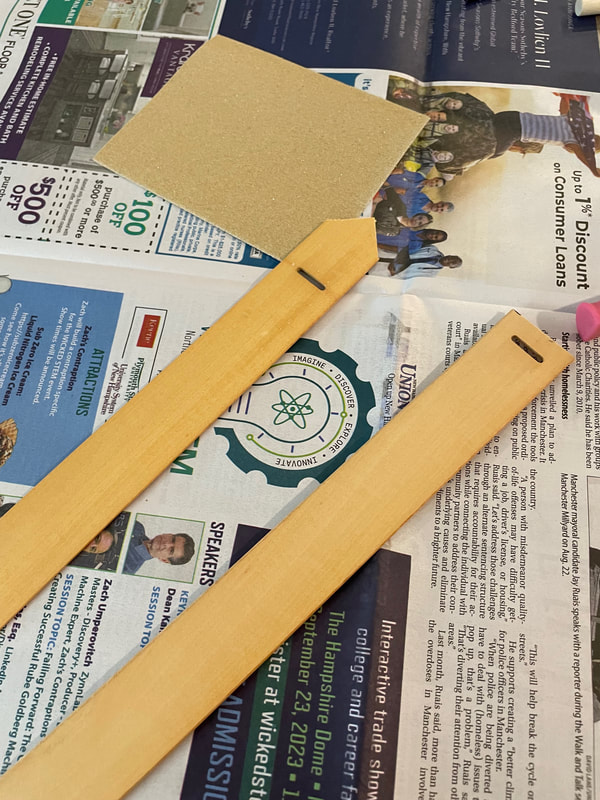
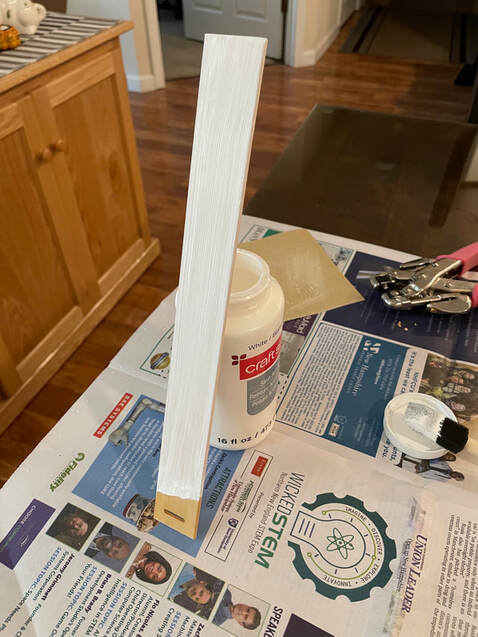
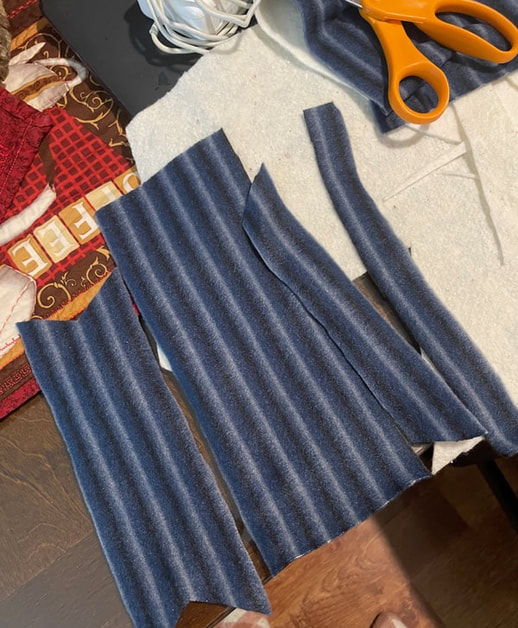
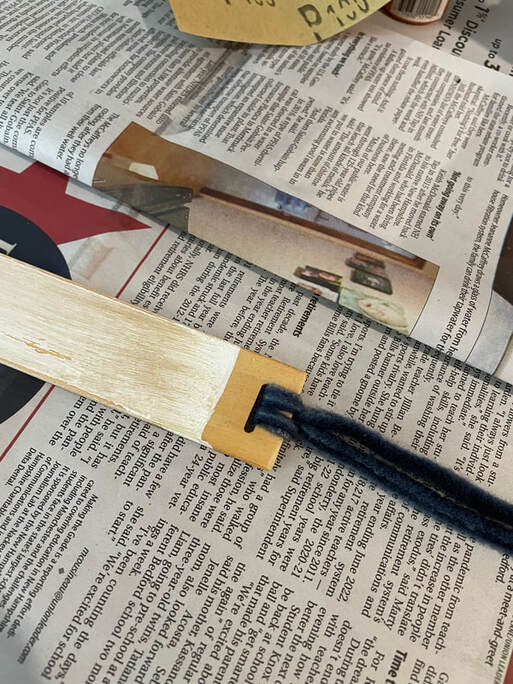
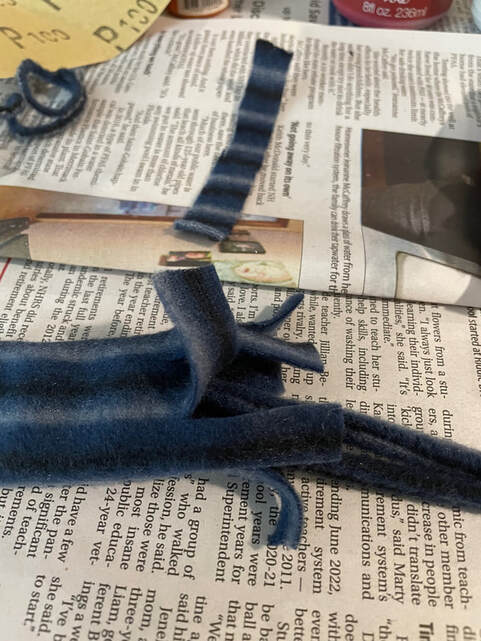
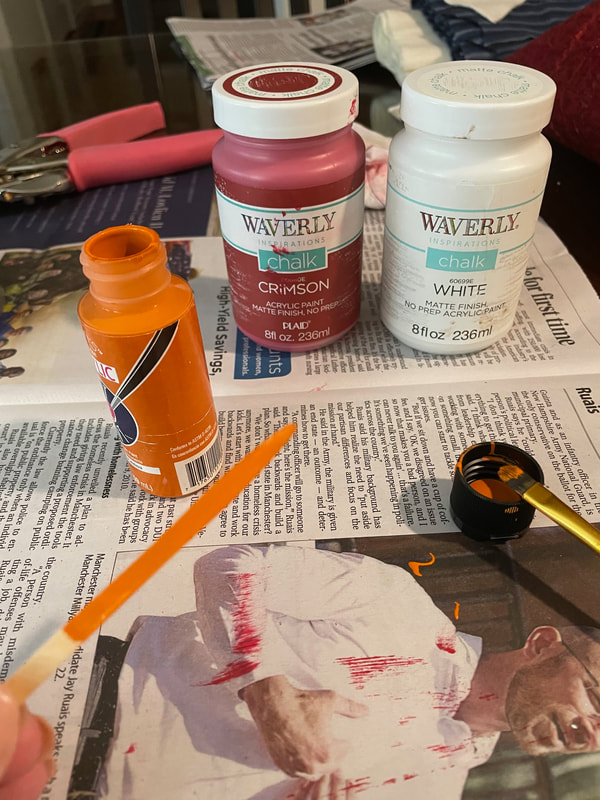
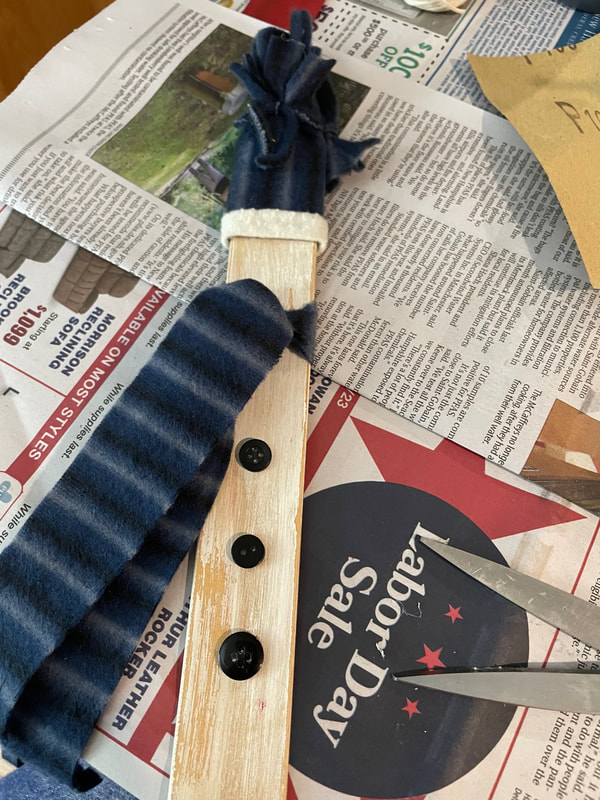
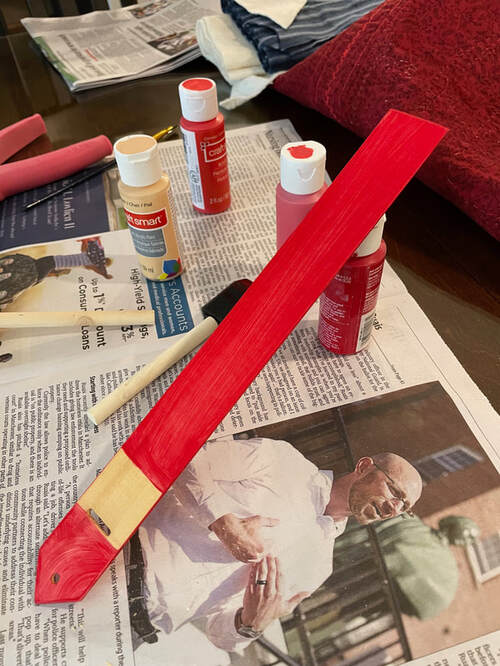
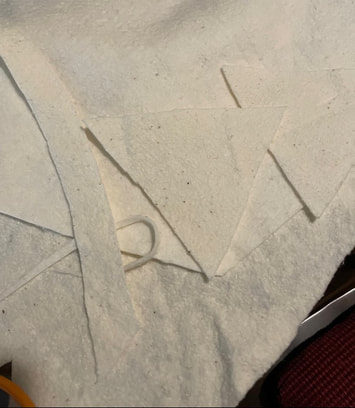
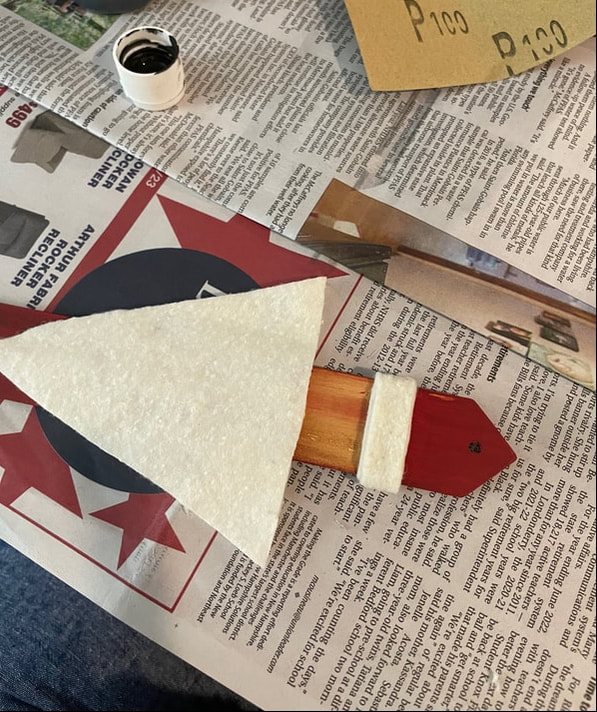
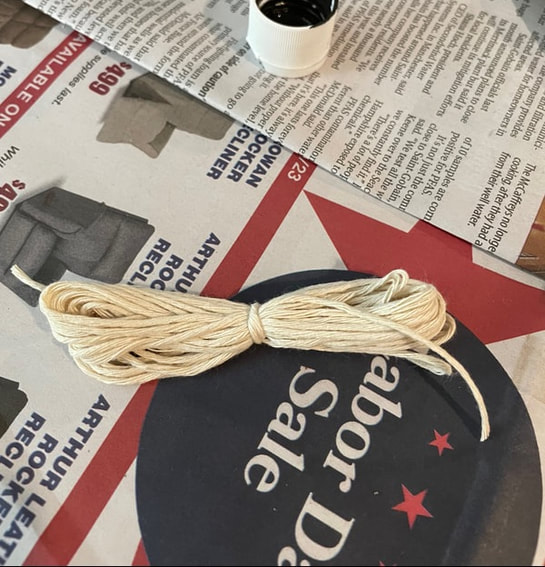
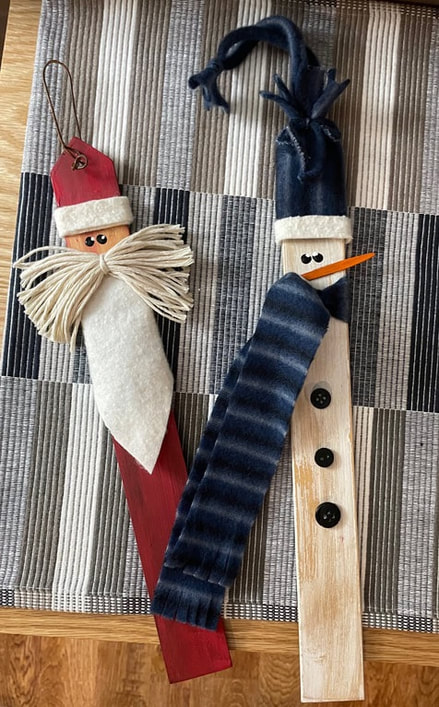
Hello friends! It is Suzanne, Rebecca’s Mama, happy to be back with you on the Patterned Paper Plate to share another cute upcycle project. My brother recently texted me and asked if I was interested in some wooden slats from the mini blinds he and my sister-in-law were switching out in their home. Since I am never one to say no to a potential craft supply, I of course went right over to pick them up and started thinking about what I could make. Since I was preparing for several craft fairs, I decided that Santas and snowmen were the thing to make. I started by cutting down the slats to twelve inches long. For the snowmen, I trimmed just above the hole (where the string to raise and lower the blind would be) because I knew it would be a perfect place to run a hanger through. For the Santas, in addition to cutting the length, I also cut the top into a point to mimic the top of Santa's hat. I also left the hole in these because I knew I could cover it with the fur on Santa’s hat. All these cuts were super easy to do using a miter box and saw because the blind slats are quite thin. Once everything was cut down, I gave the pieces a quick sanding and got to painting. First, for the snowmen, I used white paint over the entire piece, except for the very top, which I knew would be covered by a hat. Using a fleece scarf, I had picked up at the Dollar Store, I cut log a long, thin piece to function as a hanger, another long but wider piece to be a scarf and a rectangle and smaller strip to make the hat. I pulled the long thin strip to make it curl over onto itself and then ran it through the hole in the piece and tied it off. I also used my favorite antiquing wax to “grubby-up” the white. Next, it was time to hot glue the rectangle to the top of the piece, with the hanger coming out of the top. I cut into the top of the “hat” to make a pompom and tied the smallest piece of fleece around the fringe and the hanger to close it up. With a little orange paint onto a toothpick shaped piece of wood, I had a carrot nose. Two tiny black dots (with an even tinier white dot for a pupil) for eyes – for some reason, I just love the look of a big, long nose, some tiny eyes, and no mouth on my snowmen – and his face was done. I tied the longest strip around the “neck” of my little guy, added three few buttons down his front and put some glitter glue in the buttons for a bit of sparkle. Santa is just as easy. To start, I used a strong punch (something called a “crop-a-dile,” though a small drill would work as well) to put a hole in the point of his hat. The entire piece was painted in red, except for an approximately 1.5-inch swath just under the hole in the piece, where the face will be. Santa also got a coat of antiquing wax before adding his decorations. For the fur on his hat and his beard, I cut pieces of batting (like you would use in quilting). The fur on the hat is just a long thin strip that got wrapped around several times. The beard is a long thin triangle that was glued to the base of the face and wrapped to the back of the piece. Santa also needed a moustache, so I wrapped cream colored twine around my hand about twenty times, tied it off in the middle and cut the loops apart. The moustache was glued right above the beard. Santa also got some tiny black dot eyes, with the even more tiny white pupil. To hang him, I passed a length of rusty wire in through the back of the hole in the peak of his hat and curled the ends on the front. And with that, you have two adorable decorations. They could go on the Christmas tree, if you like big ornaments, but at a foot tall, they are perfect for adding a touch of holiday spirit to any small spot in your home. If you want to recreate these pieces (but do not have an amazing brother who saves things for you), you could use a paint stir stick, a ruler or even a piece of foam core board cut to size. Any scrap of brightly colored fabric could be used to make the snowman’s clothing. Cotton, gauze or even an old face cloth could be cut for Santa’s beard and hat fur. No paint? A marker would get the job done for the face features. Use your imagination and personalize your decorations any way you wish.
Happy Holiday Season! Thanks to my mother for this fun holiday craft! As we head into the holiday season, it's probably more likely that blogs will be off schedule for a while, but I'll always keep you all updated! - Rebecca P.S. Today's photo on the homepage is from Pexels user Bryan Geraldo: www.pexels.com/photo/low-light-photography-of-brown-window-blinds-586414/
0 Comments
|
AuthorI am a 27-year-old crafter and baker from New Hampshire! Archives
July 2024
Categories |
 RSS Feed