|
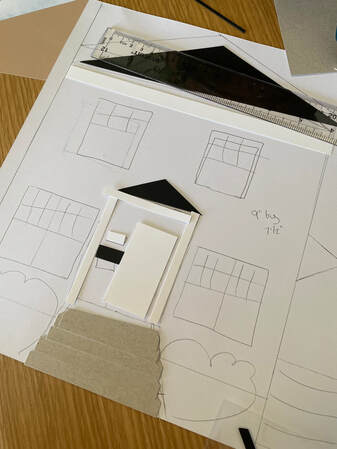
Hello everyone! I'm back with a little blog about a gift that I made for my parents. My parents are in the process of moving so I wanted to make them a little bit of décor of their current house to hang up in their new home. I wanted to do something a little different and create a kind of picture out of paper. I used a few pictures of the front of their house as a template and did some painful mental math to create a very crude template. I had a 12 by 12 frame to use for the picture so I made sure to draw the template on a 12 by 12 piece of paper to made sure everything matched up. 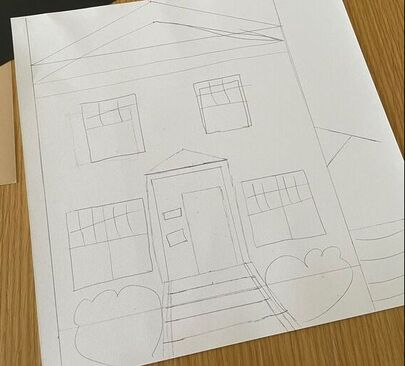 I then picked the paper that I was going to use for the project. Not pictured here is a blue/white cloud paper that I ended up using as the background. I went with kraft paper for the base of the house as my parent's house is tan. I thought that the striped tan paper worked well to give the appearance of siding. I also picked the leafy green to make some bushes out of as my parent's house has two bushes in the front. 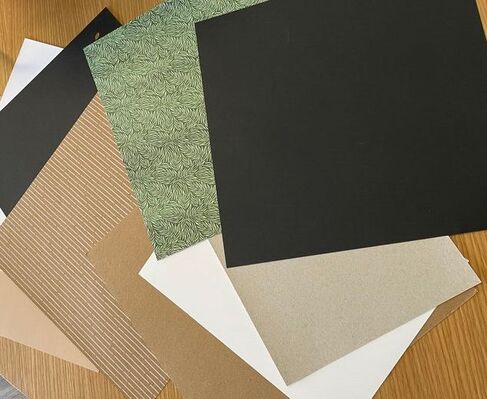 From there it was really just doing some mental math and also a lot of winging it. I used my paper cutter to cut out most of the paper pieces and did a few of the smaller, more finicky pieces by hand. As I cut, I just matched everything up to my template to make sure that it was lining up correctly.
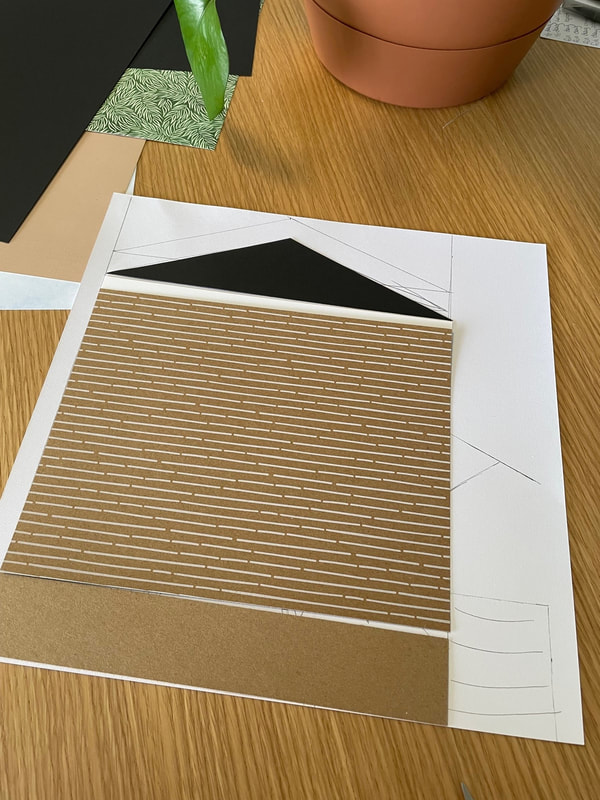
I did also use my Cricut to cut out some circles of the green paper so the bushes were roughly the same size. I then just freehanded some shrub-ish shapes out of the circles. 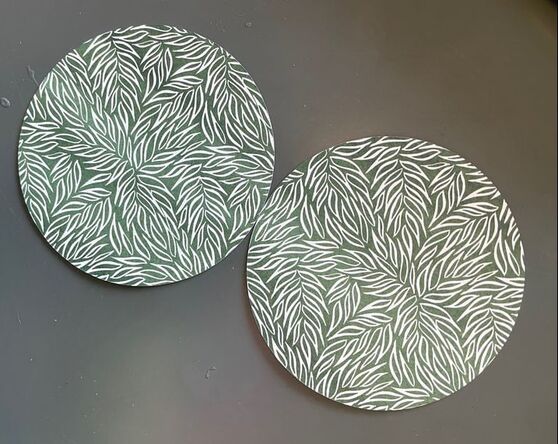 As I mentioned earlier, I used a cloud paper as the background to look like the sky and then just started gluing on all of the pieces. I used a combination of double sided tape made for paper for the larger pieces and some liquid glue for the smaller pieces. the gluing was a bit painstaking, but much easier since I had a template to work with. And here is the finished product! The little blacked out part is my parent's house number. 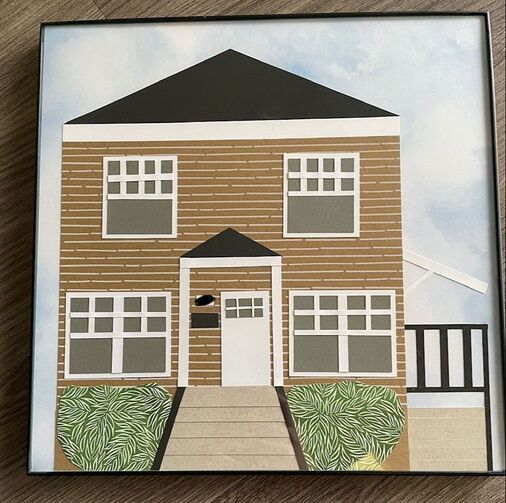 From start to finish, this project took me maybe 3 or 4 hours on a Saturday. Much like the floorplan frame I made in my last blog, I had a lot of fun doing it and would be more than willing to make one for anything interested. If so, feel free to email me at [email protected]. What do you guys think? Let me know in the comments below. Happy Sunday everyone!
- Rebecca
2 Comments
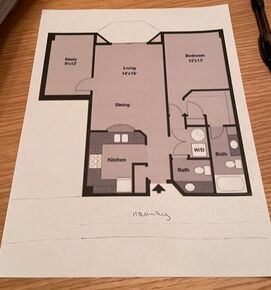
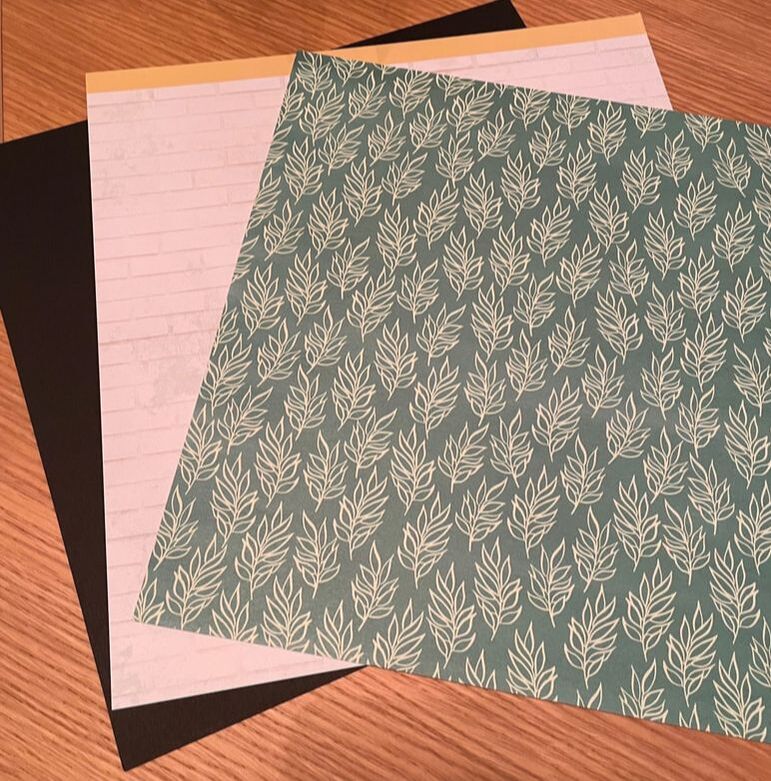
Happy August friends! Today I am here with the first bit of crafting that I did in my new apartment. I had hand-drawn a floorplan of our previous apartment (see below) and wanted to do something similar for our new place. If you're wondering what the black smudges are on several pictures throughout the blog, I just blacked out any identifying info of our old or new address. I don't particularly think anyone on the internet is trying to find me, but better safe than sorry :) 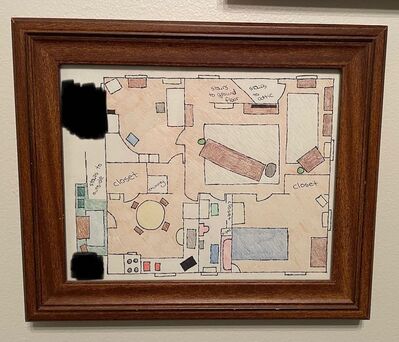 I wanted to do something similar for this apartment, but thought it would be nice to try a different style of art. I started by downloading a picture of our apartment's floorplan which I got from the building's website. I then picked out some paper to use for the project.
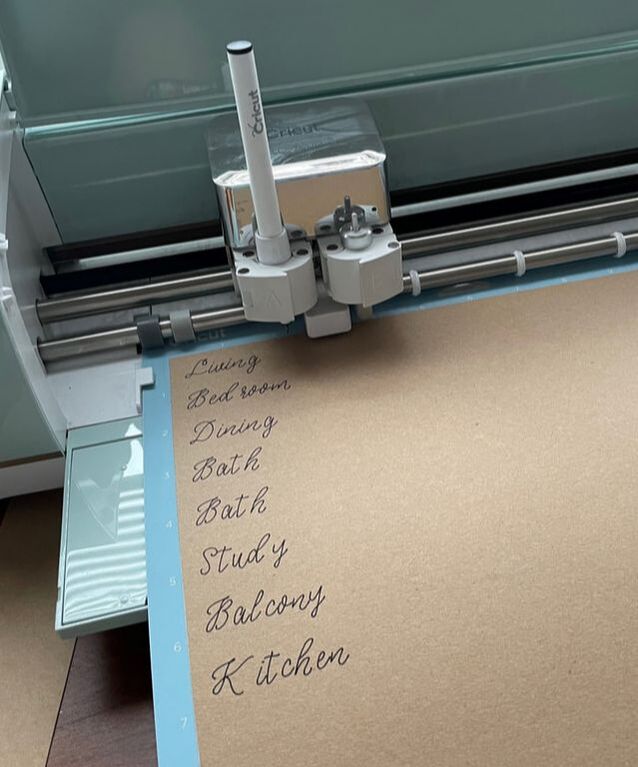
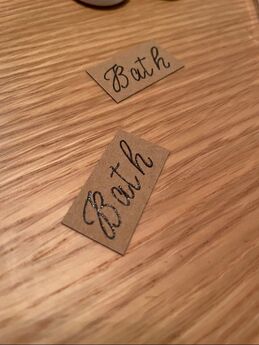
I then used the floorplan template to cut the shape of the apartment out of the green leaf paper.  I glued the shape onto the white brick paper which I was merely using as a background. I then cut very thin strips of black paper to use as the outlines of each room. Was it extremely tedious to glue each piece down? Of course. But I love how it looked! 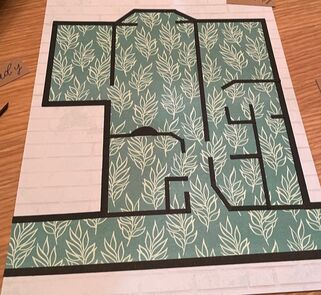 Then it was time to label each room. For this, I used my Cricut. I used the writing feature and picked a pretty cursive font. I wrote each word in black and then traced over it with a shiny gel pen to give it a little sparkle.
I also did some cursive writing of our address and once I stuck all of the labels on there, here is what it looked like. 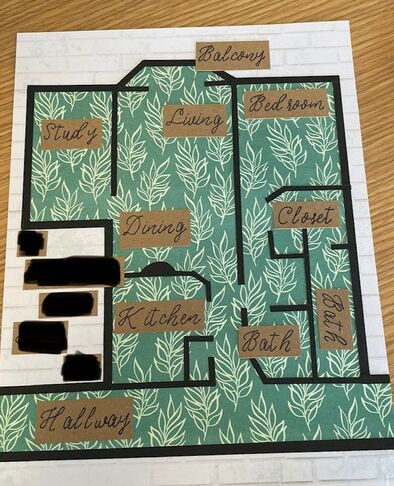 I felt like it needed a little something else, so I cut out some small footprints with black paper using my Cricut as well. And then she was done! 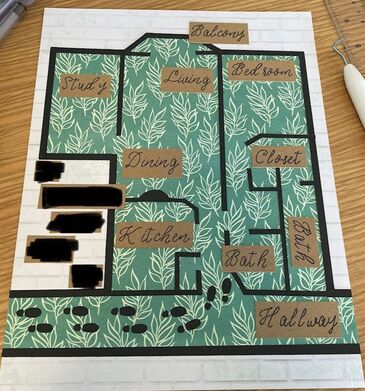 I bought an 8 1/2 by 11 frame to put the floorplan in and then added it to a small gallery wall we have near our dining room table. 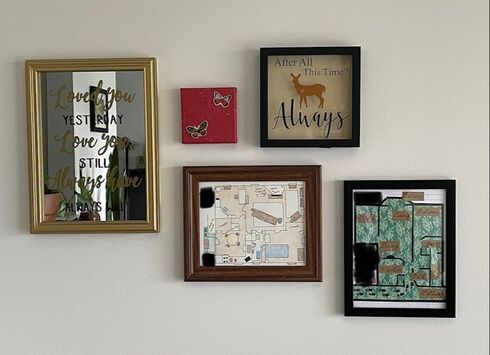 What do you guys think? I'm really happy with how this turned out and really loved making it! If anyone is interested in having a floorplan like this made for their house or apartment, please let me know by sending me an email to [email protected] and we can work out the pricing and style. Have a great week everyone!
- Rebecca |
AuthorI am a 27-year-old crafter and baker from New Hampshire! Archives
July 2024
Categories |
 RSS Feed
Proudly powered by Weebly