|
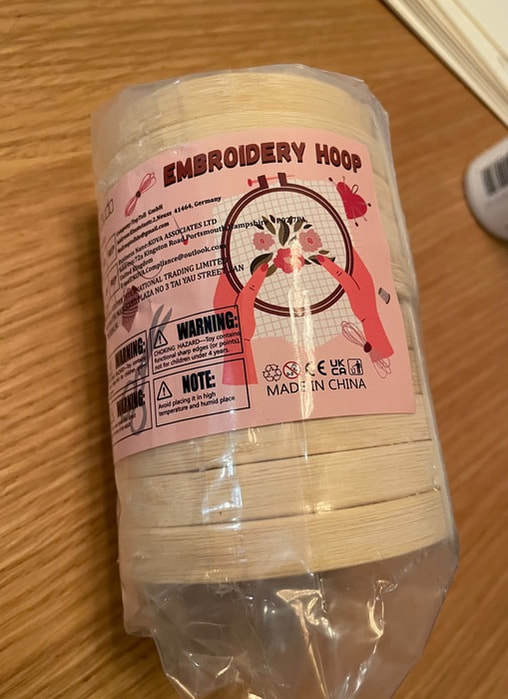
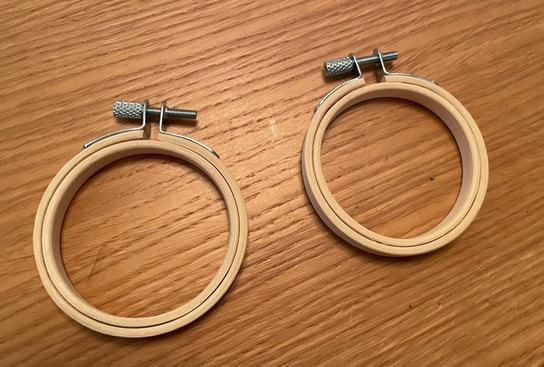
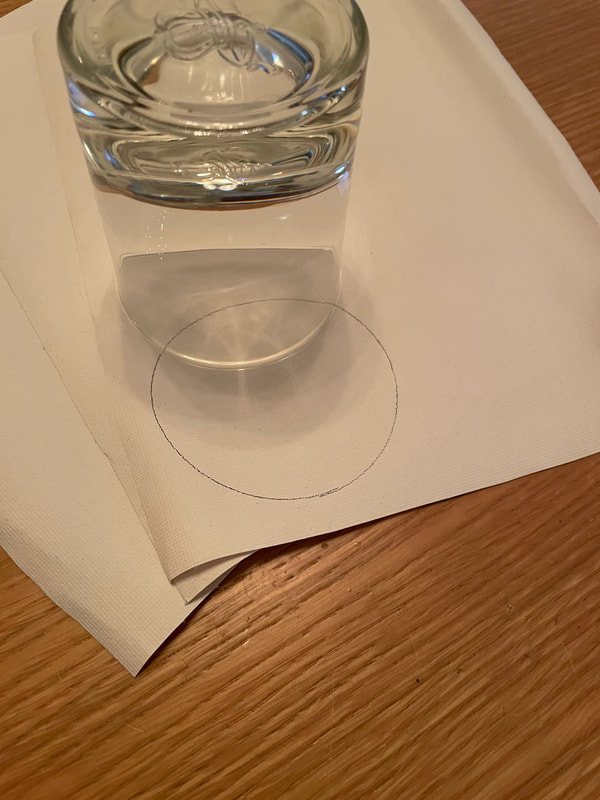
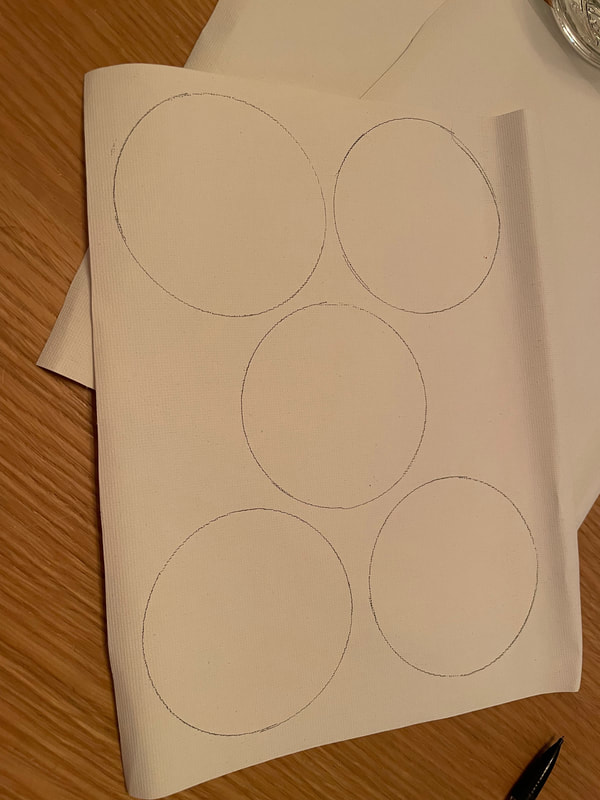
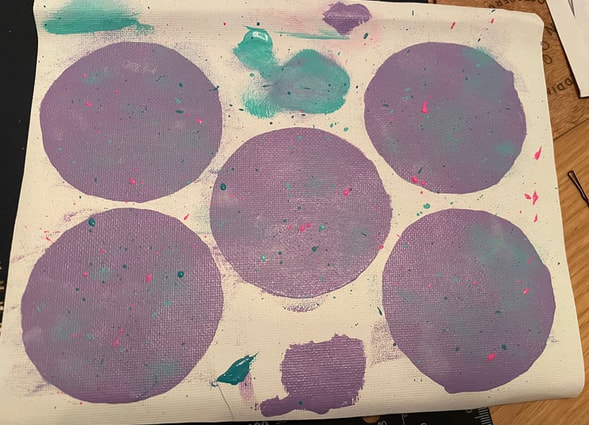
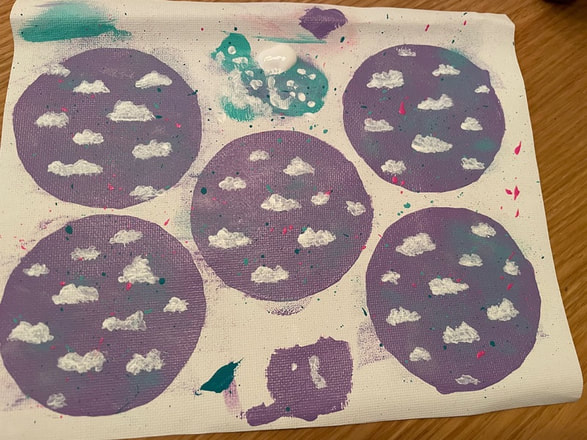
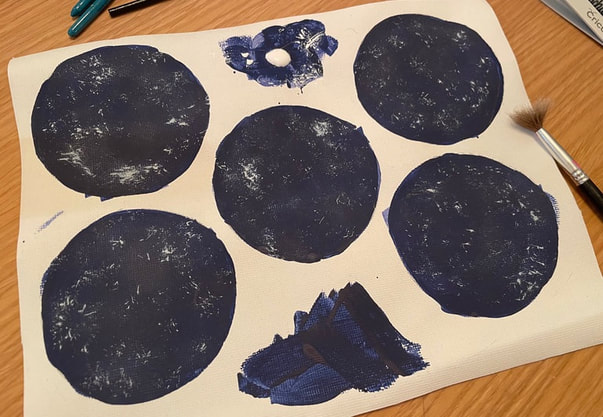
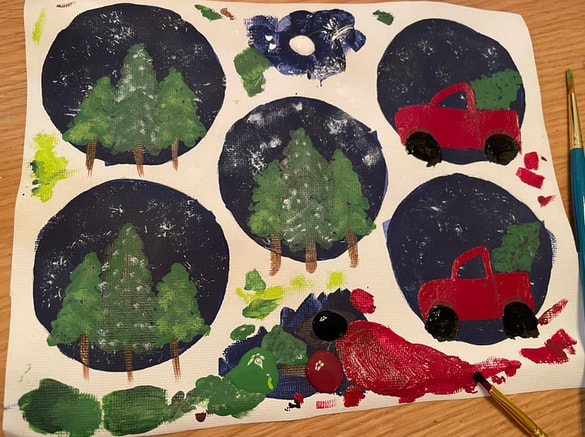
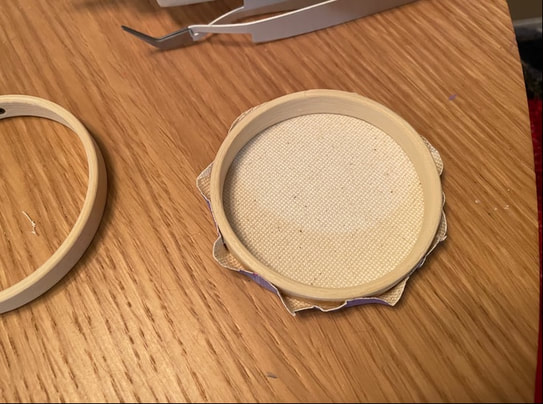
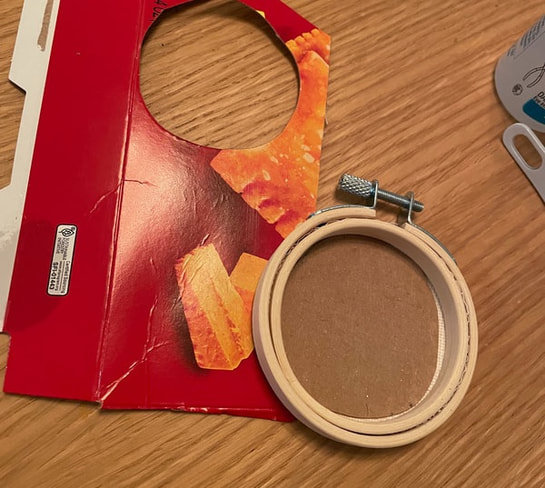
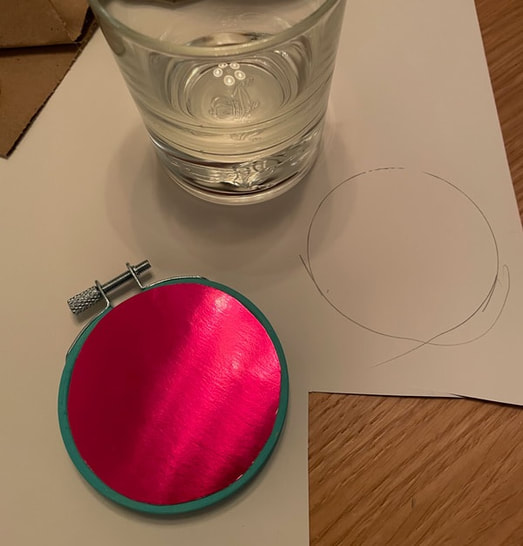
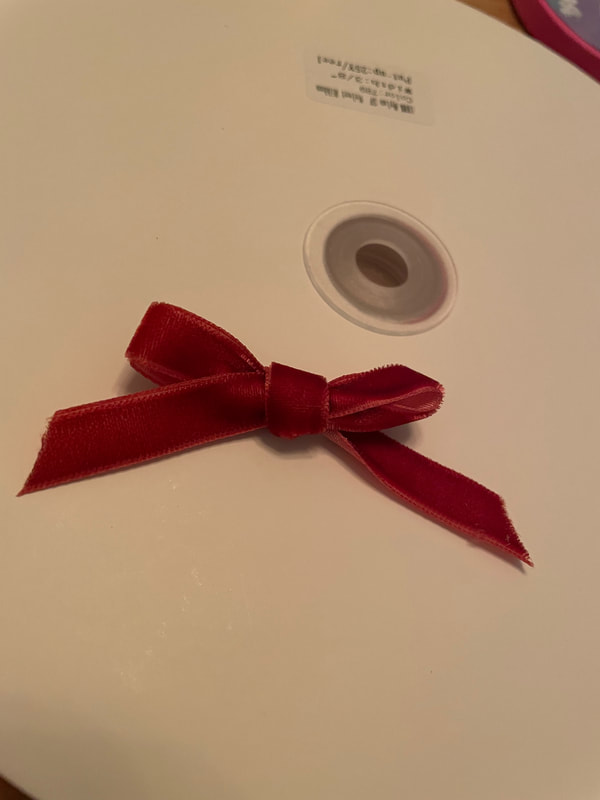
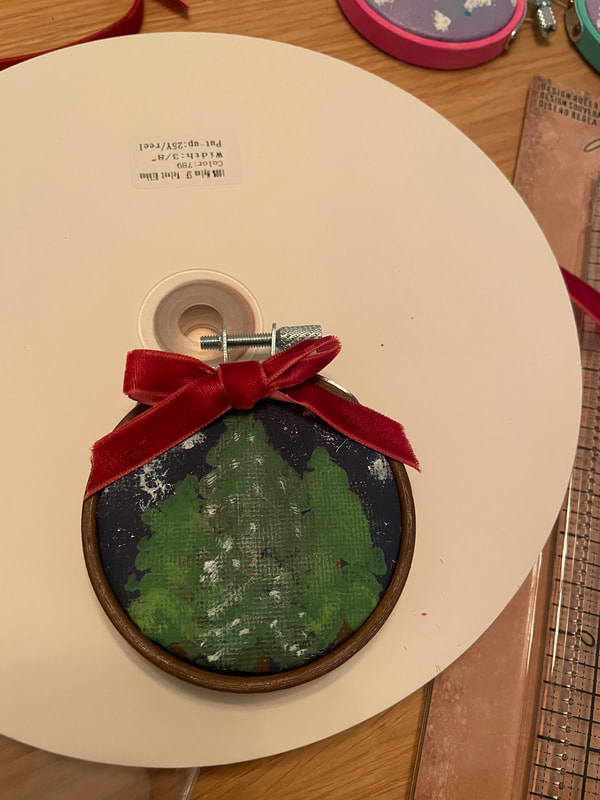
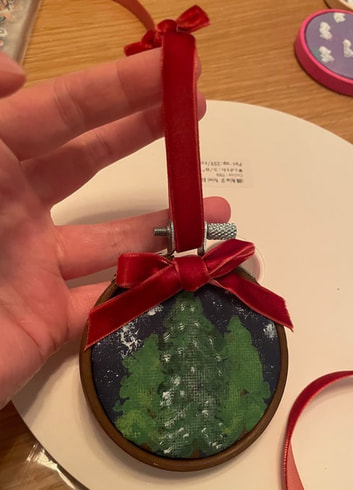
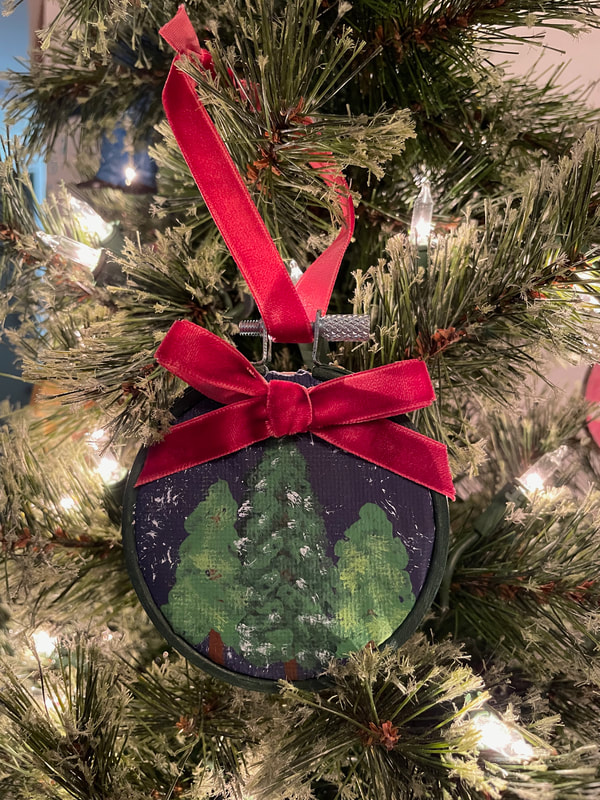
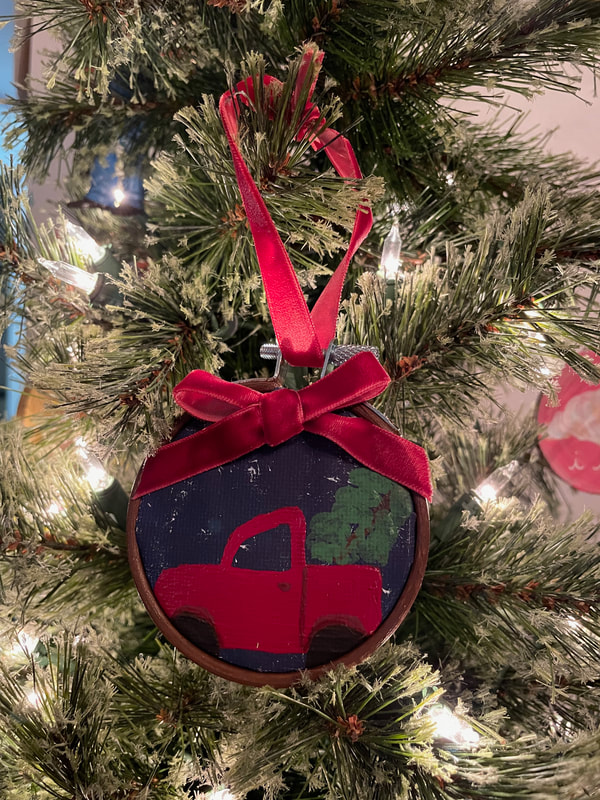
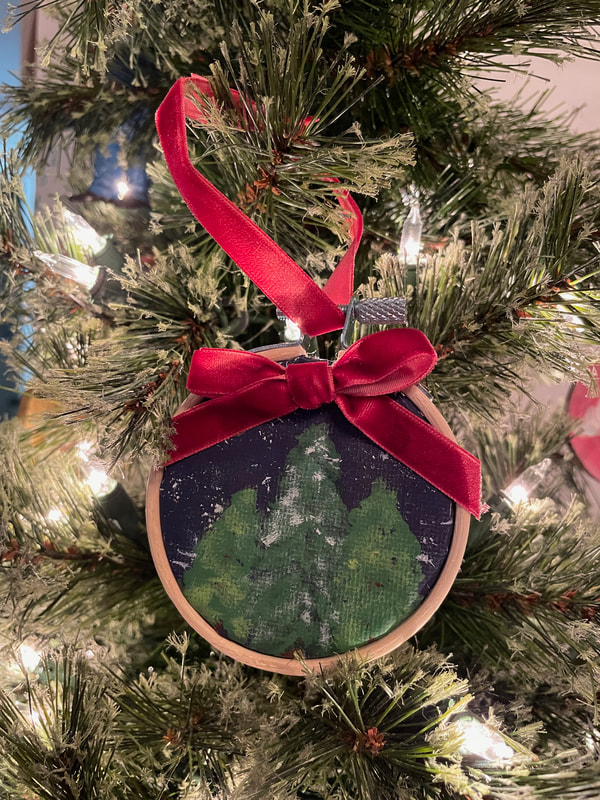
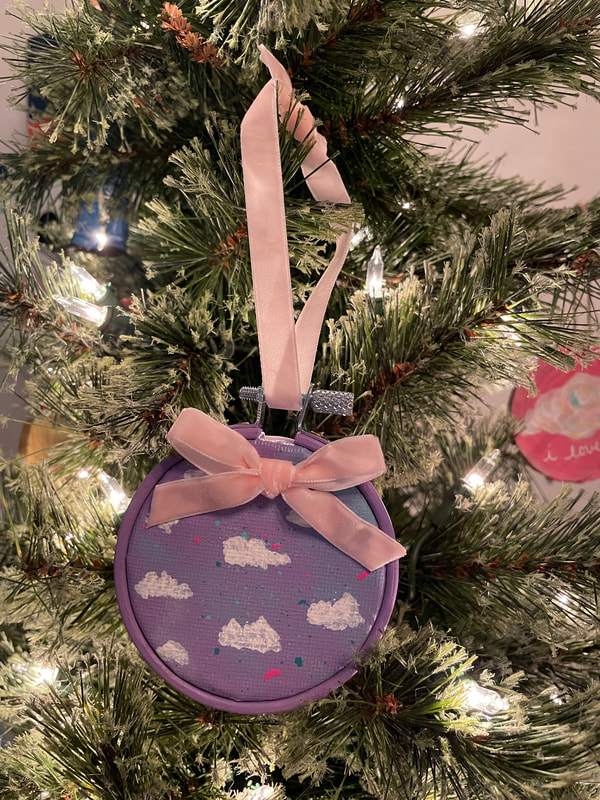
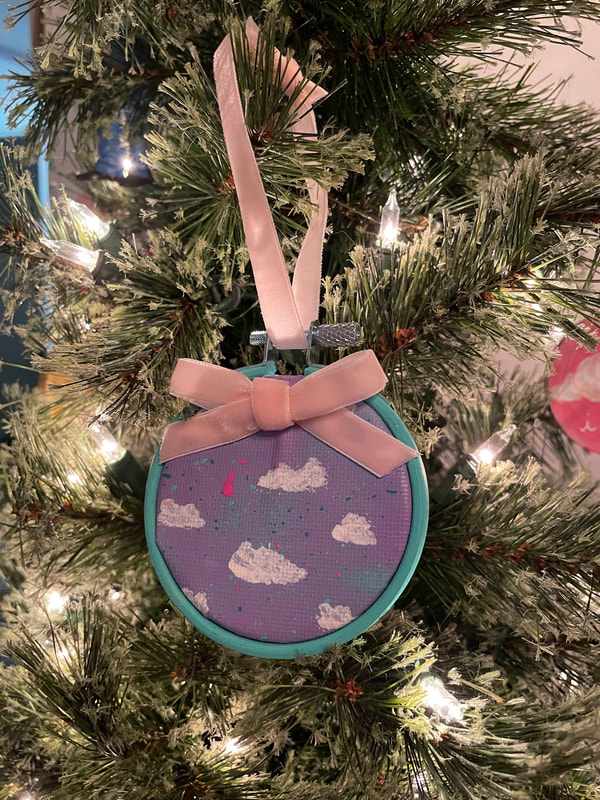
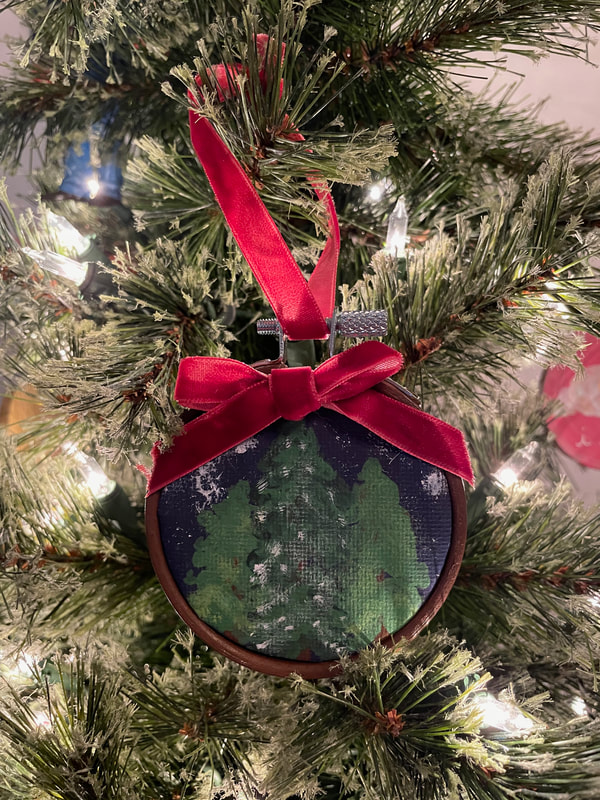
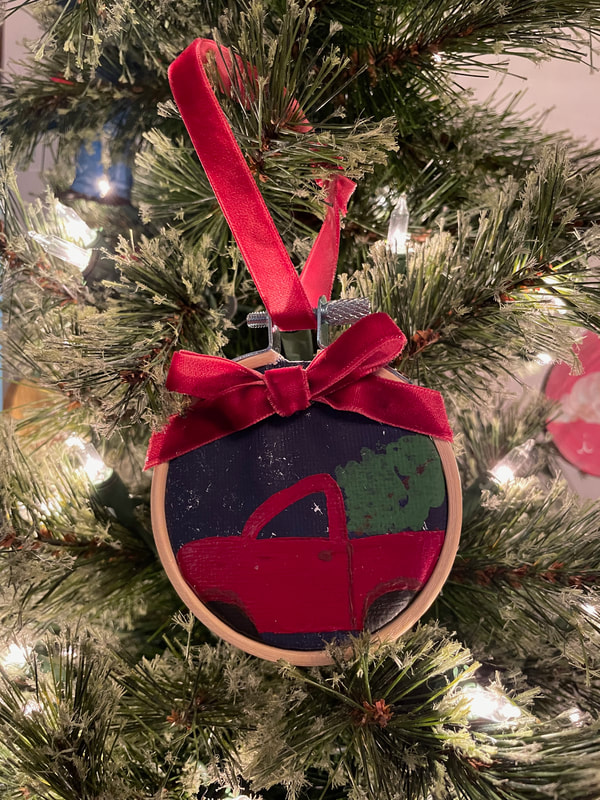
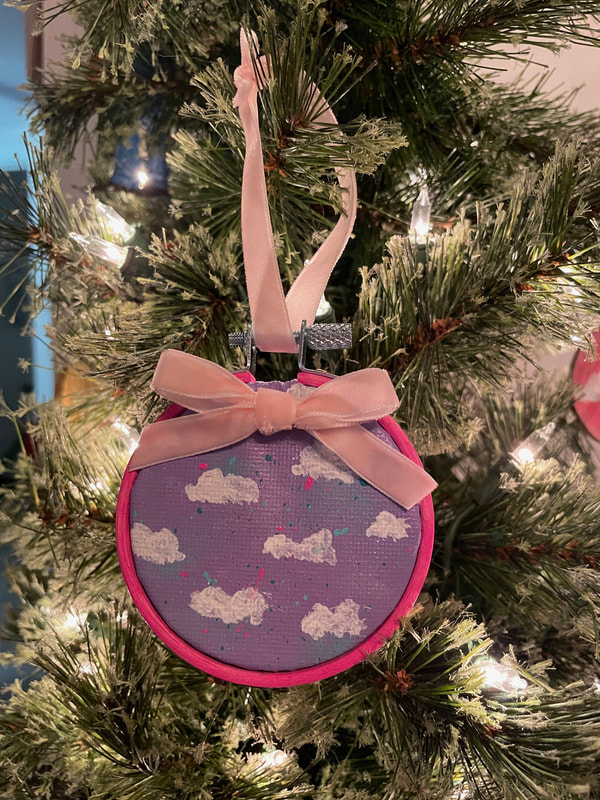
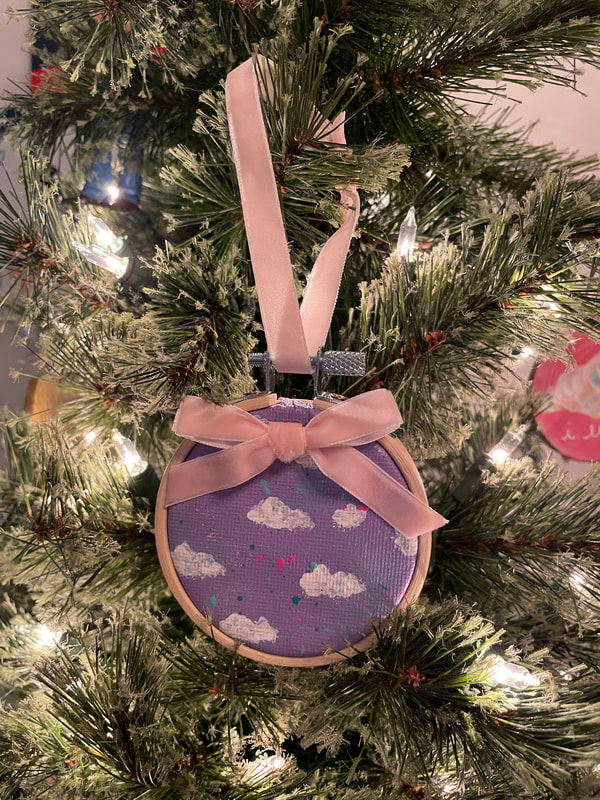
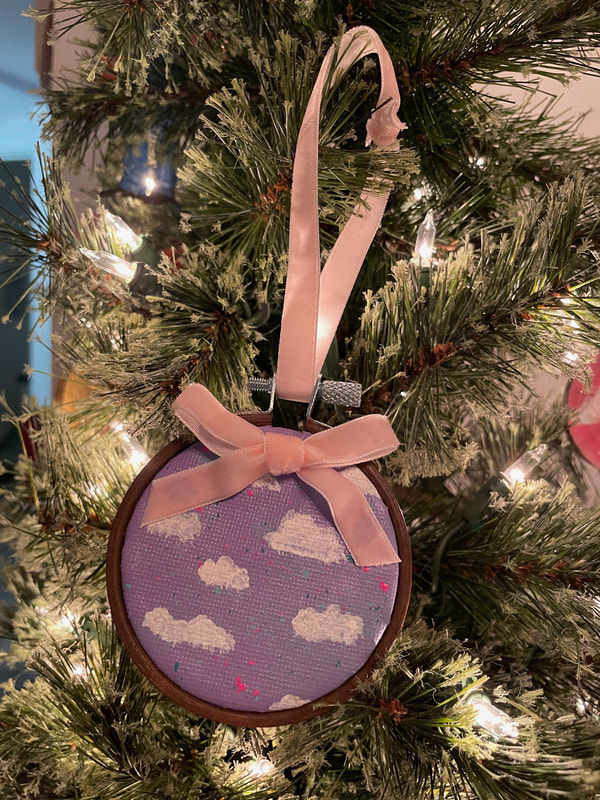
Hello everyone! This weekend I have a very fun craft to show you all. I have recently been obsessed with the idea of tiny little embroidery hoops and wanted to make a craft using them. My mother had some scrap pieces of canvas that she gave me from a project she had done previously and I thought I could put the 2 together into something fun. I ordered a pack of 10 2.5 inch embroidery hoops from Amazon. I started off by taking the canvas pieces and using a cup to draw some circles that were slightly larger than the inner hoop of the embroidery hoop. These ended up being about a quarter to a third of an inch larger than the inner hoop and I did have a bit of a hard time working with them when it was time to put everything together so I would recommend going even larger if you try something like this. I decided to make 5 of the ornaments a purple cloudy sky design and the other half a Christmas-y design. I painted 5 of the circles I had traced out with a pretty purple color and then went in with a small sponge brush to add some additional pastel colors. I also added some paint splatters of the same color and then went in to add some white clouds once the base was dry. For the holiday ones, I painted them a navy blue and added some white splatters to look like snow or stars. I added some trees to 3 of the 5 and did a little red truck hauling a Christmas tree for the other 2. That was an idea from my husband and I think those came out pretty cute! While the canvases were drying, I painted the embroidery hoops. I left a few the natural wood color, but then painted the others to match the look of the painting going inside. Once the canvases were dry, I cut each circle out and started getting them inside each hoop. As I mentioned, the circles were a bit small and hard to work with so I ended up using some glue to stick the edges of the canvas circles onto the outer edges of the inner hoop. I know that's a little hard to follow, so I hope the picture below helps! I then cut a small cardboard circle from an empty Cheezit box and glued it to the back of the canvas to give it a little more stability. I then glued a backing to each ornament to cover up the back of the canvas and the cardboard circle. For the purple sky ones, I cut out a circle of a pink shiny cardboard and for the Christmas ones I used some tan colored cork or thick cardstock. I had a vision of velvet ribbon looking good with these so I bought some red and pink velvet ribbon. This ribbon only had one "good" side so I watched a tutorial on how to make a bow where only the good side of the ribbon was showing. I did red ribbons on top of all of the Christmas ones and pink on the sky ones. These bows were also helpful as they covered up any small imperfections at the top of the ornaments near the hardware where you tighten the hoop. Since canvas is thicker than the kind of fabric you might normally put in a hoop, it did buckle slightly at the top of the hoop. I then used a piece of the same ribbon as a hanger for the ornament by putting it through the tightening piece at the top and just making a knot. And here they are all done! I am so happy with how these came out and I really think I executed the vision I had in my head pretty well! These, as well as some other new things I've been working on, will be on the Etsy shop in the new year. I'll be sure to let you all know when that happens! This may be my last blog of 2023 as well; I'm still debating if I'll post one more this year. I'll let you all know, but if I don't, happy holidays and have a great new year!
- Rebecca P.S. Today's photo on the homepage is from Pexels user cottonbro studio: www.pexels.com/photo/close-up-of-a-person-doing-embroidery-work-on-black-fabric-3838686/
2 Comments
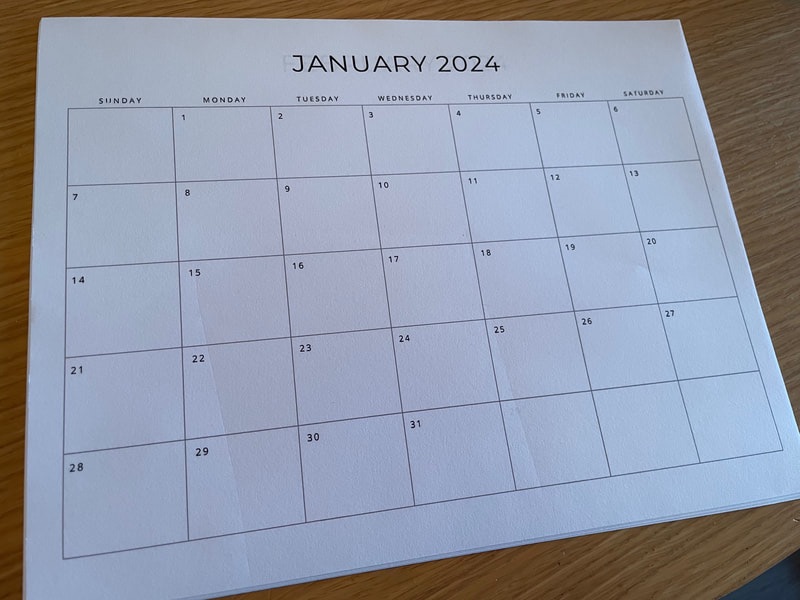
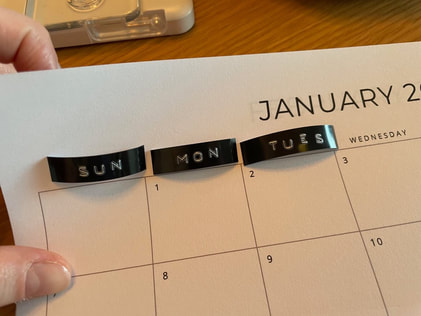
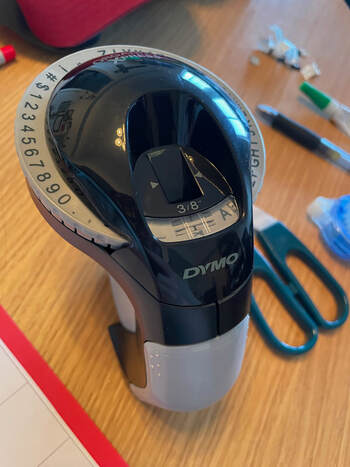
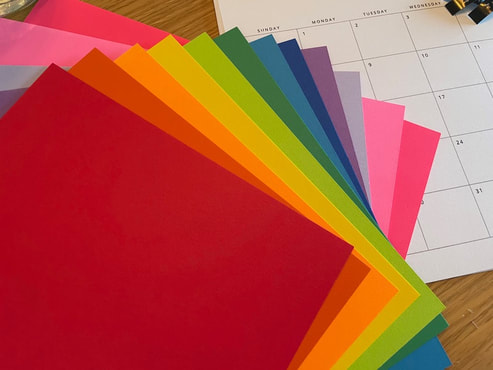
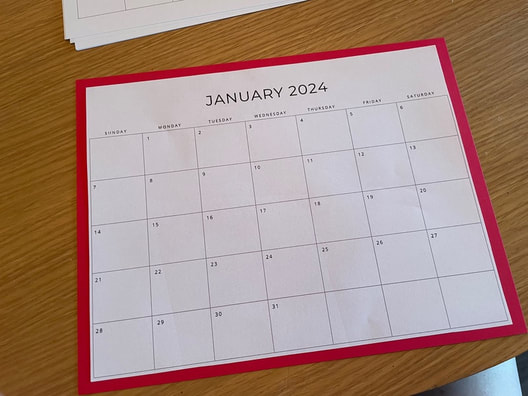
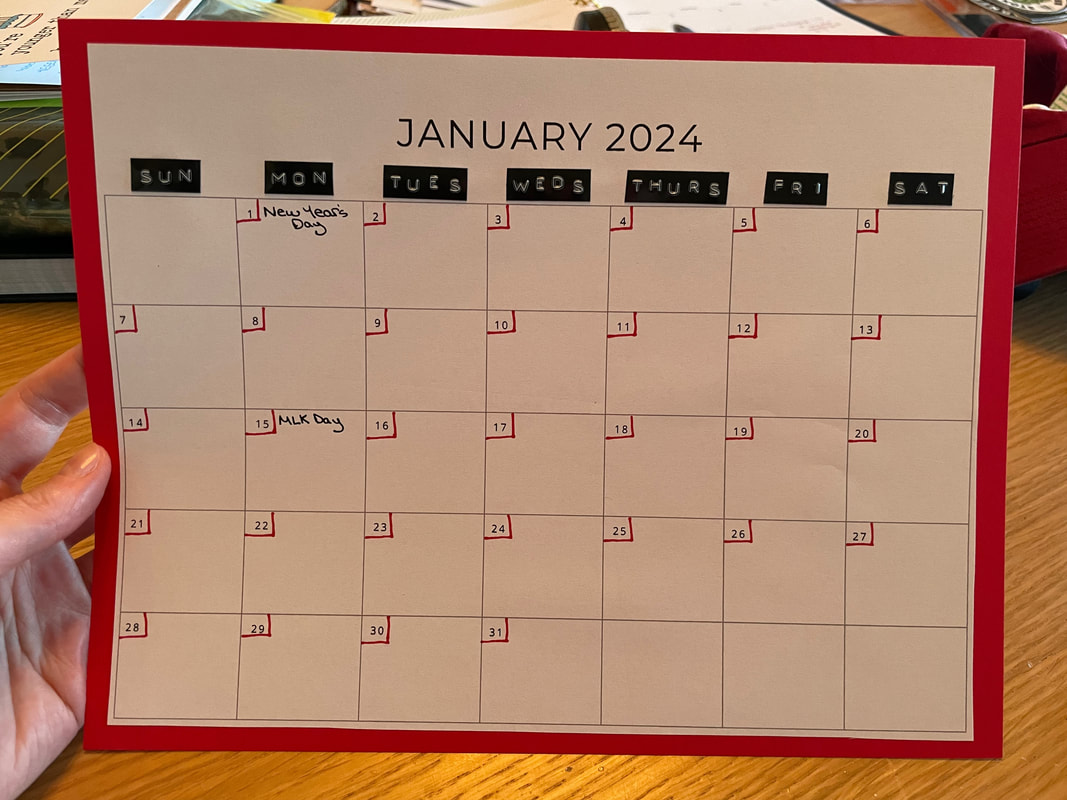
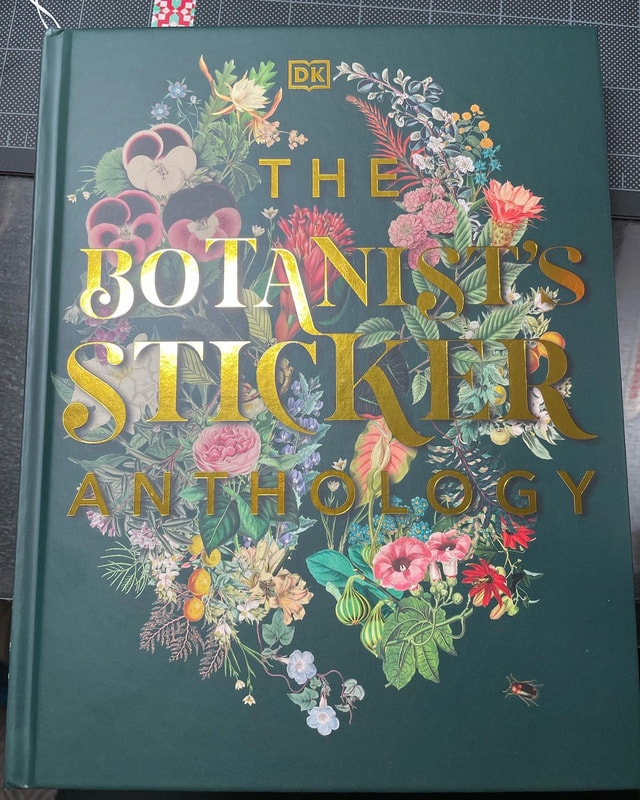
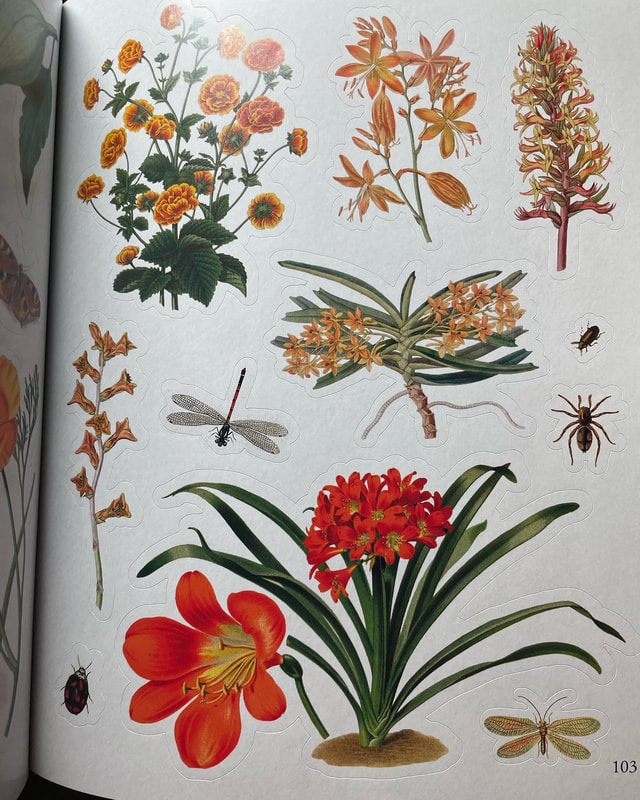
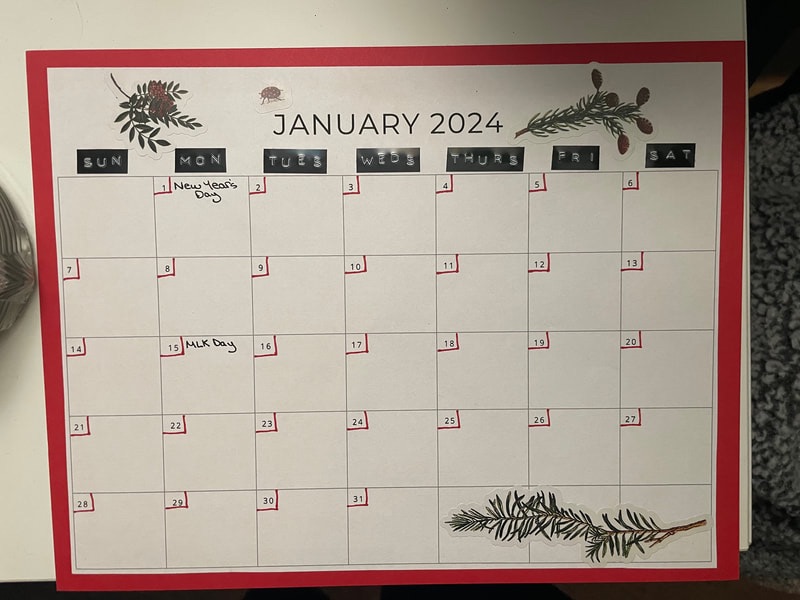
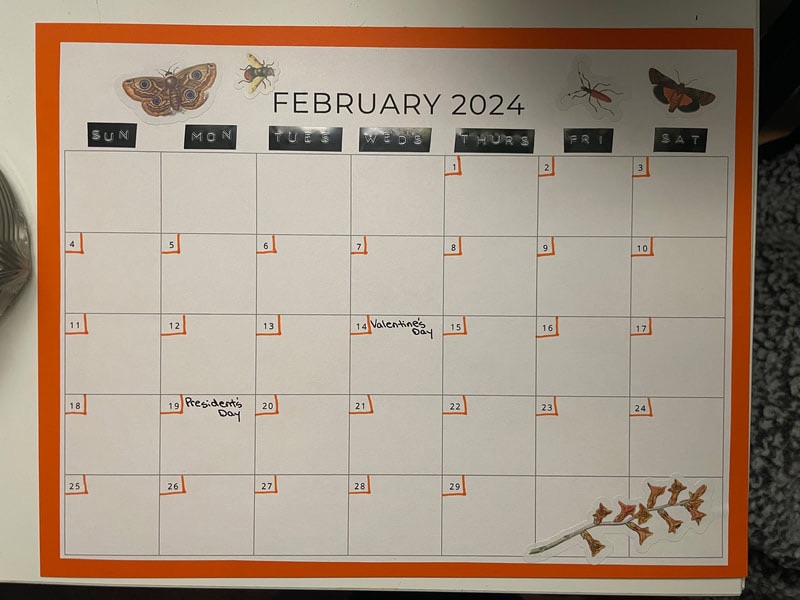
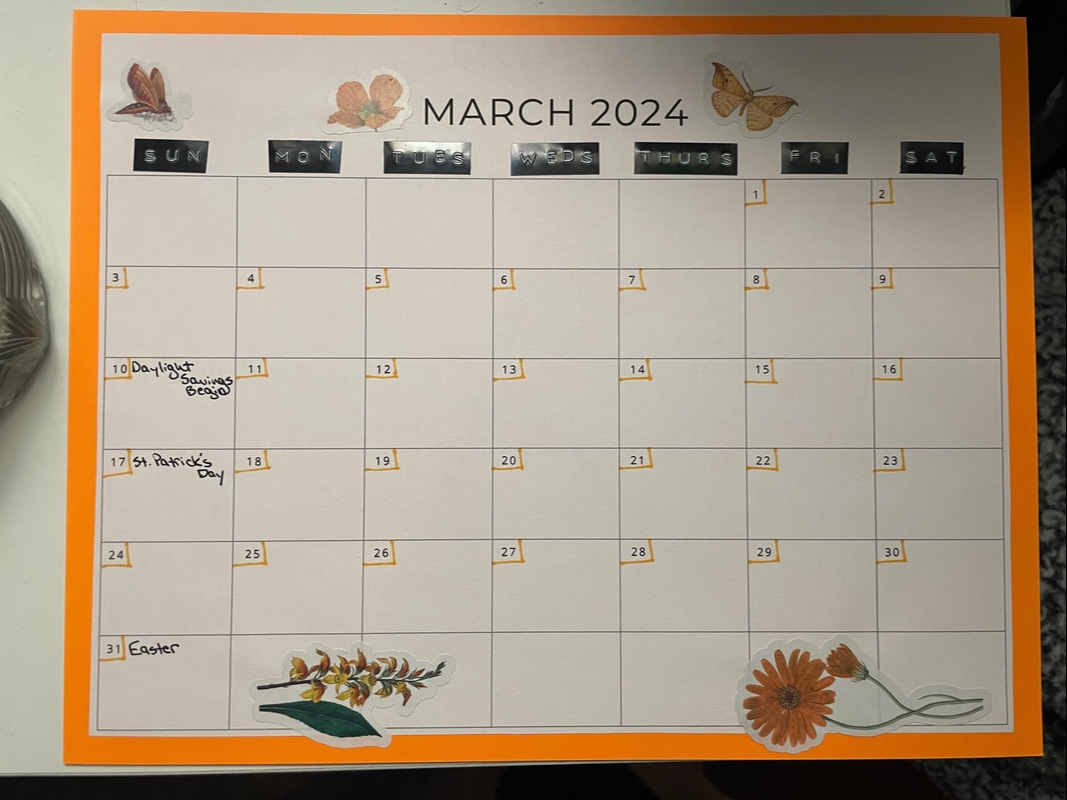
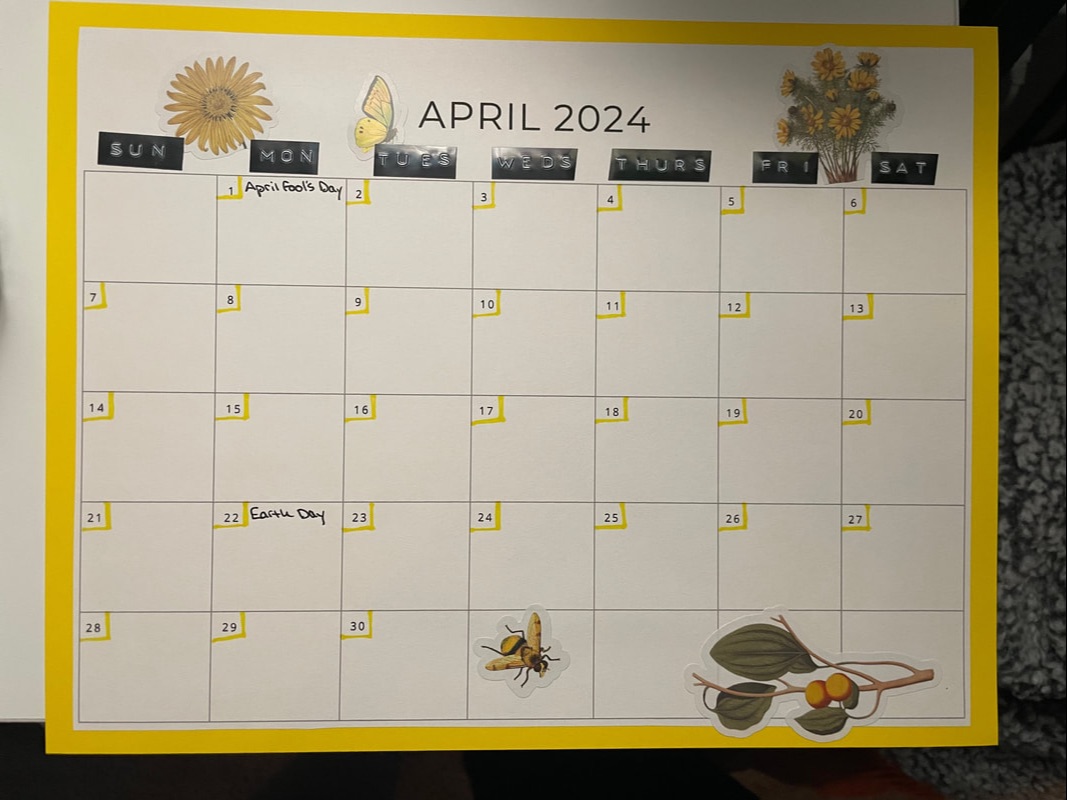
iHello everyone! As we reach the end of 2023, I wanted to share a simple little calendar project I am working on. This year, my husband and I found that it works really well for us to have a written calendar that we use to plan things out for the whole year and then to keep track of the current month on a larger whiteboard near our door. However, we did discover that having a traditional planner that also has space to plan each week is a bit of a waste for us as we only ended up using the larger month view. I absolutely love the idea of a bullet journal and think its so fun to watch people spend so much time on them, but I simply don't have the patience for that myself. I wanted to try to make a pretty monthly calendar system for next year that dipped a toe into the world of bullet-journaling but wasn't quite so intense. To start off, I found a downloadable calendar template from Etsy. You could also find free images online that you could print, but I liked the style of these calendars and how they were perfectly scaled to fit on an 8 1/2 by 11 piece of paper. Here is an example of what one month looks like! I wanted to spice up the top of each page a little so I used an embossing label maker to make labels for the days of the week. I then thought it would be fun to make a rainbow throughout the year so I picked 12 colors of 8 1/2 by 11 cardstock. I trimmed the edges of each calendar page and then stuck them down to the cardstock. I then took a Sharpie that matched the color of the paper and used it to outline the days of the month. I also went ahead and marked down any holiday that I wanted to keep track of as these calendars were completely blank. The nice thing about having a blank calendar to work with is that you can pick and choose which holidays you want to mark off. I then used some stickers from a book I have shown a few times on the blog to add some style to the pages. Here is an example of the style of stickers I used. I haven't made it all the way through the year yet, but here are what the first 4 months of the year look like! I know this was a simple blog but I hope it helps you all see how easy it is to make yourself some pretty calendars. If you are like me and like the idea of bullet-journaling, but know that its a bit much for you, I feel like this is a nice little project that allows some customization while also not being so unstructured as bullet-journaling. To store this, I will be sliding the sheets into page protectors. I went for that as opposed to trying to bind them together into a book as I liked being able to see a bunch of them at once for planning purposes.
Let me know if you have ever tried something like this in the comments below! - Rebecca P.S. Today's photo on the homepage is from Pexels user Anete Lusina: www.pexels.com/photo/crop-woman-writing-in-calendar-5239916/ |
AuthorI am a 27-year-old crafter and baker from New Hampshire! Archives
July 2024
Categories |
 RSS Feed