|
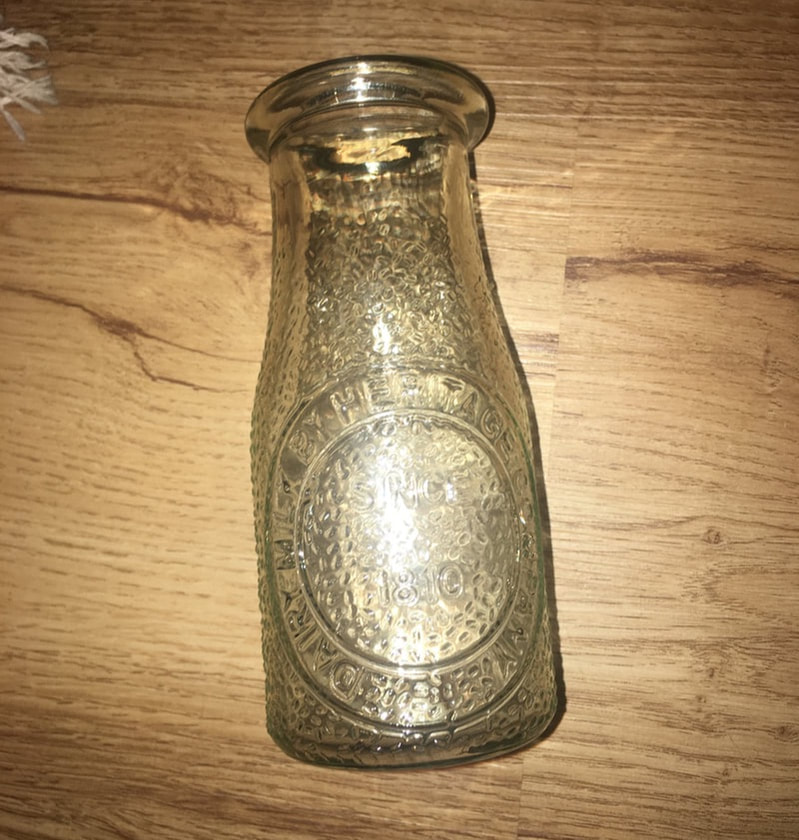
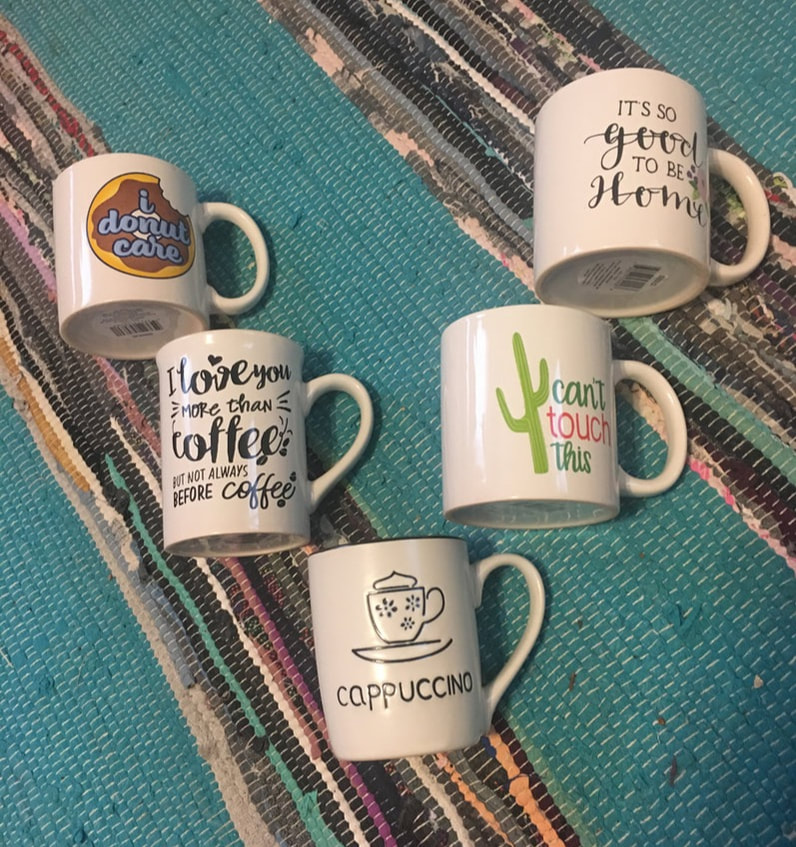
Hello there! For this week's craft, I tried something a little new to me: candles. Just to clarify, candles themselves are not new to me as my boyfriend and I burn them often at home, but doing candle DIYs is not something I am an expert at. I knew that I wanted to melt pre-existing candle wax into cute containers as creating candles all the way from scratch seemed too hard and like it involved some kind of science, which isn't my thing. I remember that the mitochondria is the powerhouse of the cell but that's about all that has stuck. I also wanted to find candle supplies that were cost-effective so that I could actually make a profit when selling the finished products. So the answer was to hit up the good old Dollar Tree and a wicked good sale at Michaels. In case you were unaware I was from the Northeast of the US, the phrase "wicked good" should be a clear hint. While at the Dollar Tree I picked up 5 of these adorable glass milk bottles and 5 assorted coffee mugs. Also, I would like to brag that there is no sales tax in New Hampshire so everything at the Dollar Tree is an actual dollar. It is very exciting.
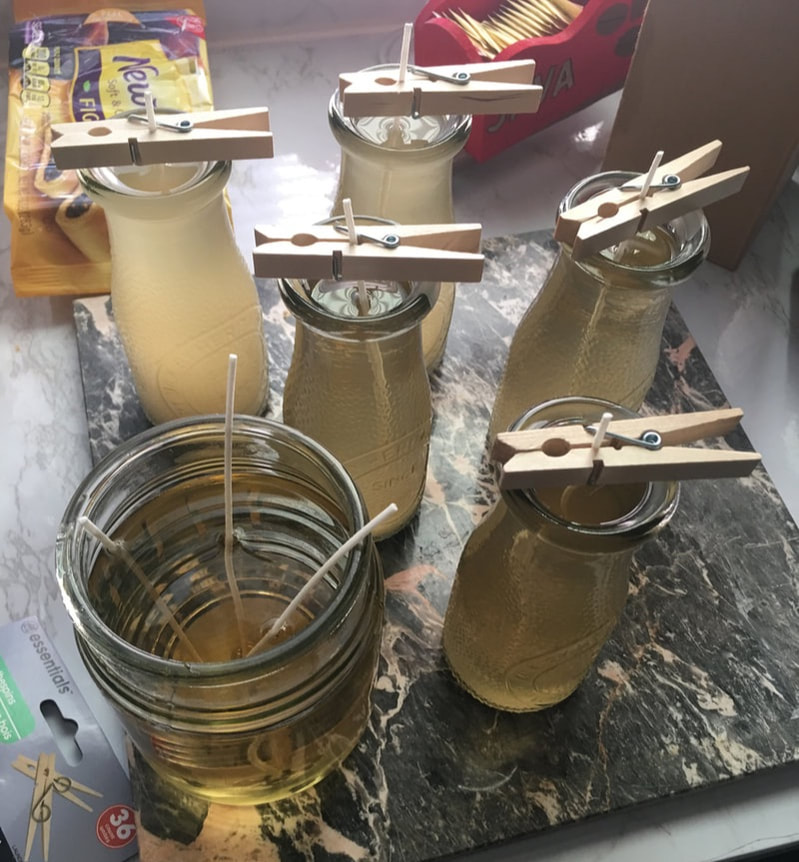
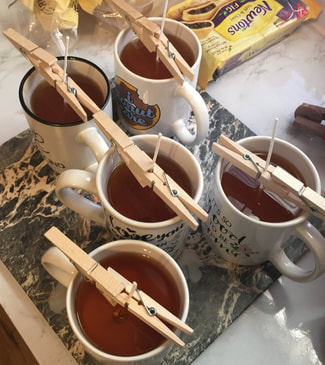
Then I went to Michaels (I was there with my mother because she is a great craft store sale companion) and they were selling large candles for $2 each. My mom and I did some quick Amazon searching and mental math and figured out these scented candles would be cheaper than buying bulk wax and scents. So I picked up 3 vanilla scented candles which were a pure white and then 4 cotton scented candles which were a creamier color. 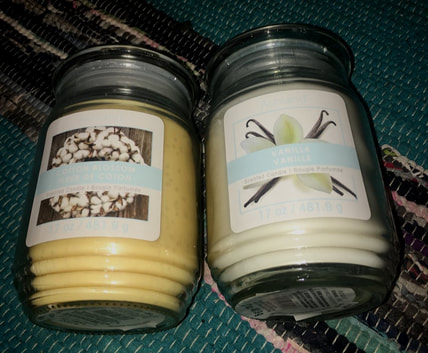 Then it was time to melt the candles which was not very hard. I don't condone having an uncovered boiling pot of water going on your stove for hours at a time, but yes, that is how I melted these candles. I filled a pot with water and placed the candles (still with their covers on) in the water, letting the water come up to a boil with the candles in there. I felt like the chances of terrible glass cracking issues would be lessened if I let the glass jars come up to boiling temperature with the water but, once again, I don't know science so don't count on that. 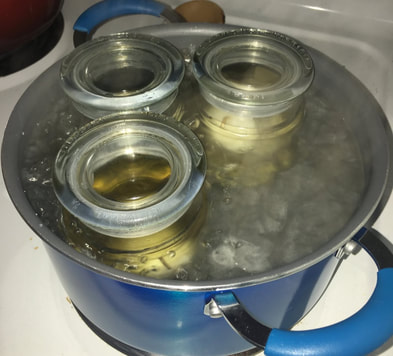 Once the candles were melted, I could start assembling my new candles. I attempted to save the wicks from the original candles to reuse, but they were too short so I ended up buying a package of 100 from Amazon for about $5. I used the vanilla candle wax to pour into the milk bottles as it would dry a pure white color. I had originally planned to dye the cotton scented wax to be a little more brown to look like coffee (as that is that wax that would be in the coffee mugs). I attempted to do this with both brown gel icing dye (I read that you could do this on the internet) as well as non-toxic stamp pad dye from Stampin Up. Both did not work and separated from the wax similar to how oil and water separate when you try to mix them. There are plenty of ways to dye candles such buying colored wax shavings to melt in or buying dye specifically formulated for wax, but once again, I was looking for cost effective supplies so just decided to leave the cotton wax the creamy color and pretend it was coffee with a copious amount of cream in it. Once pouring the wax into the milk bottles and mugs, I used some wooden clothespins to keep the wicks in place as the candles were hardening.
Once the candles were dry I used a sponge and hot water to clean off any drips on the milk bottles and tied some twine around the neck of the bottle and those were done! 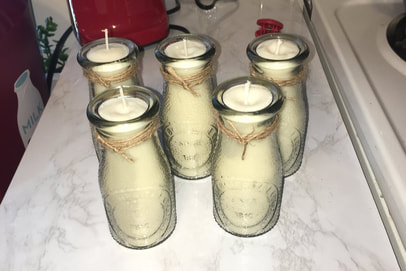 The mugs were a little more difficult to clean up as I didn't like that the tops of the candles were uneven and bumpy. So I borrowed my moms embossing tool (it's just a little tool that lets you put very focused heat on a small area) and melted down the top 1/2 inch of each mug candle, which allowed the wax on top to dry smooth. And then those were done too! 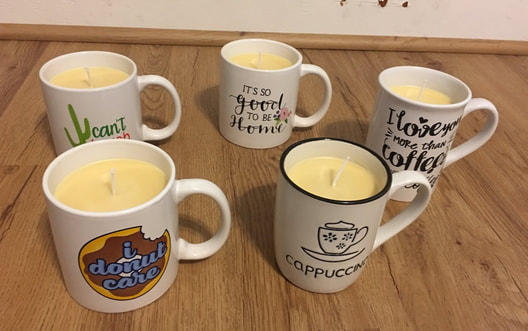 I'm really happy with how these came out! Let me know if you like the milk or coffee candles better in the comments below!
- Rebecca
0 Comments
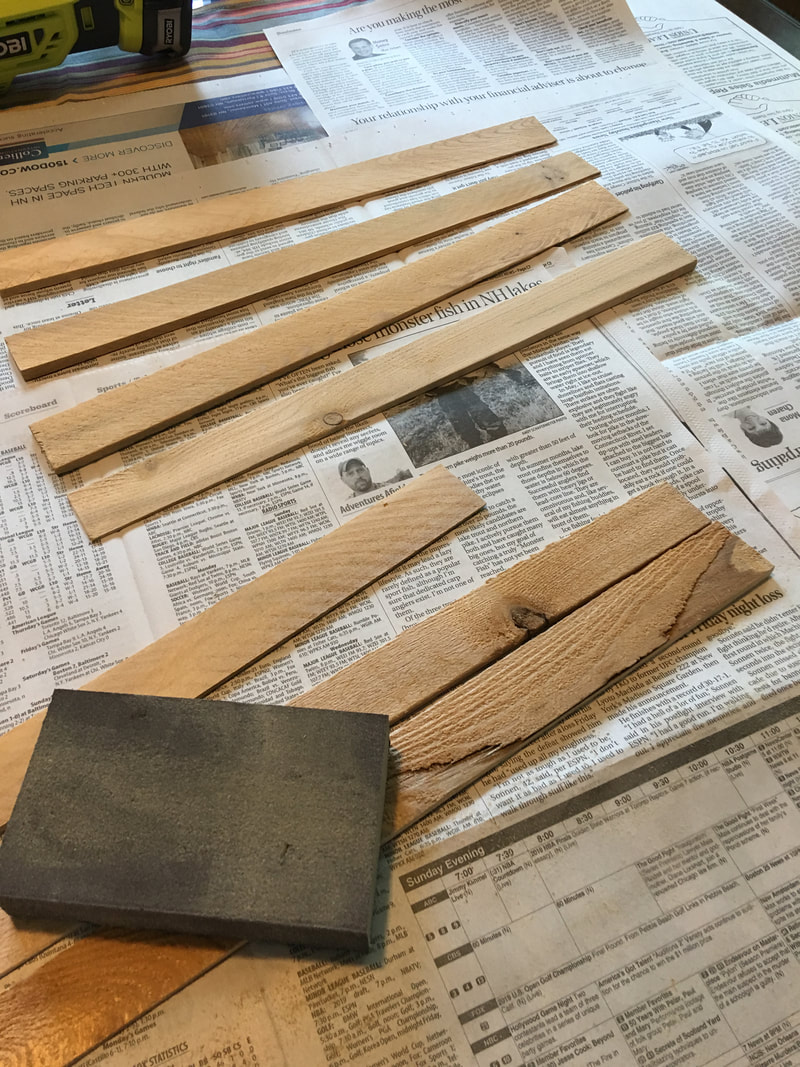
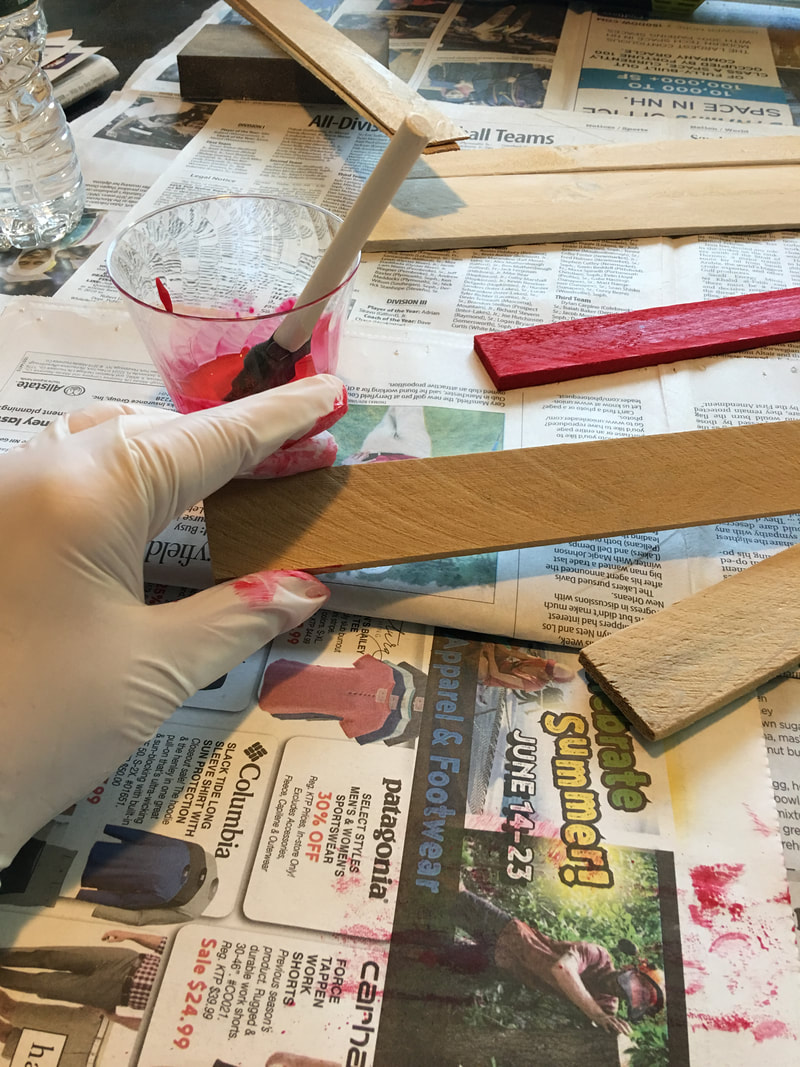
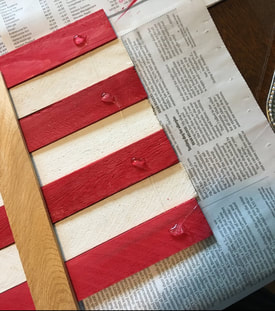
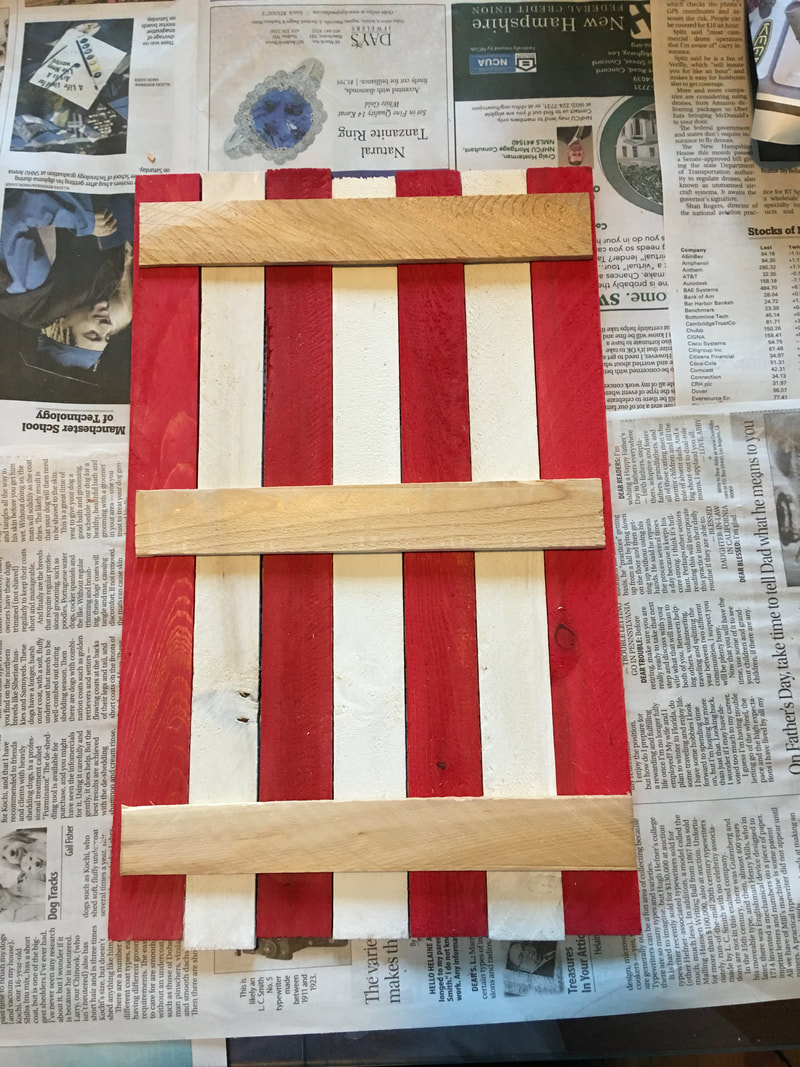
Hello all! It’s Suzanne, Rebecca’s Momma. I am excited to be back with you on the Patterned Paper Plate this week as a guest blogger. Since Independence Day is coming soon, I thought I’d do a little something with a patriotic flair. Today, I am going to make an Americana flag for our back door. This piece was inspired by a couple of things I have seen in my neighborhood. One family painted an old piece of fencing turned on its side (so the pickets made the stripes). Another painted a pallet and propped it against a tree. The scale on those pieces was a little large for me. Also, I don’t happen to have any old fencing lying around and my (otherwise very patient) husband is not on board with me dragging pallets home. I had to figure out how to make a smaller and less cumbersome version. As always, I try to shop my prodigious stash of supplies first to see what I can come up with. In my stash, I had these cedar shims – long thin pieces of wood slightly thicker at one end than the other. I’m not sure why I originally bought them. I may, in fact, have appropriated them from my husband’s work bench, but wherever they came from, they are perfect for this project. If you don’t have shims, you could use Popsicle sticks, paint stirrers or even strips of corrugated cardboard cut from a packing box. 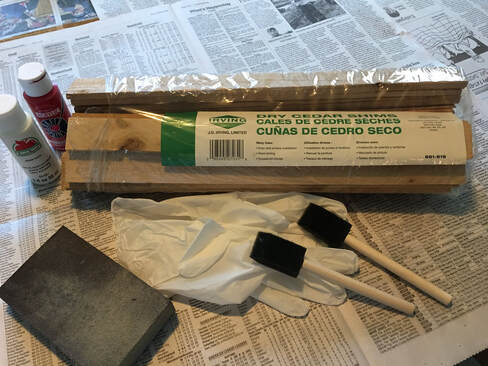 Next, I had to decide how many stripes my flag would have. As anyone who paid attention in US History knows, the real flag has 13 stripes, alternating red and white. To keep a good proportion on my piece, my flag will have 7 stripes. I’ll start and end with red, like on the real flag. Time to get painting! I found 7 of the best looking shims and gave them a quick sanding. I wasn’t going for smooth perfection, but I wanted to get the worst of the potential slivers off. Then, using red and white acrylic craft paint that was watered down just a little, I painted 4 of them red and 3 of them white. I painted the front and back because wood that has only been painted on one side tends to warp more.
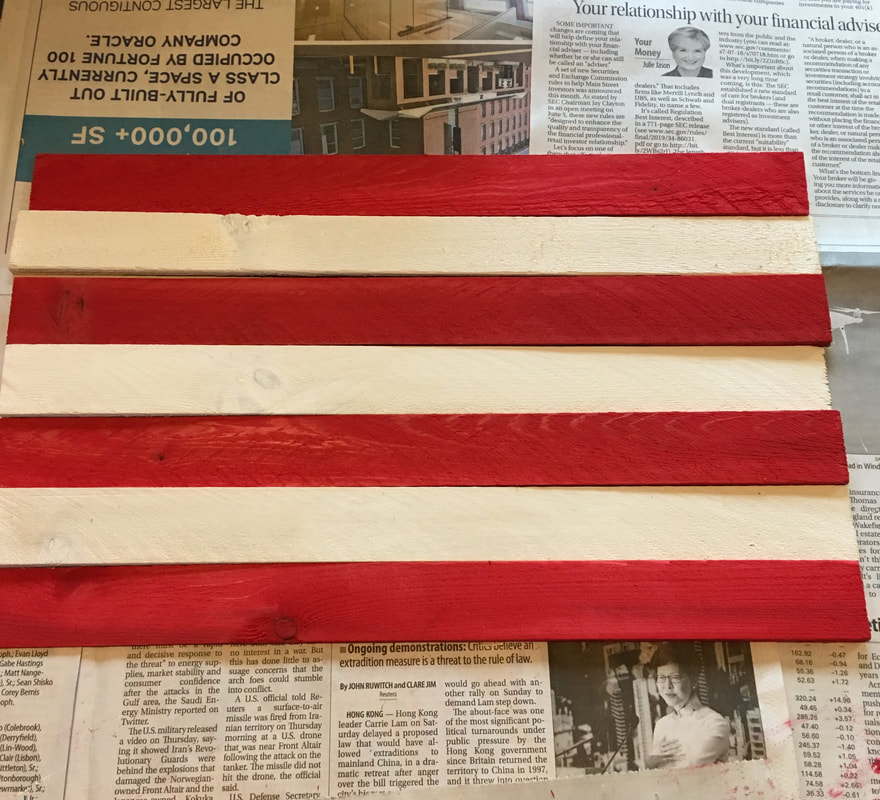
Now, assembly! I laid the shims down, alternating the colors and the ends that were the thickest and switched them around until I got a pleasing look. Then I flipped each of them over and, using strong hot glue (Gorilla brand glue sticks are the best for all season hold), I glued three more shims, trimmed to fit, down the back to hold the stripes together. I started with the end ones, then added the middle one for stability
For the field of blue, I found a random scrap of denim fabric in my scrap box. I had to decide what kind and how many stars I wanted. I gathered up a variety of things – some larger wooden stars and some white buttons. I laid the fabric and stars and buttons over the corner of the stripes and tweaked the placement until I was happy with it. I ended up preferring one large star, so I measured the width of four stripes and tore the fabric to make a square with frayed edges. I used a small bead of hot glue (so it would not leak through the fabric) to hold that square in the corner. 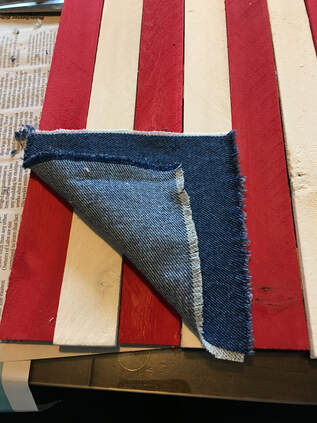 I then painted the star white and added two small round bits on the back to raise it up a little and give the piece a little more dimension. 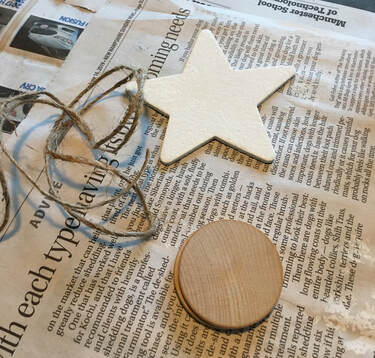 Finally, I added a strip of jute across the back to act as a hanger. The jute is tight across the back since I don’t want it to show when the piece is hanging. 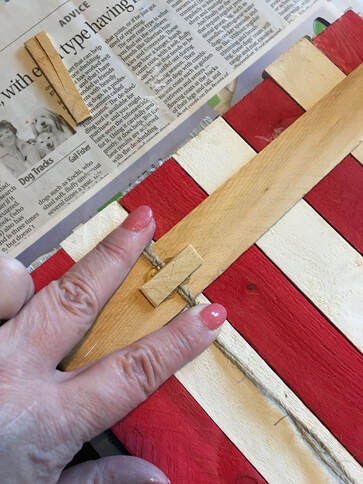 That completed it, but when I turned it over, I thought it was a little too pristine for the aged Americana look I like, so I took some brown paint that was watered quite a bit and gave the whole thing a little antiquing with a rag to grubby it up.  And here it is up on the door! 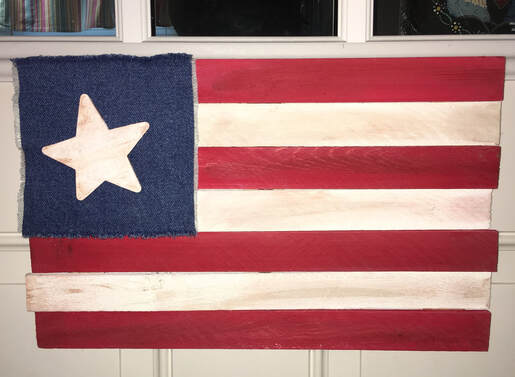 I felt like it needed a little something more, but could not decide what, so I left it for a couple of days to see how it spoke to me. I decided that the proportion of the star to the field of blue was off. I also was not in love with the idea that two of the sides of the denim square are white fray and the other two sides are blue. As Rebecca pointed out, "That's how denim works, Mom!" but that doesn't mean I have to like it on this project. So, here's what I did. I cut a square of navy blue card stock to use for the field. Then I cut a larger white star out of wood patterned paper. I distressed the edge of each with a little ink from a stamp pad. Using dimensional adhesive squares, I popped the blue square up a bit off the flag and then popped the white star up off of the blue field. I thought this dimension worked well with the slightly wavy look of the stripes because of the varying thickness of the shims. I much happier with this star because I think the overall proportion is better. Now here's the final product.  I am much happier with the evenness of the field of blue and the size of the new star. I really like the way the stripes on the paper are opposite the stripes of the flag, which I will admit was a happy accident.
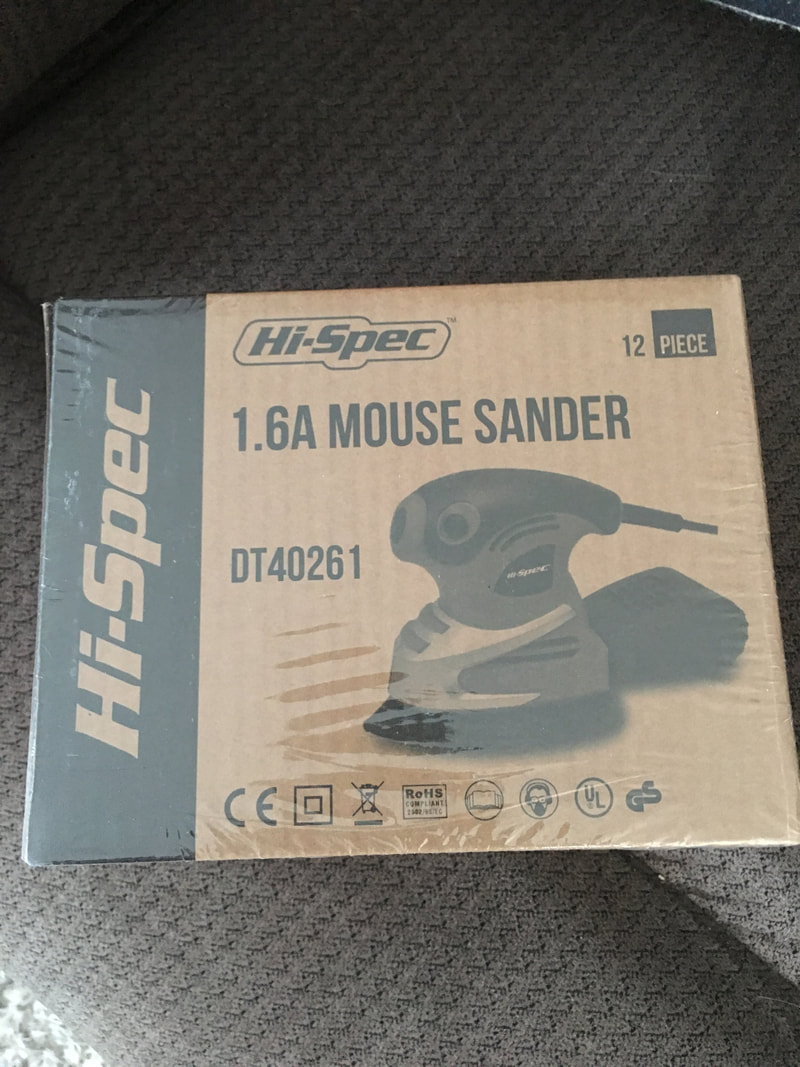
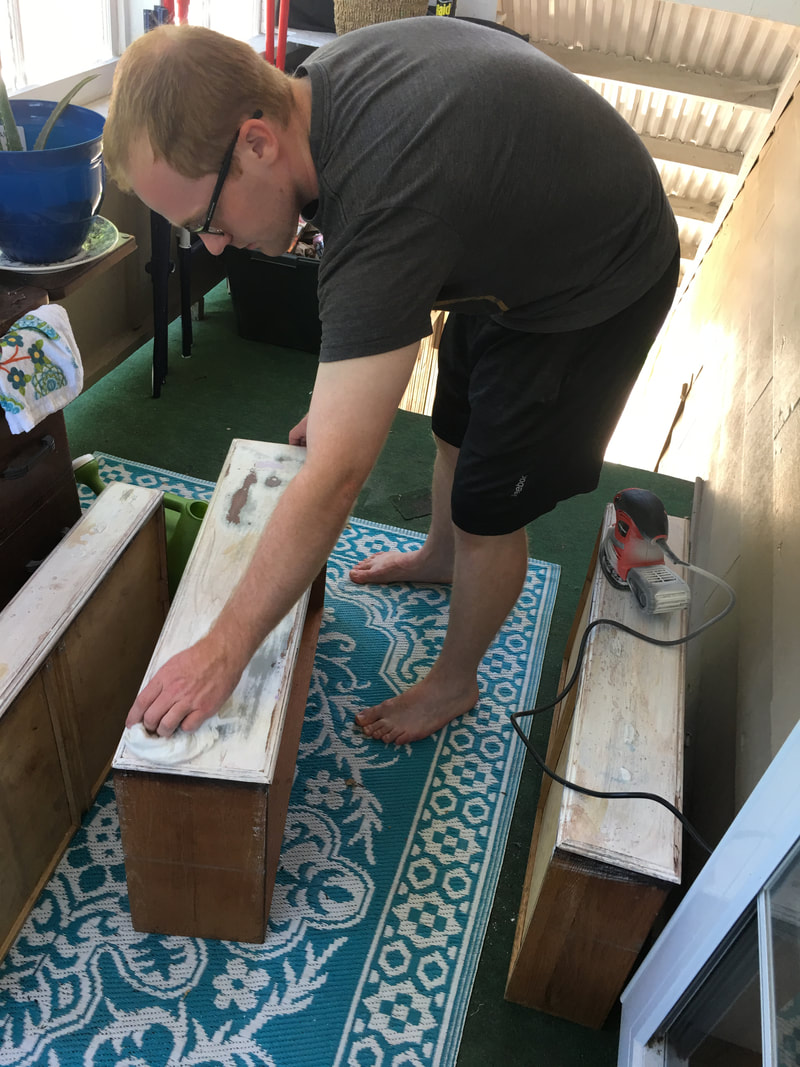
I hope today's post has inspired you to look at things you have around the house in a new way to get inspired to make something. Crafty supplies can sometimes be found in the most mundane things. All it takes is a little imagination (and a glue gun) to make something that's all your own. - Suzanne Hellooooooo my crafty friends. Thanks for hanging on for one extra day so that I could give you the finished product of my redone dresser. So remember how last week I told you how I tinted some leftover white ceiling paint to paint one of the drawers? And remember how I thought that was a great idea? Well as that paint continued to dry over the next few days, I noticed that it started to crack slightly. I think this was due to the fact that I had to put so many coats on since the ceiling paint is thinner than typical wall paint. So it was time to change my tactic. I also realized that I had to change my method of sanding away the dried wood filler from the front of the drawers because doing it by hand with a tiny piece of sandpaper was very much not going to cut it so I bought myself this bad boy from Amazon. Me and the boyfriend had way too much fun using this little sander to get all the drawers ready for painting. It was less than $30 and has enough power for small projects like this.
But anyways, back to the paint. I also had some leftover wall paint from our craft room which is a very pale purple. So I decided to try my "tint latex paint with acrylic paint" method again, but with proper wall paint. Surprisingly enough this worked much better with thick wall paint. However, I had to change up my plan a little bit and paint all of the drawers different pastel shades of blue and purple rather than pastel shades ranging all across the rainbow. So for each drawer, I just added a different color and a different amount of acrylic paint to the purple wall paint and mixed until I got the shade that I wanted. 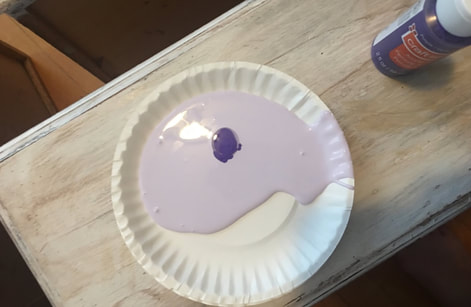 Now that all the drawers were painted it was time to wait patiently for my adorable drawer pulls to come in from Hobby Lobby. Once they came, I spent way too long trying to decide where exactly each knob should go on the dresser and came up with this: 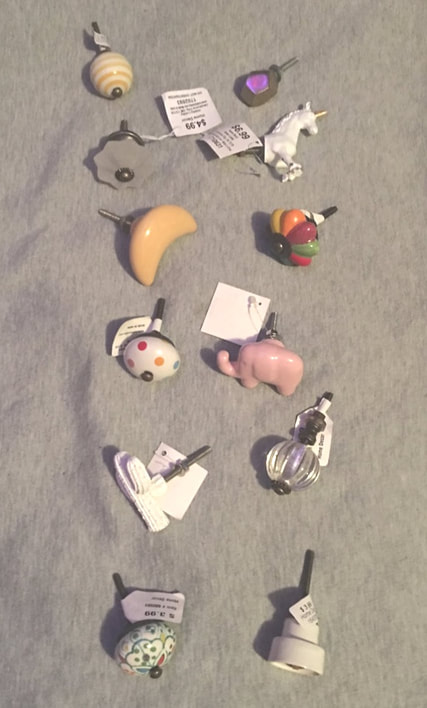 Then it was time to actually add the knobs to the drawers. I figured out where the horizontal center line of the drawers and then put marked my spot for each knob on that line, 6 inches in from the side. After drilling the holes it was time to secure the knobs! 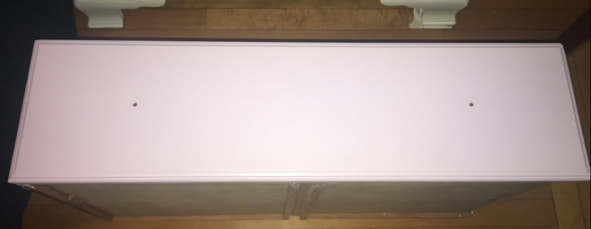 All of the drawer pulls came with washers and nuts so I just had to put the post of the knob through the holes and tighten them from the back. And here she is! I realized a few days ago that I basically took a vintage, classy looking dresser and redid it to look like it could go in the bedroom of an 8 year old girl. But it makes me happy so who cares! 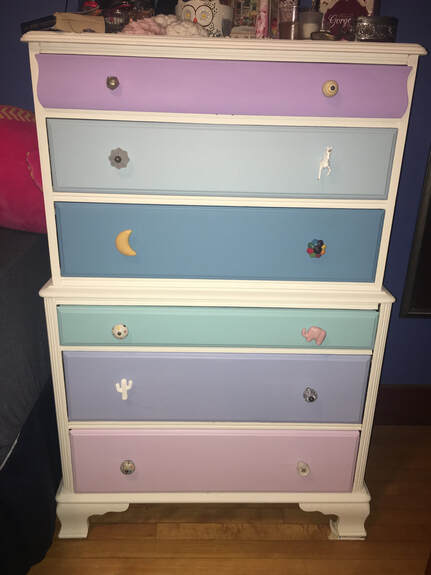 In case you weren't able to tell from either picture the knobs are as follows: geometric gold knob, striped white and yellow knob, frosted glass knob, unicorn knob, yellow crescent moon knob, multicolored flower knob, polka dot knob, pink elephant knob, white cactus knob, glass antique knob, multicolored hand-painted knob, and white button knob. All from Hobby Lobby and all bought on sale.
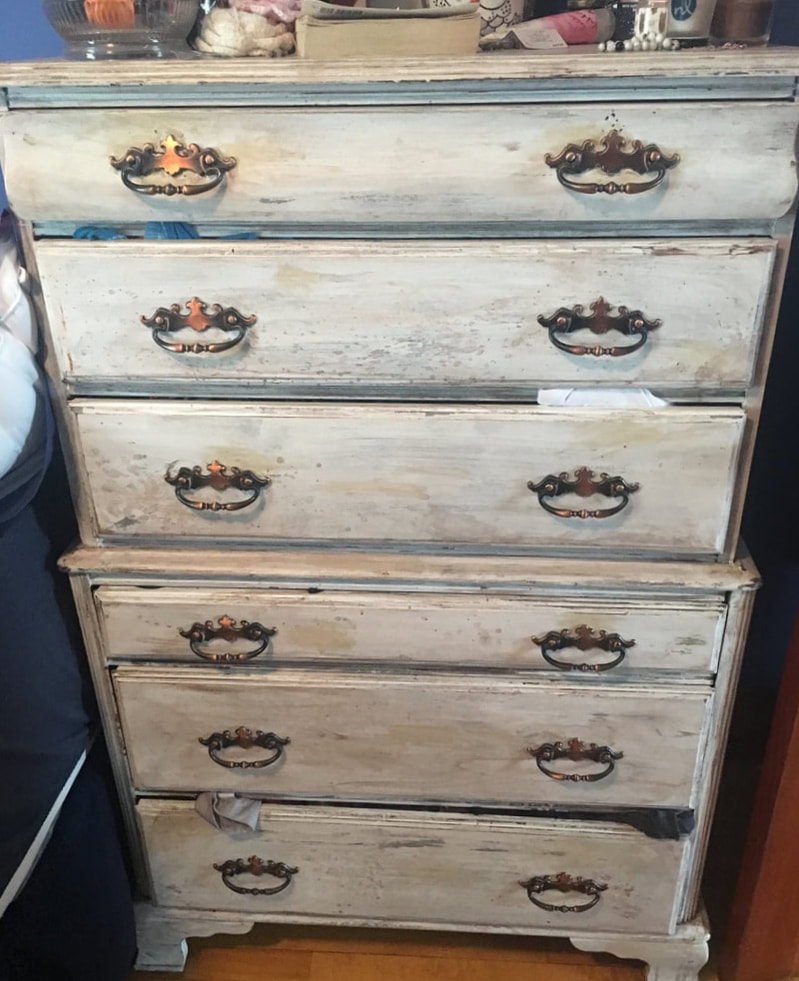
So what do you think about this dresser redo? All these new pretty colors and silly knobs just make me happy and why do a craft project if it doesn't make you happy? Let me know which knob is your favorite in the comments below! - Rebecca Hello friends! So, this week I started off a bit of a larger project - redoing my dresser! I believe I talked about my dresser before in a blog post, but if you haven't seen it, here it is! Please excuse the clothes peeking out of the drawers. I have too many t-shirts ...
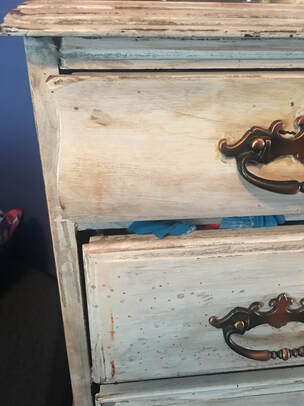
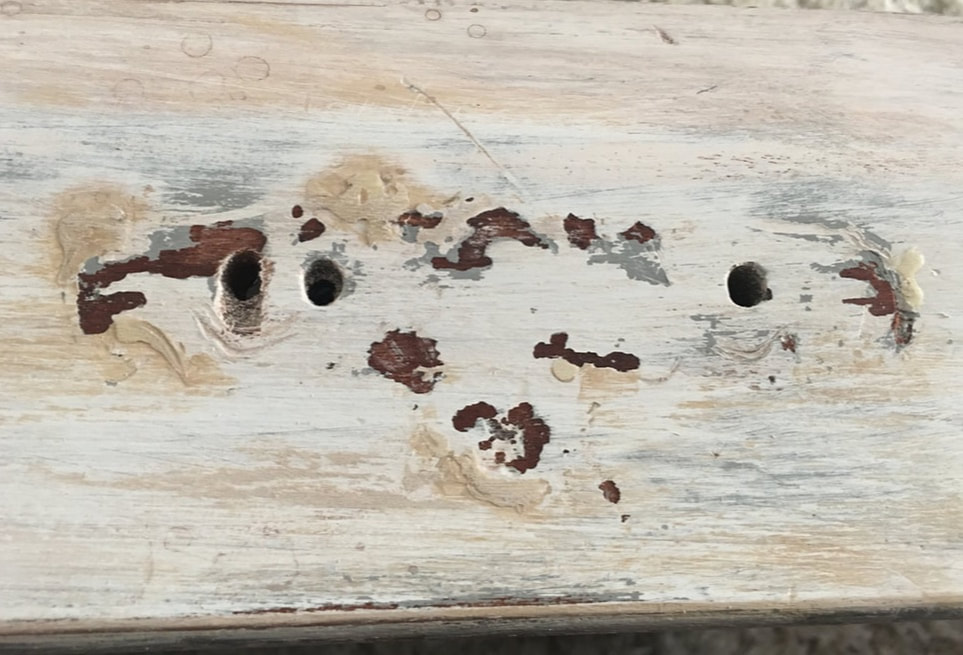
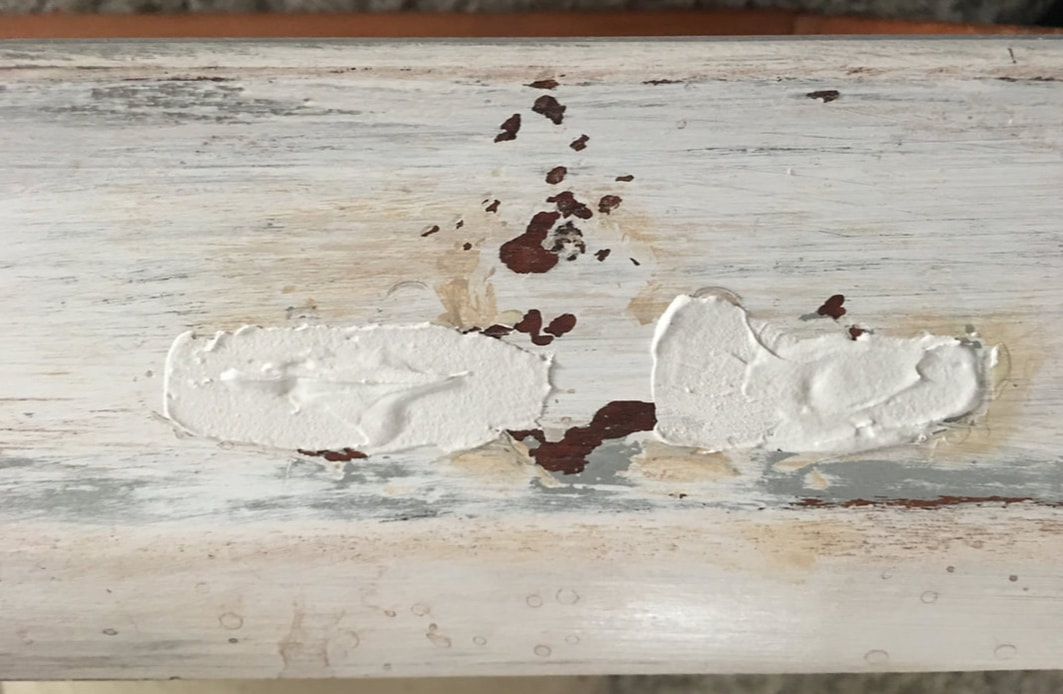
I actually DIYed this dresser previously; I bought it from a second hand store and it was painted all grey, but I used some white and brown paints to give it an antiqued and aged look. However, it had looked like this for a while and I thought that it was time to give it a refresh! I started off by removing all of the drawers so that I could paint the base of the dresser. 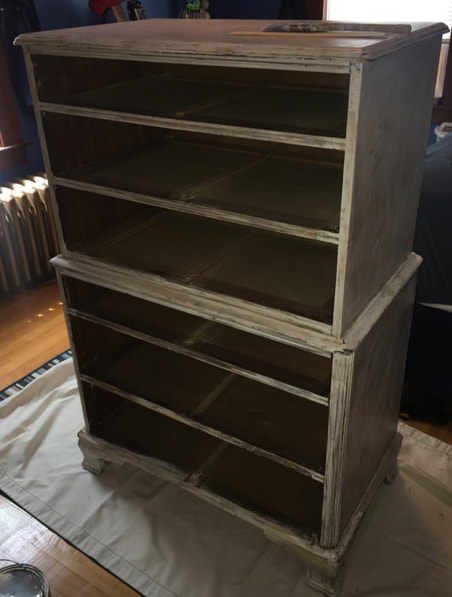 I decided that I wanted to paint the base of the dresser pure white so I used some leftover paint that I had from when we painted our apartment. I will admit that I used leftover ceiling paint as opposed to wall paint and I'm not sure I recommend it, but it did get the job done. It has an extremely matte finish and is not quite as thick as wall paint so it took a few more coats than I wanted, but I choose to use ceiling paint so I guess I really can't complain. I did three coats with a paintbrush and then did the final coat with a sponge to give the dresser a stippled texture. 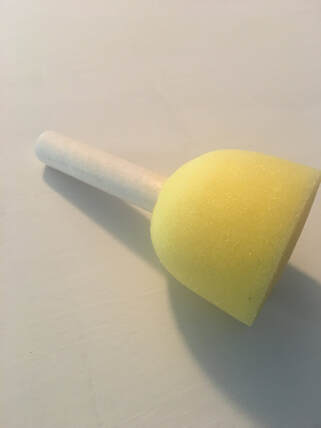 Then it was time to work on the drawers. Fun fact: Me and my mom have always called drawers "draws" instead. Yes, I know that's wrong but that's what I've always said so typing the word drawer feels very weird. Maybe its a French Canadian thing? Or a New England thing? Who knows. Anyways, first off I needed to remove the drawer pulls. For 5 of the 6 drawers this was easy as they were just screwed in, but for the top drawer I had glued on the pulls as the holes had gotten too big with time and the screws no longer stayed put. 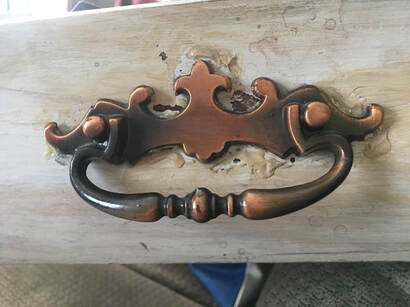 I had a super fun time prying the glued drawer pulls off and then I sanded them down to get rid of any residual glue. I bought some new drawer pulls online from Hobby Lobby which are just knobs rather than handles so I am only going to need one hole on each side rather than two to hold them in place. I took some wood filler (I am pretty sure I just got it from Walmart) to fill all of the holes on all 6 drawers so that I could start fresh and make new holes for the new knobs.
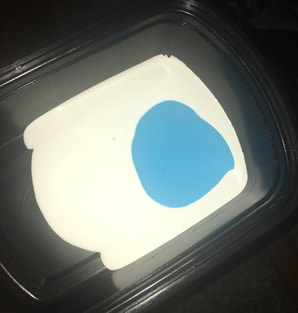
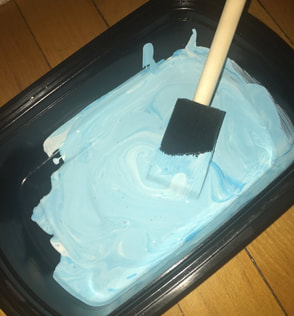
Once the wood filler dried, I sanded it down so that it would be ready for painting. I decided that I wanted to paint each of the drawers a different pastel color. I found myself in a conundrum: I did not have any pastel paint and didn't want to go buy wall paint from the hardware store because even a quart would have been way too much for what I needed to do. I broke out my trusty leftover ceiling paint again and after some intense googling, discovered that I could tint latex wall/ceiling paint with acrylic craft paint. I did however learn that this only works for some kinds of wall paint, so please go ahead and do your own intense googling before you try this yourself. I poured out some ceiling paint into a plastic container and then added a decent amount of blue craft paint to it. Once mixing it up, i was left with some very light blue paint!
Here is the first drawer done with the blue paint! 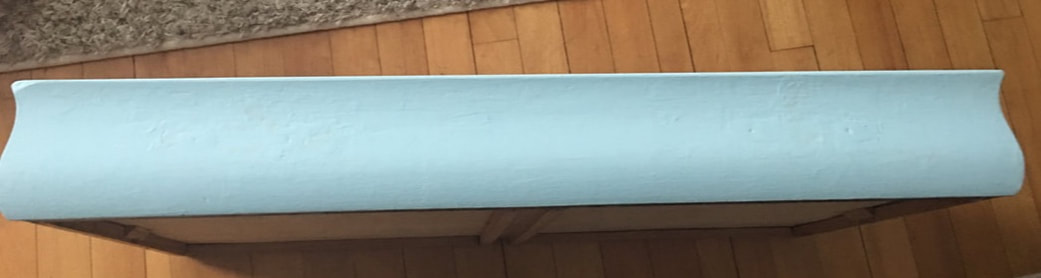 Over the next week I am going to work on mixing up the colors for the other 5 drawers and once I get the drawer pulls in the mail I can drill some holes and finish the dresser off!
Part 2 of this dresser redo will be coming either next week or the week after depending on when my new drawer pulls come in the mail :) Let me know what you think of the redo so far in the comments below! - Rebecca |
AuthorI am a 27-year-old crafter and baker from New Hampshire! Archives
July 2024
Categories |

 RSS Feed
Proudly powered by Weebly