|
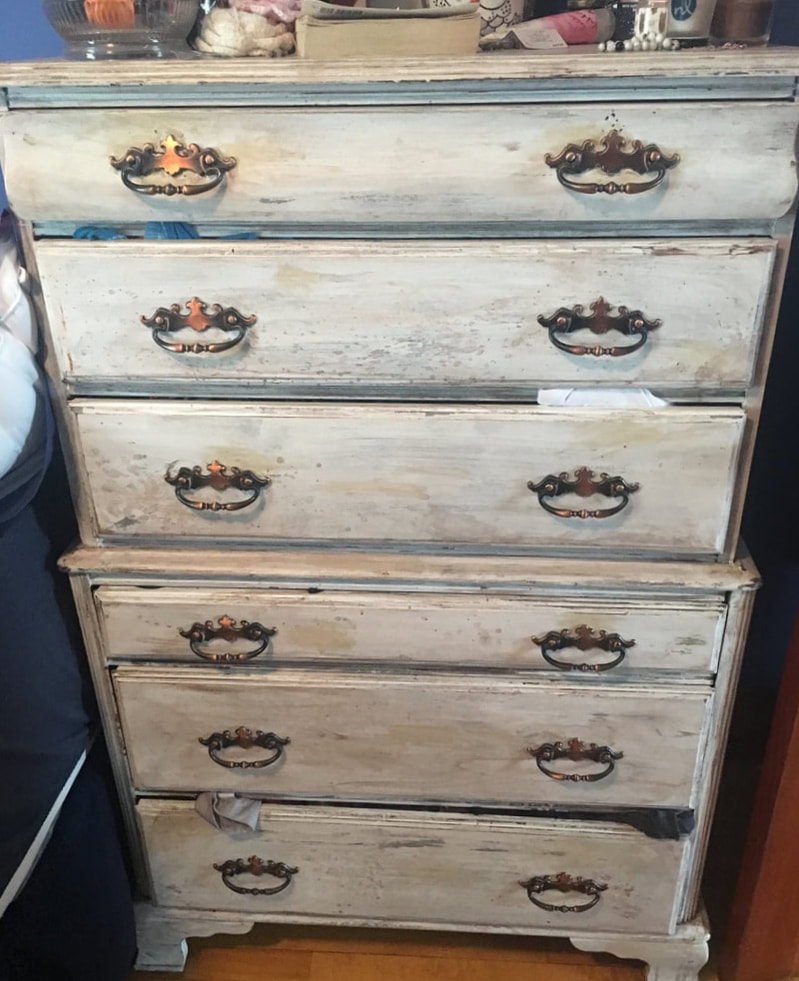
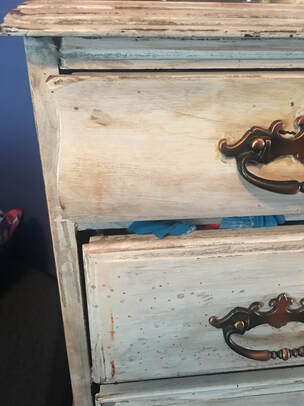
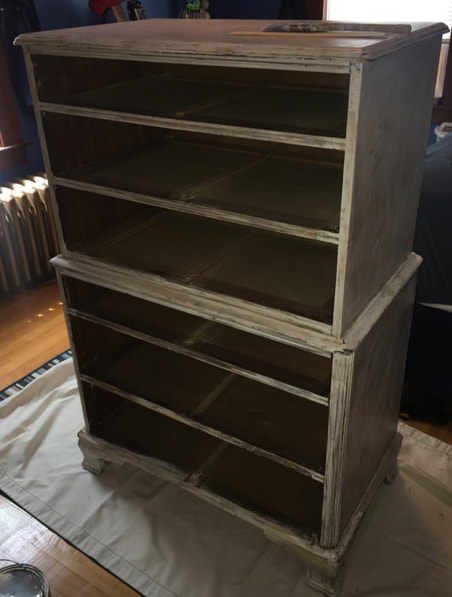
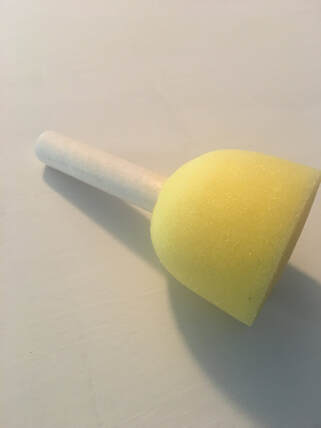
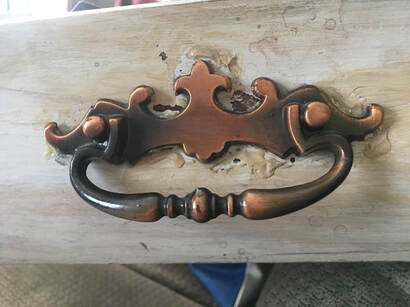
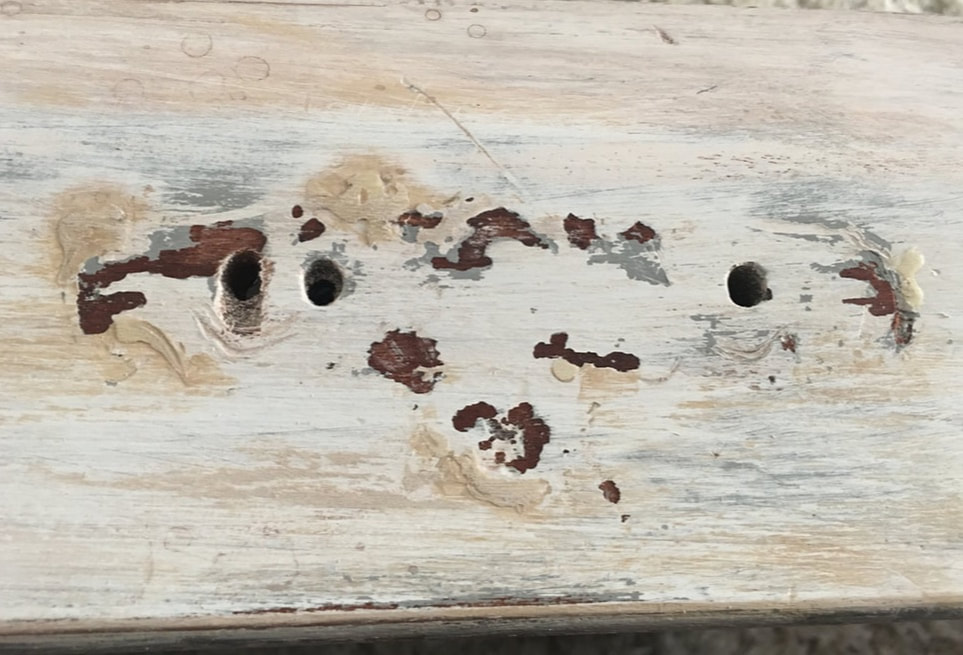
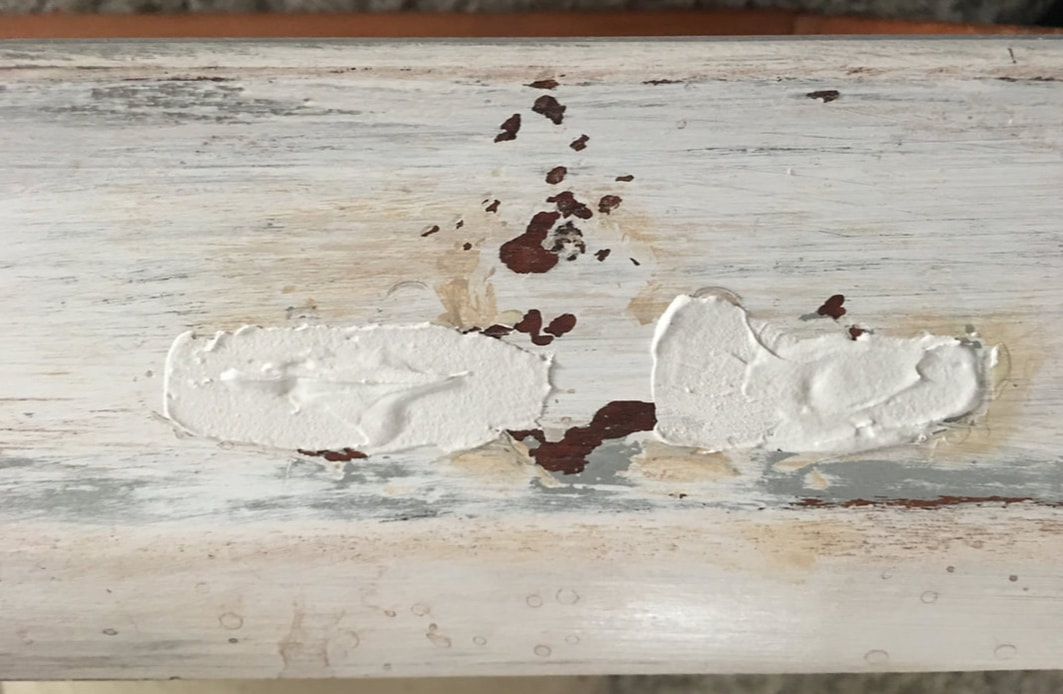
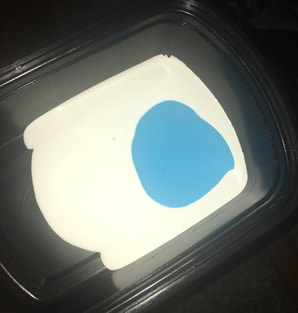
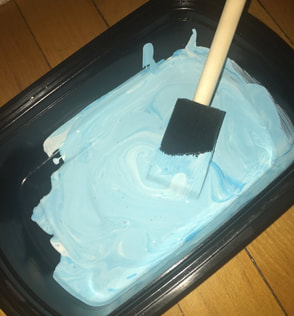
Hello friends! So, this week I started off a bit of a larger project - redoing my dresser! I believe I talked about my dresser before in a blog post, but if you haven't seen it, here it is! Please excuse the clothes peeking out of the drawers. I have too many t-shirts ... I actually DIYed this dresser previously; I bought it from a second hand store and it was painted all grey, but I used some white and brown paints to give it an antiqued and aged look. However, it had looked like this for a while and I thought that it was time to give it a refresh! I started off by removing all of the drawers so that I could paint the base of the dresser. I decided that I wanted to paint the base of the dresser pure white so I used some leftover paint that I had from when we painted our apartment. I will admit that I used leftover ceiling paint as opposed to wall paint and I'm not sure I recommend it, but it did get the job done. It has an extremely matte finish and is not quite as thick as wall paint so it took a few more coats than I wanted, but I choose to use ceiling paint so I guess I really can't complain. I did three coats with a paintbrush and then did the final coat with a sponge to give the dresser a stippled texture. Then it was time to work on the drawers. Fun fact: Me and my mom have always called drawers "draws" instead. Yes, I know that's wrong but that's what I've always said so typing the word drawer feels very weird. Maybe its a French Canadian thing? Or a New England thing? Who knows. Anyways, first off I needed to remove the drawer pulls. For 5 of the 6 drawers this was easy as they were just screwed in, but for the top drawer I had glued on the pulls as the holes had gotten too big with time and the screws no longer stayed put. I had a super fun time prying the glued drawer pulls off and then I sanded them down to get rid of any residual glue. I bought some new drawer pulls online from Hobby Lobby which are just knobs rather than handles so I am only going to need one hole on each side rather than two to hold them in place. I took some wood filler (I am pretty sure I just got it from Walmart) to fill all of the holes on all 6 drawers so that I could start fresh and make new holes for the new knobs. Once the wood filler dried, I sanded it down so that it would be ready for painting. I decided that I wanted to paint each of the drawers a different pastel color. I found myself in a conundrum: I did not have any pastel paint and didn't want to go buy wall paint from the hardware store because even a quart would have been way too much for what I needed to do. I broke out my trusty leftover ceiling paint again and after some intense googling, discovered that I could tint latex wall/ceiling paint with acrylic craft paint. I did however learn that this only works for some kinds of wall paint, so please go ahead and do your own intense googling before you try this yourself. I poured out some ceiling paint into a plastic container and then added a decent amount of blue craft paint to it. Once mixing it up, i was left with some very light blue paint! Here is the first drawer done with the blue paint! Over the next week I am going to work on mixing up the colors for the other 5 drawers and once I get the drawer pulls in the mail I can drill some holes and finish the dresser off!
Part 2 of this dresser redo will be coming either next week or the week after depending on when my new drawer pulls come in the mail :) Let me know what you think of the redo so far in the comments below! - Rebecca
1 Comment
7/14/2019 06:00:37 am
A dresser is a really efficient way of storing your clothes. I know a lot of people who are so cheap, in fact, they are so cheap that they do not even want to invest on a dresser. A dresser may cost a lot at first, but all the pennies that you put into it will be worth it. First of all, a dresser gives a lot of efficiency in terms of space in the house. A dresser also provides multiple uses.
Reply
Leave a Reply. |
AuthorI am a 27-year-old crafter and baker from New Hampshire! Archives
July 2024
Categories |

 RSS Feed