|
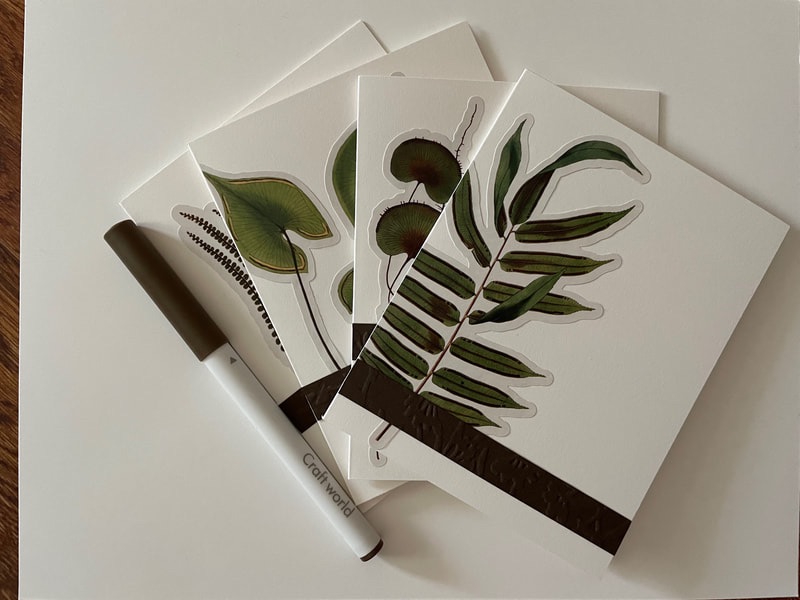
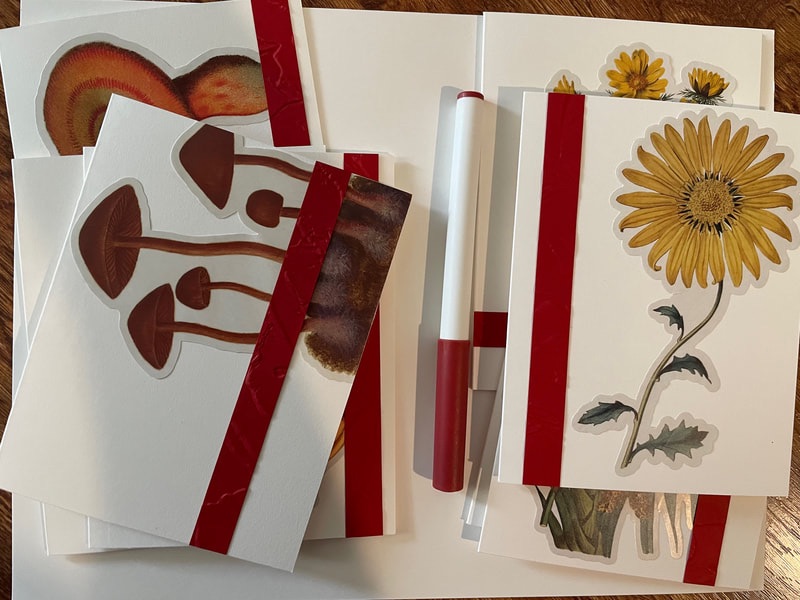
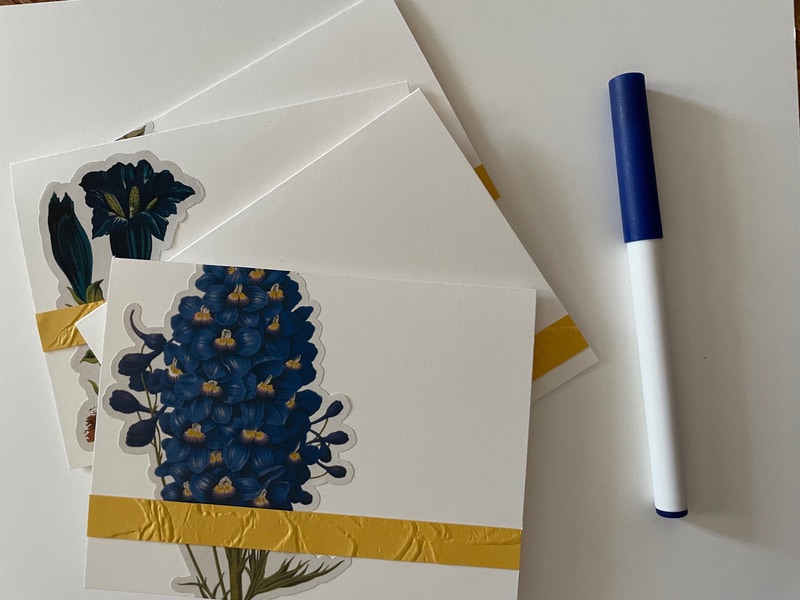
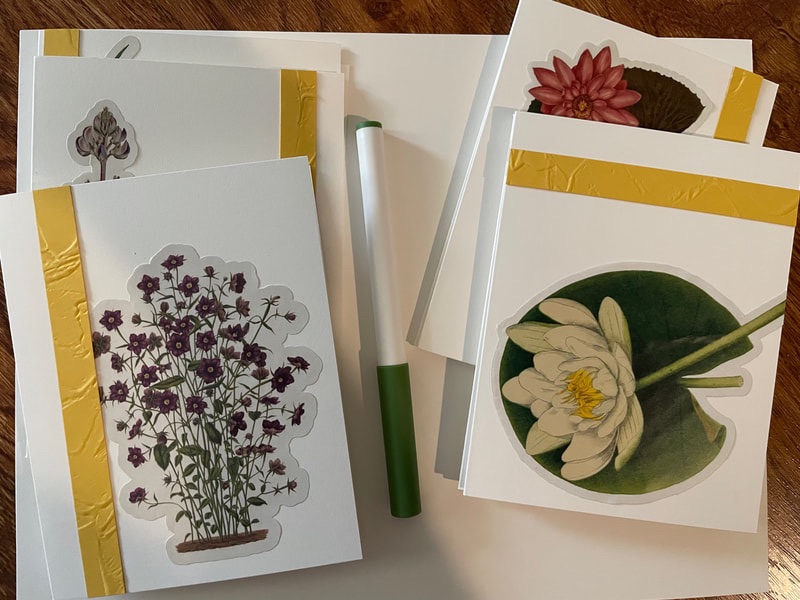
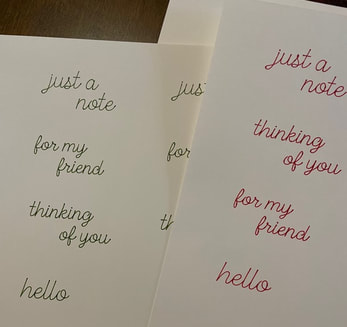
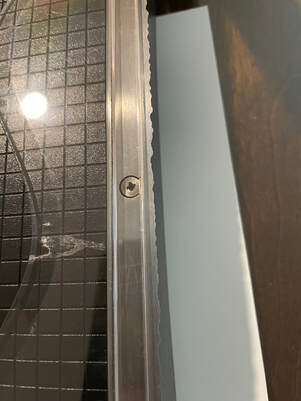
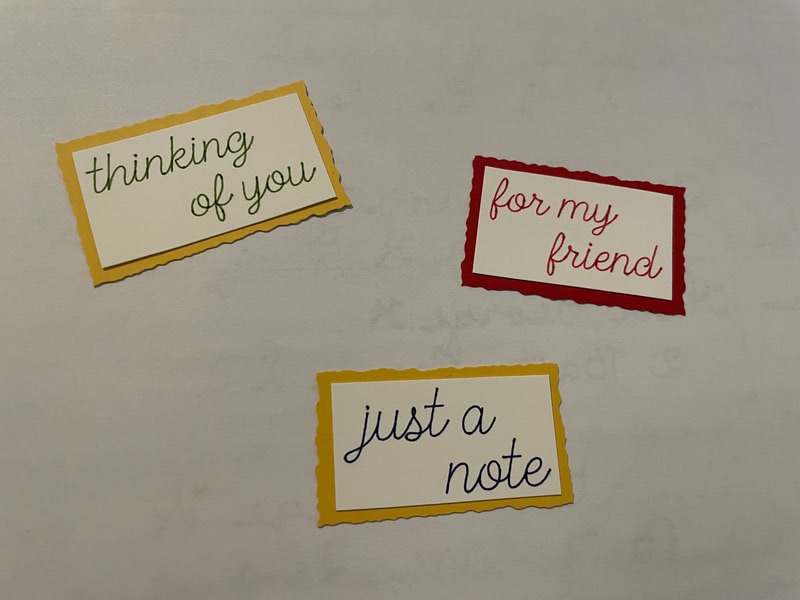
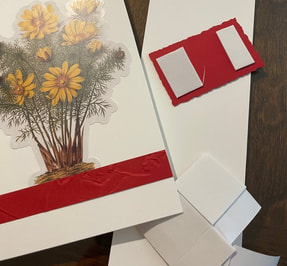
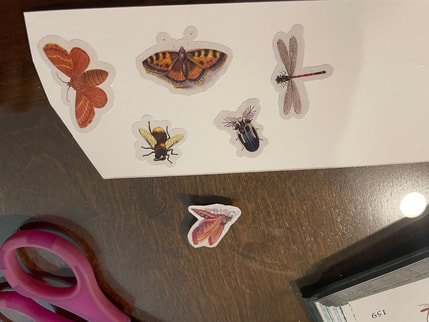
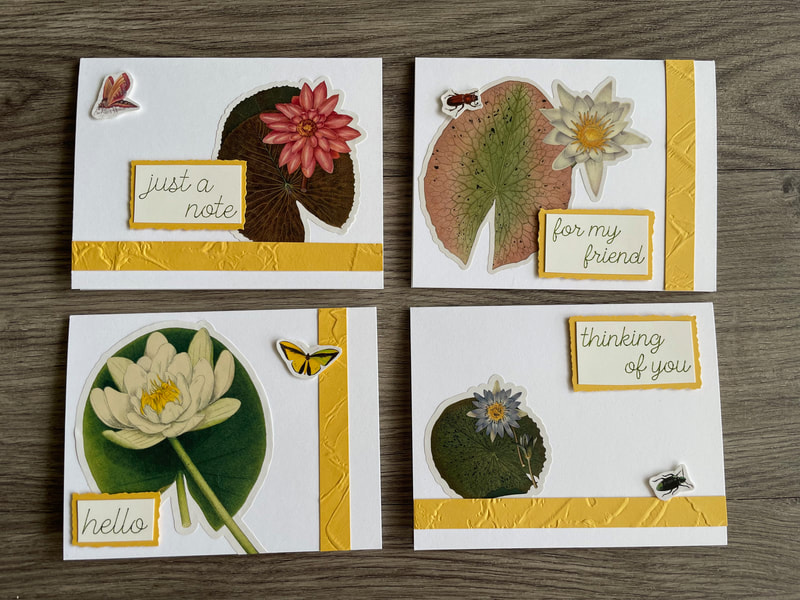
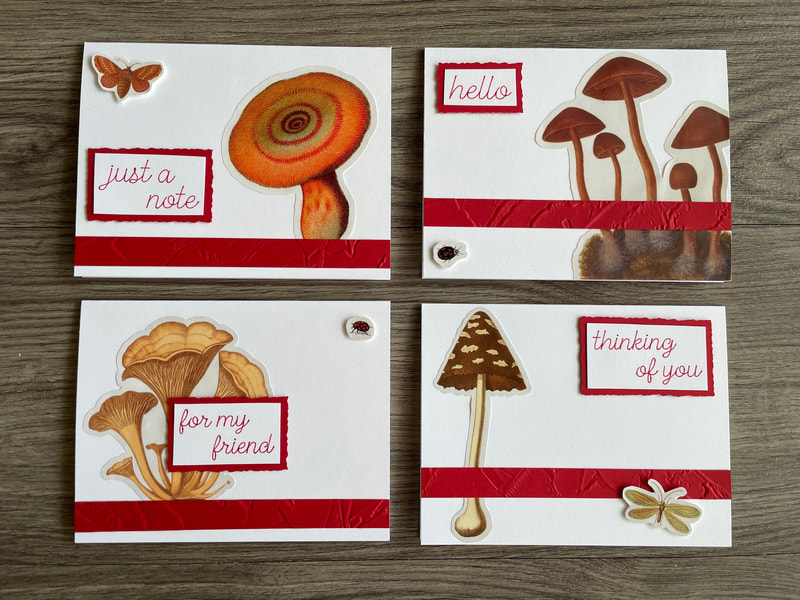
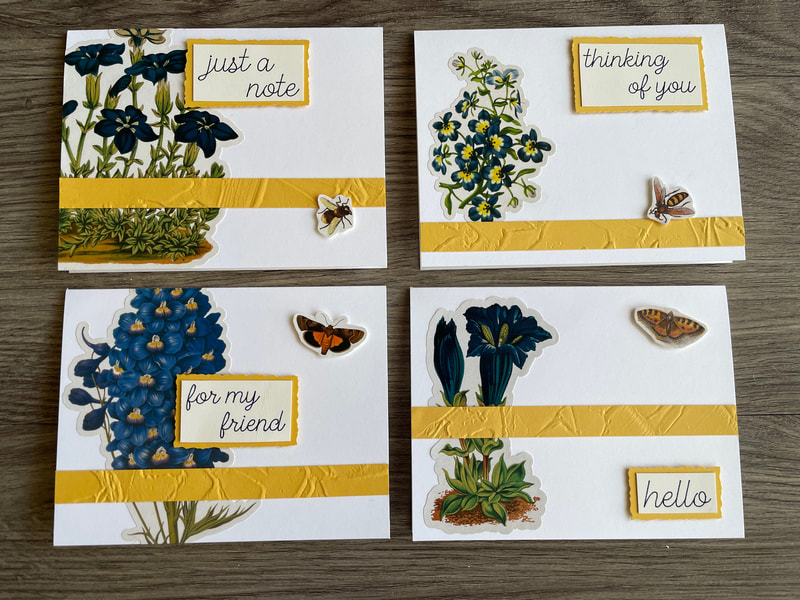
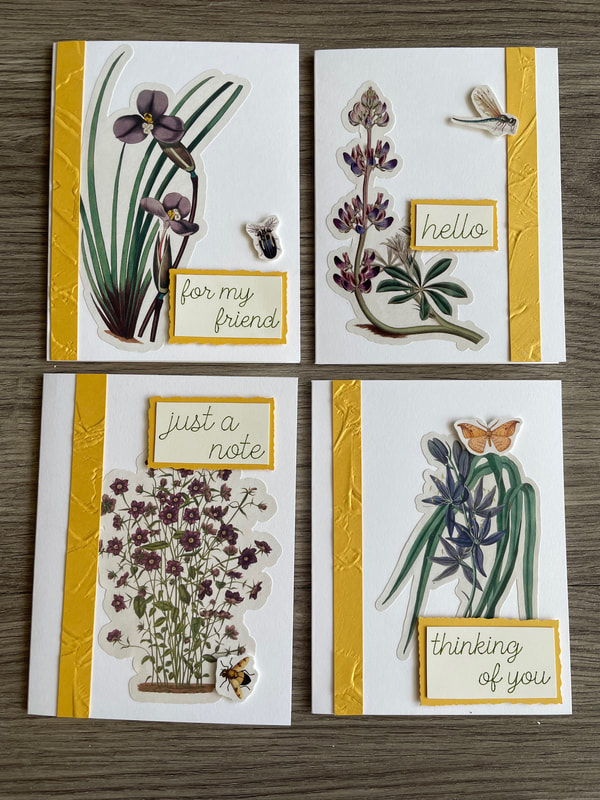
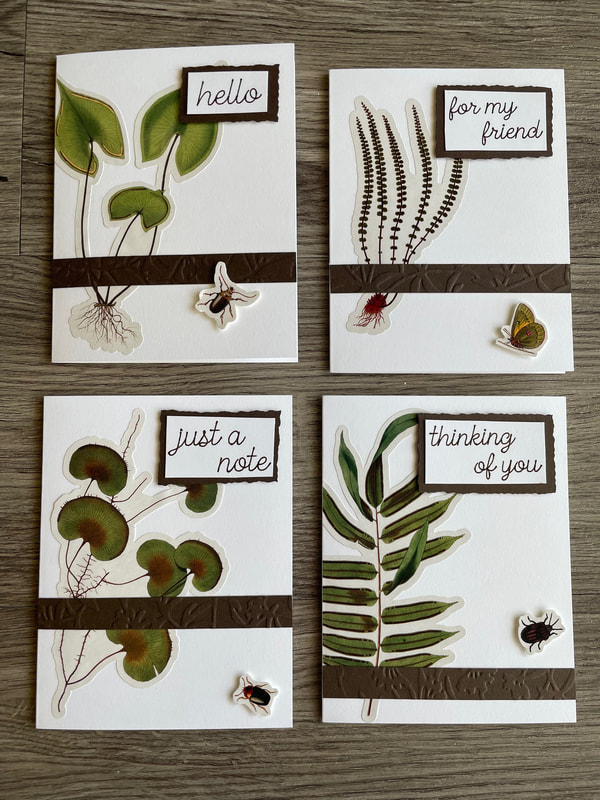
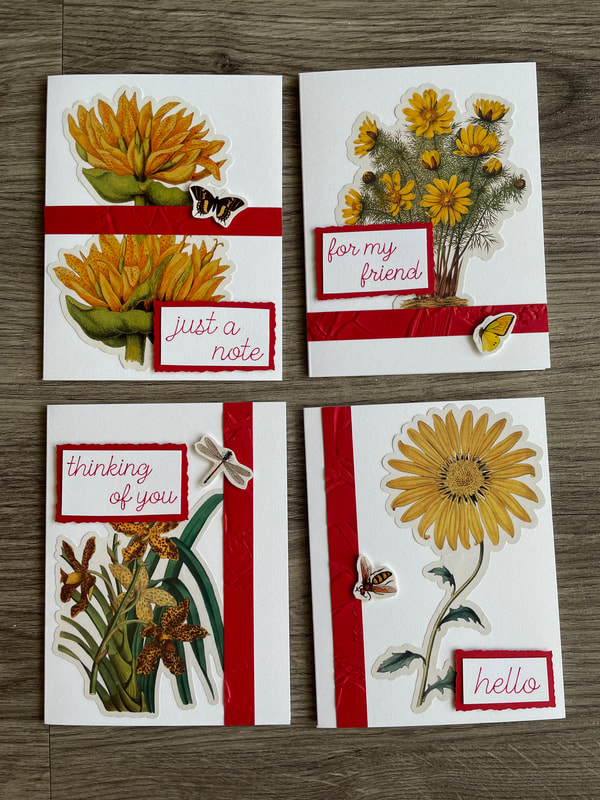
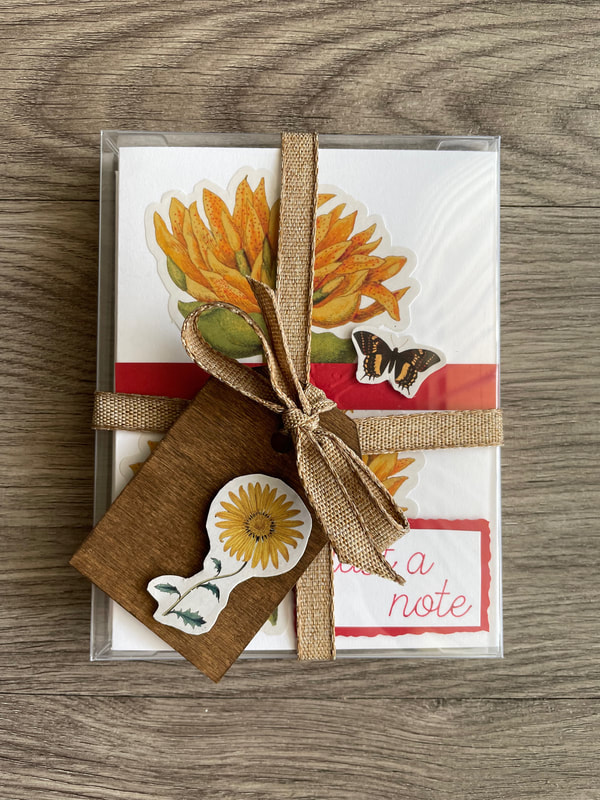
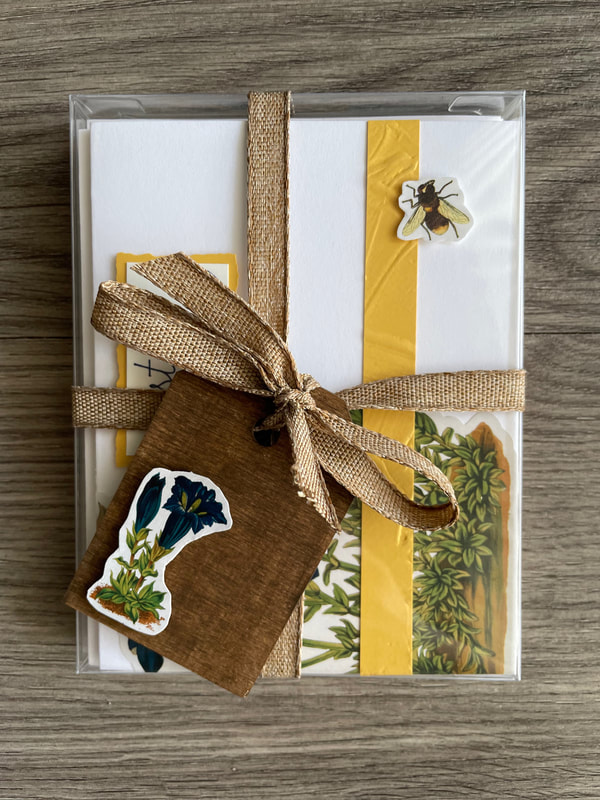
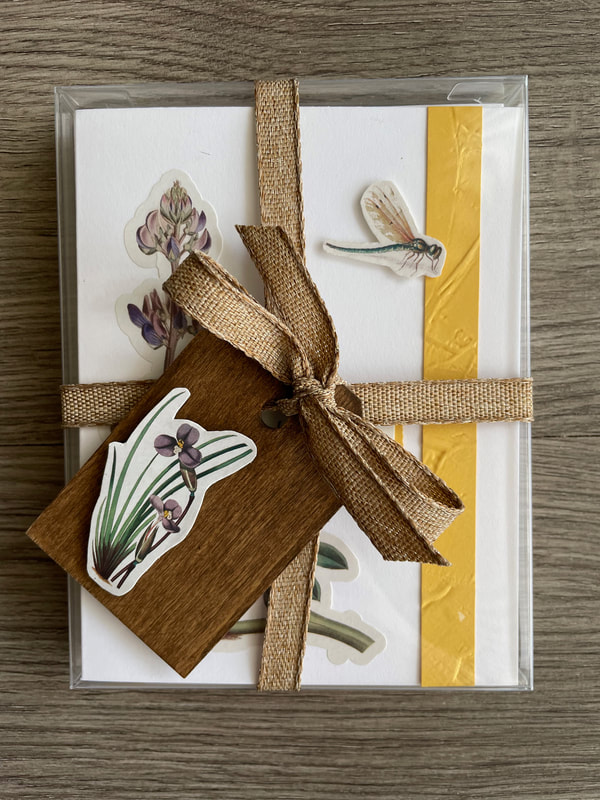
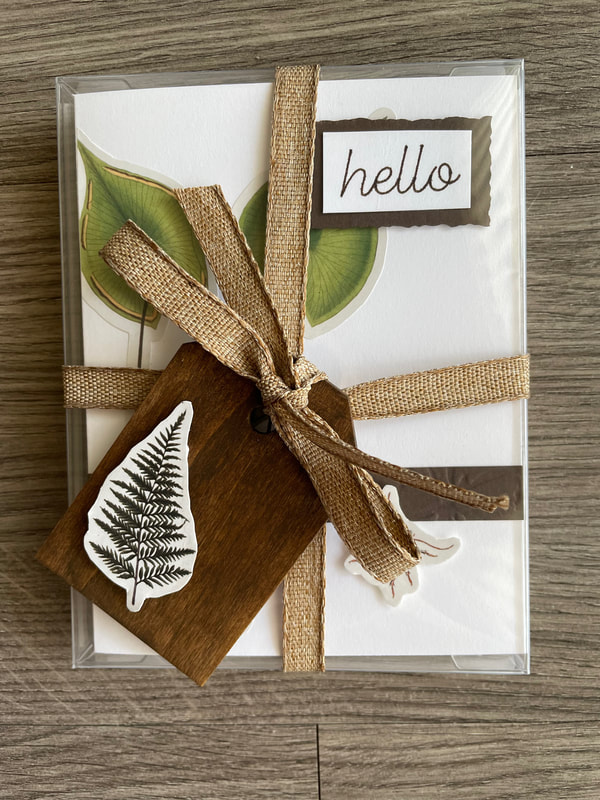
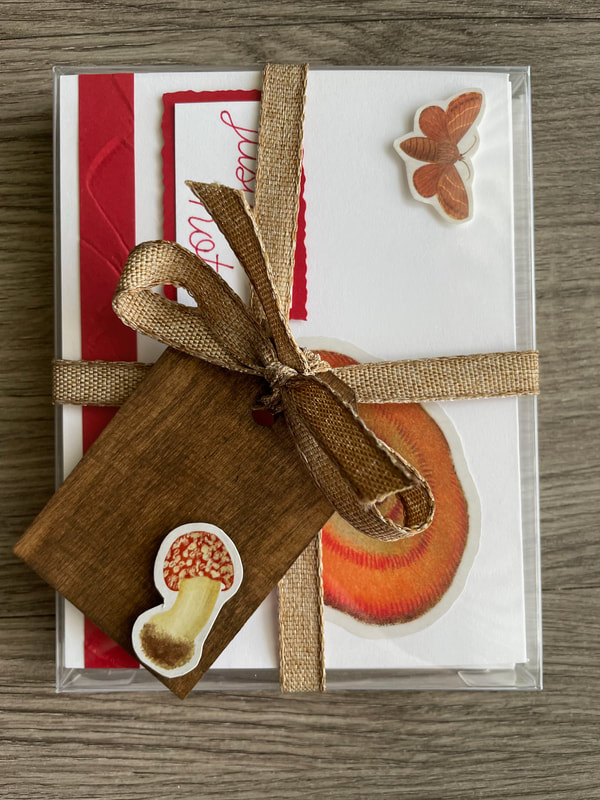
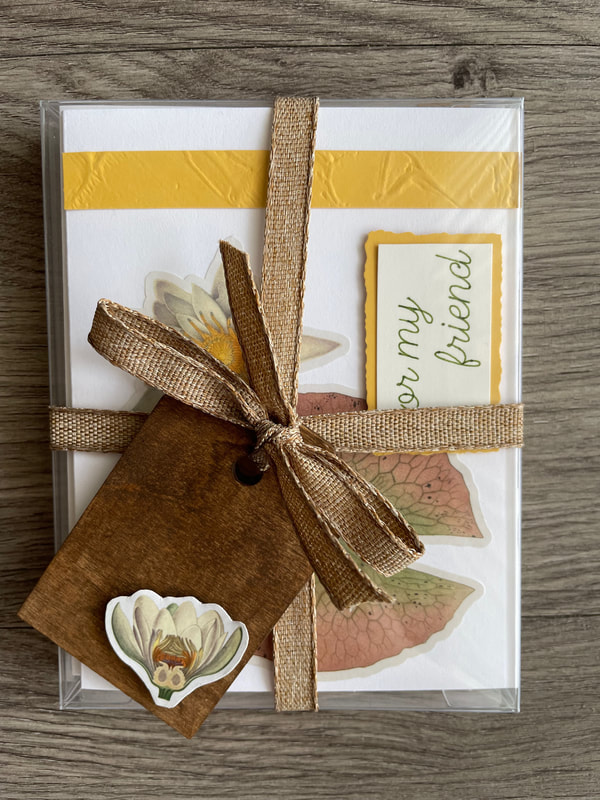
Happy Sunday everyone! Today I am FINALLY back to show you how the floral card sets I was making turned out. My apologies for how long it took ... As I've mentioned I really don't enjoy making cards so it takes me a long while to do them. But we are back! In part 1, I had ended with all the cards stickered and paper in an accenting color that had been embossed and cut into strips. Here is part 1 if you would like to catch up: floral-notecard-sets-part-1.html Next step was to use the Cricut to write out some sentiments for the cards. I picked out a Cricut pen that matched the colors of each card set: brown for the leaf cards, blue for the blue flowers cards, red for the yellow flowers and mushrooms and green for the purple flowers and lilypads. Fun little story time: I showed my mother how to use the Cricut to write out sentiments and she HATED the process of doing it! She said that she would much rather use a stamp and ink pad to stamp out sentiments than use a Cricut in the future. As I mentioned in part 1 of this project, she often helps me with cutting paper as that's a task I don't enjoy doing at all, but she loves to do. All this to say that you don't have to love every single aspect of crafting. It's okay to push yourself out of your comfort zone sometimes to try new things, but its also fine to find what you enjoy doing and stick with that! I used a handwriting script to write out the sentiments. For each set of 4 cards there were the following sentiments: Hello, Thinking of You, For my Friend and Just A Note. Now it was time to mount the sentiments on some paper that matched the paper that was used for the embossed detail. I cut a rectangle around each sentiment using a straight edge, but then for the colored paper mount I used something called a deckle-edge cutter. I had actually bought this for my mother for Christmas as she had been wanting one so it was fun to give it a try! A deckle-edge cutter has a blade that looks like this: Instead of creating a straight edge, it leaves the paper with a ruffled, hand-torn effect. The nice thing about using a cutter like this is that it allows you to get that more organic look while still being able to be intentional about where the cut is made. Once the sentiments were mounted, I then attached them to the cards with some foam mounting squares. These lift something off of the front of the card slightly to give the card a little more visual interest. Finally, I went back into my sticker book to find a small insect sticker for each card, glued them to some cardstock for extra support, cut them out and used foam mounting squares on those as well. And here are the six sets all done! These took me so much longer than they needed to, but I am very happy with how they came out! Now that I've pushed myself out of my comfort zone with these I can safely say I won't be making cards again for a while :) I then took each set of 4 and packaged them up in a clear plastic box with some envelopes that had a matching sticker on them. If you happen to like any of these card sets, they are now available on the Etsy shop! Feel free to take a look if you are interested: www.etsy.com/shop/patternedpaperplate?ref=shop_sugg
I hope you have a good week everyone! Talk to you soon! - Rebecca Today's photo on the homepage is from Pexels user Irina Iriser: www.pexels.com/photo/red-rose-and-green-leafed-1233414/
1 Comment
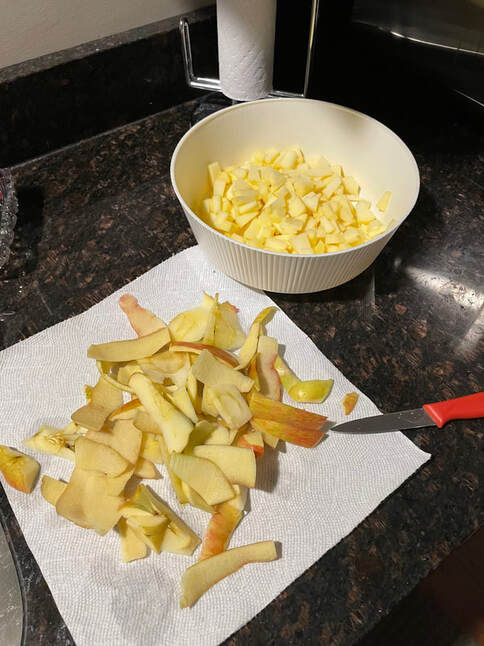
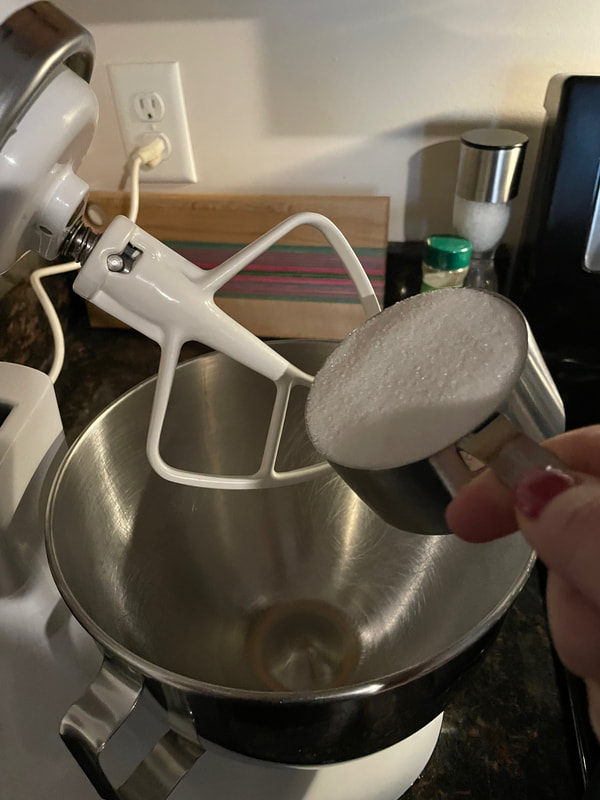
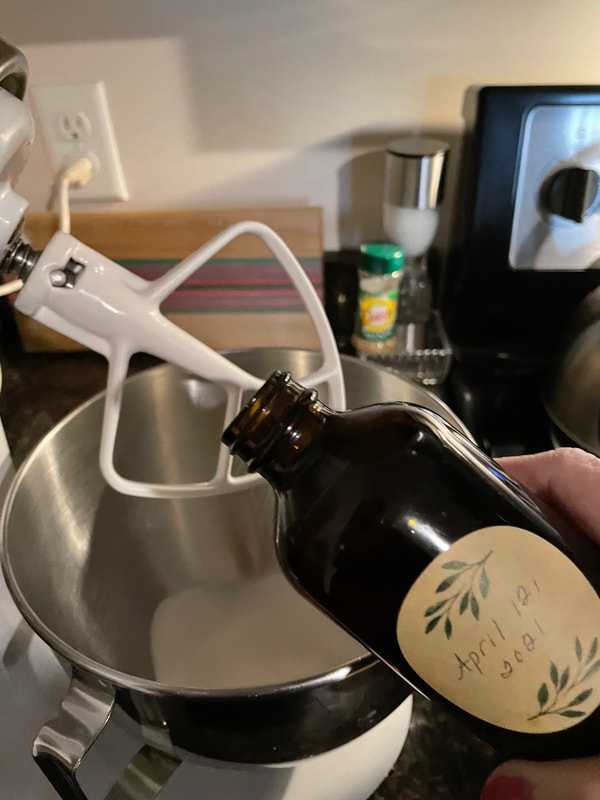
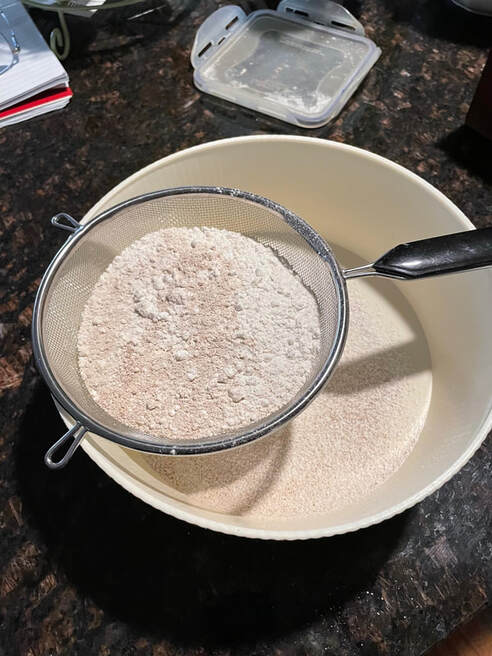
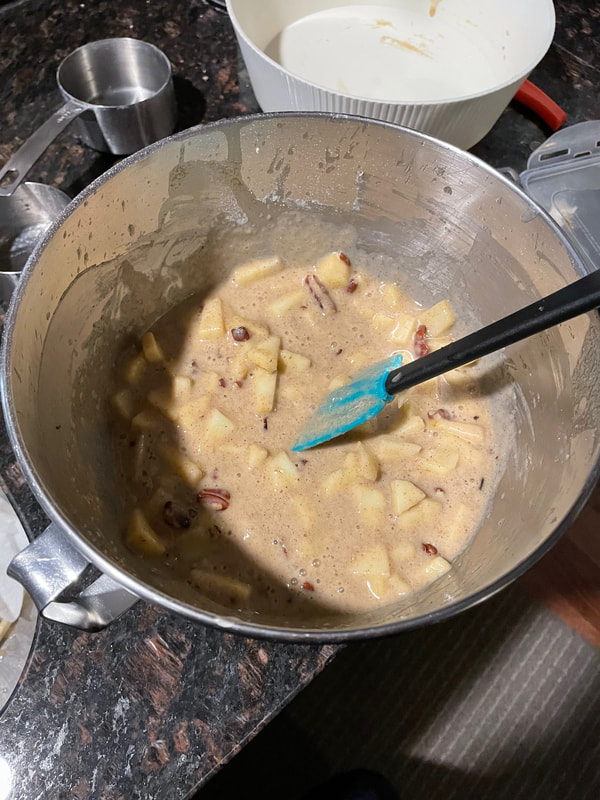
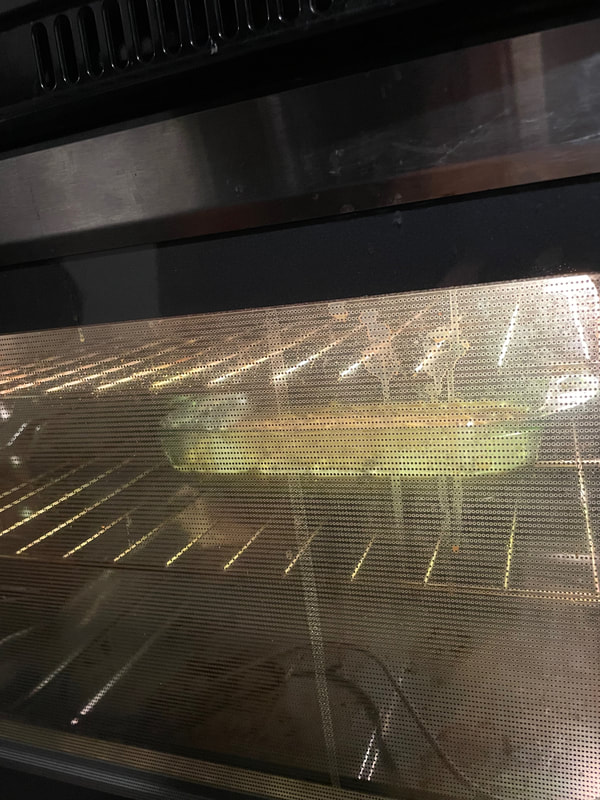
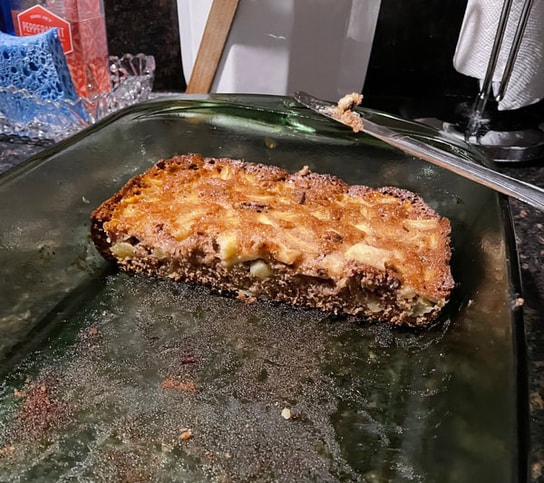
Hello! It’s Suzanne, Rebecca’s Momma, happy to be back on the PPP. Today, I’m taking a little detour into the kitchen. At the start of the new year, everyone is feeling like it’s time to get healthy, so I thought I’d try to modernize one of my Mom’s tried and true recipes to make it just a little healthier. The original recipe for Apple Squares is a simple one that makes a delicious cake-like treat. Beat 1 cup of sugar, 2 eggs, ¾ cup of vegetable oil and I teaspoon of vanilla until smooth. Add 1 ½ cups of flour, 1 teaspoon of baking soda and some cinnamon, nutmeg and cloves. Mix in 2 cups of chopped apples and 1 cup chopped nuts (if desired) and bake in a 9 X 13 pan in a 350-degree oven for approximately 45 minutes. The 1st thing I did was to peal, core and chop up two apples. The recipe calls for two cups, but a little more than that has never been a problem in the recipe. Next, I substituted apple sauce for the oil and creamed together the wet ingredients. Apple sauce can be substituted 1 for 1 for oil, meaning you use the same amount of sauce as you would oil. For the dry ingredients, I wanted to cut down on the flour and add some protein, so I added one cup of flour and replaced the other ½ cup with unflavored protein powder. Some online research suggested replacing each cup of flour with 1/3 of a cup of protein powder and to not exceed 1/3 of the flour content of the recipe overall. Since I needed to replace ½ a cup of flour, I need 1/6 cup, which is the same as 2 2/3 tablespoons. A tablespoon is 3 teaspoons, so I needed 2 tablespoons plus 2 teaspoons of protein powder. And that, my friends, is more math than I have done in a really long time! I sifted the flour and protein powder together with my spices to make sure everything would mix in well. My first concern was that the batter was much thinner than the original recipe makes. After mixing in the flour, you are usually left with a very stiff batter. I’m not sure why, because all my research indicated that the protein powder is denser than flour would be, but I’d come this far, so I decided to forge ahead. I mixed in the apples and some chopped pecans and turned everything into my 9 X 13 pan that had been prepared with some baking spray. It went into the oven and took only about 35 minutes to cook. I was suspicious of the results because the cake did not rise as much as the original recipe. Some additional research after the pan was in the oven baking (when it was too late!) suggested that the leavening agent (baking powder) should be increased when baking with protein powder. Ah ha! The cake was also much darker that the original recipe. I can’t find any reason why that might be, but perhaps it is just because the cake didn’t rise as much. The real test, though, was a taste test. Rebecca and her husband had both had cake made with the original recipe, so they had a good basis for comparison. They said this cake was very moist (thanks to the apple sauce substitution) and much denser than the original. They said the flavor was good as well – no discernable taste difference from the original due to the substitutions.
I brought half into the office to share with my coworkers and the cake got good reviews there as well. Overall, I think my experiment was successful and created a delicious, if not identical to the original, apple cake. Taken on its own, I’d call the experimental version more of a bar than a cake, since it was quite dense. I will try again – next time increasing the leavening agent and perhaps seeking out a protein powder expressly meant for baking (if there is such a thing). If you have ever tried to update a recipe, I’d love to hear about your results in the comments. Until next time, happy baking! Thanks to my mother for the lovely spin on a dessert that's been made quite often in our family! I hope to be back next time with a part 2 to the floral card sets. Talk to you soon everyone and don't forget to check out the Etsy shop if you are looking for any Valentine's Day gifts for that special someone or for yourself ;) - Rebecca P.S. Today's photo on the homepage is from Pexels user Mareefe: www.pexels.com/photo/close-up-photography-of-apples-672101/ |
AuthorI am a 27-year-old crafter and baker from New Hampshire! Archives
July 2024
Categories |
 RSS Feed