|
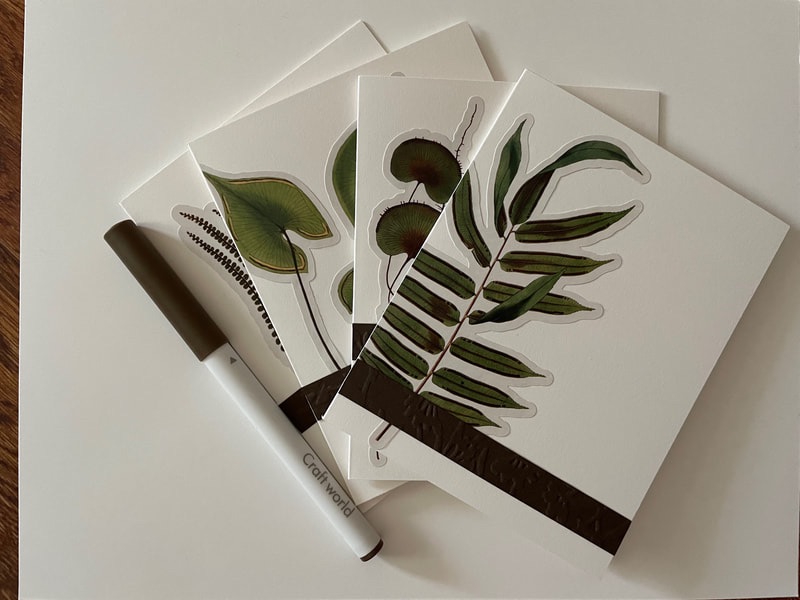
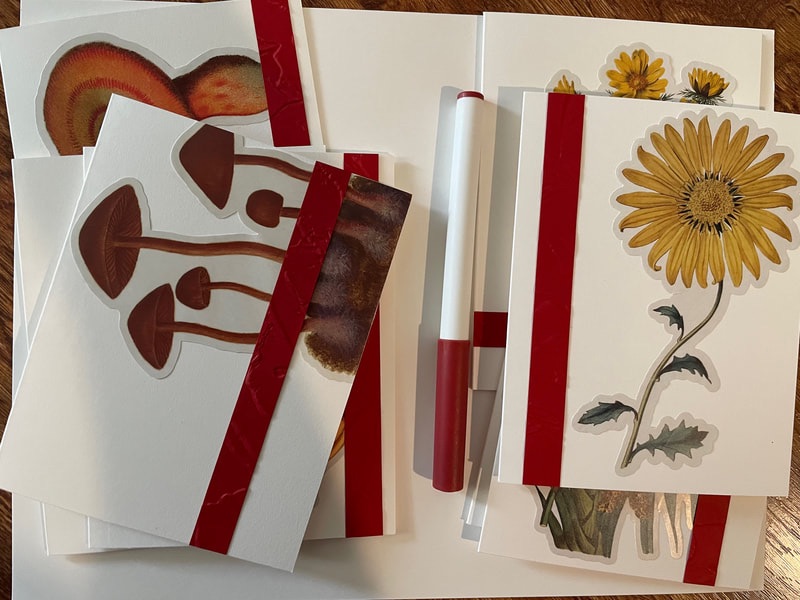
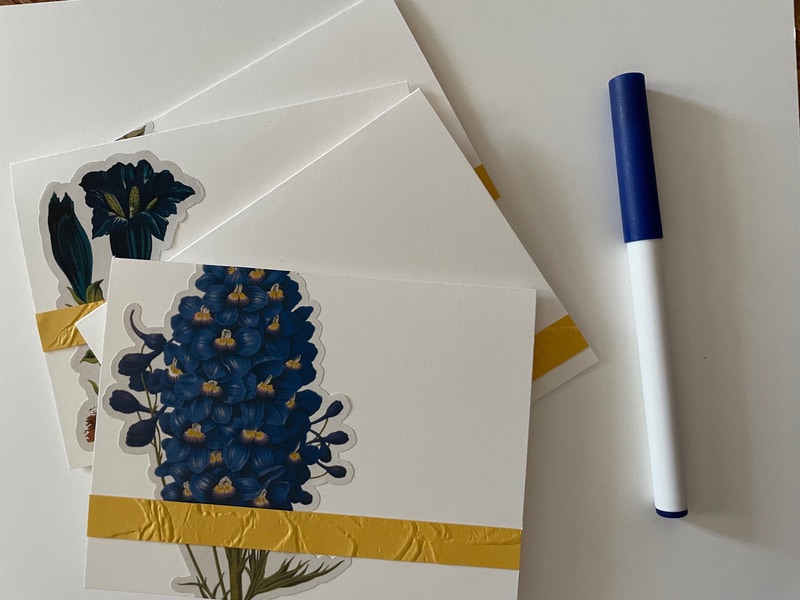
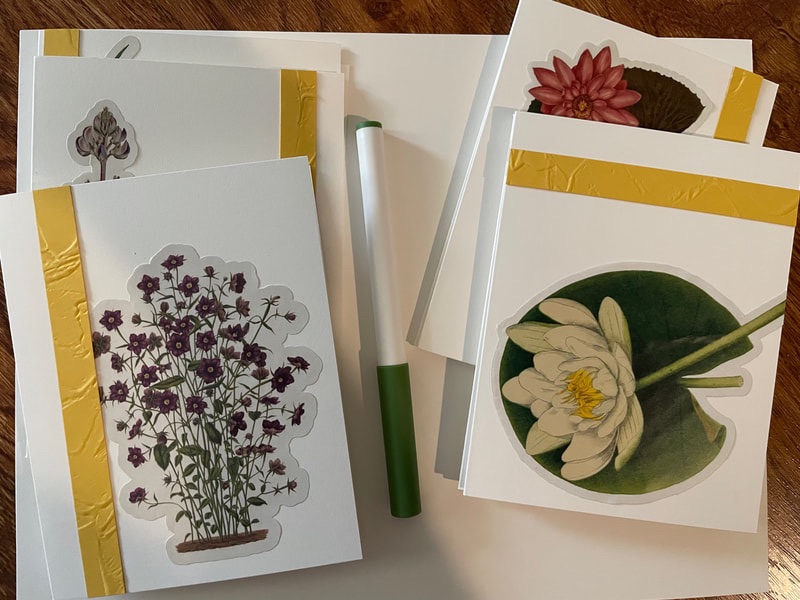
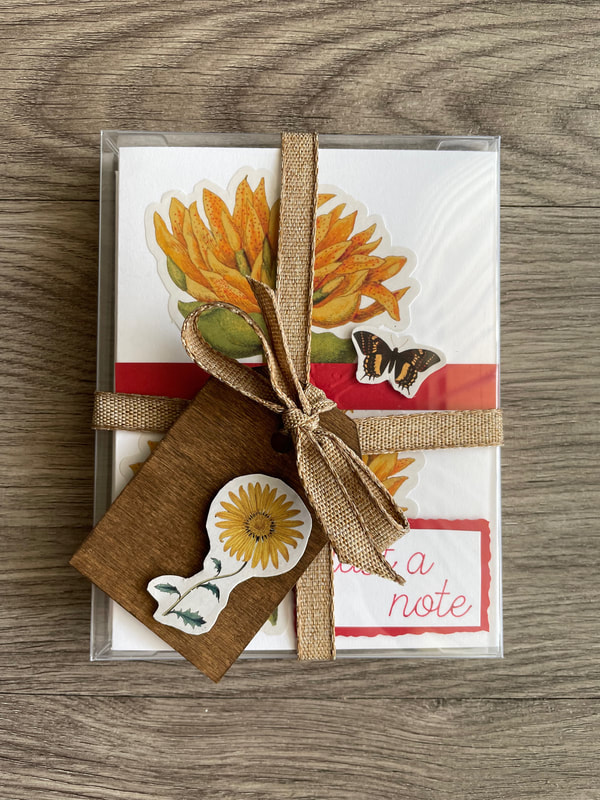
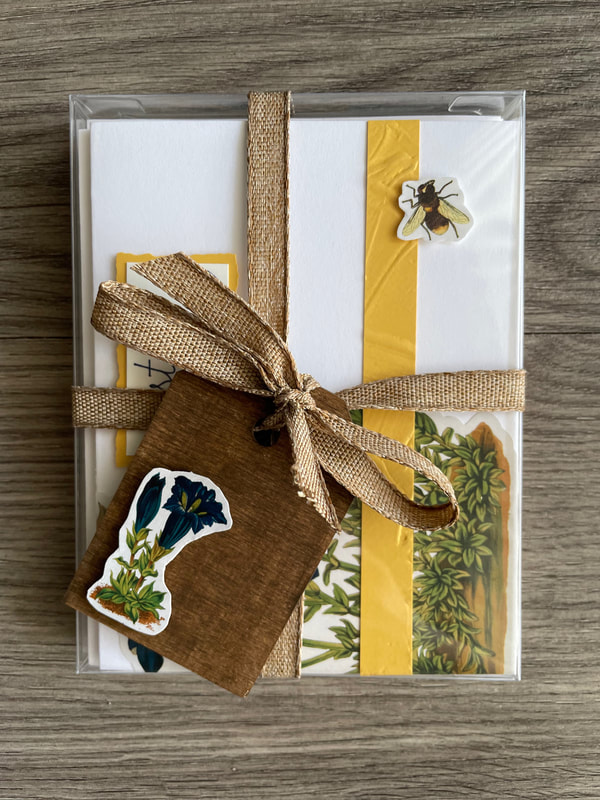
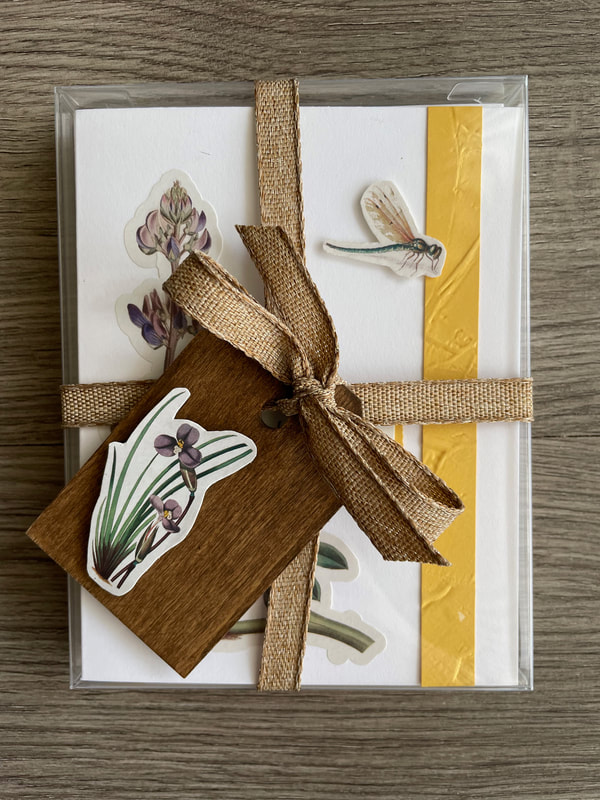
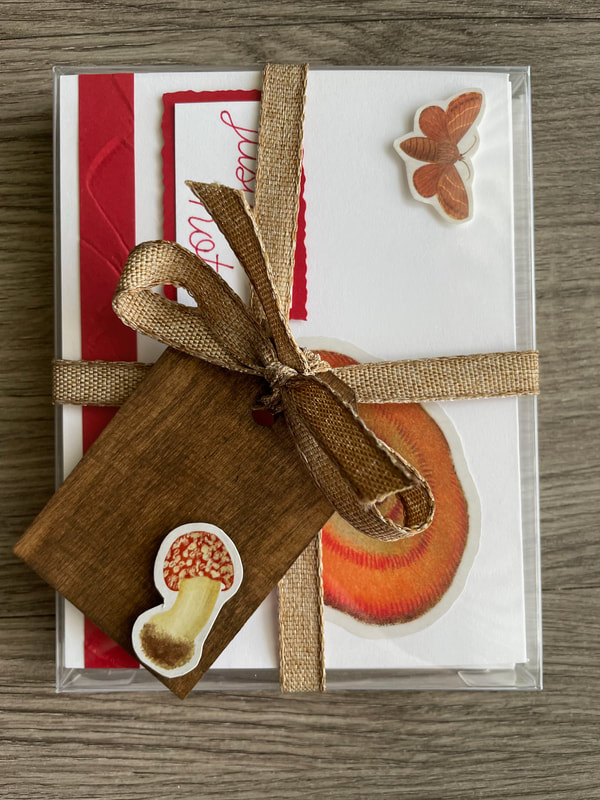
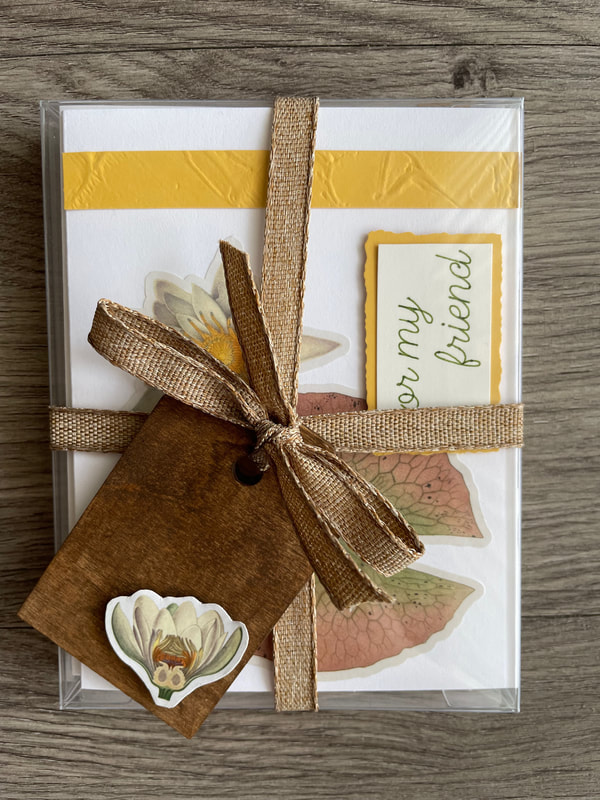
Happy Sunday everyone! Today I am FINALLY back to show you how the floral card sets I was making turned out. My apologies for how long it took ... As I've mentioned I really don't enjoy making cards so it takes me a long while to do them. But we are back! In part 1, I had ended with all the cards stickered and paper in an accenting color that had been embossed and cut into strips. Here is part 1 if you would like to catch up: floral-notecard-sets-part-1.html Next step was to use the Cricut to write out some sentiments for the cards. I picked out a Cricut pen that matched the colors of each card set: brown for the leaf cards, blue for the blue flowers cards, red for the yellow flowers and mushrooms and green for the purple flowers and lilypads.
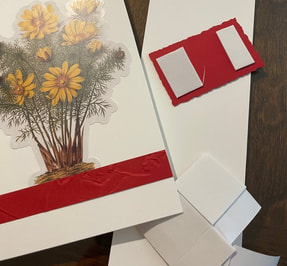
Fun little story time: I showed my mother how to use the Cricut to write out sentiments and she HATED the process of doing it! She said that she would much rather use a stamp and ink pad to stamp out sentiments than use a Cricut in the future. As I mentioned in part 1 of this project, she often helps me with cutting paper as that's a task I don't enjoy doing at all, but she loves to do. All this to say that you don't have to love every single aspect of crafting. It's okay to push yourself out of your comfort zone sometimes to try new things, but its also fine to find what you enjoy doing and stick with that! I used a handwriting script to write out the sentiments. For each set of 4 cards there were the following sentiments: Hello, Thinking of You, For my Friend and Just A Note. 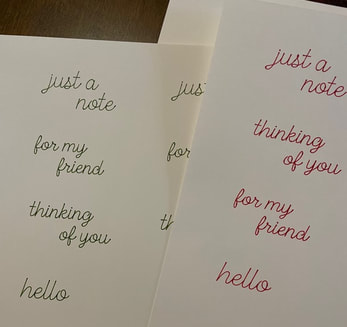 Now it was time to mount the sentiments on some paper that matched the paper that was used for the embossed detail. I cut a rectangle around each sentiment using a straight edge, but then for the colored paper mount I used something called a deckle-edge cutter. I had actually bought this for my mother for Christmas as she had been wanting one so it was fun to give it a try! A deckle-edge cutter has a blade that looks like this: 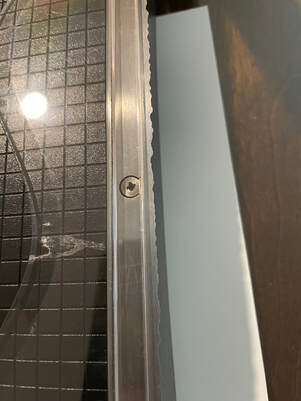 Instead of creating a straight edge, it leaves the paper with a ruffled, hand-torn effect. The nice thing about using a cutter like this is that it allows you to get that more organic look while still being able to be intentional about where the cut is made. Once the sentiments were mounted, I then attached them to the cards with some foam mounting squares. These lift something off of the front of the card slightly to give the card a little more visual interest.
Finally, I went back into my sticker book to find a small insect sticker for each card, glued them to some cardstock for extra support, cut them out and used foam mounting squares on those as well. 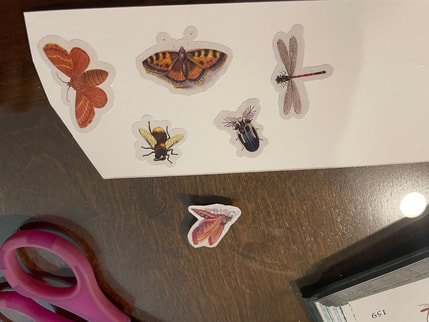 And here are the six sets all done! These took me so much longer than they needed to, but I am very happy with how they came out! Now that I've pushed myself out of my comfort zone with these I can safely say I won't be making cards again for a while :) 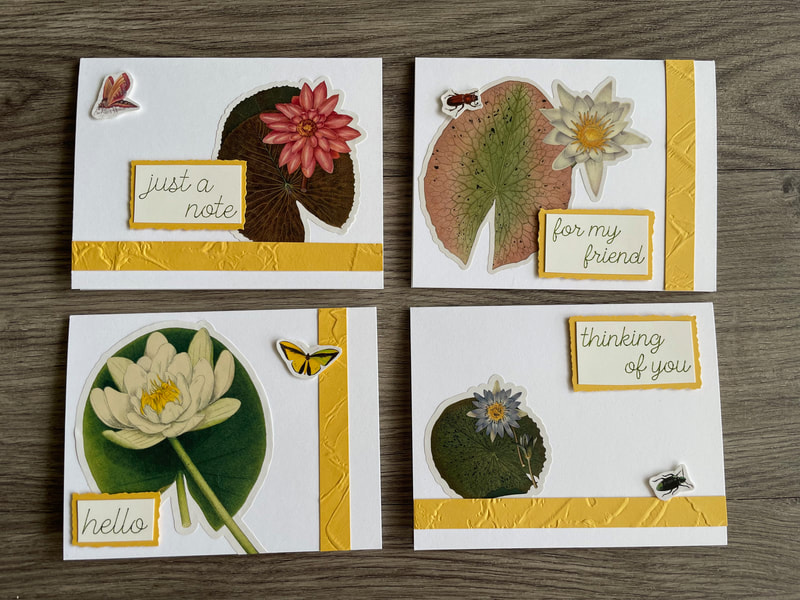 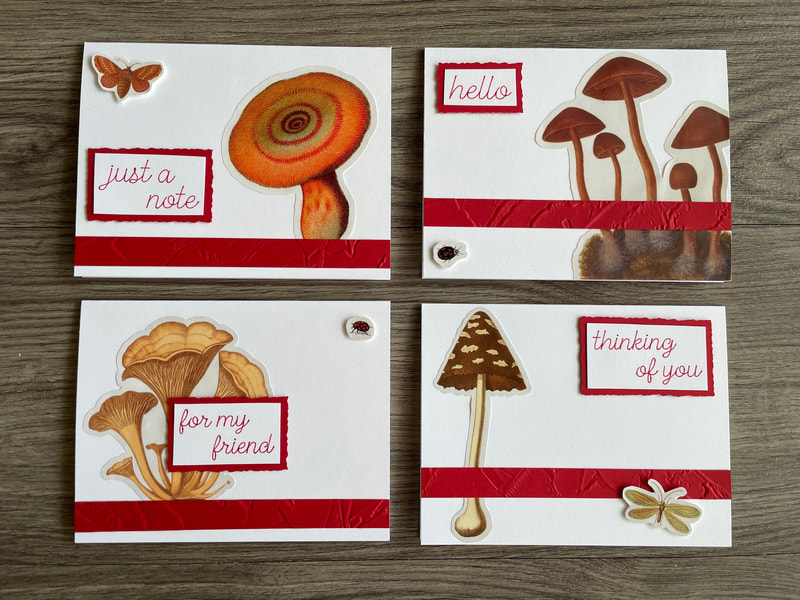 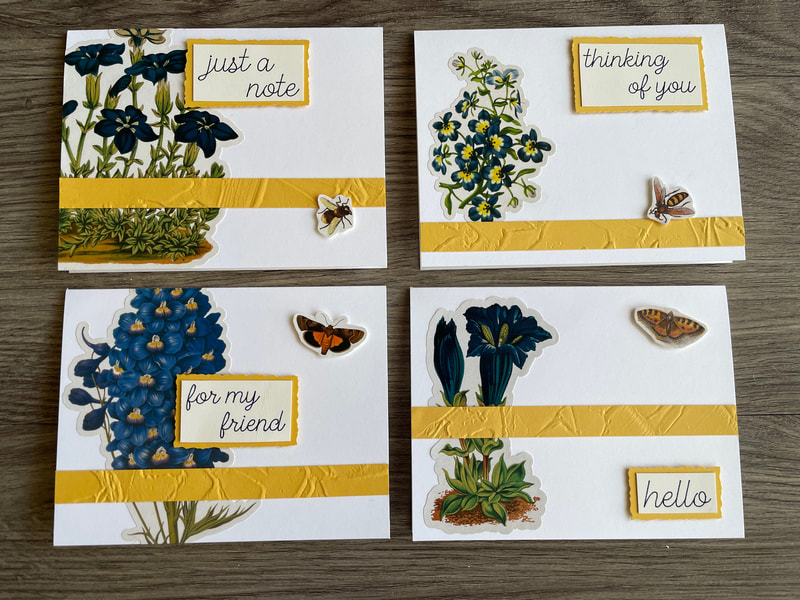 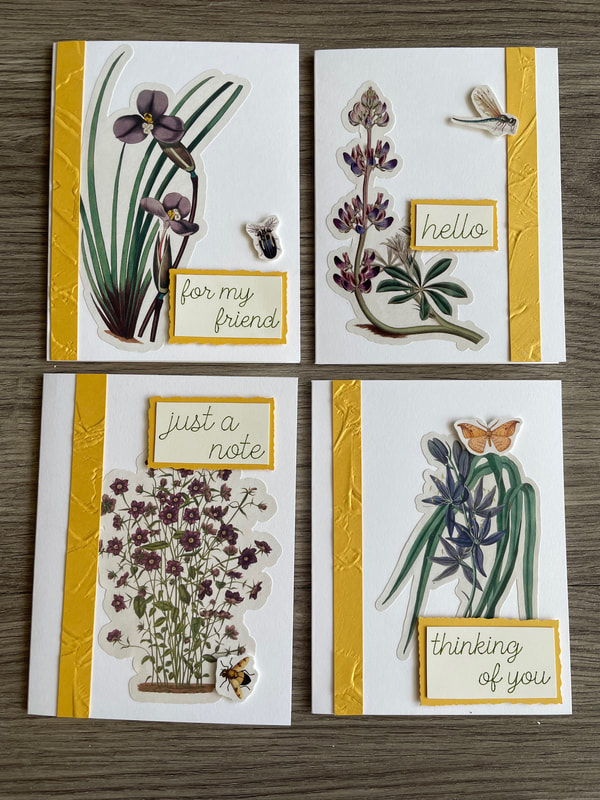 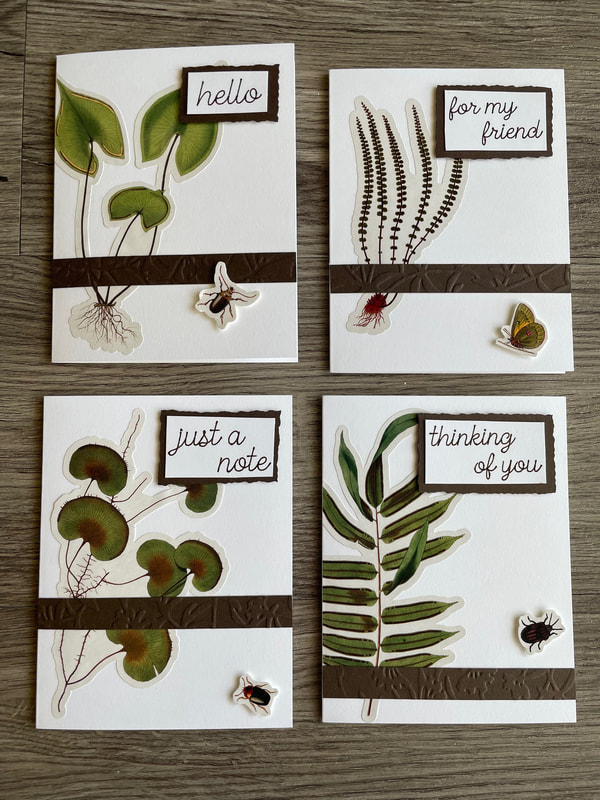 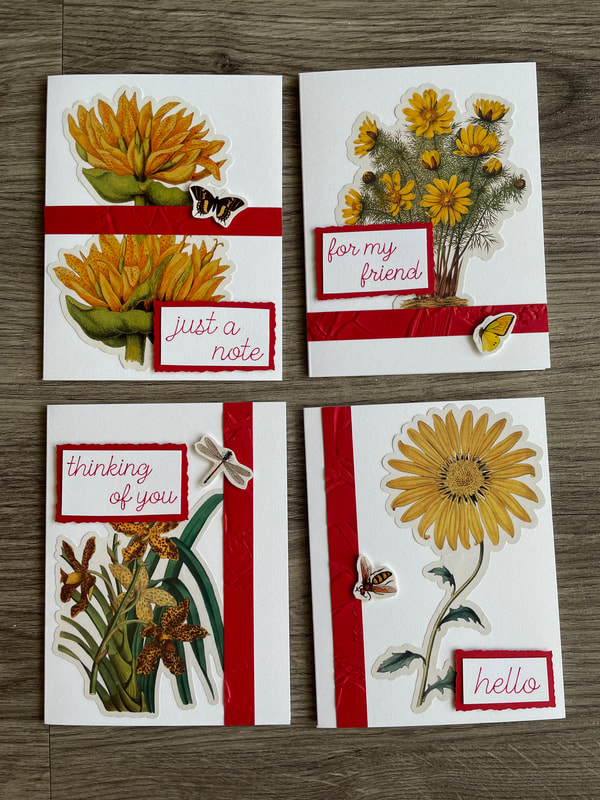 I then took each set of 4 and packaged them up in a clear plastic box with some envelopes that had a matching sticker on them.
If you happen to like any of these card sets, they are now available on the Etsy shop! Feel free to take a look if you are interested: www.etsy.com/shop/patternedpaperplate?ref=shop_sugg
I hope you have a good week everyone! Talk to you soon! - Rebecca Today's photo on the homepage is from Pexels user Irina Iriser: www.pexels.com/photo/red-rose-and-green-leafed-1233414/
1 Comment
Dawn
2/27/2023 11:18:47 am
These are beautiful Rebecca! Lots of hard work but we’ll worth it. ❤️ Leave a Reply. |
AuthorI am a 27-year-old crafter and baker from New Hampshire! Archives
July 2024
Categories |


 RSS Feed
Proudly powered by Weebly