|
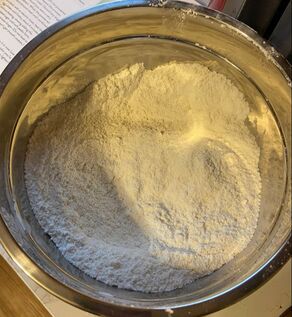
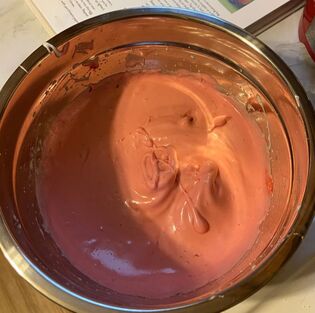
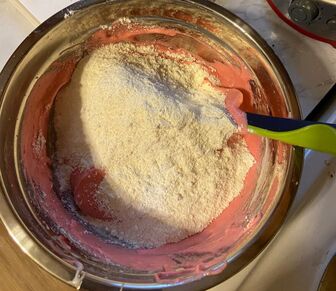
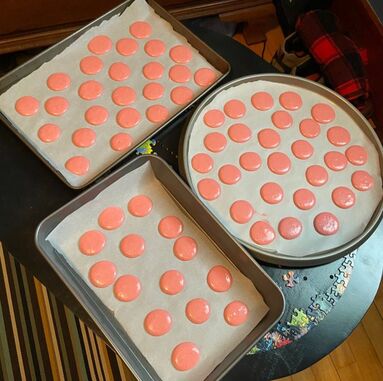
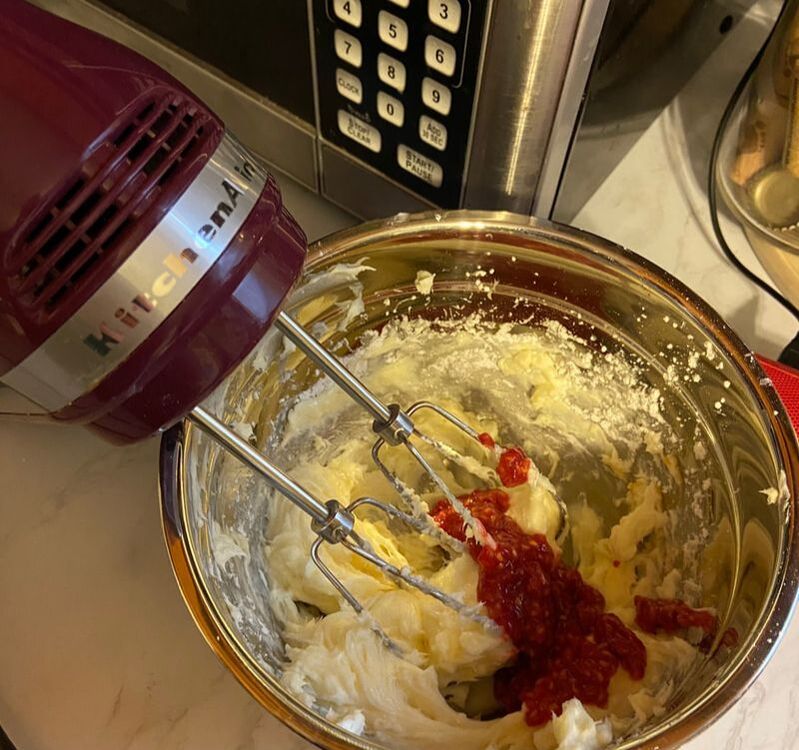
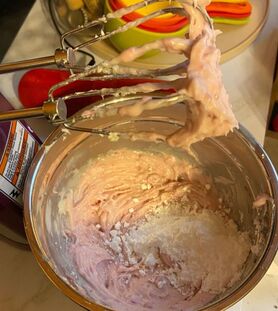
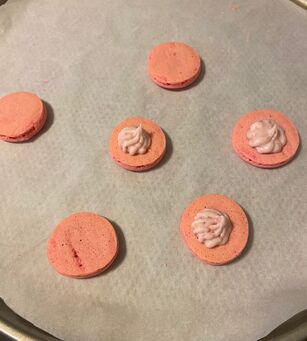
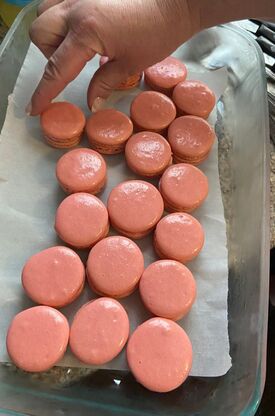
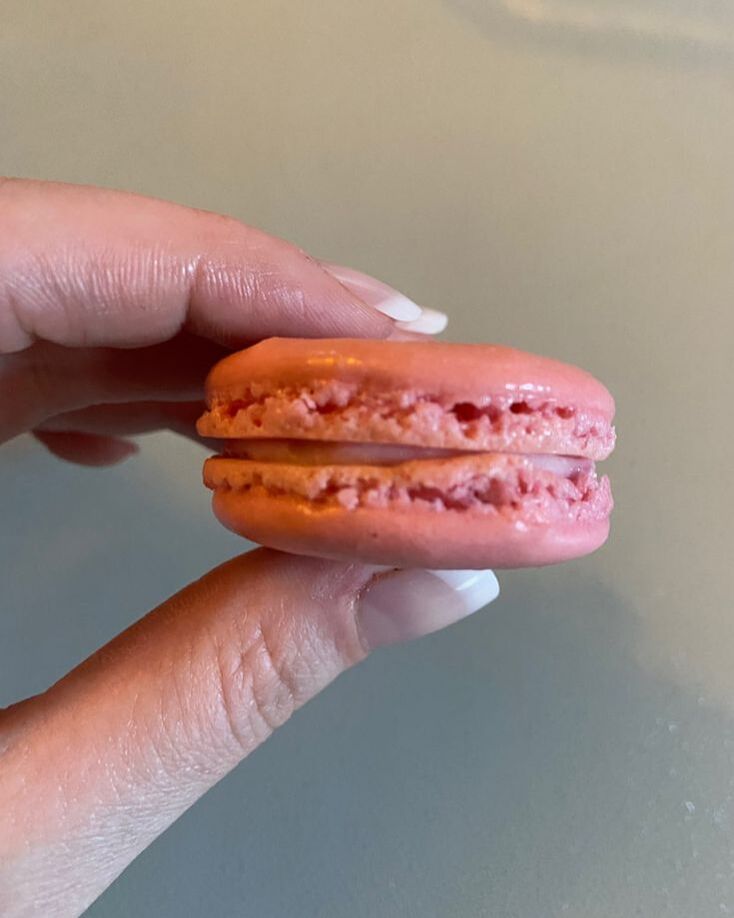
Hello again friends! Today we will be revisiting a topic that I wrote about a bit ago: the marvelous and mighty macaron. I freaking love macarons and basically only ever go to Whole Foods to buy the macarons they have in the little freezer case right when you walk in. I LOVE THEM. Last time that my fiance and I tried to make macarons, things didn't go too badly but the filling did leave much to be desired. This time we decided to try a different recipe, from the Nerdy Nummies cookbook made by one of my favorite YouTubers, Rosanna Pansino. We followed her recipe almost exactly, but I will let you know where we made small changes. The first steps were related to getting the batter ready. Macaron batter typically involves dry ingredients mixed with a meringue. Rosanna called for almond meal, but we could only find almond flour at the grocery store so we went with that. We mixed the batter as she described; the only small additions that we made were to add a small amount of gel food coloring, as well as some raspberry extract to the batter. Once the batter was mixed, we piped the cookies into onto parchment paper-lined baking sheets. The cookies were supposed to be about an inc, but I I have not concept of time or space so I would say ours ended up being closer to 1 1/2 inches in diameter or radius or circumference or whatever word means from one end of a circle to another. After a quick Google search, it appears that diameter was the word I was going for. We then set the cookies out to rest for about 45 minutes. We got crafty and moved my puzzle table into the bedroom with the AC blasting to ensure that the cookies didn't melt. For those of you that do not know, leaving the cookies out allows them to form a skin on top which means that when you put them in the oven, they bake "up" rather than "out." You will get a taller cookie, rather than one than has spread out. Once the cookies had rested, we baked them according to the recipe and then got started on our filling. This frosting was cream cheese based as opposed to the butter based frosting we tried last time. This frosting was SO much better than last time and did not immediately start melting. If making this type of cookie, I would highly recommend going with the cream cheese frosting. We changed up the frosting slightly by added mashed fresh raspberries, which required us to add more powdered sugar than the recipe called for to balance out the extra moisture from the raspberries. The final steps were sorting the cookies once they had baked and cooled to make nice top and bottom pairs and assembling everything. To assemble, all we had to do was pipe a small bit of frosting on the bottom cookie and then gently press the top cookie on top, ensuring that we did not push hard enough to break either cookie. Here are some nice action shots provided by my mother. These were DELICIOUS and the cream cheese frosting worked out so much better than our previous buttercream frosting attempt. I would highly recommend this recipe! Macarons are not that hard if you don't mind giving over a few hours to the project. What have you guys been baking in quarantine, especially as hotter weather is setting in?
- Rebecca
0 Comments
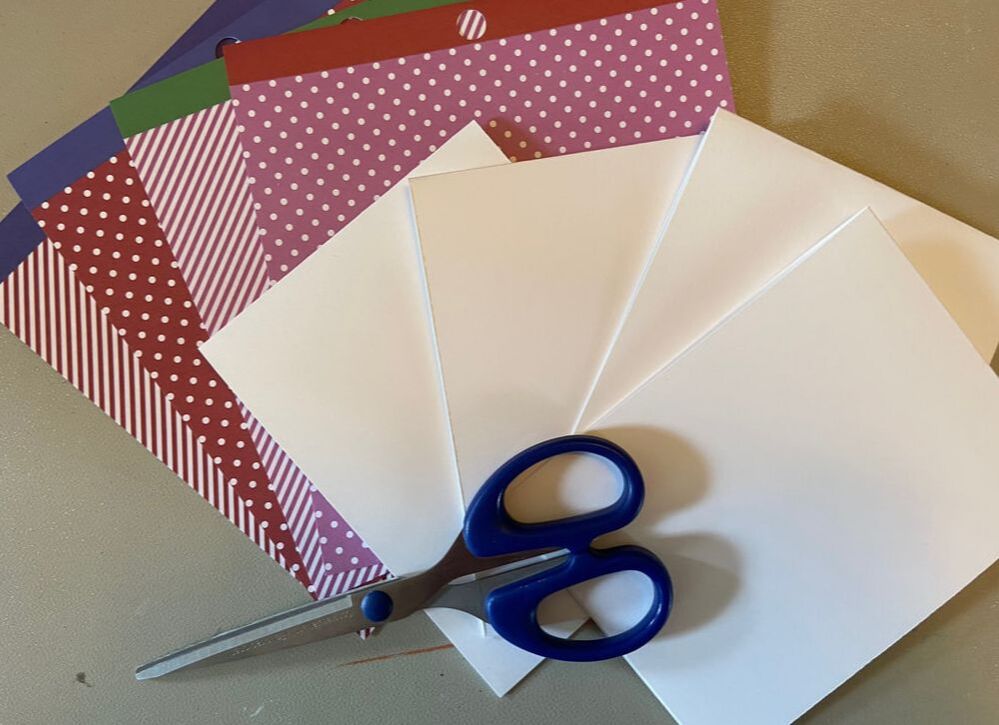
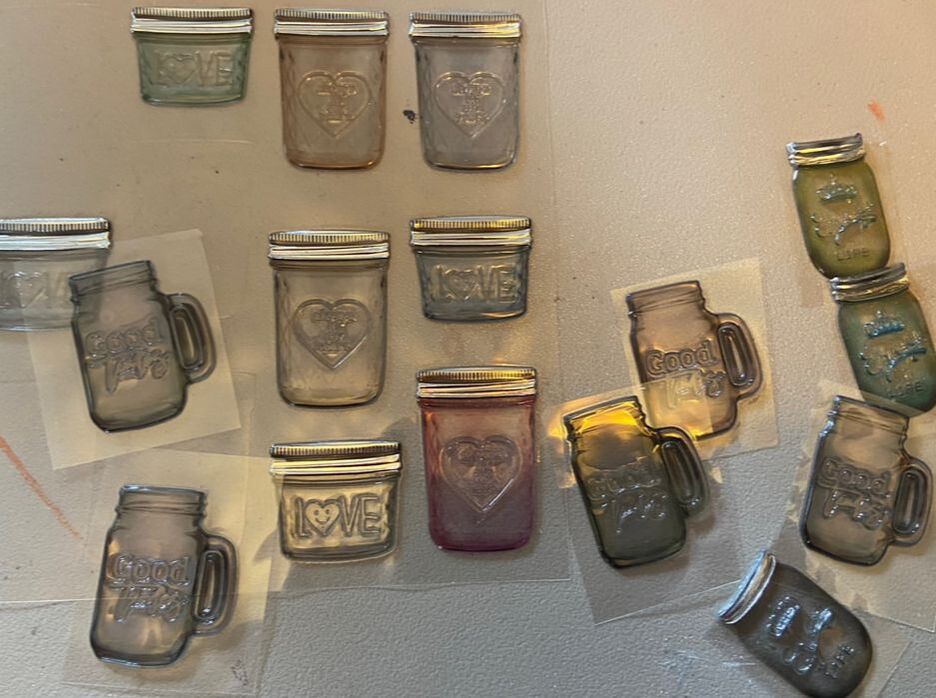
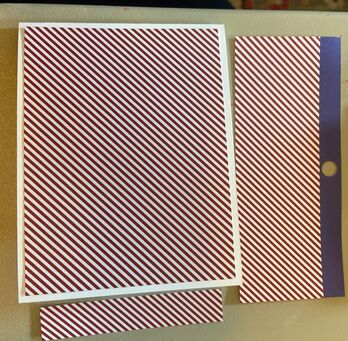
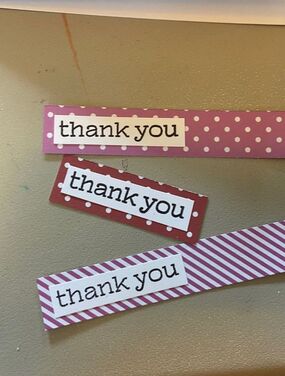
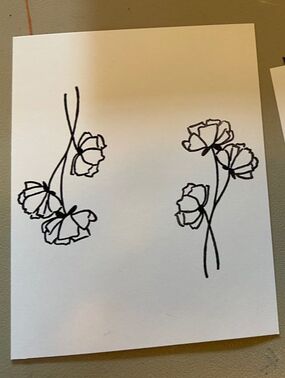
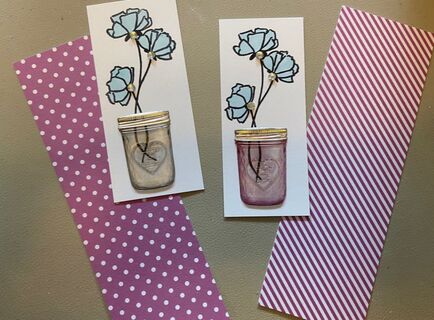
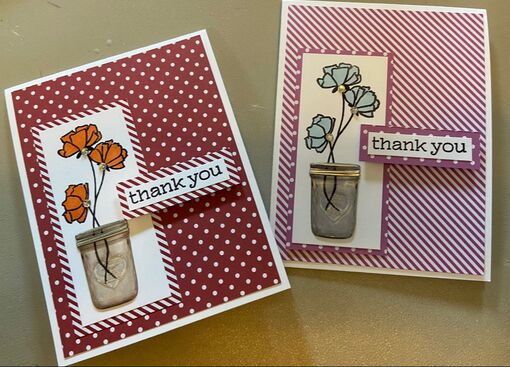
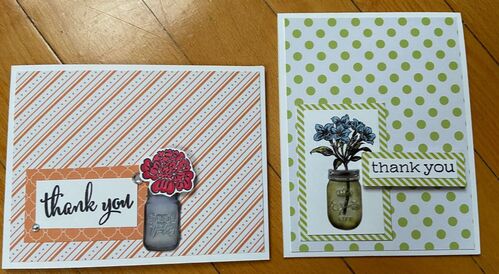
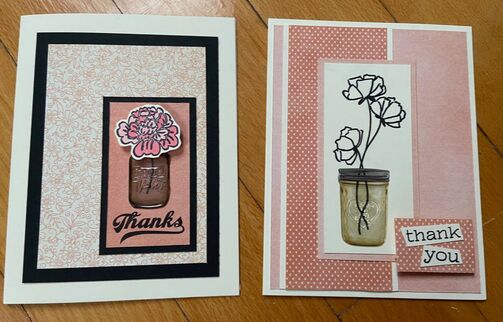
Hello friends! Today I want to share a quick card idea that uses nearly a full sheet of 6 by 6 paper and some adorable stickers from the Dollar Tree, also known as my favorite place to buy cheap craft things. To start off, you will need some plain card bases and sheets of 6 by 6 paper. Each card needs two different patterned sheets and I would suggest you use ones that coordinate. Below are the stickers from the Dollar Tree, which look like small jars; these are translucent and you can see through the jars. The first cut of the 6 by 6 paper sheet will be to create a large piece that covers most of the card front. I cut (and when I say "I cut", I mean my mother cut because she is much better at math) mine to leave a 1/4 inch bit of white all around when placed in the middle of the card front. This leaves two small strips of paper. It helps to make at least two of these cards at once, as you can use the small strips of the coordinating paper as accents on the opposite cards. Does that make sense? You'll see, I swear! Now it is time to stamp the sentiment and the accent that will be used with the jar stickers. If you don't have stamps, you can also feel free to use additional stickers to get the same effect. I went with "thank you" as the sentiment and then stamped out some flowers. You will see what we do with the flowers in a second! The sentiment can be mounted on the paper that coordinates with your base paper. You can feel free to color in the flowers or not. Now here is the fun part! Cut out a rectangle from the white paper around your flowers, leaving enough room at the bottom of the paper for a jar sticker. Stick a jar sticker over the flower stems to make it look as though the flowers are in the jar. I had to lengthen the stems a bit with a black marker for them to look proportional. I also added a small gem to the bottom of each flower. Aren't they ADORABLE? Mount the white paper with your flower on the same paper you mounted your sentiment on. Using dimensionals or regular adhesive, attach the sentiment and flower piece to the front of the card wherever you would like. Here are two that I made! You will be left with the tiniest pieces of paper from the original 6 by 6 sheet and you can either keep these for future projects or use them to decorate your envelopes. See what I mean about coordinating papers? Below are some examples of cards which have a similar style, but with slight alterations. Give these cards a try and let me know how they go in the comments below!
- Rebecca |
AuthorI am a 27-year-old crafter and baker from New Hampshire! Archives
July 2024
Categories |
 RSS Feed