|
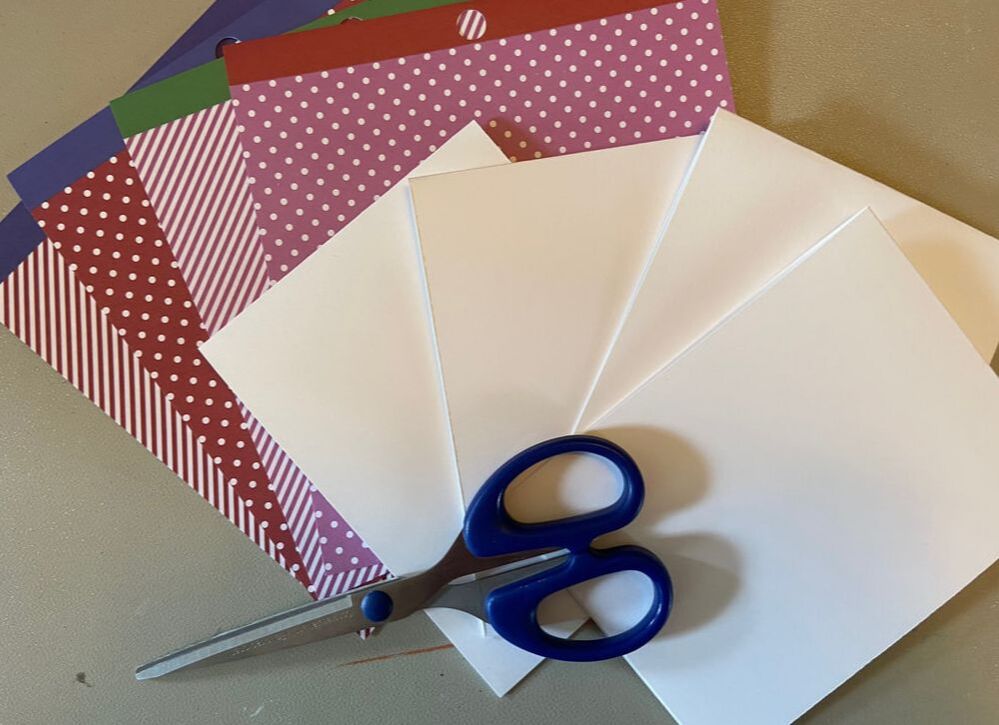
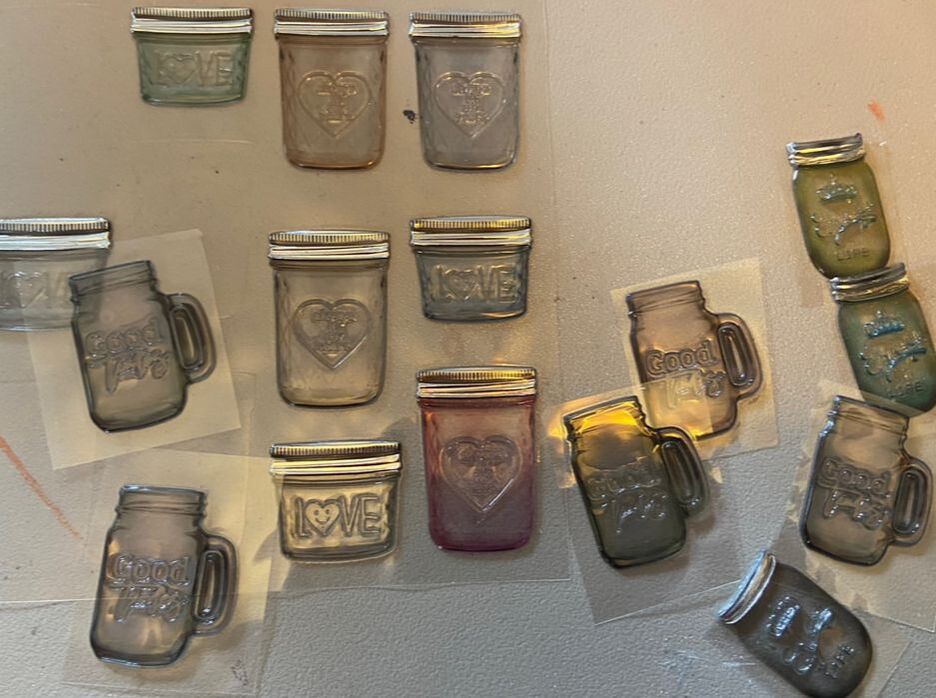
Hello friends! Today I want to share a quick card idea that uses nearly a full sheet of 6 by 6 paper and some adorable stickers from the Dollar Tree, also known as my favorite place to buy cheap craft things. To start off, you will need some plain card bases and sheets of 6 by 6 paper. Each card needs two different patterned sheets and I would suggest you use ones that coordinate. Below are the stickers from the Dollar Tree, which look like small jars; these are translucent and you can see through the jars.
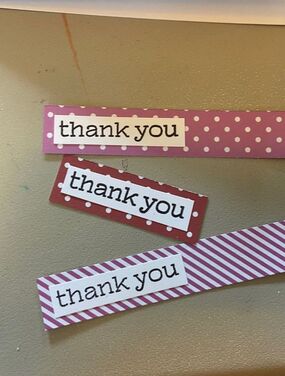
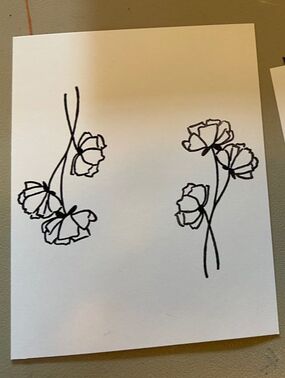
The first cut of the 6 by 6 paper sheet will be to create a large piece that covers most of the card front. I cut (and when I say "I cut", I mean my mother cut because she is much better at math) mine to leave a 1/4 inch bit of white all around when placed in the middle of the card front. This leaves two small strips of paper. It helps to make at least two of these cards at once, as you can use the small strips of the coordinating paper as accents on the opposite cards. Does that make sense? You'll see, I swear! 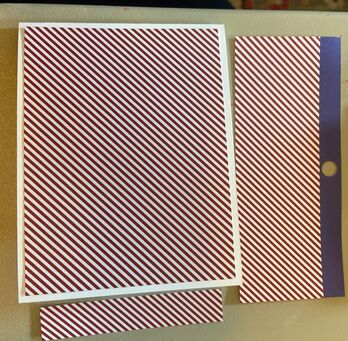 Now it is time to stamp the sentiment and the accent that will be used with the jar stickers. If you don't have stamps, you can also feel free to use additional stickers to get the same effect. I went with "thank you" as the sentiment and then stamped out some flowers. You will see what we do with the flowers in a second! The sentiment can be mounted on the paper that coordinates with your base paper.
You can feel free to color in the flowers or not. Now here is the fun part! Cut out a rectangle from the white paper around your flowers, leaving enough room at the bottom of the paper for a jar sticker. Stick a jar sticker over the flower stems to make it look as though the flowers are in the jar. I had to lengthen the stems a bit with a black marker for them to look proportional. I also added a small gem to the bottom of each flower. Aren't they ADORABLE? Mount the white paper with your flower on the same paper you mounted your sentiment on. 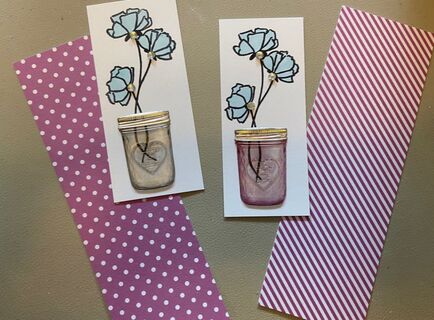 Using dimensionals or regular adhesive, attach the sentiment and flower piece to the front of the card wherever you would like. Here are two that I made! 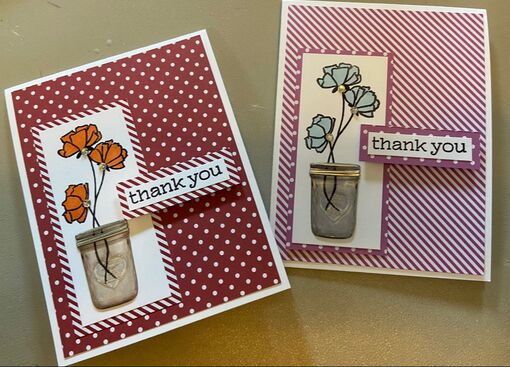 You will be left with the tiniest pieces of paper from the original 6 by 6 sheet and you can either keep these for future projects or use them to decorate your envelopes. See what I mean about coordinating papers? Below are some examples of cards which have a similar style, but with slight alterations. 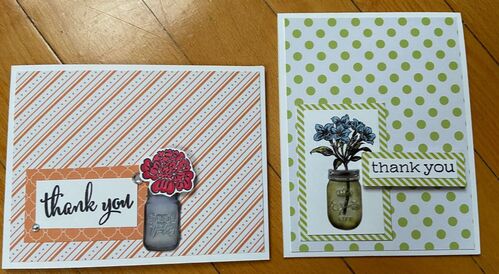  Give these cards a try and let me know how they go in the comments below!
- Rebecca
0 Comments
Leave a Reply. |
AuthorI am a 27-year-old crafter and baker from New Hampshire! Archives
July 2024
Categories |
 RSS Feed
Proudly powered by Weebly