|
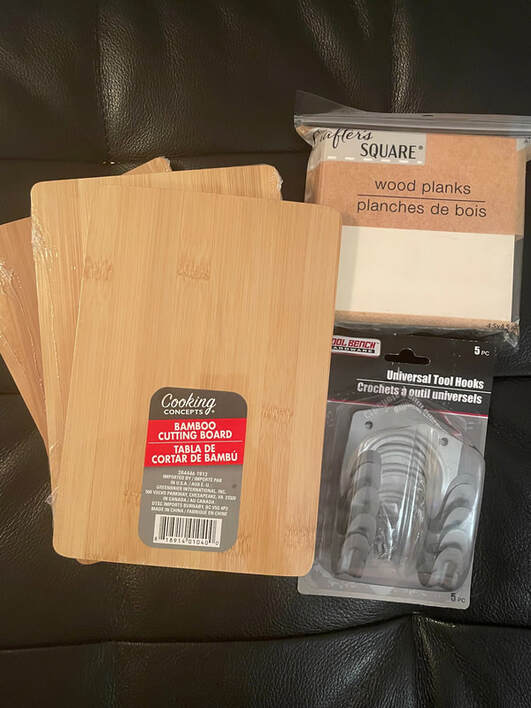
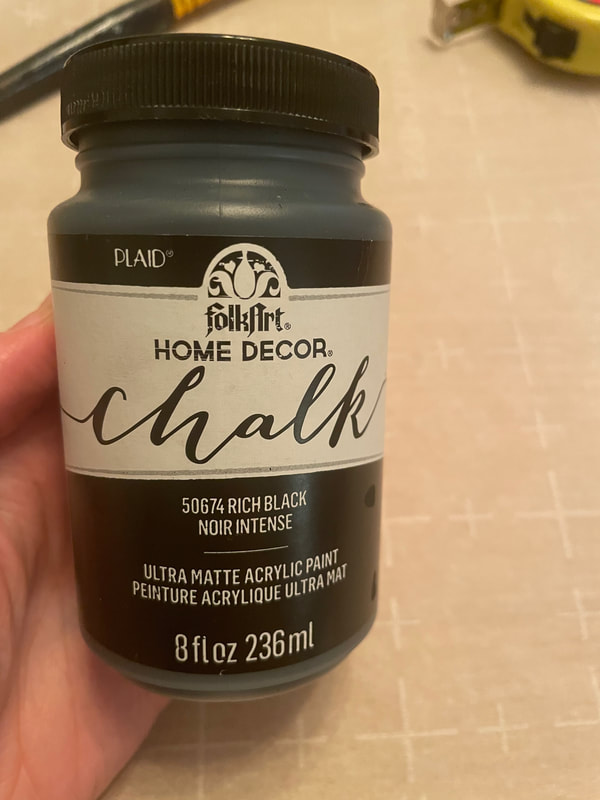
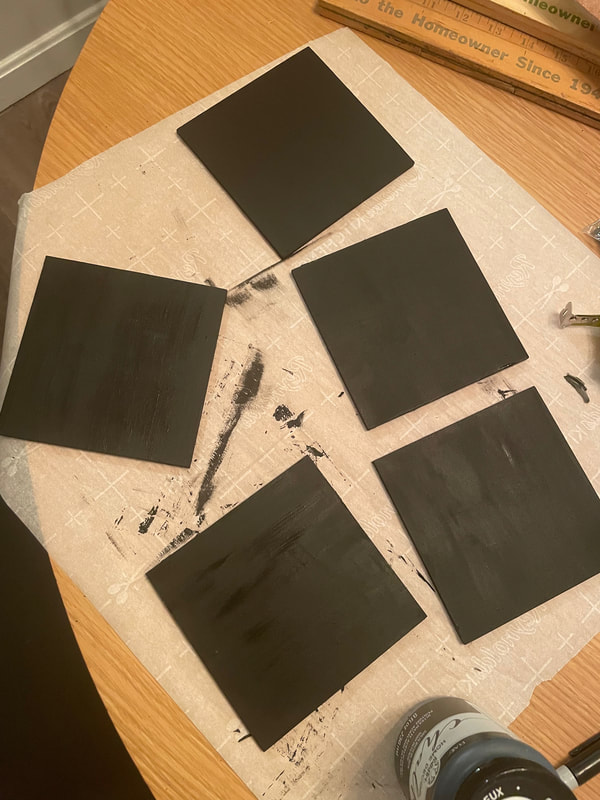
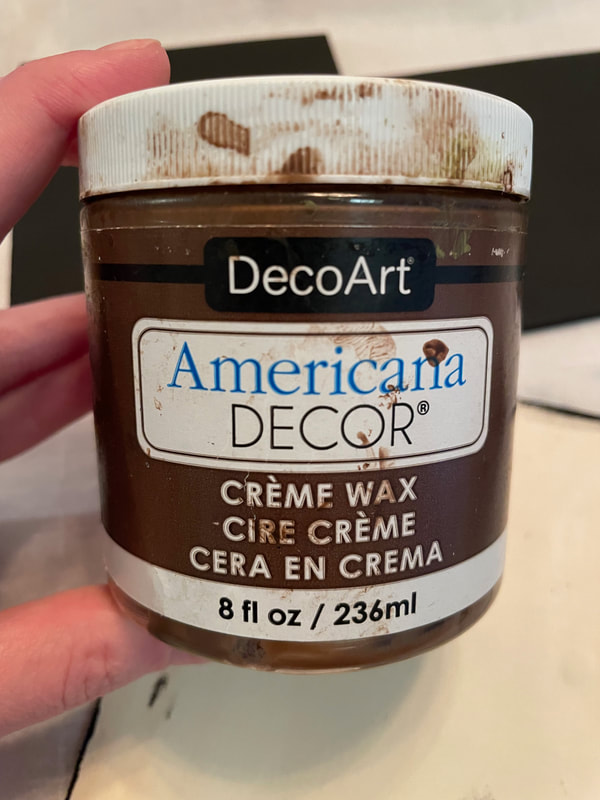
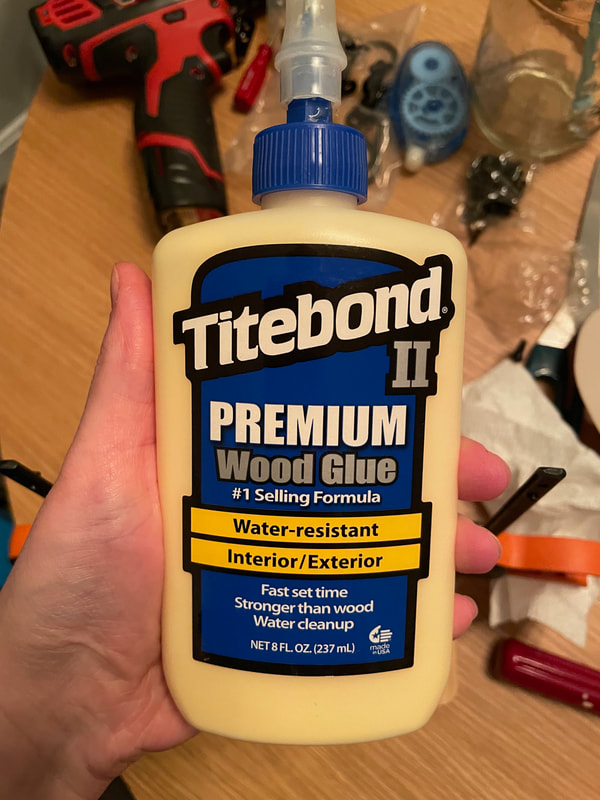
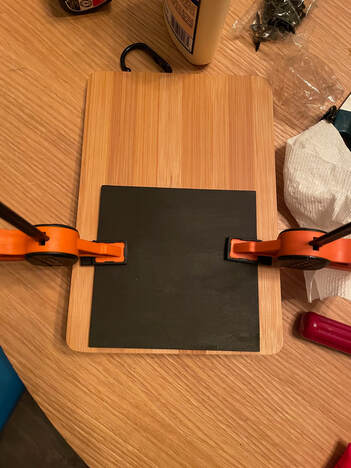
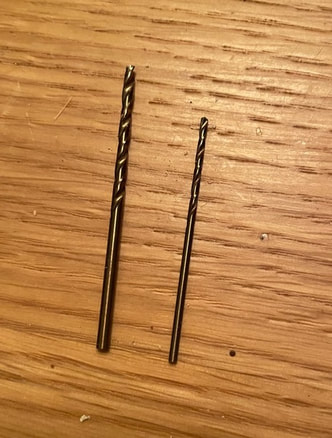
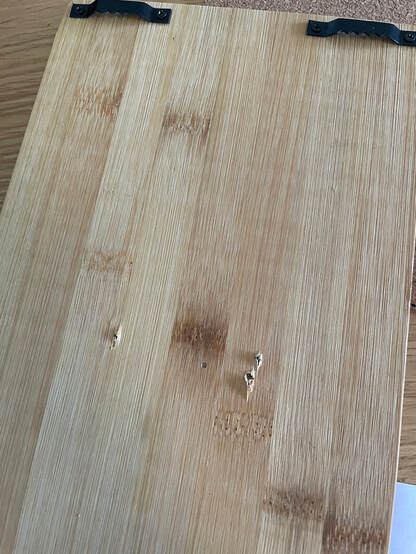
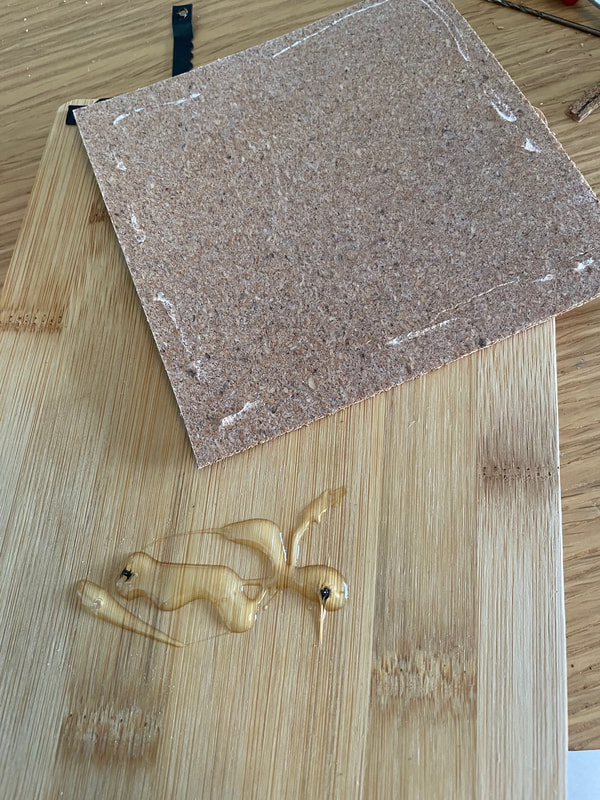
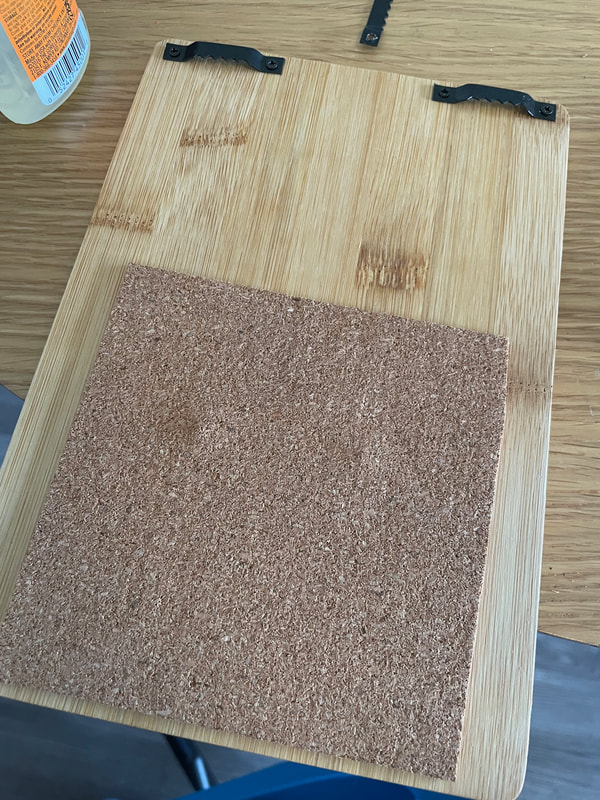
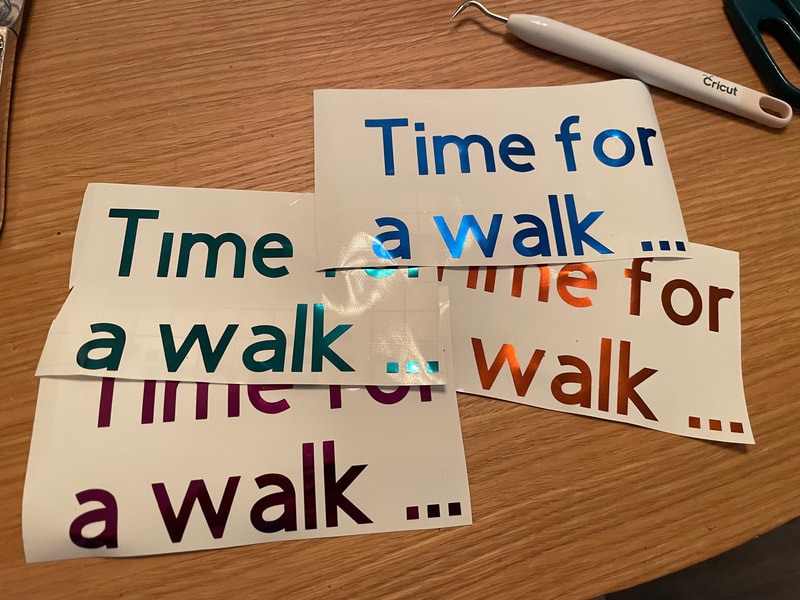
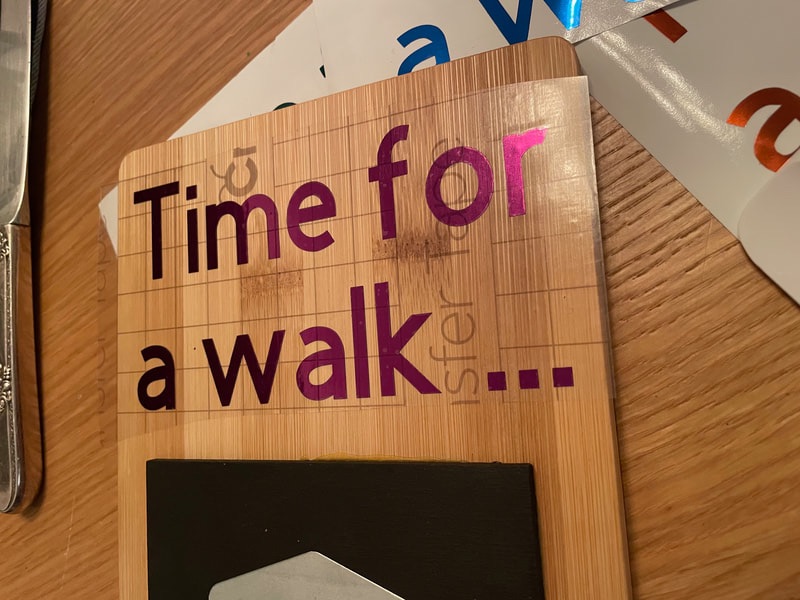
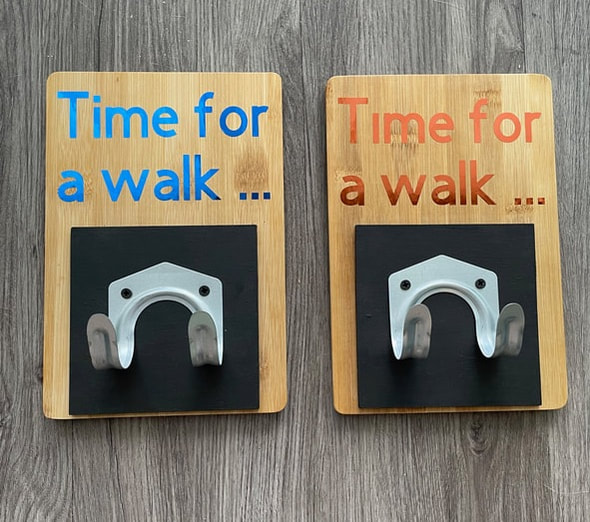
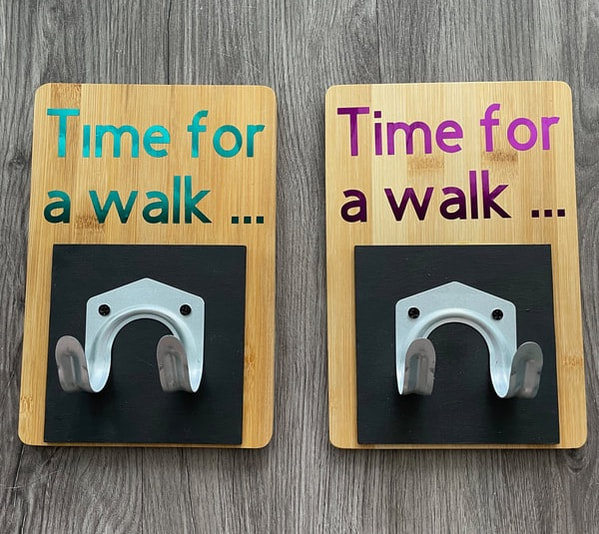
Hello everyone and Happy Sunday! Today we have another Dollar Tree DIY. I was hanging out with my mother recently and she gave me some pieces that she had from the Dollar Tree that she did not end up using. She had a project in mind for these, leash holders, and I ran with her vision! What we were working with was some bamboo cutting boards, some thin wooden pieces and some metal tool hooks. The cutting boards were a little thinner than the screws that came with the tool hooks so the plan was to add the additional wood pieces to make a thicker surface to screw into. I painted one side of the wooden planks with some black chalk paint. I then used some brown wax to seal the chalk paint and used some wood glue and clamps to adhere the wood pieces to the cutting boards. Once the wood glue had dried, it was time to start drilling into the bamboo and this is where things started to go awry with this project! I learned through this project that bamboo is fairly difficult to drill through and is a pretty tough wood overall. I had a few instances where I needed to make new holes as I tried drilling screws into my pilot holes and the screws ended up breaking, with the top snapping off and the bottom being left in the wood. I originally had 5 cutting boards, but ended up having to scrap one completely that simply would not cooperate with me. What I learned was that I had to use a larger pilot hole than I was used to for the size of screw I was using. To give a visual, the drill bit on the right is what I typically use for the screw size I had, but the drill bit on the left is what I ended up having to use. Once I got the hooks screwed in on the front, I added some sawtooth hangers on the back. These also fought back a little and for a few I had to try several attempts at making holes. The backs of the cutting boards all had some visible holes or screws poking through from my debacle with the screws on the front. To help cover this up and to finish off the backs, I used some adhesive cork. I added some Gorilla Glue in the holes to help seal the screws in and added some Super Glue on the back of the cork to really keep it in place. Finally it was time for the finishing touch. As I mentioned above, my mother's original plan for these was leash holders so I thought it would be cute to cut out a little phrase to put on the front of each with the Cricut. I used some fun shiny vinyl I had on hand and cut out the phrase "Time for a walk ..." in 4 colors. And here are the final products! I'll be honest, I can't decide if I like how these came out or not. There are some things that I like and some that I don't and I'm still figuring out how I feel overall. The plan is to take these to some craft fairs and maybe they will end up on the Etsy shop as well. If they do I will let you guys know! Let me know what you think about these in the comments below!
- Rebecca P.S. Today's photo on the homepage is from Pexels user Blue Bird: www.pexels.com/search/dog/?orientation=landscape
1 Comment
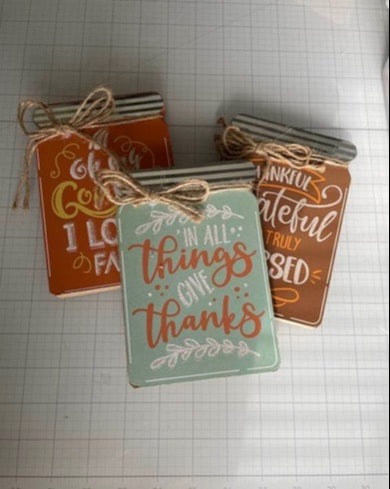
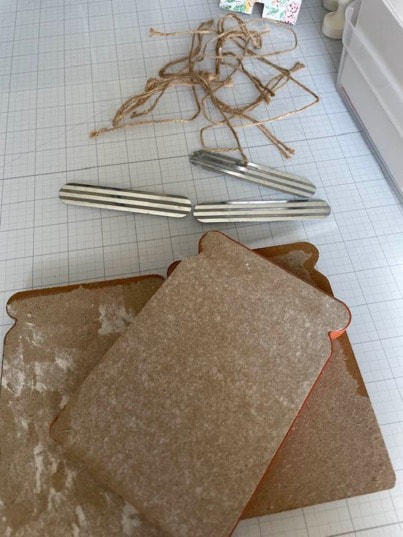
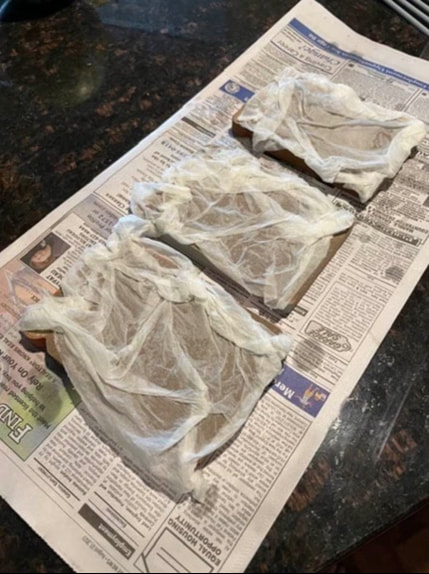
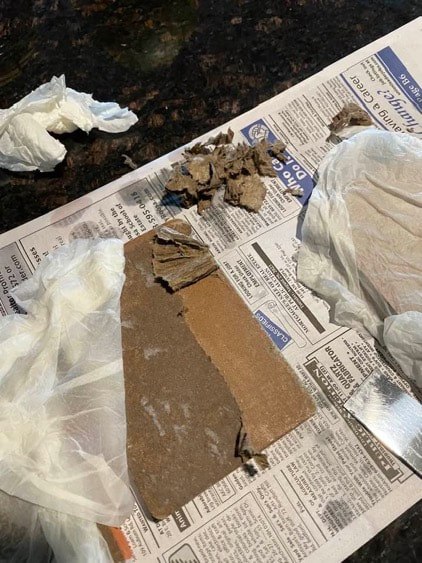
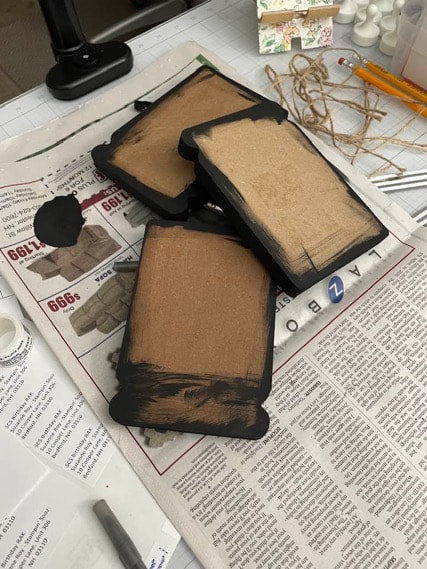
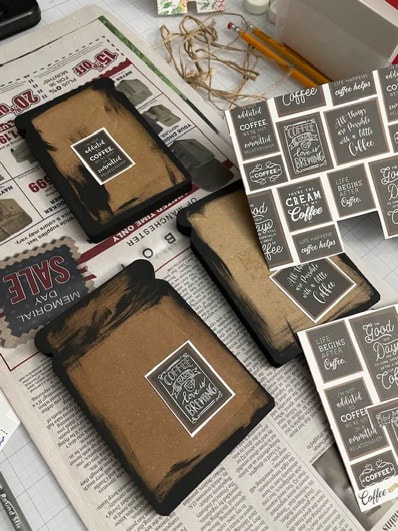
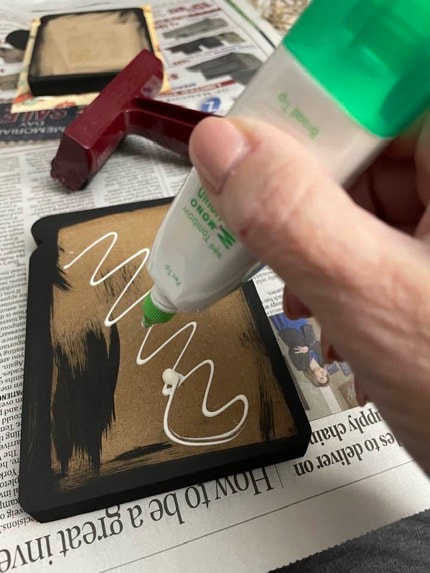
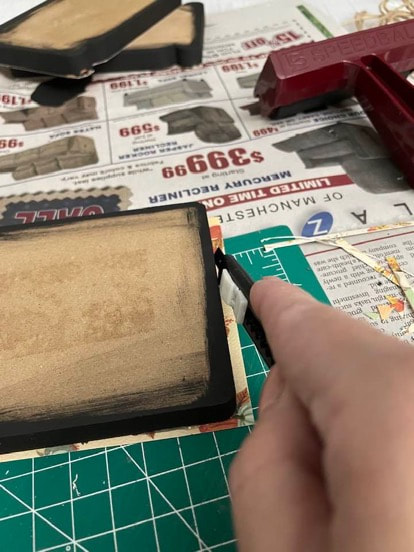
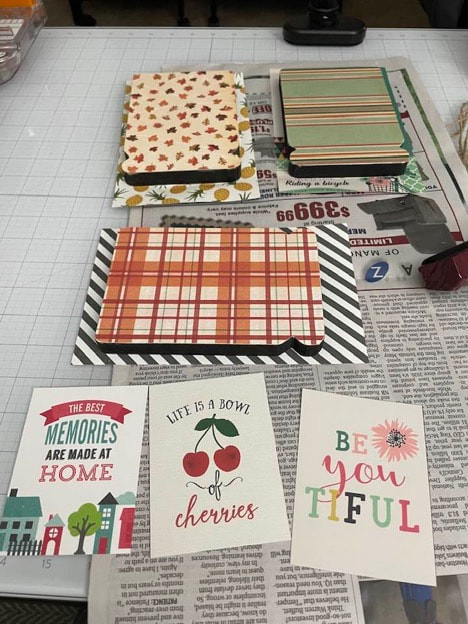
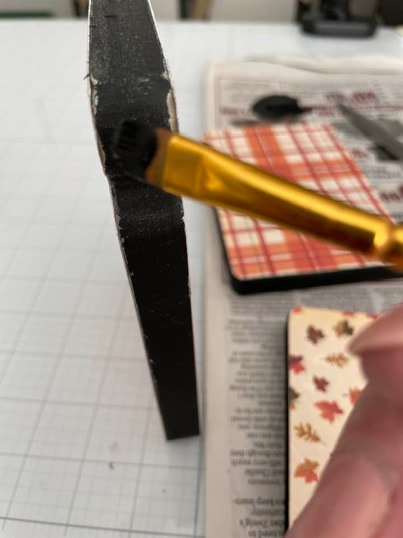
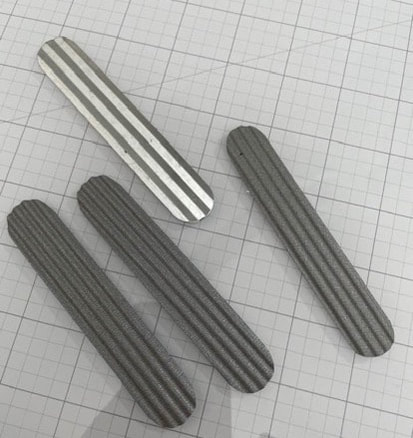
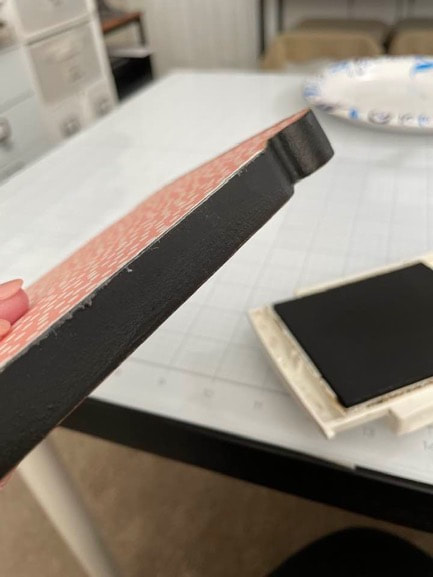
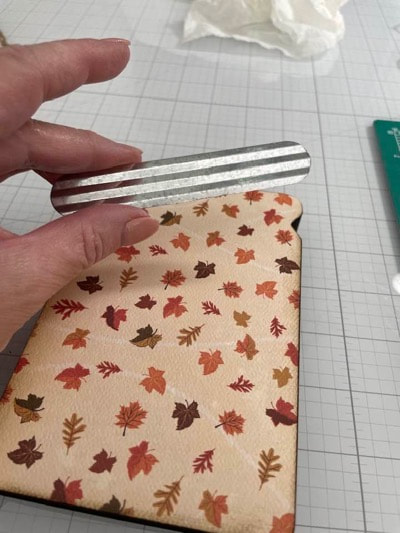
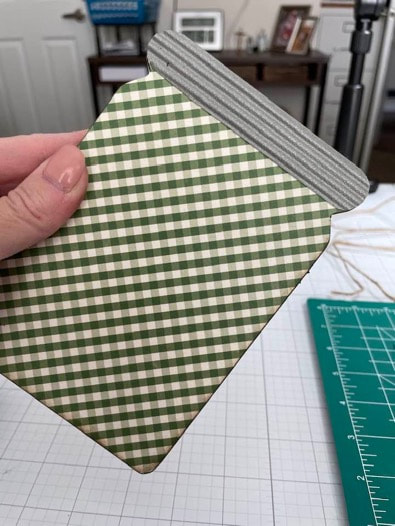
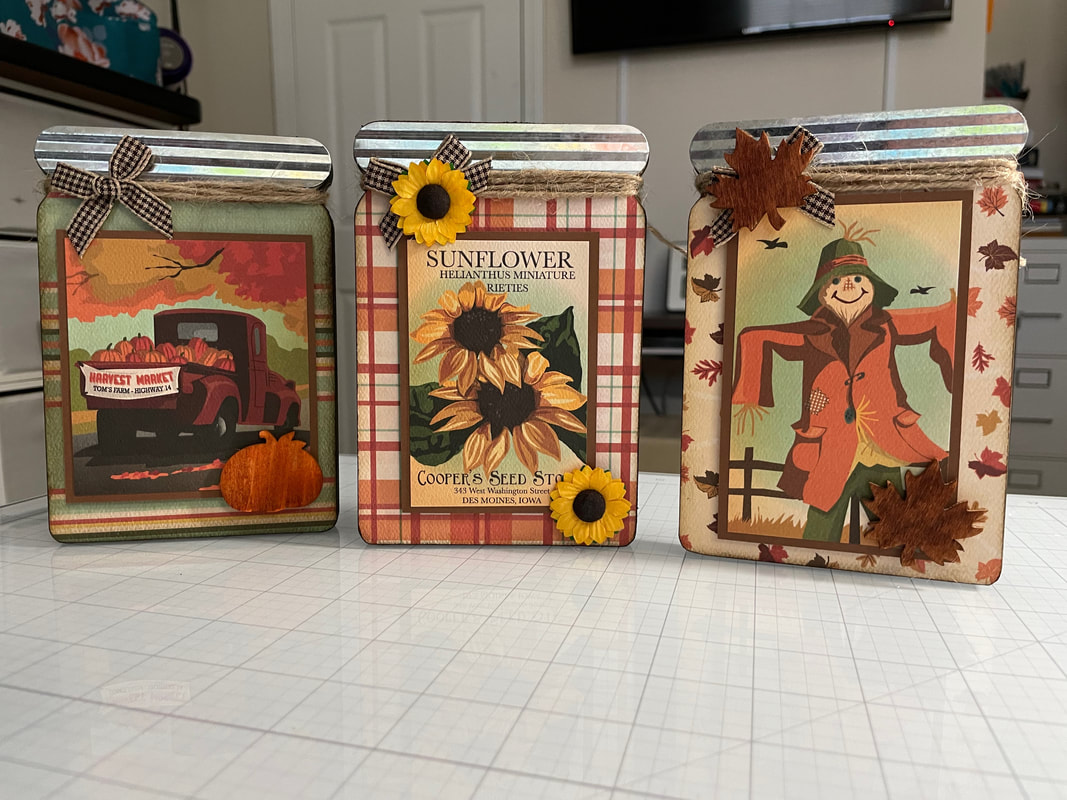
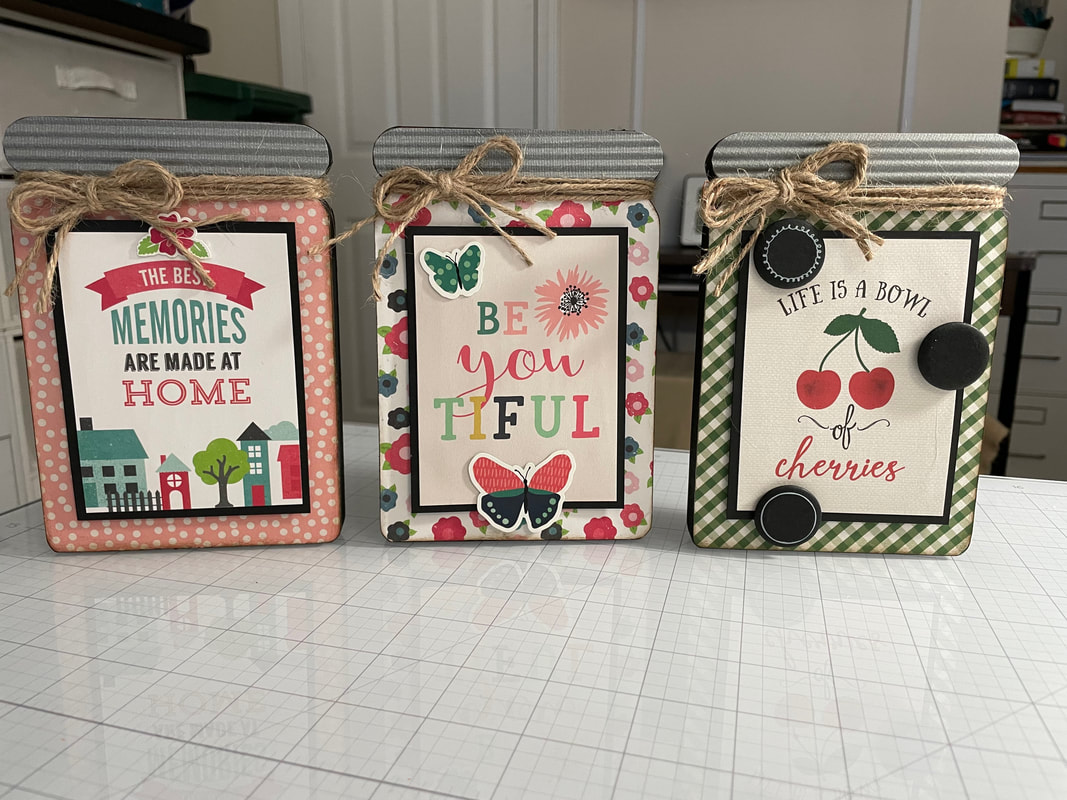
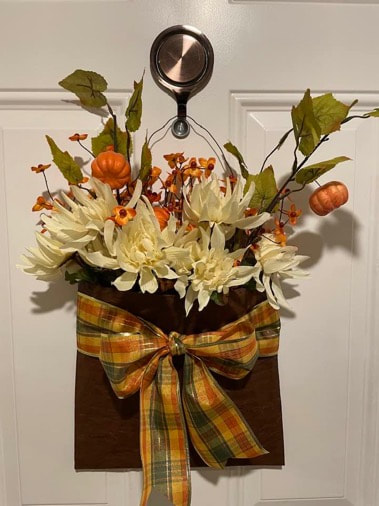
Hello Friends! It’s Suzanne, Rebecca's mama, happy to be back with you today on the Patterned Paper Plate. Today I have a quick and easy dollar store redo to share with you. I’ve been trying to work through my stash of items and found these three fall-themed Mason jar decor pieces I picked up a while ago (probably last fall!) from the dollar store. I wasn't particularly enamored of them in their current state, but I did like the Mason jar shape. I decided that they would be perfect candidates for individualized makeovers. I started by removing the twine and metal pieces at the top of each jar, then peeled away the top layer of paper that was decorating each one. Part of the reason I didn't particularly like these pieces as they were because the metal piece at the top of each one was not well aligned with the edge of the “lid” of the Mason jar and the paper decorating them was not well adhered. I'm also not that big a fan of glitter so the glittered letters weren't my cup of tea. After peeling off the top layer of paper, I used a tried-and-true method to remove the rest of the paper left on the piece. I wet a piece of paper towel with some warm water and laid it over the piece. After just a few minutes, the water and the heat activated the glue holding the paper on and I was able to scrape it off very easily. This method must be done quickly and carefully because these pieces are not wood but pressed paper and if you leave the wetness on them too long they will warp. After quick sanding on both sides, I was ready to begin their transformation. The first thing I did was paint the edges and just a little bit onto the piece itself with black paint. These were various colors depending on their original decoration and I wanted them to be black. I knew that I wanted one side of them to be fall themed and I wanted to use this coffee themed paper on the other side. Unfortunately, I found that the images were too small to be impactful. I decided then to make the backside a more all occasion type of piece, using more general papers and images to decorate the backside. To begin, I cut three pieces of fall themed paper and three fall themed images from a coordinated paper pack and used a liquid adhesive to adhere the paper to one side of the Mason jar shape. I used a brayer to make sure the paper was well adhered. Once the glue was dry I went around with a pen knife and trimmed the paper flush with the edge of the shape. I also used a little sandpaper to ensure the edges of the paper were not overlapping the edges of the shapes. I repeated this process on the reverse with a more any occasion type of paper. Once everything was trimmed, I checked my edges and added a touch more glue to any edge where the paper was not fully adhered. I then took a small amount of black paint on a tiny paintbrush and touched up the edges where my trimming and sanding removed some of the original black paint. While the paint was drying, I cut three pieces of a shimmery silver paper in the same shape as the metal “lids” and ran those through a paper crimper so that I would have an additional set of “lids” for the reverse of my piece. There was just one more step to preparing these for decoration. I used a small sponge with a light brown ink pad to go around the edges of the paper and knock down the whiteness of the cuts. This made the end of the paper blend in with the black sides and softened the edges of each piece. Finally, it was time to get to the most fun part of any project, which is actually decorating these pieces. I started by gluing the metal lids back on the fall themed side (which I considered my primary side). I was careful to ensure that the edges were well lined up with the edges of the Mason jar piece. I then used my new lids made from the paper on the reverse side. I also put the twine that was originally on these pieces back around the “neck” of the Mason jar. While that glue was settling I took each of my focal images and cut either black or brown card stock to back them up before adding them to the Mason jars. I added some dimensional foam tape to the back of my focal images so they would sit just a bit away from the Mason jar itself. After exposing the adhesive on the dimensional foam tape, I added a touch of hot glue and centered each focal image on the Mason jar. I raided my stash of embellishments and added a little touch to each of the jars - leaves and pumpkins and sunflowers to the fall side and flowers and butterflies to the reverse side. Taking a boring piece from the dollar store and turning it into something much cuter and one-of-a-kind is pretty easy with beautiful papers and a few small embellishments. I hope I’ve inspired you to give something that is not quite your style a second look and turn it into something that is your own. I also wanted to share one quick photo with you to show you how I updated the faux rust pocket I made several months ago. I removed the greenery that had been inside of it and added some silk mums, bittersweet and a few small pumpkins. I also switched out the vintage lace for a fall themed ribbon. I'm still really happy with this piece and I'm looking forward to giving it another makeover for the winter holidays. Happy Fall, y’all!
Thank you to my mom for her craftiness this week! Talk to you all soon! - Rebecca P.S. Today's photo on the homepage is from Pexels user Brett Sayles: www.pexels.com/search/mason%20jar/?orientation=landscape |
AuthorI am a 27-year-old crafter and baker from New Hampshire! Archives
July 2024
Categories |

 RSS Feed