|
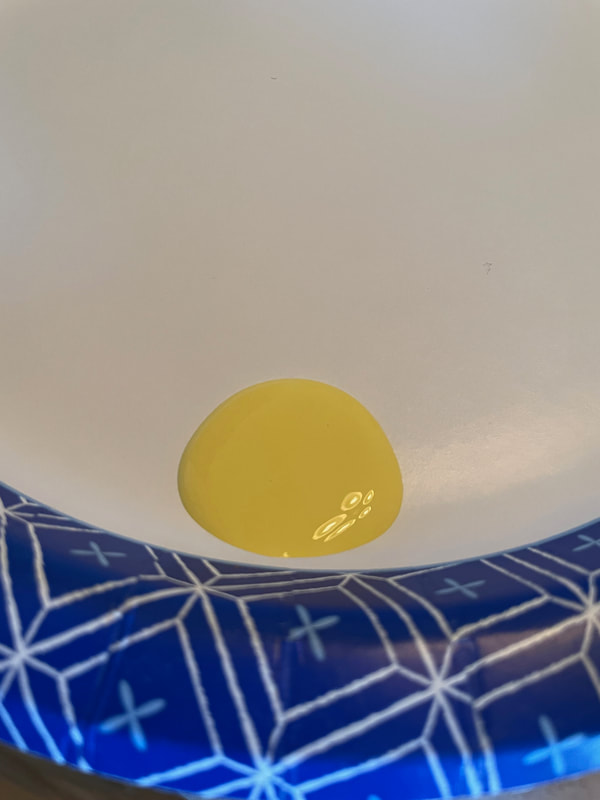
Hello everyone! Today we have the first part of a random little project I started not long ago. I have been very interested in the idea of abstract textured paintings lately and wanted to try my hand at it. In case you don't know what I am talking about, here are a few examples I found on Etsy to give you an idea. Just FYI, I don't know these people, I just liked their art as an example of what I am talking about! www.etsy.com/listing/52607940/blue-white-water-flowers-original www.etsy.com/listing/1022859063/small-texture-paintings-variety-wall-art To start off, I took a few canvases and gave them a coat of white gesso. This just helps to seal the canvases and give a nice base for paint to stick onto. 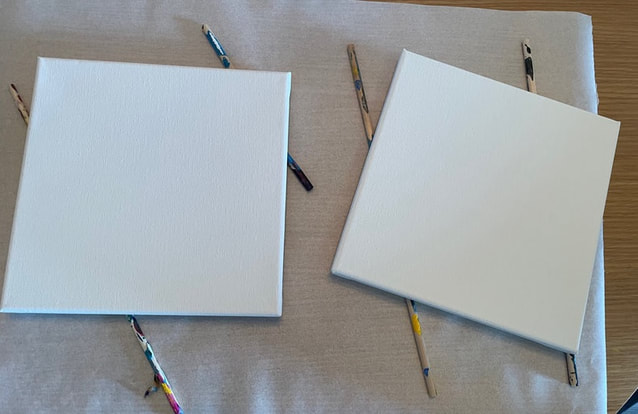 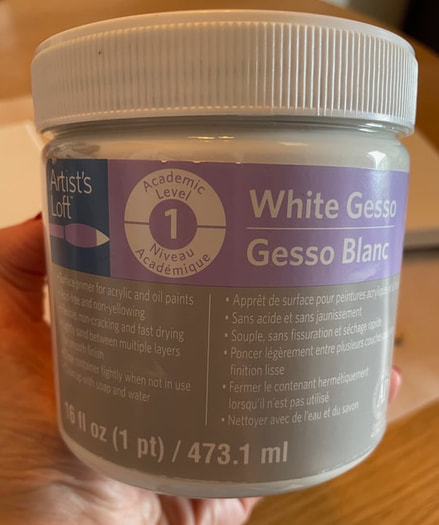 My first attempt was with some oil paint. I had a small set of oil paints I had left over from an at home date my husband and I had done a few years ago. I tried pushing out little dollops of oil paint and then spreading them out slightly using the back of a plastic spoon. After covering about half of the canvas, I started having a hard time doing anything without messing up the paint already on the canvas so I decided to wait and let what I had already done dry. It was at this point that I started to consciously remember that oil paint takes a VERY long time to dry and that these extremely large globs of oil paint were likely to take weeks, even months to fully dry. Here is a picture of this canvas I took just today after it had been sitting over a week. That little smudge you can see on the bottom is from me touching some of the paint to see that it had not really dried at all yet .... 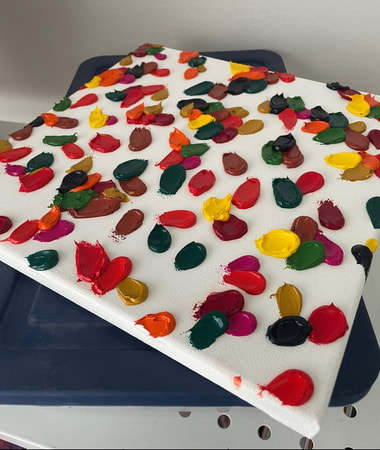 So although I am excited to keep working on this and see how it turns out, I feel like it's not a very sustainable approach for me if I decide to keep doing art like this in the future. I don't have a lot of spaces where I can leave canvases like this for months at a time without them being disturbed. I then decided to try the age-old baking soda in acrylic paint technique . I am sure I have talked about this before on the blog, but in case you are not aware, if you add some baking soda to acrylic paint it gives it a thicker and grittier texture that is similar to chalk paint. The great thing about acrylic paint is that it dries much faster than oil paint and is generally a bit easier to work with. Here is an example of some acrylic paint straight out of the bottle versus some mixed with baking soda:
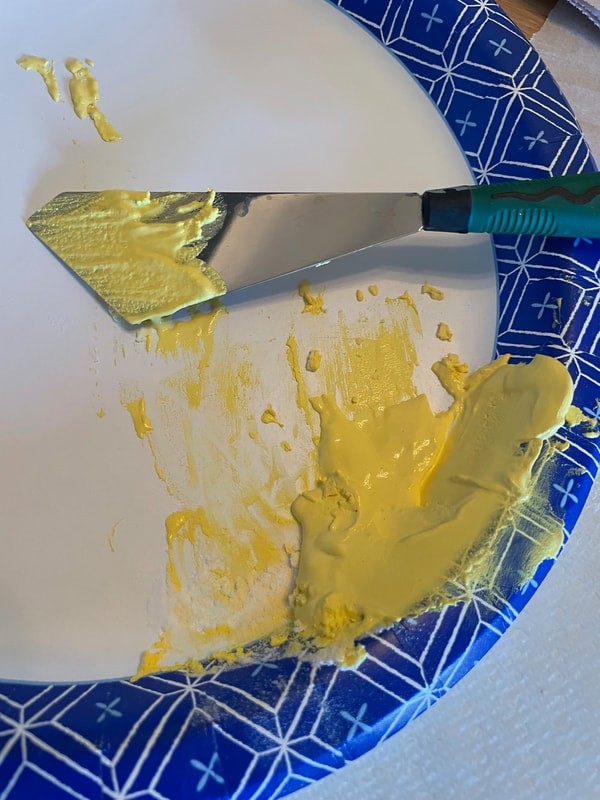
I decided that for these DIY chalk paint attempts I was going to do a gradient effect as opposed to the random splashes of color all over. For one canvas I went for a light yellow to turquoise gradient. I used a paper plate to keep mixing different colors and adding baking soda as needed. 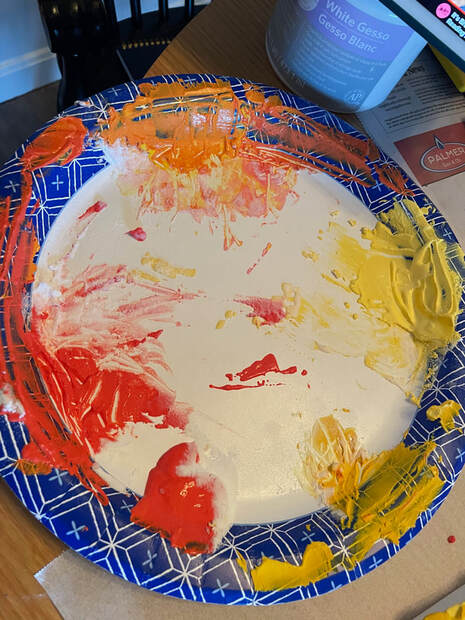 I used a palette knife to mix the paints and to apply them to the canvas and this is how the first attempt ended up. I like the overall effect of this a lot but think I need to be better at creating a softer gradient. I think at times I jumped from one color to another that was not close enough so it's not a smooth transition. 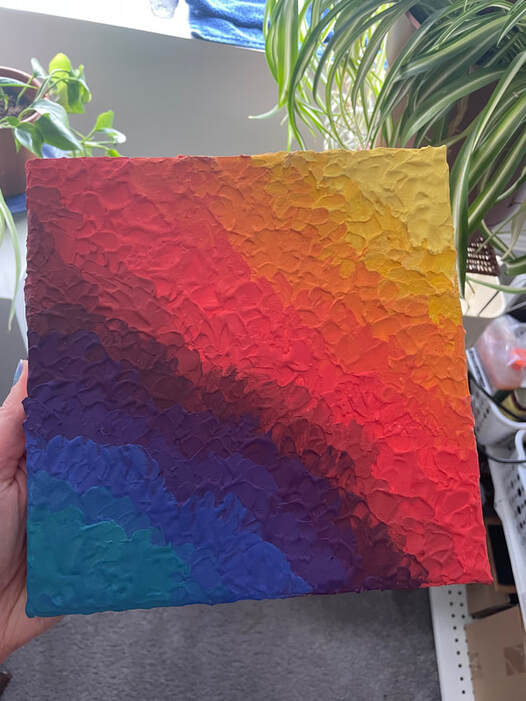 This painting was dry enough to the touch to handle in a few hours and fully dry after a few days. I also tried another attempt where I stuck within one color family and did larger splotches of each color. Again, I think I need to work on my transitions from one color to the next so it's smoother. 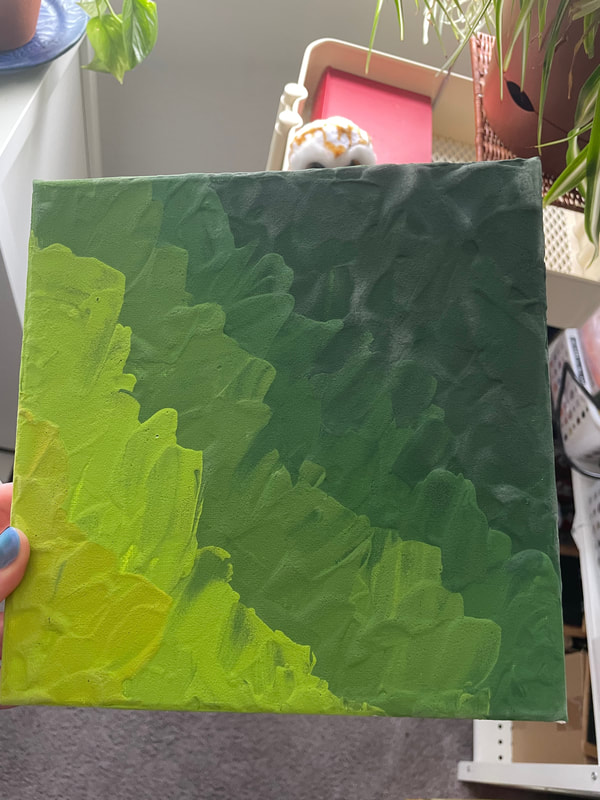 I think the next step is going to be trying to use some sealer on these canvases to see how it reacts with the chalk paint. I also think they would benefit from some wooden frames added to the canvases so I may give that a try as well. I am not quite sure where this little project is going but I wanted to do some different and take you all along for the ride!
Let me know if you have ever tried any unique painting styles in the comments below! - Rebecca P.S. Today's photo on the homepage is from Pexels user Ulrich Scharwächter: www.pexels.com/photo/assorted-color-artist-color-soft-tubes-1327716/
0 Comments
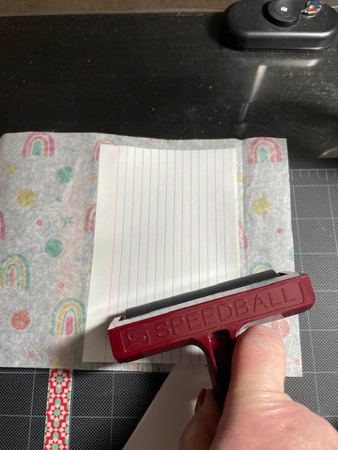
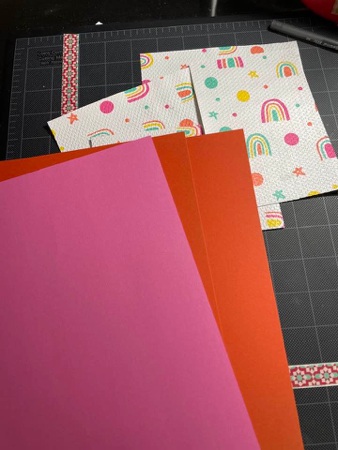
Hello Friends! It’s Suzanne, Rebecca’s mama, happy to be back with you on the Patterned Paper Plate. I’m returning to my roots for this week’s card making idea. I periodically use pretty paper napkins in place of decorative paper for card making and got to wondering if tissue paper could be used in the same way. When I saw this super cute tissue rainbow paper, I decided to give it a try. 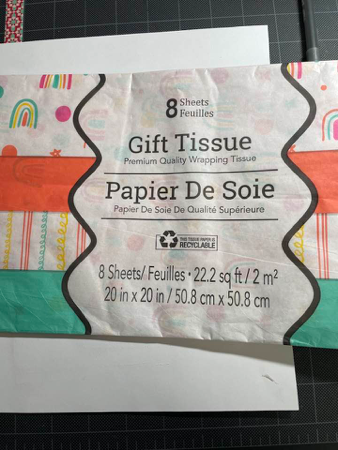 Step 1: Cut a strip of the tissue paper and gather four 4 X 6 inch index cards. 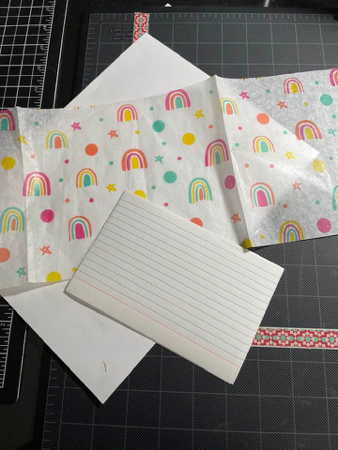 Step 2: Use a large glue stick to completely cover the index card and glue it to the back of the tissue paper. 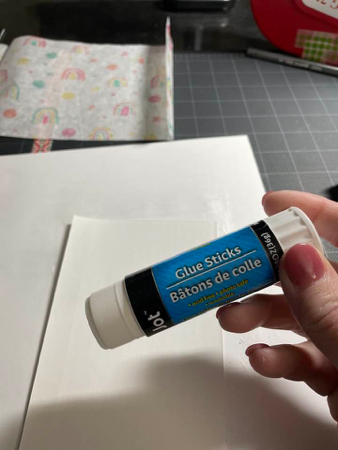 Step 3: Use a brayer, rolling pin or expired gift card to ensure that the index card is well adhered to the tissue paper. Trim the tissue paper that extends beyond the edge of the index card.
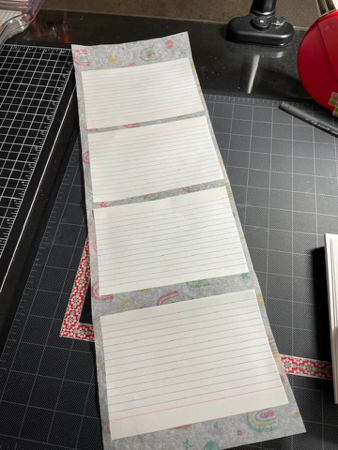
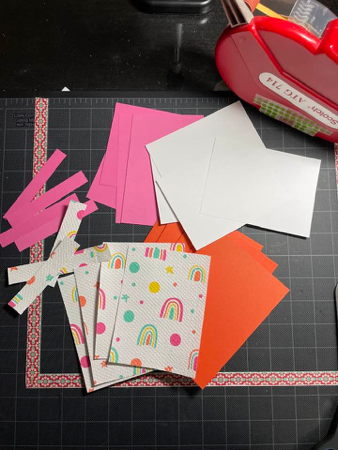
Step 4 is optional, but adds a nice touch. Run the index card with the tissue paper adhered through an embossing machine to add texture. Once the index card is embossed, trim it down to 3.75 X 5 inches. 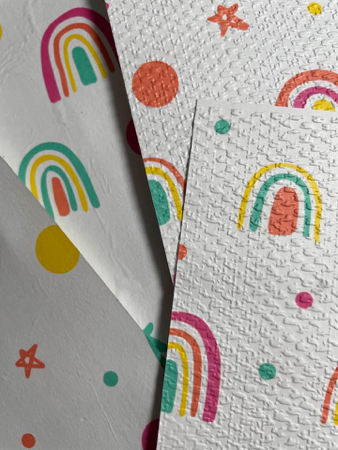 You now have great piececs to use as card fronts. The tissue paper gives a soft, almost cloth-like feel when embossed. For the cards I made with these pieces, I picked orange for the card bases and pink for the mat layer, to pick up on those colors in the paper. I cut the orange sheets in half to 8.25 X 5.5 inches and folded the resulting pieces in half to make standard A-2 sized card bases (4.25 X 5.5 inches). I then cut the pink sheet into four 4 X 5.25 inch pieces to layer the tissue paper fronts on. I also cut a white sheet into four 4 X 5.25 inch pieces to layer inside the card. I also gathered the strips left from trimming the tissue paper pieces and the mat layer to decorate the inside of the cards.
Before beginning to adhere all the layers together, I punched out a shape from the pink mat layer to use with the sentiment piece. This is a great paper-saving technique and ensures that all layers match. 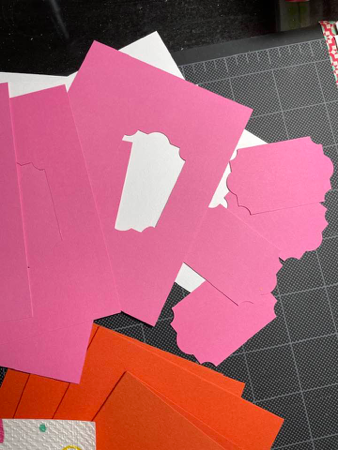 I adhered the tissue paper pieces to their pink mats and decorated the inside liner pieces with the leftover strips. 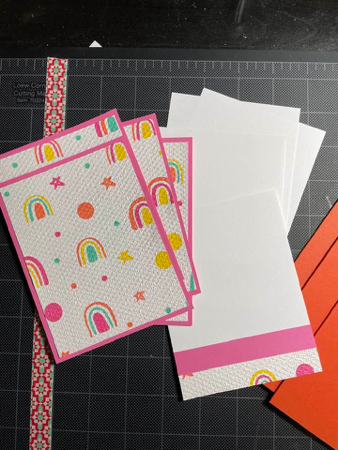 Next came the stamping – a sentiment for the front of the card, an inside sentiment and my “Made By” stamp on the back of the card. 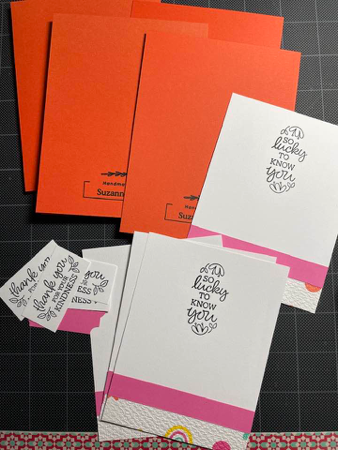 Since there were some small images in the stamped sentiments, I added a little color using markers. 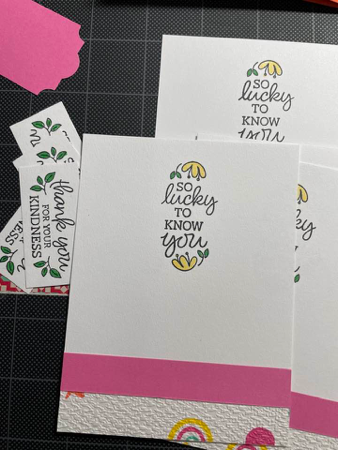 It was finally time to put everything together, including a little orange rick-rack ribbon to add some dimension. I adhered the liner to the inside of the card, the layered card front on the outside and the outside sentiment to the layer piece I punched earlier. I popped the sentiment up on some dimensional foam so it fit nicely over the top of the rick-rack. 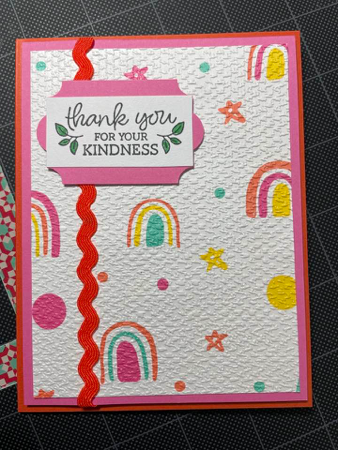 The result is a set of four thank you cards ready to go. 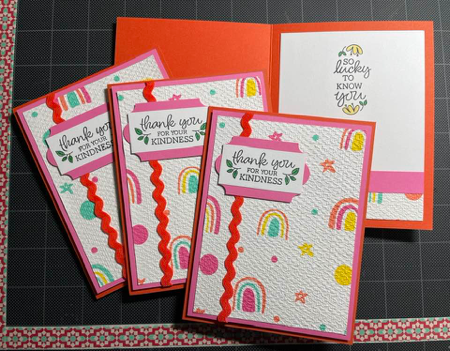 Thanks for coming along on this card making journey! I hope it got your wheels turning!
Note from Rebecca: Thank you to my mother for sharing her clever card idea! P.S. Today's photo on the homepage os from Pexels user Anni Roenkae: www.pexels.com/photo/multi-color-painting-2457278/ |
AuthorI am a 27-year-old crafter and baker from New Hampshire! Archives
July 2024
Categories |
 RSS Feed
Proudly powered by Weebly