|
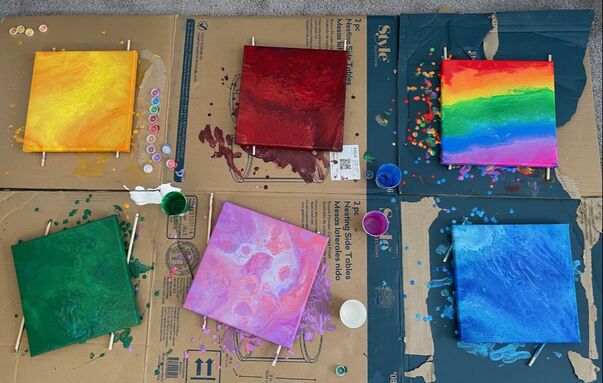
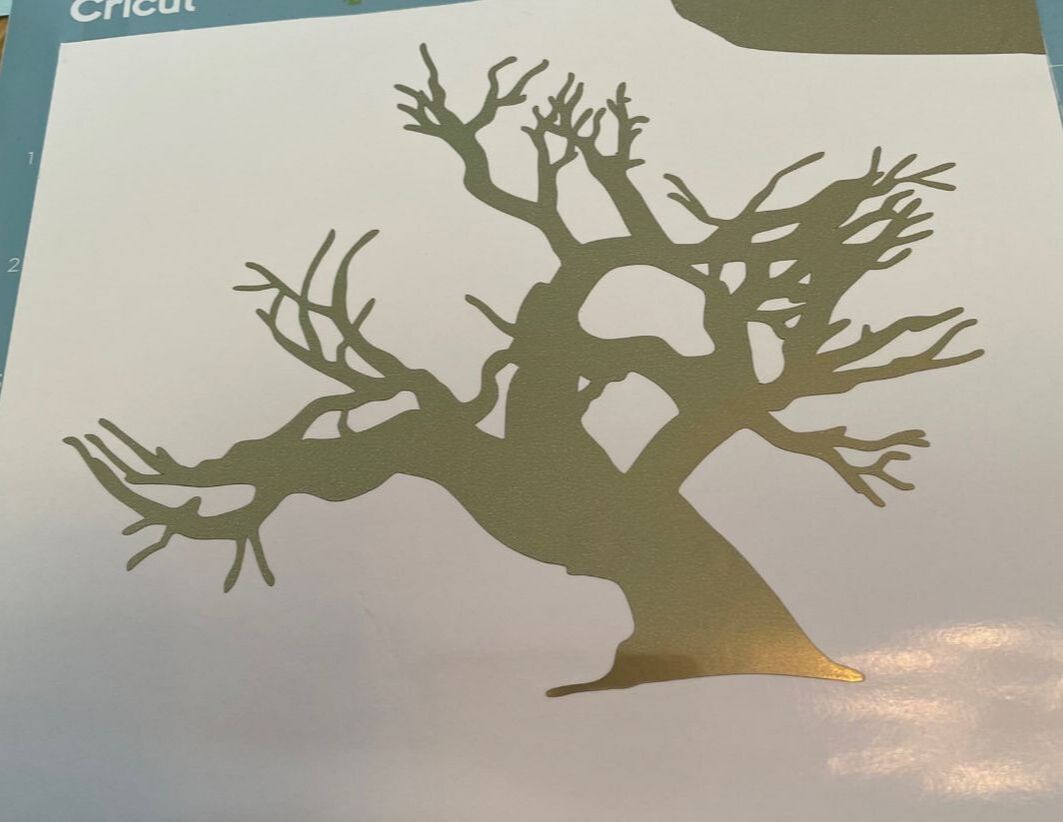
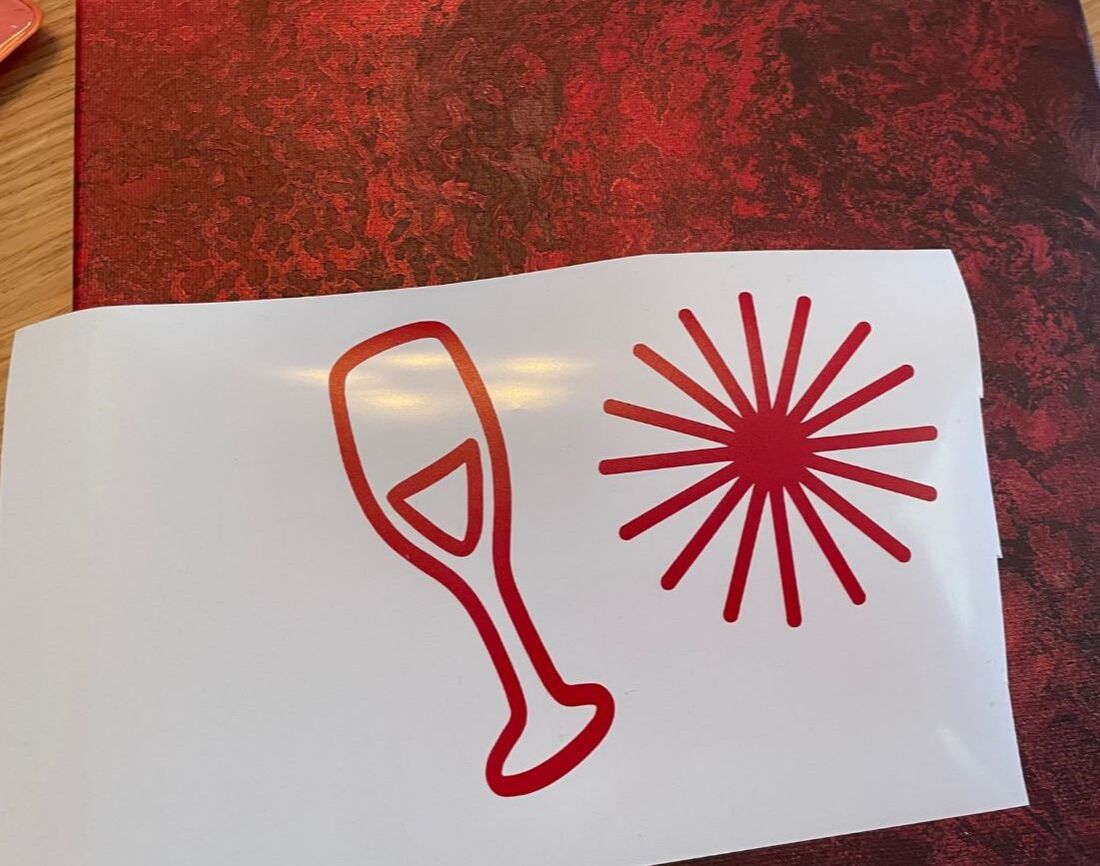
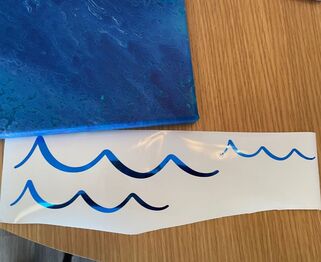
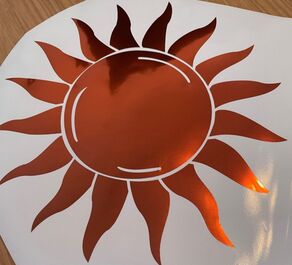
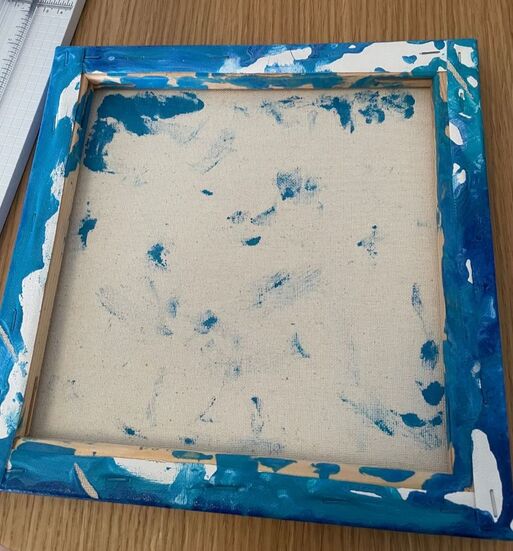
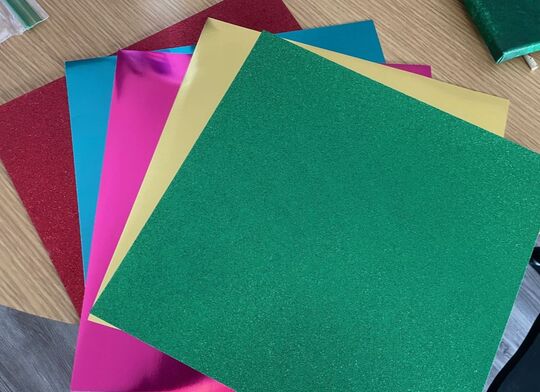
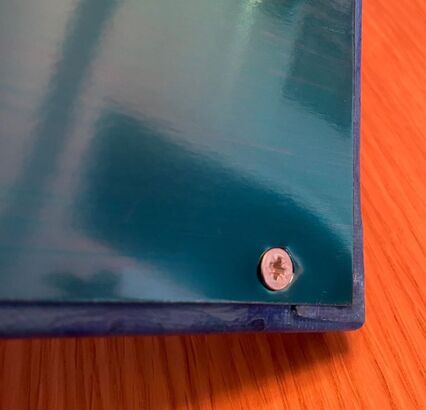
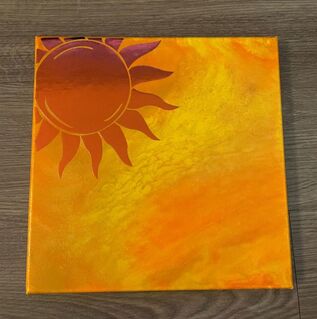
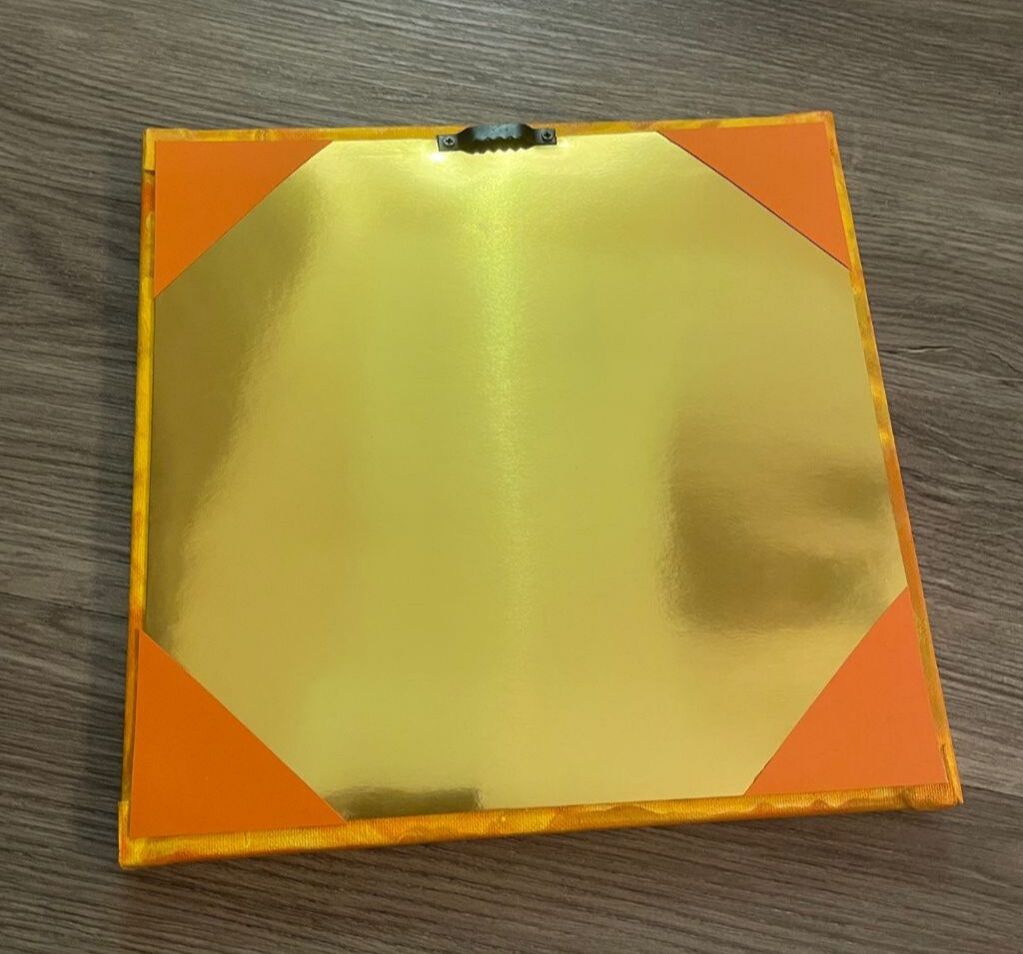
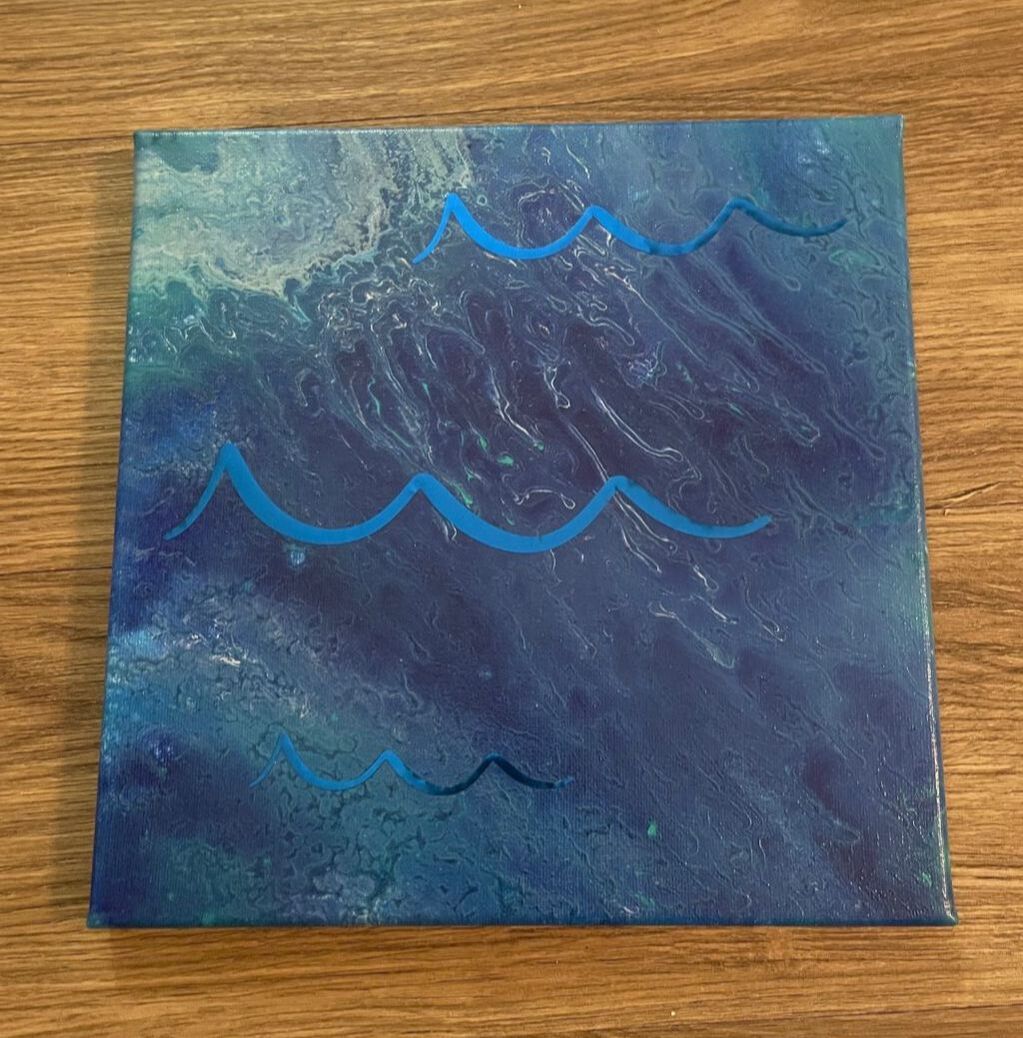
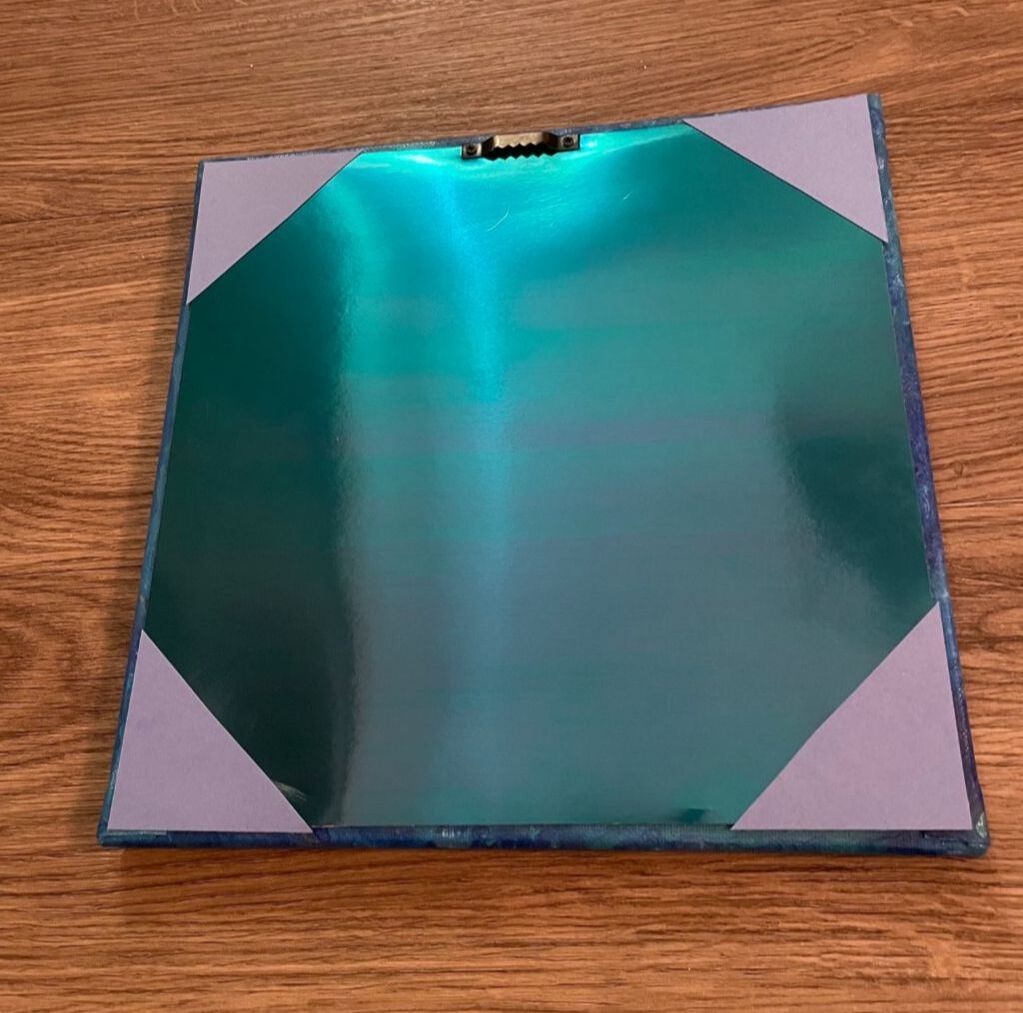
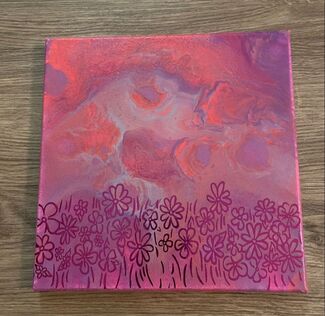
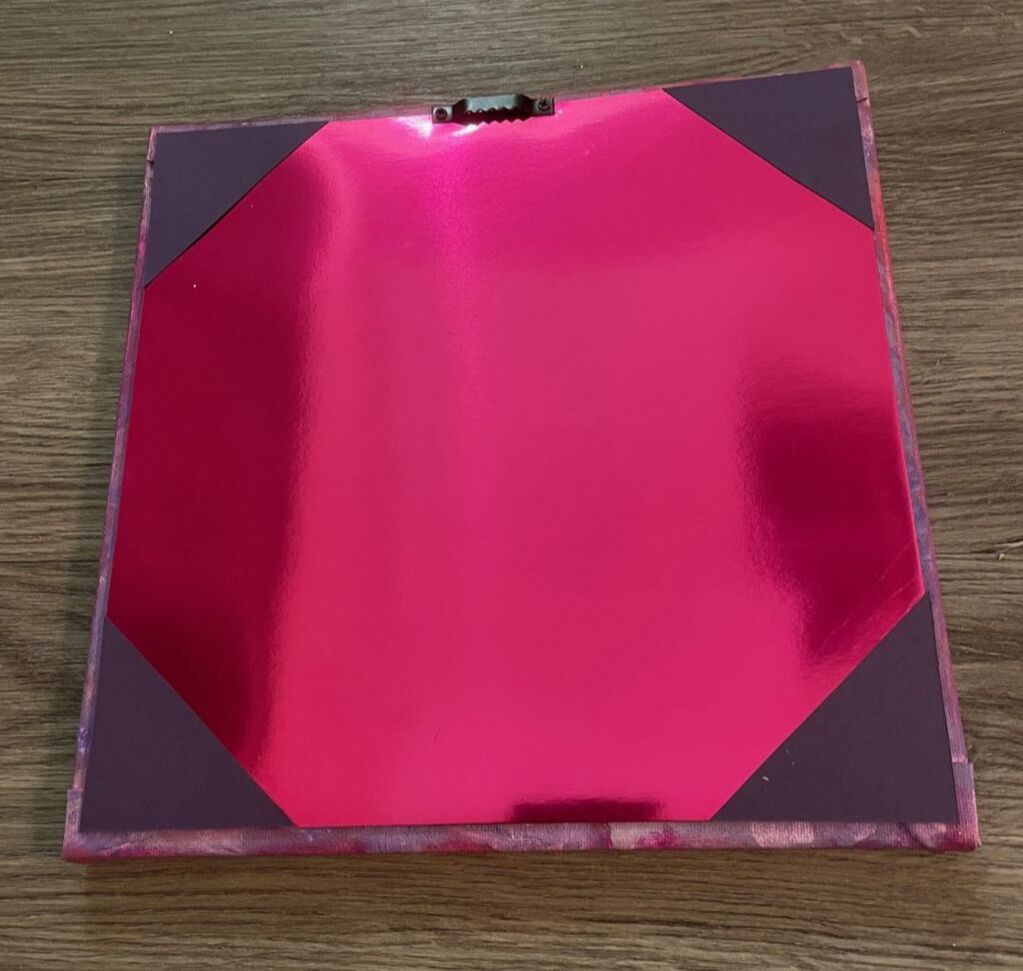
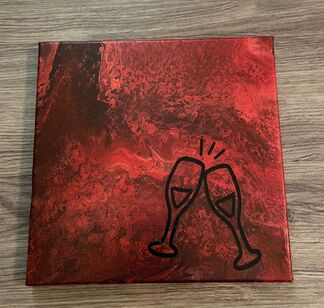
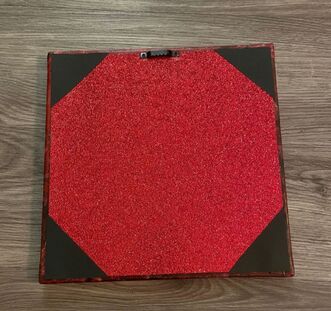
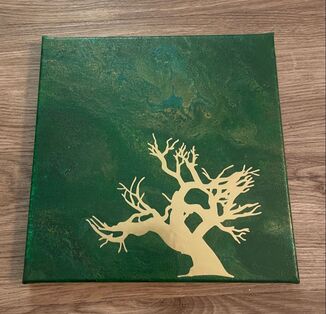
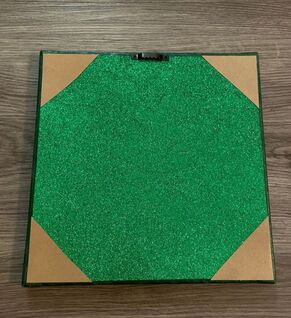
Happy Saturday friends! Hope you all are having a great weekend so far and enjoy this slightly early blog! Sooooo if you are sick of pour painting this may not be the blog for you. But this one is a little different, I swear! Anyways, I had picked up a pack of 8 10 inch by 10 inch canvases from Michaels a while ago and decided to give something a try on 6 of them. I did some pour painting on them and then let them dry overnight. I tried a new approach with the rainbow one and just added lines of the paint to the canvas as opposed to putting all of the colors in a cup. I was not in love with how it turned out and wished I could have been able to get the colors to blend a little more so the lines were not so harsh. Besides even that, one of the paints I used in that one ended up not having been mixed up enough and dried with some unpleasant chunks that I did not enjoy. So I put that canvas aside and you will not see it again in this blog! I'm trying to see if maybe I can salvage it but that's a problem for another day. I wanted to try something different and add some stickers to the top of these canvases for a bit of a mixed media effect. I used my Cricut to cut out different stickers for each canvas from adhesive vinyl. Two quick notes: I forgot to take a picture of the sticker I used on the pinky/purpley canvas before adding it so you will just have to see that in the finished project. Please just know that I picked the most tedious design of all time and it took forever to work with! Secondly, you will see a red wine glass and starburst below. I ended up cutting out the exact same shapes in black vinyl because when I tried the red stickers on the canvas they were meant for, there was not enough contrast and the red blended right in. Once the canvases were dry, I stuck on the stickers and then immediately went over with a fairly thick coat of clear satin varnish. As the canvases have a bit of texture I wanted to seal in the stickers very well so they wouldn't curl up on the edges. I ended up giving each canvas about 3 coats of varnish. Once they were dry I wanted to finish the backs as pour painting often leaves the backs of canvases looking very messy. There were some white areas on the back edge where the paint had not reached so I ended up using some regular acrylic paint to fill in those areas with a similar color. I then grabbed some shiny and glittery thick cardstock that I had in coordinating colors for each canvas. As the canvases were 10 by 10, I cut the cardstock into 9 1/2 by 9 1/2 squares. I first used some SuperGlue around the back edge of the canvas and stuck the cardstock down. I wanted to ensure that the cardstock did not eventually peel up so I ended up using some small screws right into the wood frame of the canvas to secure it in place. I had originally tried a small nail instead, but the nail went right through the paper while the screw did not. Now I needed to cover the screws in each corner so I cut out some coordinating paper into 2 1/2 inch squares and then cut those in half diagonally to get 2 triangles. I did that twice for each canvas to end up with 4 triangles, 1 for each corner. I adhered this with some liquid glue that is good for paper to paper adhesion. Finally, I added a sawtooth hanger to the top back of each canvas. Here they all are, front and back! I ended up putting the sun sticker in the corner and cutting off the edges. I wasn't loving how it would look centered on the canvas. This one has actually already been claimed by a coworker who is going to purchase it and hang it in her basement. Thank you Stephanie! This is the one that took ages. None of those little lines and flowers are connected so it was painstaking! I love how the finished product looks though! This one is much better with the black stickers! This one I am on the fence about. Sometimes I think it looks elegant and you can tell that its supposed to be the leaves of the tree and sometimes I feel like it looks a bit weird but I'm just trusting that it will speak to someone!
I had 2 more canvases from the pack and decided to make 2 more paintings. These are not done yet but I am working on a pastel one which will have some cloud stickers to look like a sunrise and a bright green/teal one with some vine stickers to be a bit jungley. What do you guys think of the combination of pour painting and stickers on the canvas? Let me know in the comments below! - Rebecca P.S. The photo on the homepage today is from Pexels user Steve Johnson: www.pexels.com/photo/paint-bottles-989008/
0 Comments
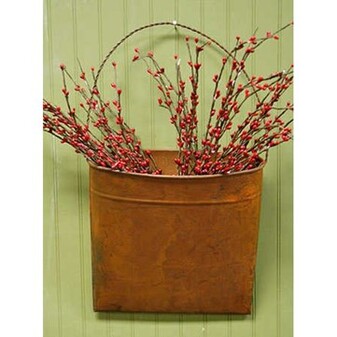
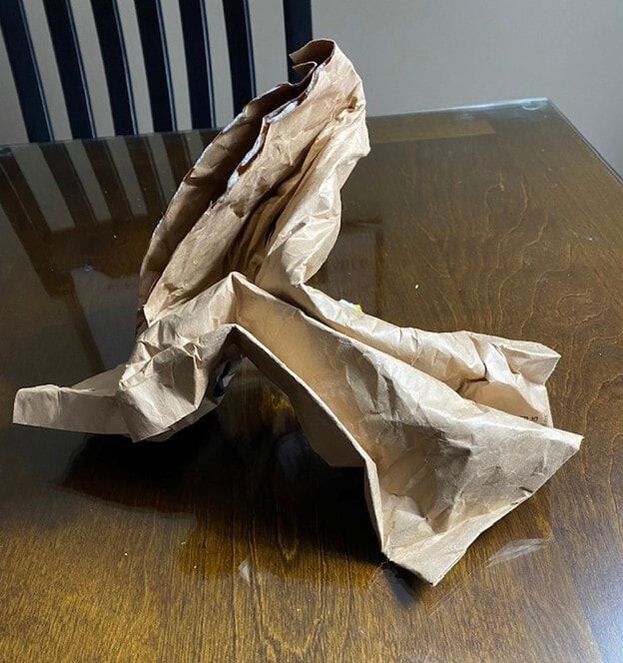
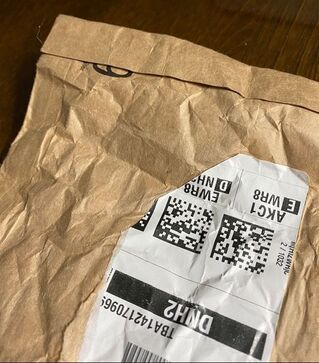
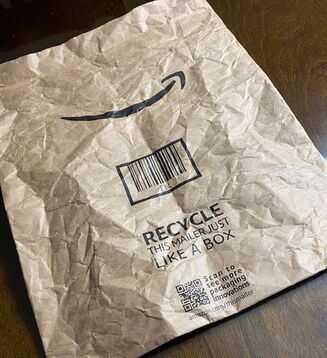
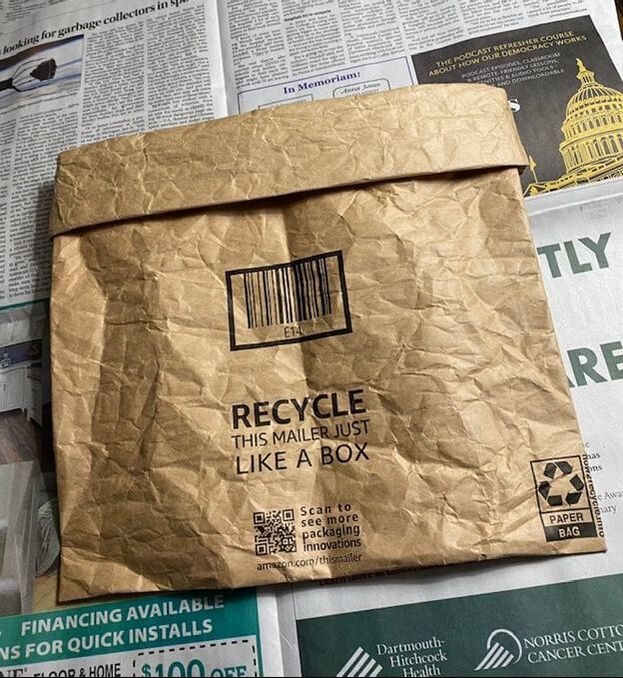
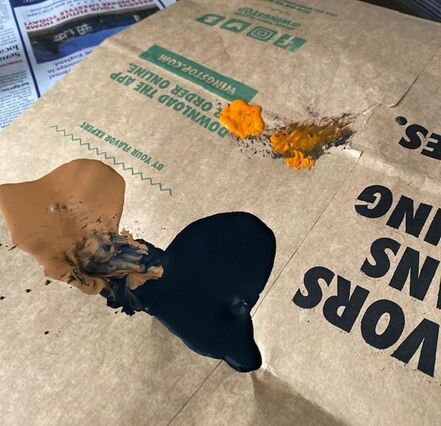
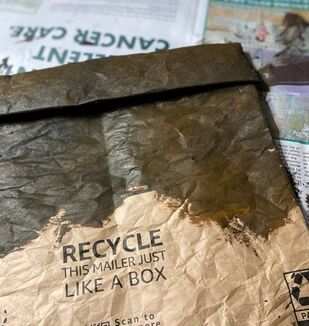
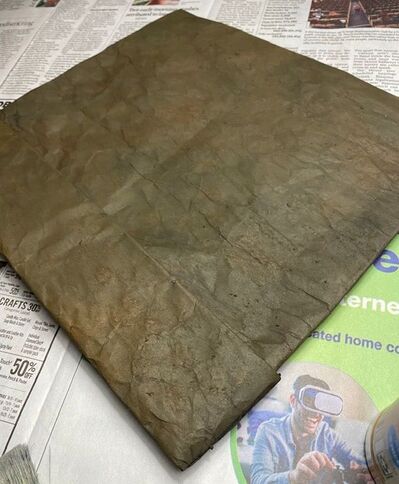
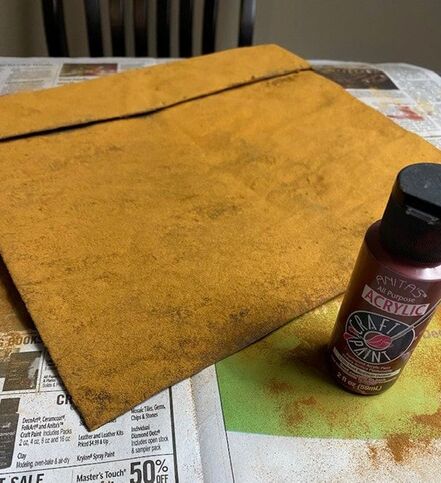
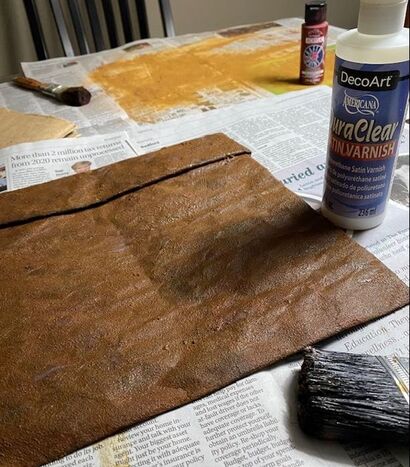
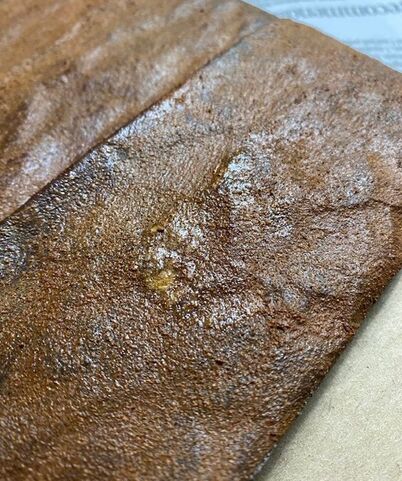
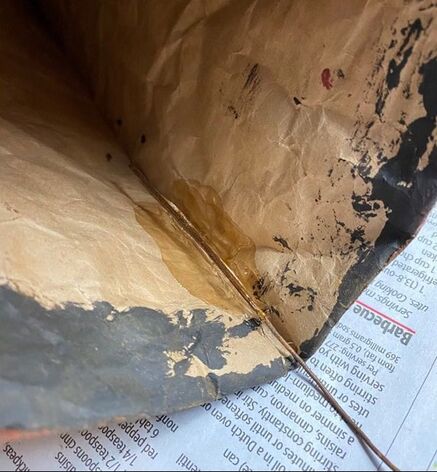
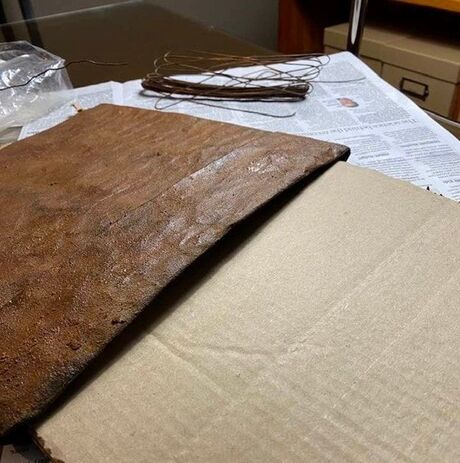
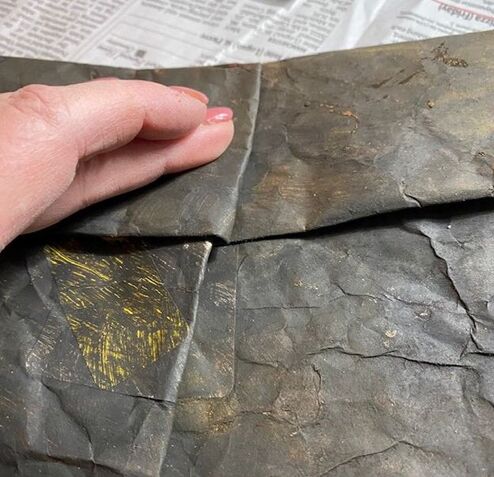
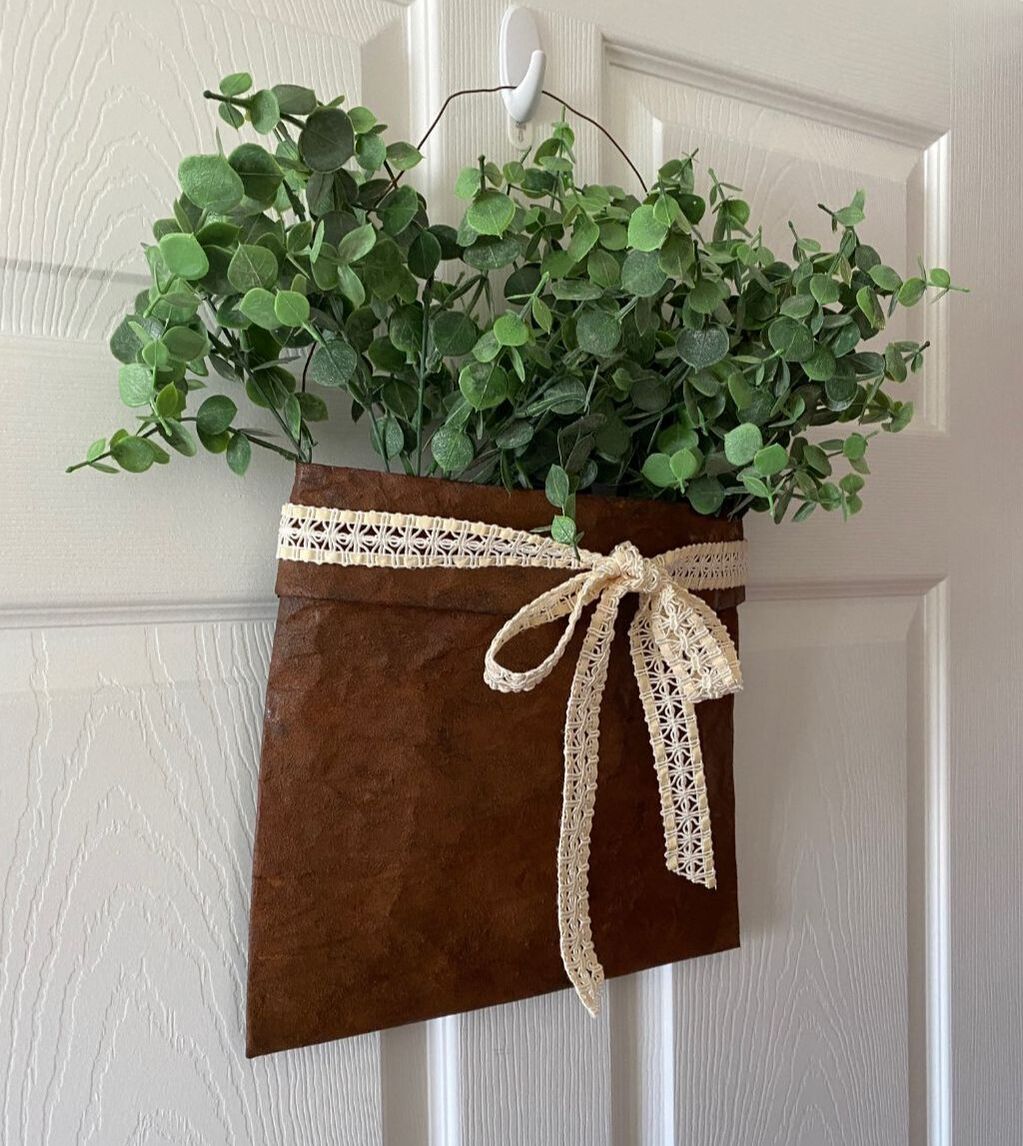
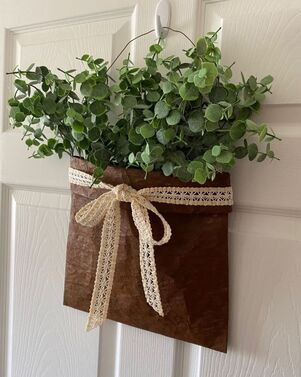
Hi friends – It’s Suzanne and I am happy to be back on the PPP with a recycled craft idea for you today. When Rebecca’s dad and I sold our home a while ago, I divested of most of the home décor we had, opting to see what our new place needed and knowing it would give me the chance to craft some new things. One of the things I’ve been looking at some local shops and thrift stores is a rusty metal pocket, a little something like this . . . I haven’t been able to find anything but did receive an Amazon package recently that came in a brown paper envelope instead of the usual plastic. The color, texture and shape got my wheels turning. First, I cut the top of the envelope even across the top, crumpled it and spread it back out, to give it a little texture. Then I folded the sealed edges to the back of the envelope and glued them in place. After that, I folded the opening of the envelope over twice to hide the cut edge and give the pocket a bit of a collar. Now it was time to paint. Using a stiff brush, I brushed on some brown paint, dabbed in some black and then orange to mimic rust. This wet on wet technique allows all the of paint colors to blend in to each other with no visible lines between them. I started on the back of the pocket so I could get a feel for how much paint was needed, then moved on to the front. After completely painting the pocket, I came back over with more orange paint, blending in it to the still wet paint until I got the look of rust I liked. Once the paint was dry, the pocket was still a little too brown and not really rusty looking enough for me, so I moved on to another “how to mimic rust” technique – some more paint and cinnamon. I dabbed on some appropriately named “Rusty Red” paint, mixed in a tiny bit of brown, and when the paint was still wet, sprinkled cinnamon over the whole thing. Now I was getting somewhere! The texture of the cinnamon really mimics the uneven texture of rust (and smelled delicious). After the whole thing was covered, I tapped off the excess cinnamon and let the pocket dry for about 15 minutes. I wanted to seal the cinnamon in place, so I used some satin varnish over the cinnamon. Once the varnish was a bit dry, I used a heat tool in a couple of spots to bubble the varnish and add to the rusty patina. I added a fair amount of hot glue into each edge and pushed in a length of rusty wire as a hanger. Since the many coats of wet paint and varnish left the pocket a little soft, I cut a piece of cardboard (also recycled from another delivery box) and slid that inside the pocket. I pushed the edges of the pocket into the cardboard liner, sandwiching the wire between the liner and the inside of the pocket. This made the front and back gap just a little. To make the back lie flat, I folded and hot glued a little pleat into the pocket. I left the front with its gap. Note: I only cinnamon’d the front of the pocket – the back just got a quick coat of the original black/brown/orange combo. I added a vintage lace trim bow and some eucalyptus branches, and this project was ready to hang on our door! Rebecca here: Thank you to my mother for this clever, upcycle craft idea! What do you guys think? Let us know in the comments below!
- Rebecca P.S. Today's photo on the home page is from Pexels user Pixabay: www.pexels.com/photo/access-antique-bolt-close-277574/ |
AuthorI am a 27-year-old crafter and baker from New Hampshire! Archives
July 2024
Categories |
 RSS Feed