|
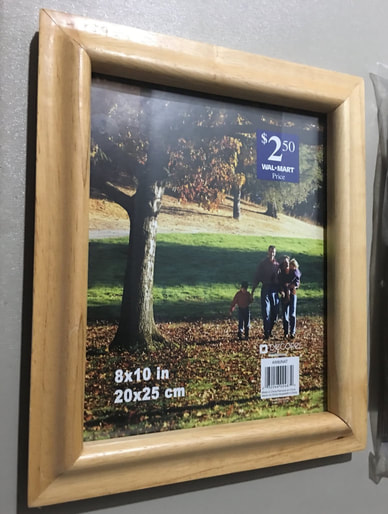
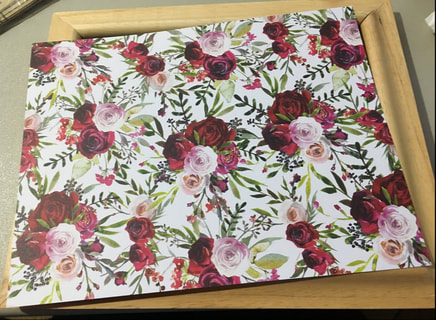
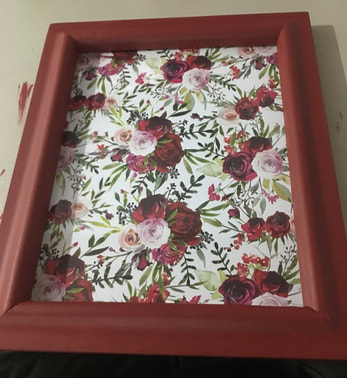
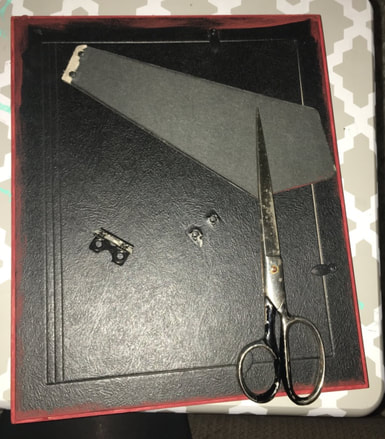
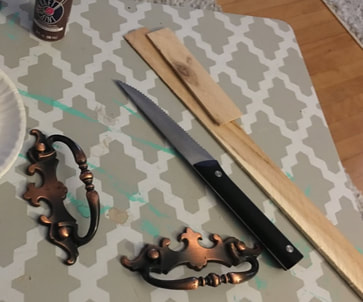
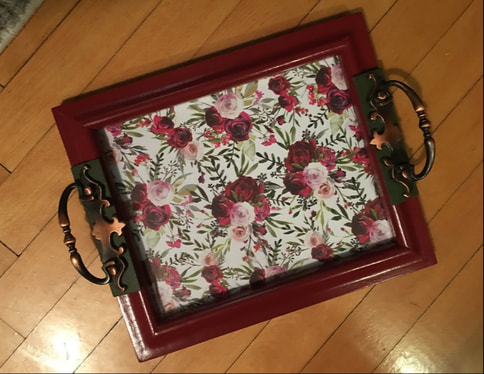
Hello crafty friends I am back again! Today I am showing you a decorative tray I made with some leftover bits and pieces from previous crafty experiences. So I started with an old Walmart frame that my parents had on their porch for who knows how long: Then I picked a pretty paper that I wanted to base the color scheme of the whole tray on. I then sanded down the frame lightly so that it would soak up the paint better. I painted it a rich red color to match the darker flowers in the paper and then cut down the paper to fit inside the frame. I went ahead and removed the stand attached to the back of the frame so that it could lie flat. I pried it off with some scissors which I do not recommend. Safety first kids. I also put a few coats of varnish on the painted frame to give it some nice shine. My plan for handles for the tray was leftover drawer pulls I had from my dresser makeover I did over the summer. I wanted to just hot glue the handles on the frame, but the frame is not flat (I don't know how else to explain that but look at a picture of the frame to see) so it wasn't working to just attach the handles to the frame itself. My idea to fix it was to cut some small pieces of wood that I could attach the handles to and then attach the wood to the frame. Did I cut the pieces of wood using a steak knife because my little saw is broken? Yes. Do I suggest that you do that? No. Once again, safety first everyone. I painted the pieces of wood a green to match the leaves in the paper and then used gorilla glue hot glue to attach the handles to the wood. I could then glue the wood to the frame and secure the handles in place. And here it is! I think this came out really cute! Obviously it is not a tray meant to hold extremely heavy objects, but it is like the cute decorative tray you have on a coffee table or on a vanity that doesn't really have any purpose besides being cute. I think I will make a few more of these for the craft fair with various papers and colors. What do you guys think?
- Rebecca
3 Comments
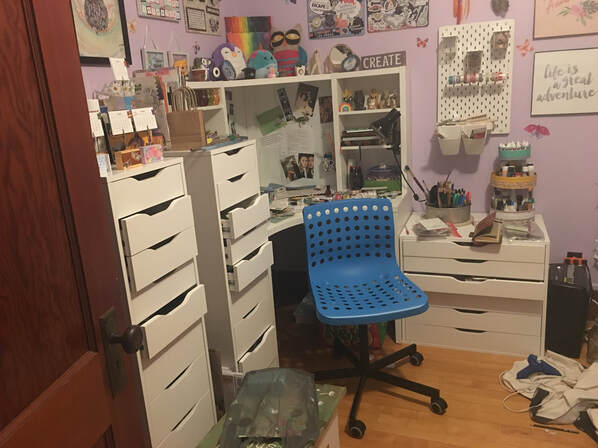
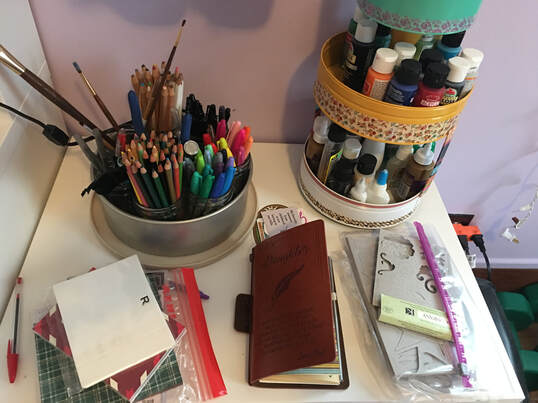
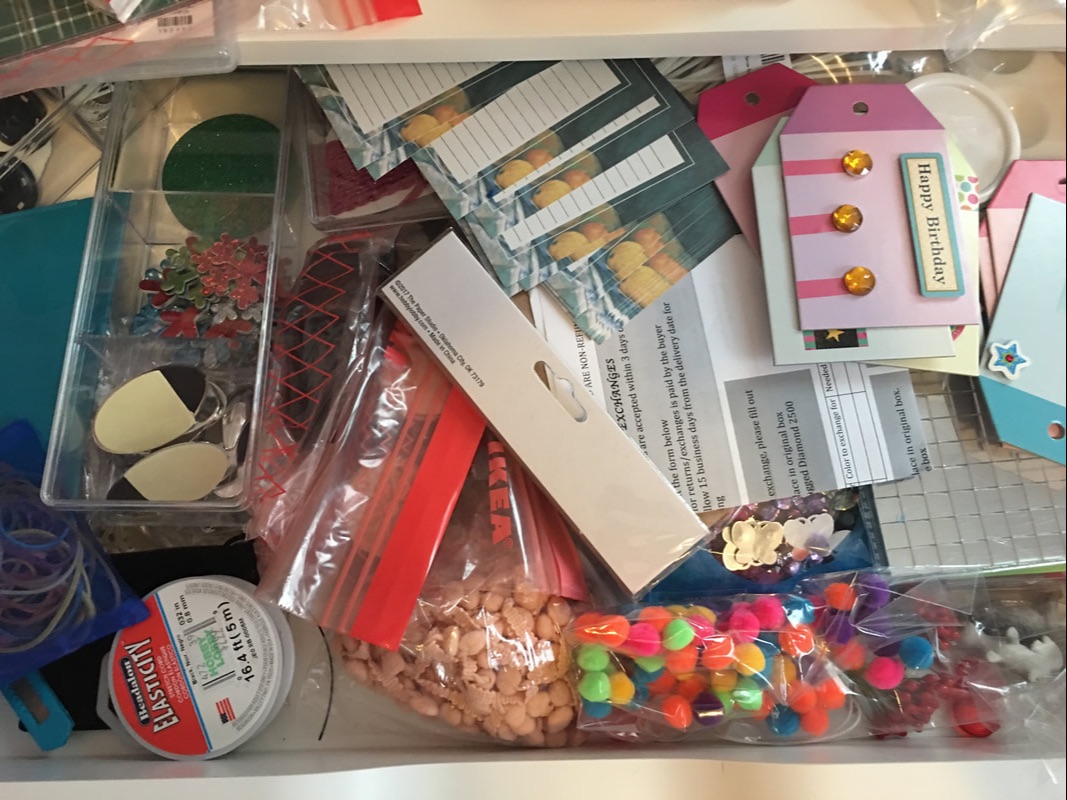
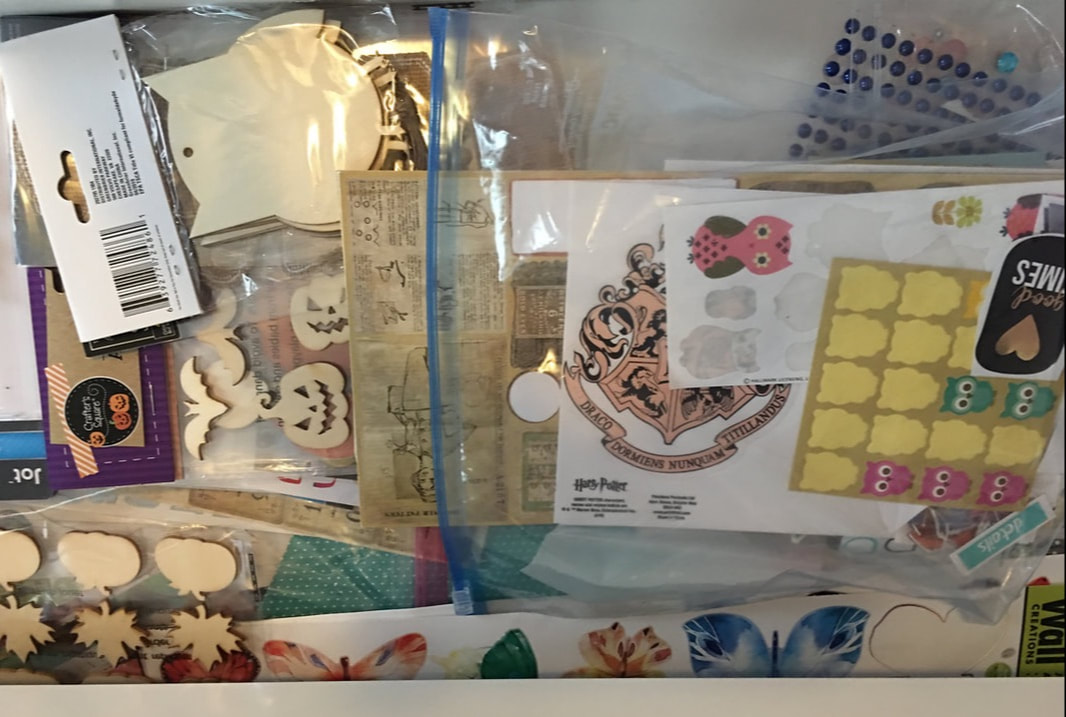
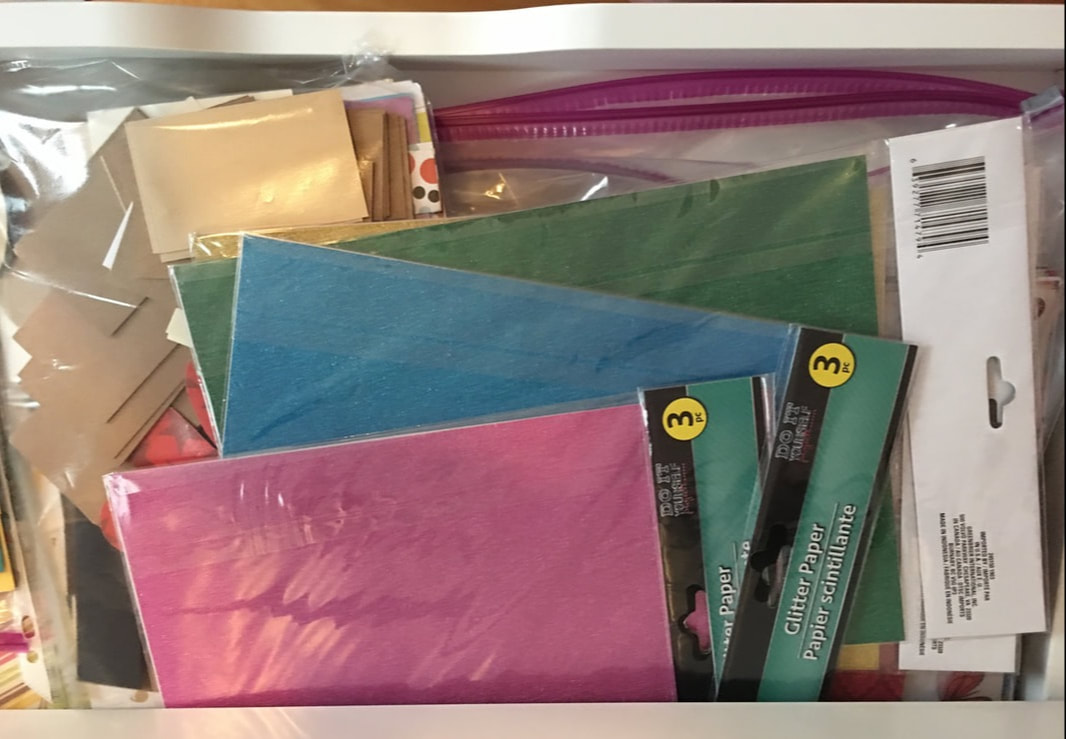
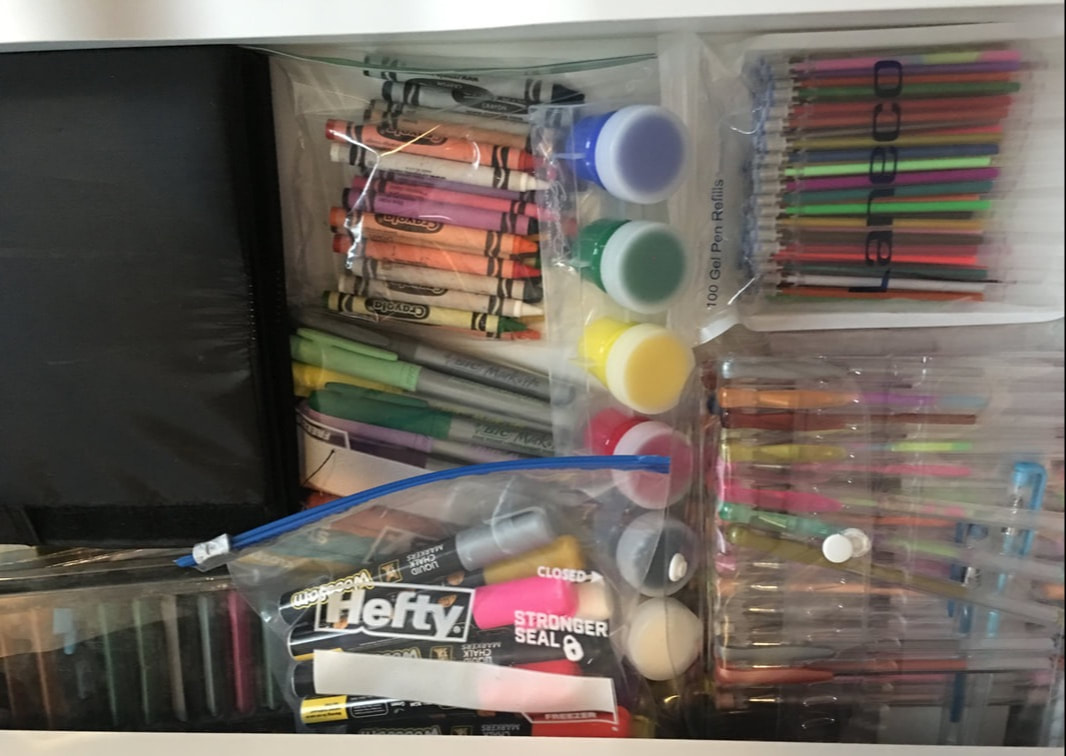
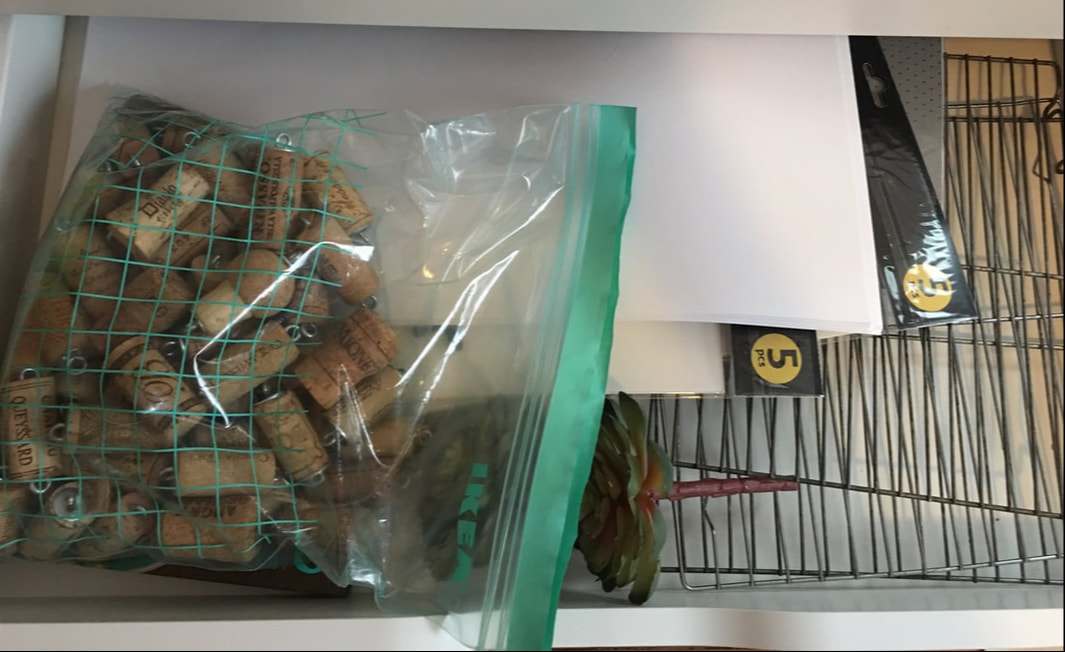
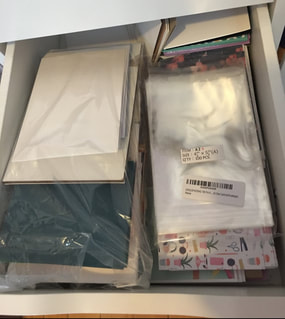
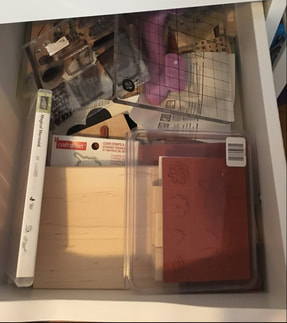
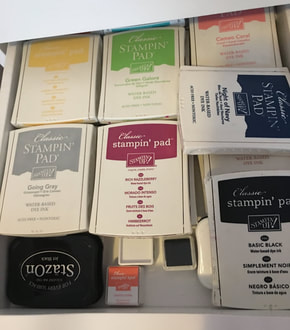
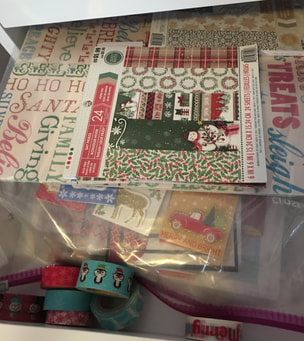
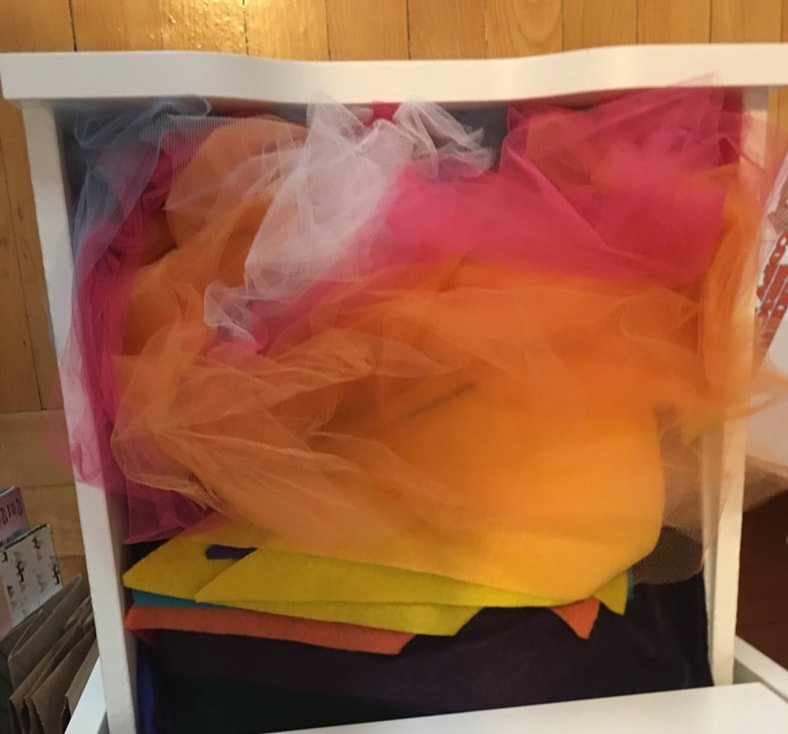
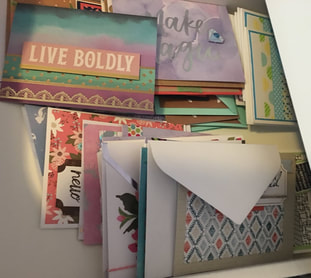
Hello crafty people! I figured today I would go more in depth about what I have in my crafty room. Earlier this year I shared with you all the transformation of our craft room/office, but didn't share all of the craft supplies that fill up my fancy IKEA furniture. Here is the what my crafty corner of the office looks like right now. I didn't clean it up before taking the picture to give a more accurate representation of what my little corner usually looks like. What I'm going to do here is show you exactly what I have in each of my crafty drawers. If you find this terribly boring, I am very sorry, but I always love blog posts/videos where people go through their fridges, closets, craft rooms etc and just talk about what they have so that's what I'm doing here. Maybe you will see some craft products that you want to try out! First I will show you what I've got going on in my shorter IKEA drawers that are to the right of my desk. On top of the desk are my holders for my craft paints and various glues and my markers and pens that I use most often, both of which are on lazy susans and can twirl around. There is also some miscellaneous stuff on the top of this right now, but let's all just ignore that. 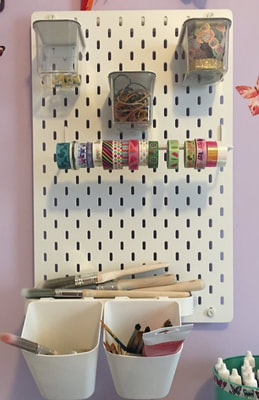 Above that drawer unit, I have this amazing little peg board, also from IKEA, that my fiancé convinced me to get and I am so glad I did. I keep my washi tape on that little rod and keep some smaller things in the little buckets. Now lets move on to my taller, thinner drawer units. A couple of these drawers are just more miscellaneous stuff so I won't bore you with those but here are a few of the exciting ones.
And here we have my two drawers full of completed cards. I do have a few more drawers, but these are the ones I reach into most often so I thought I would share those with you. If you two have any questions about any of the craft supplies you see here, please leave them in comments below and I will be happy to answer them as best I can! Why craft supplies do you all find yourself reaching for most often?
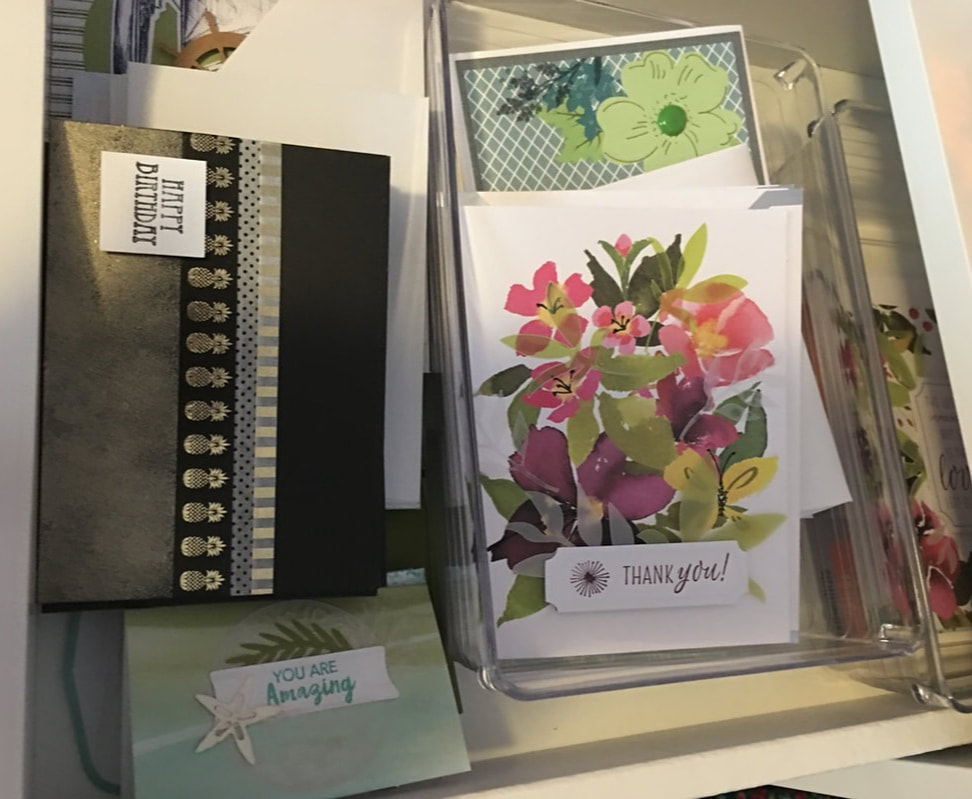
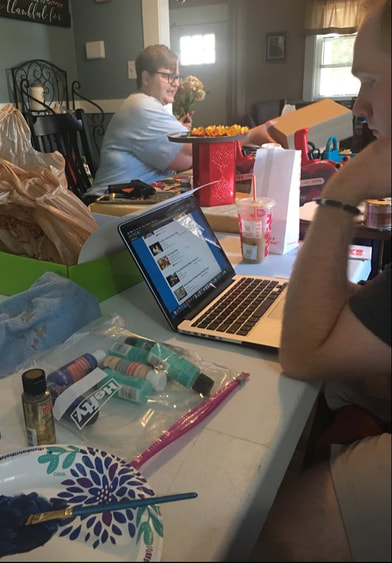
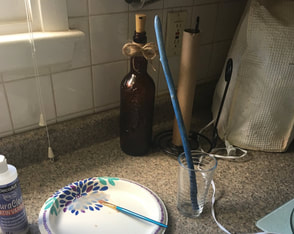
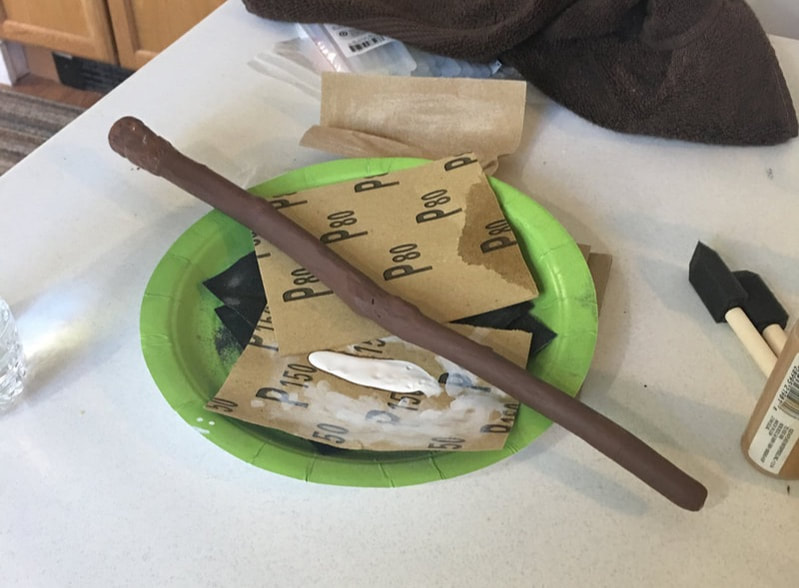
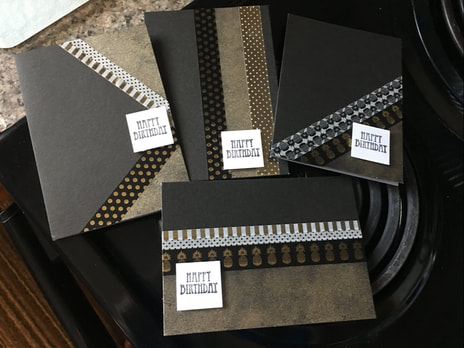
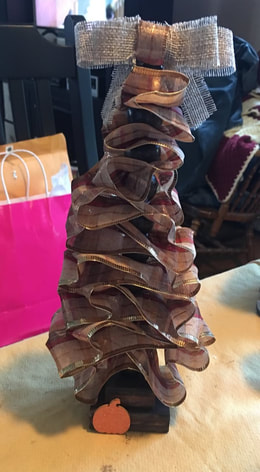
- Rebecca Hello crafty friends! So this week I don't have a crafting tutorial for you, but instead wanted to give you a little insight into what a crafty day with me and my mother looks like. I had the brilliant idea to take yesterday off from work to have an extra long Labor Day weekend and got my mother to do the same so we could have a glorious crafty day (we were also joined by my fiancé before he sadly had to go to work). We even put up a card table to create an extra-long table for all the crafts. Aren't we adorable? So I'm going to give a little peek of some of the crafts we worked on yesterday. I spent a good portion of the day working on three wands, two for selling at craft fairs and one for my mother. I had made my mother a wand years ago but I believe my craft skills have improved since then. I also recently made a new wand for my father (I wrote a blog post about it so you should TOTALLY go check it out) so I figured it was high time to remake my mother's wand too. Also, in case you are new to my blog and are confused by these sentences, I do mean wand. Like magic wand. Like from Harry Potter. My family is full of nerds and we are damn proud nerds. Anyway ... here are a few pictures of the wand process! After spending a good amount of time on wands, I also worked on some birthday cards. My mother had bought me some black paper card bases (because she's the best) and I thought of a cool way to fancy then up. I took a sponge with a tiny bit of gold paint on it and dabbed that on the front of the cards. I then used black and gold washi tape and a small birthday sentiment. I made each card different, but they all do have the same style so they could be given away or sold as sets if I wanted to do that. Here are a few of them! And here's an adorable craft that my mother worked on yesterday which she got inspiration from on Pinterest. She used some wrapping ribbon (the kind that has thin wire along the sides so that it hold its shape when bent) and folded it in such a way to look like a tree. She stuck the ribbon on a wooden skewer on a base of wood blocks and added a bow on top to finish it off. She had to do a few trial runs to get this to look the way she wanted but the final product is so cute! My mother also worked on like 3 other crafts but I am a bad blogger and didn't photograph them ... Okay my friends that is all I have for today. I just wanted to give you all a little behind the scenes of what a craft day looks like. I love when I get to spend a whole day working on craft projects, especially when I am with my crafty mother!
- Rebecca |
AuthorI am a 27-year-old crafter and baker from New Hampshire! Archives
July 2024
Categories |
 RSS Feed