|
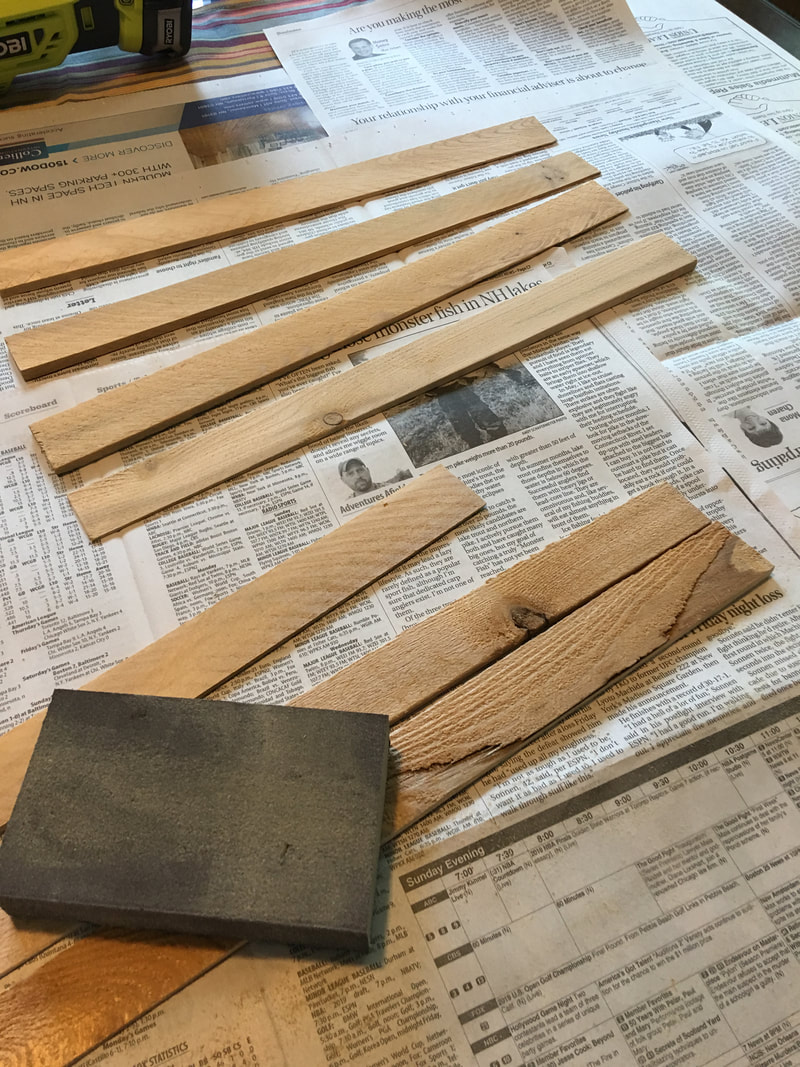
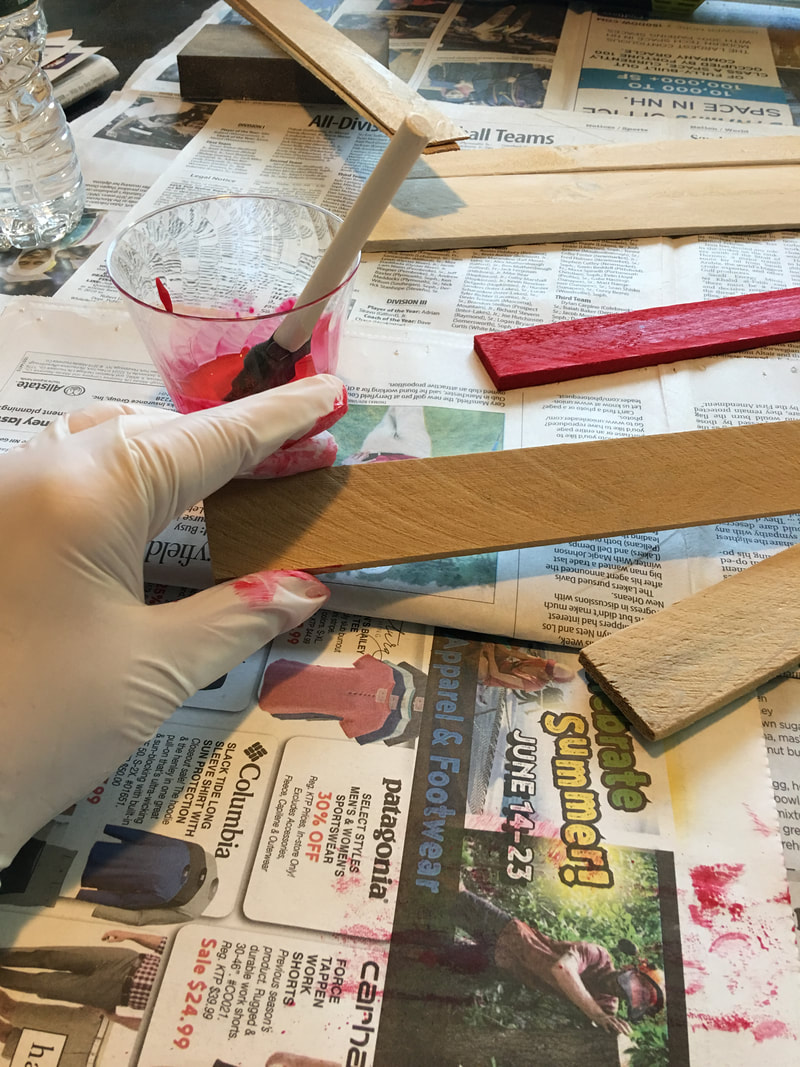
Hello all! It’s Suzanne, Rebecca’s Momma. I am excited to be back with you on the Patterned Paper Plate this week as a guest blogger. Since Independence Day is coming soon, I thought I’d do a little something with a patriotic flair. Today, I am going to make an Americana flag for our back door. This piece was inspired by a couple of things I have seen in my neighborhood. One family painted an old piece of fencing turned on its side (so the pickets made the stripes). Another painted a pallet and propped it against a tree. The scale on those pieces was a little large for me. Also, I don’t happen to have any old fencing lying around and my (otherwise very patient) husband is not on board with me dragging pallets home. I had to figure out how to make a smaller and less cumbersome version. As always, I try to shop my prodigious stash of supplies first to see what I can come up with. In my stash, I had these cedar shims – long thin pieces of wood slightly thicker at one end than the other. I’m not sure why I originally bought them. I may, in fact, have appropriated them from my husband’s work bench, but wherever they came from, they are perfect for this project. If you don’t have shims, you could use Popsicle sticks, paint stirrers or even strips of corrugated cardboard cut from a packing box. 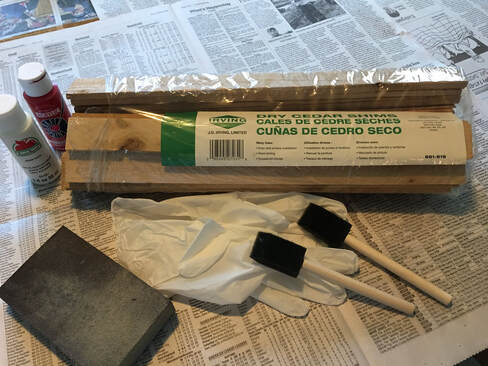 Next, I had to decide how many stripes my flag would have. As anyone who paid attention in US History knows, the real flag has 13 stripes, alternating red and white. To keep a good proportion on my piece, my flag will have 7 stripes. I’ll start and end with red, like on the real flag. Time to get painting! I found 7 of the best looking shims and gave them a quick sanding. I wasn’t going for smooth perfection, but I wanted to get the worst of the potential slivers off. Then, using red and white acrylic craft paint that was watered down just a little, I painted 4 of them red and 3 of them white. I painted the front and back because wood that has only been painted on one side tends to warp more.
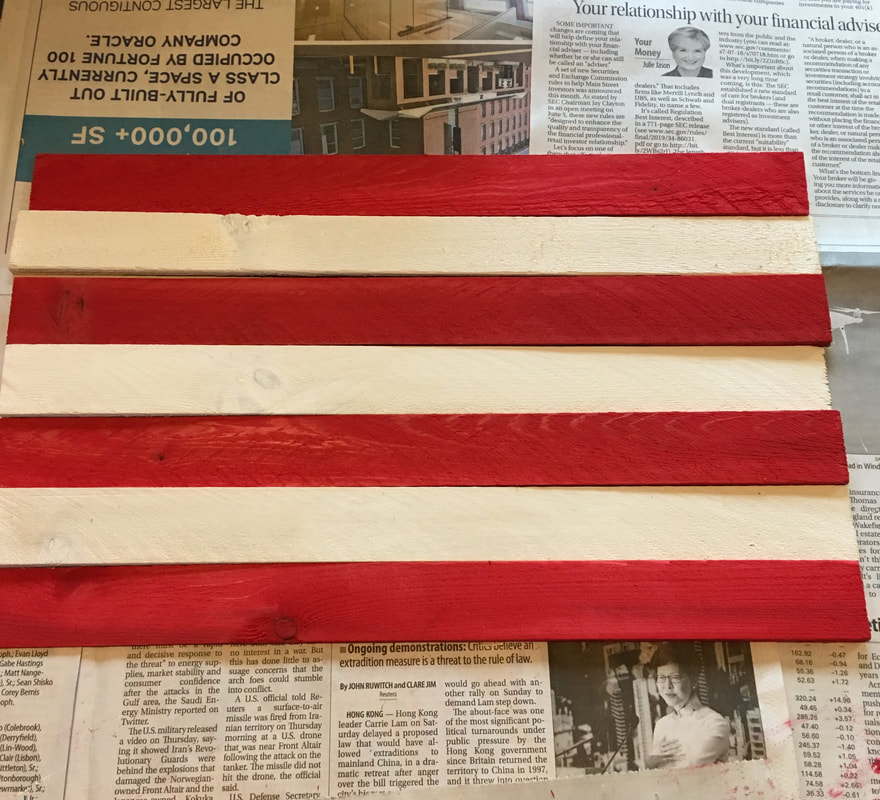
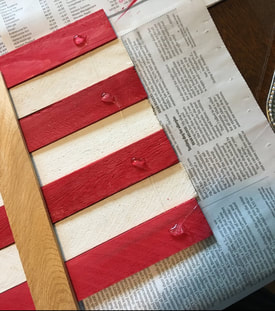
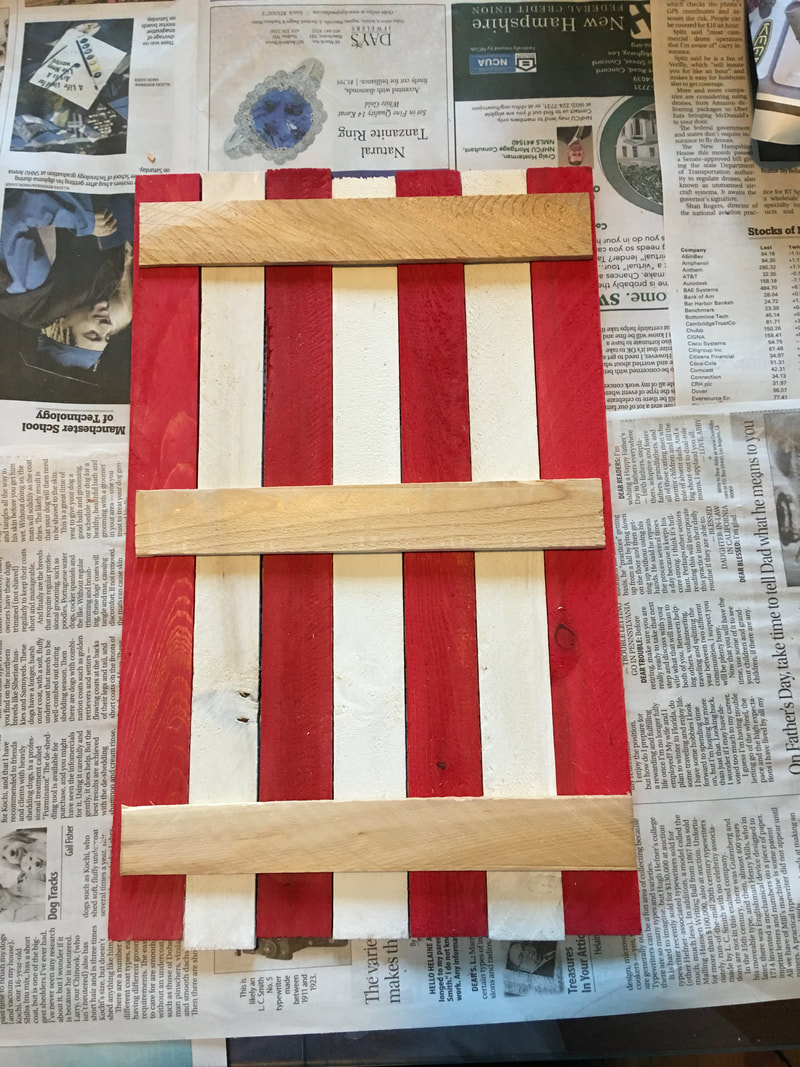
Now, assembly! I laid the shims down, alternating the colors and the ends that were the thickest and switched them around until I got a pleasing look. Then I flipped each of them over and, using strong hot glue (Gorilla brand glue sticks are the best for all season hold), I glued three more shims, trimmed to fit, down the back to hold the stripes together. I started with the end ones, then added the middle one for stability
For the field of blue, I found a random scrap of denim fabric in my scrap box. I had to decide what kind and how many stars I wanted. I gathered up a variety of things – some larger wooden stars and some white buttons. I laid the fabric and stars and buttons over the corner of the stripes and tweaked the placement until I was happy with it. I ended up preferring one large star, so I measured the width of four stripes and tore the fabric to make a square with frayed edges. I used a small bead of hot glue (so it would not leak through the fabric) to hold that square in the corner. 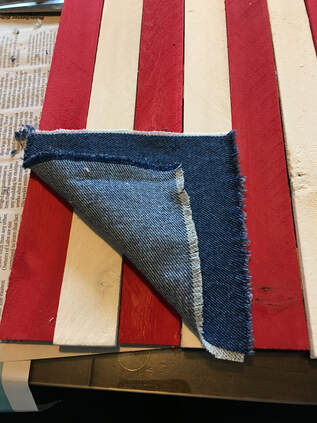 I then painted the star white and added two small round bits on the back to raise it up a little and give the piece a little more dimension. 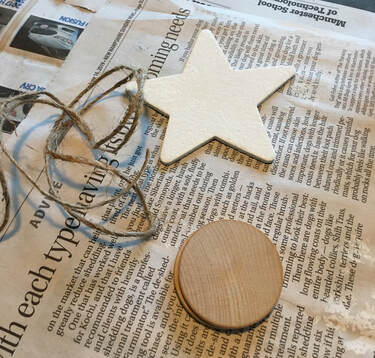 Finally, I added a strip of jute across the back to act as a hanger. The jute is tight across the back since I don’t want it to show when the piece is hanging. 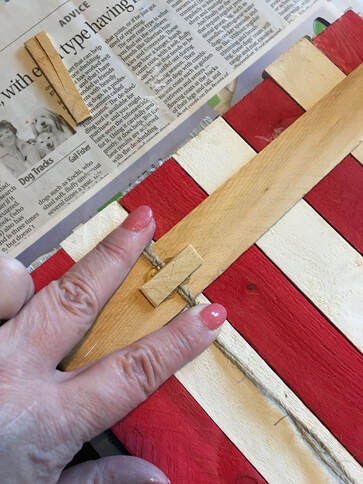 That completed it, but when I turned it over, I thought it was a little too pristine for the aged Americana look I like, so I took some brown paint that was watered quite a bit and gave the whole thing a little antiquing with a rag to grubby it up.  And here it is up on the door! 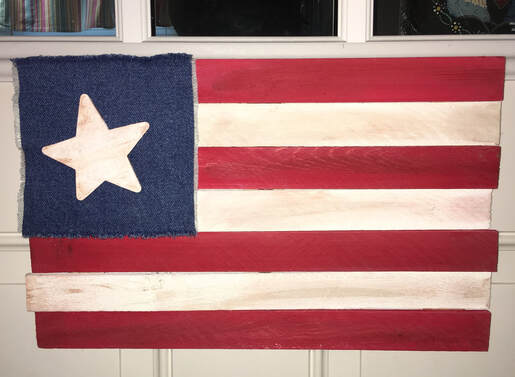 I felt like it needed a little something more, but could not decide what, so I left it for a couple of days to see how it spoke to me. I decided that the proportion of the star to the field of blue was off. I also was not in love with the idea that two of the sides of the denim square are white fray and the other two sides are blue. As Rebecca pointed out, "That's how denim works, Mom!" but that doesn't mean I have to like it on this project. So, here's what I did. I cut a square of navy blue card stock to use for the field. Then I cut a larger white star out of wood patterned paper. I distressed the edge of each with a little ink from a stamp pad. Using dimensional adhesive squares, I popped the blue square up a bit off the flag and then popped the white star up off of the blue field. I thought this dimension worked well with the slightly wavy look of the stripes because of the varying thickness of the shims. I much happier with this star because I think the overall proportion is better. Now here's the final product.  I am much happier with the evenness of the field of blue and the size of the new star. I really like the way the stripes on the paper are opposite the stripes of the flag, which I will admit was a happy accident.
I hope today's post has inspired you to look at things you have around the house in a new way to get inspired to make something. Crafty supplies can sometimes be found in the most mundane things. All it takes is a little imagination (and a glue gun) to make something that's all your own. - Suzanne
0 Comments
Leave a Reply. |
AuthorI am a 27-year-old crafter and baker from New Hampshire! Archives
July 2024
Categories |

 RSS Feed
Proudly powered by Weebly