|
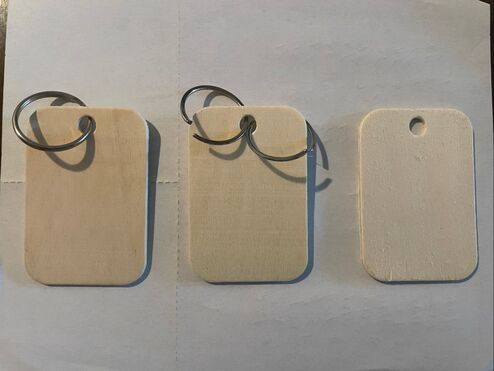
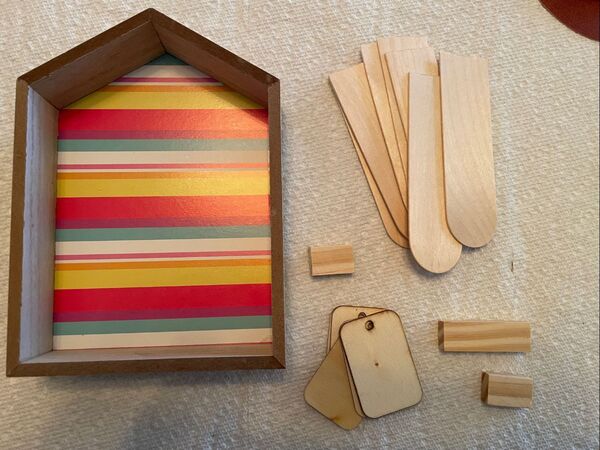
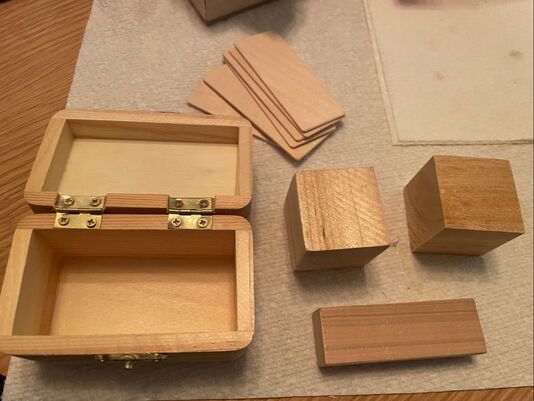
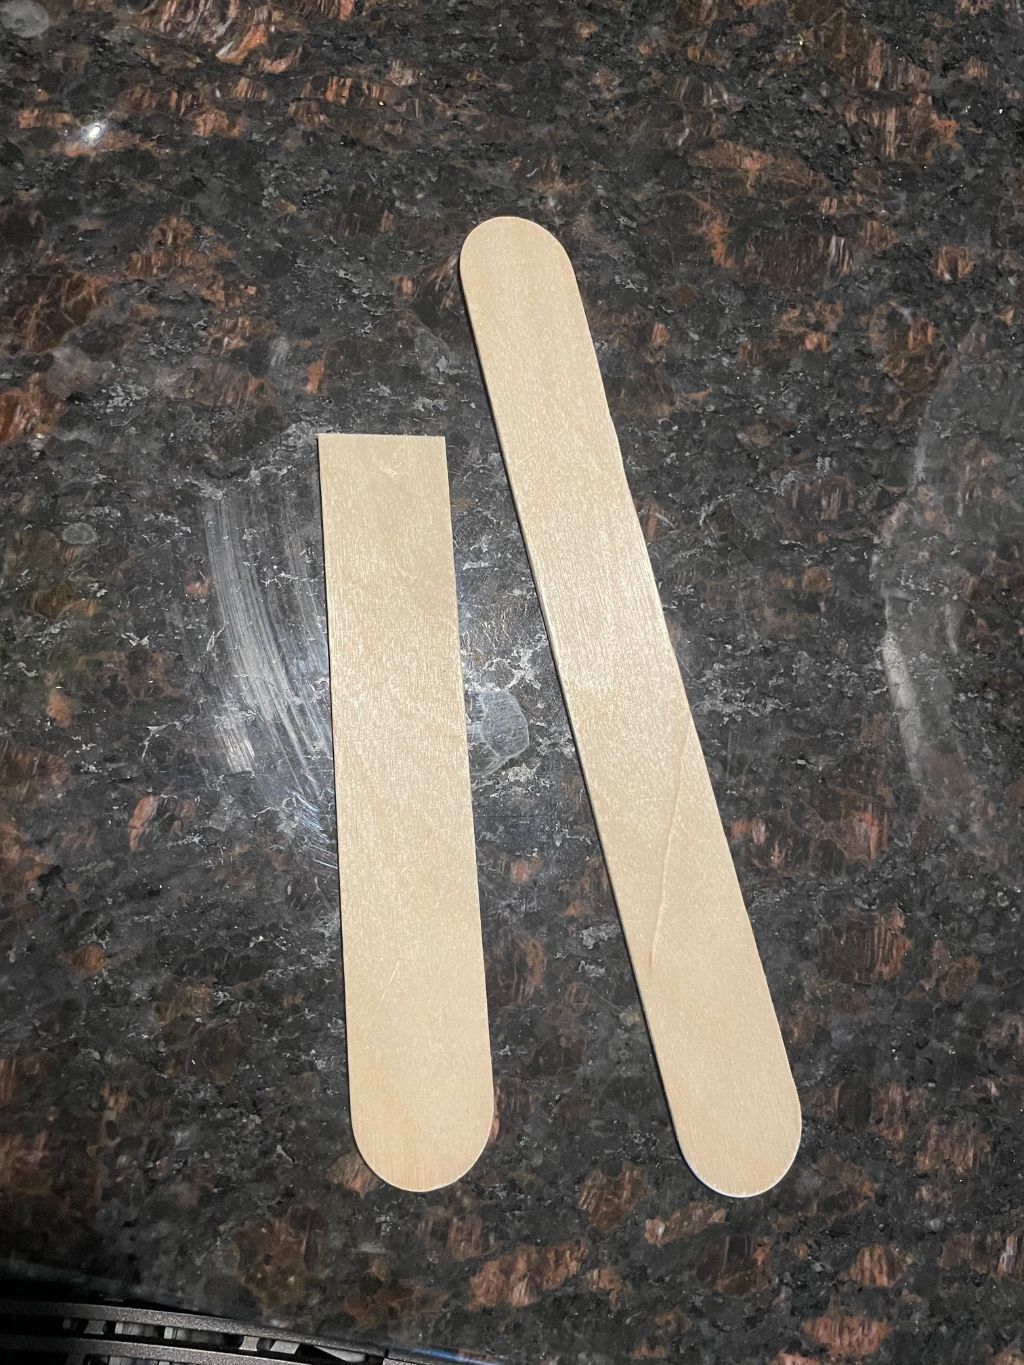
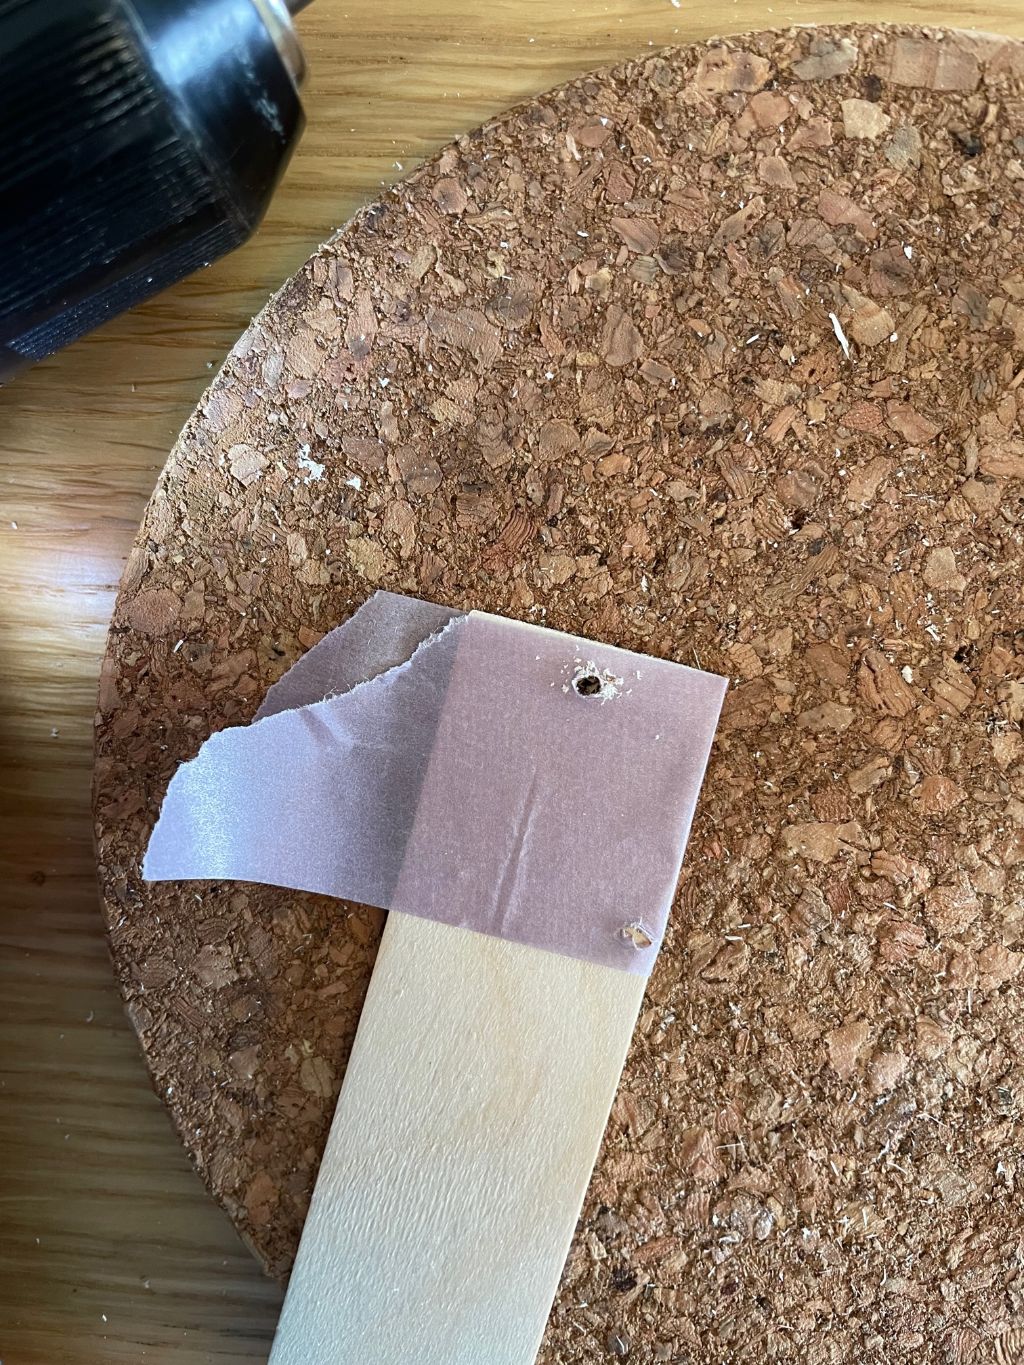
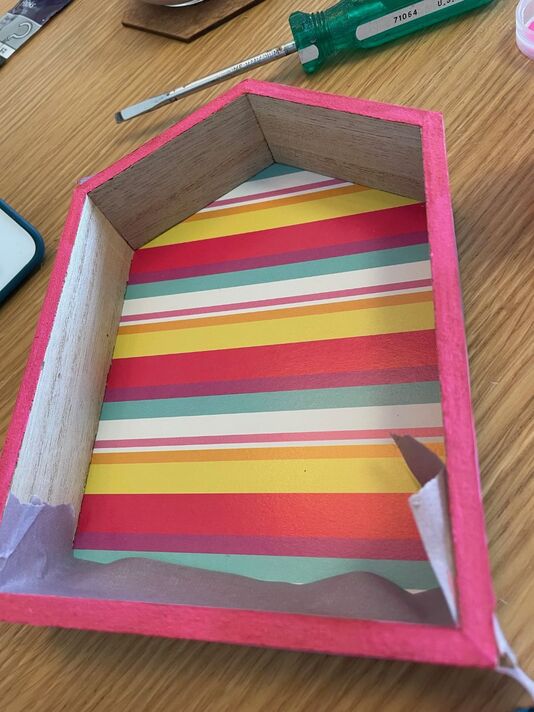
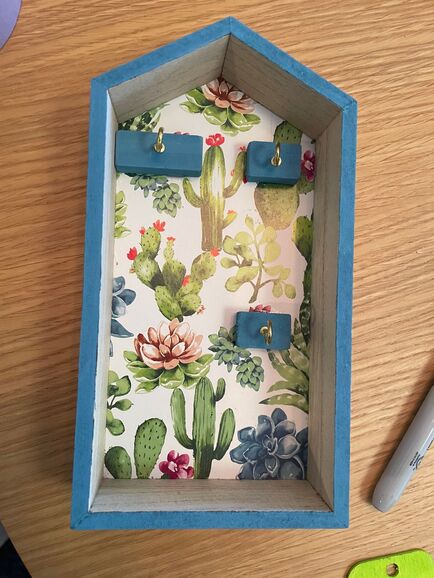
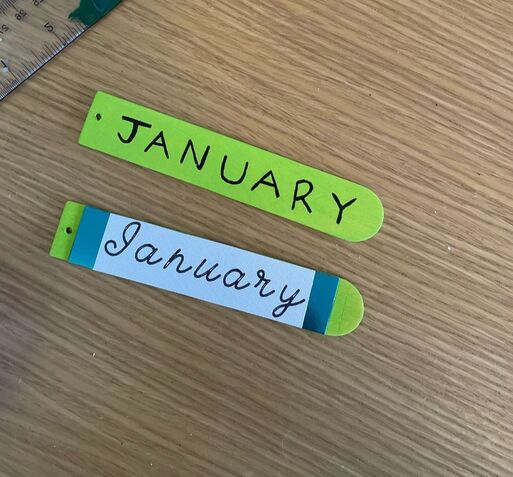
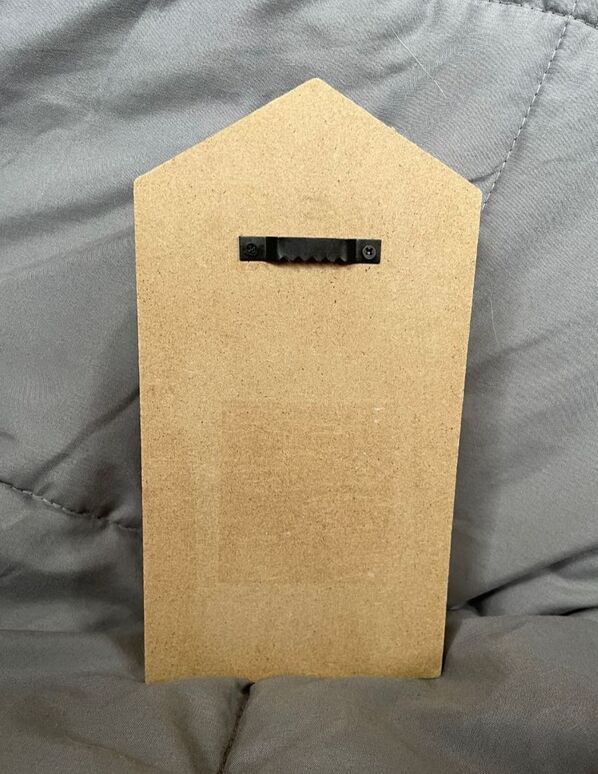
Happy Sunday everyone! Today will be part 1 of a larger project I've been working on, some perpetual calendars! For those who don't know, perpetual calendars are calendars that can be continuously used year to year as you can change the month and day as needed. I originally got the idea to make these as I had some wooden gift tags that seemed like they would be good to hang on little hooks. I had given these tags to my mother as she thought she might use them for a craft, but she ended up not needing them. I removed the jump rings from the wooden tags so that I could use the small hole in the wood to hang them. With these tags as a starting point, I then went shopping in my mother's wood storage to see what else I could find to make these work. In the end we were able to find the supplies to make 6 different calendars. 4 of them will be generally like this - wooden house with wooden blocks to screw cup hooks into and wooden tabs to hang off of those hooks for the interchangeable months and days. The other 2 will be like this - wooden chests with blocks for the days, wooden tabs for the months to sit in the top of the chest when it is open and a wooden block to keep the chest open. My mother had some other wooden tags that I could use for this project as well, but for the longer pieces we cut down some large popsicle sticks to size and then I drilled a hole in the top. I covered the area that I was going to drill into with painters tape as it helps the wood not splinter or break. The wooden houses already had a paper background which was great, so I then went ahead and painted the front-facing edge of the houses in a matching color. I left the sides of the house as plain wood veneer. I also painted the wooden blocks for the cup hooks the same color as the edges of the house. Here is an example of the wooden blocks with cup hooks in place. I just drilled a small pilot hole into the wood block and then screwed the cup hook in. I then used a combination of Gorilla Glue and hot glue to attach the wood blocks to the back of the house. If you are looking for something to adhere really well, I would highly recommend using a combination of fast and slow drying adhesive. In this case, the hot glue dried quickly to keep the wood block in place while the much stronger Gorilla Glue dried. I then painted the wooden tags or tabs for the months and days in another complementary color. For example, the blue cactus/succulent house above got some green tags. Originally I thought I would like to try and freehand the writing on them, but once I had tried it I didn't like how sloppy it looked. So I instead brought out the Cricut and drew things out in a pretty font which I liked much better. For other calendars, I used some letter stickers or rub-ons as opposed to the Cricut. I also made these tags double-sided so they you could flip them over for a different month/day. Finally, I screwed in some sawtooth hangers on the backs of the houses so that they could be hung on the wall. And that's where I am going to leave you for this part 1! If you are not seeing the vision at the moment, that is okay. I promise it will all come together when I show you the completed house calendars and how the chest calendars all turned out. I will also work on getting some better photos so you can really understand how the calendars should be used. What do you guys think of this project so far? Let me know in the comments below!
- Rebecca P.S. Today's photo on the homepage is from Pexels user Bich Tran: www.pexels.com/photo/photo-of-planner-and-writing-materials-760710/
0 Comments
Leave a Reply. |
AuthorI am a 27-year-old crafter and baker from New Hampshire! Archives
July 2024
Categories |
 RSS Feed