|
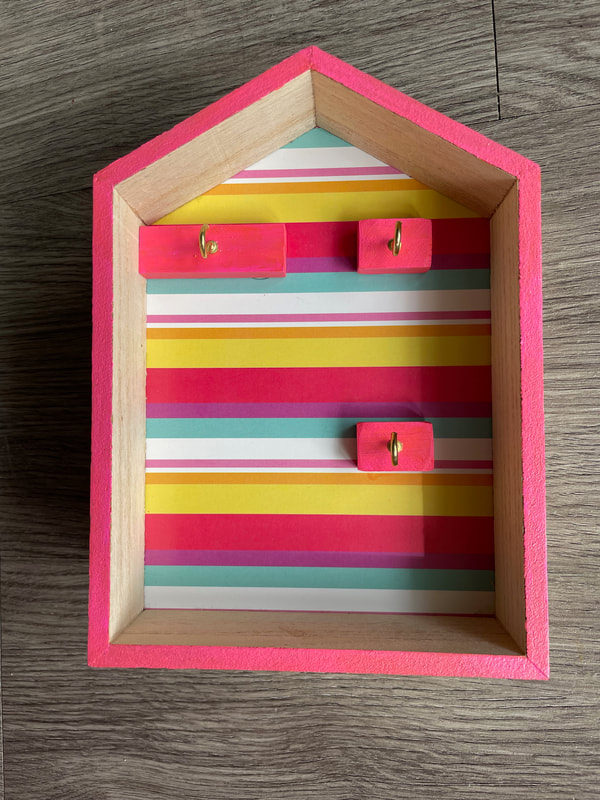
Hello friends! So I would love to be able to tell you that I got all the perpetual calendars completed, but alas that is not the case. The little trunks are still in progress but whenever those are completed and up on the Etsy shop I will let you guys know! So for today, I wanted to show some more in depth photos of the house calendars with some additional information on how I made them. For a refresher on the first steps to this project, you can check out part 1 here: perpetual-calendars-part-1.html So here is calendar one:
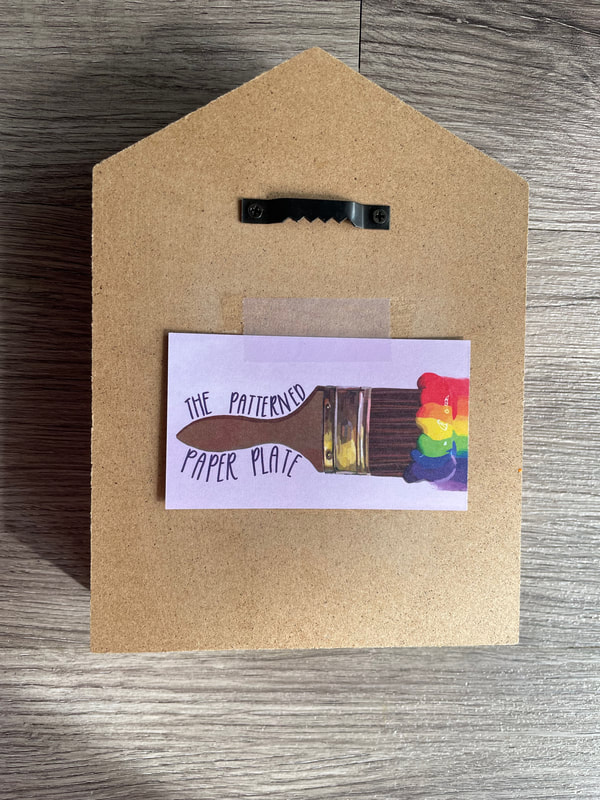
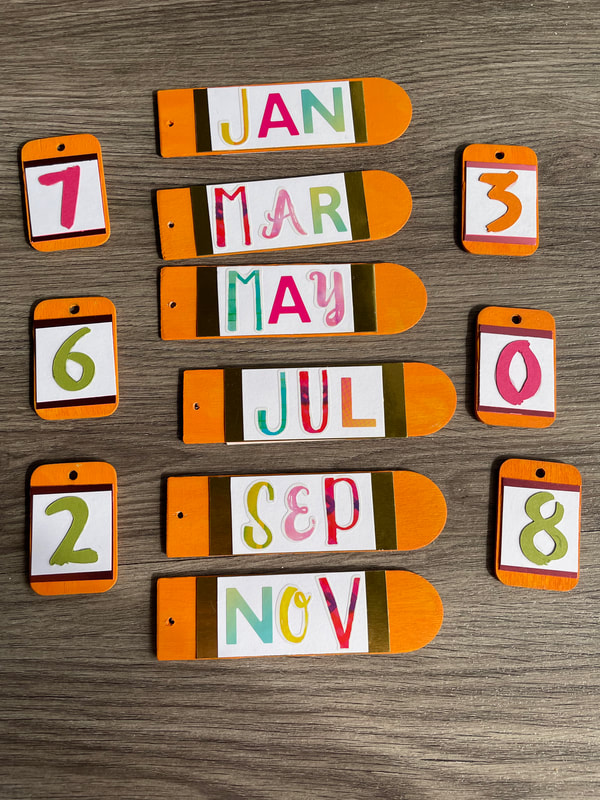
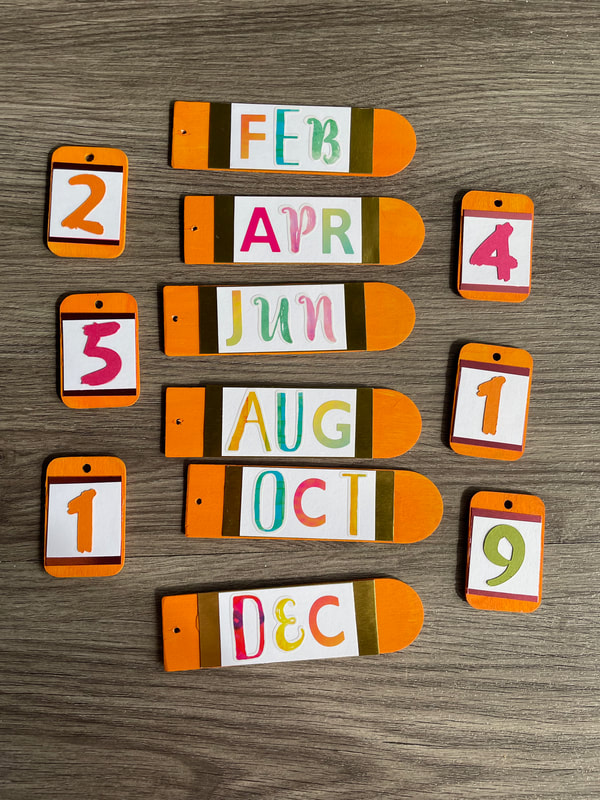
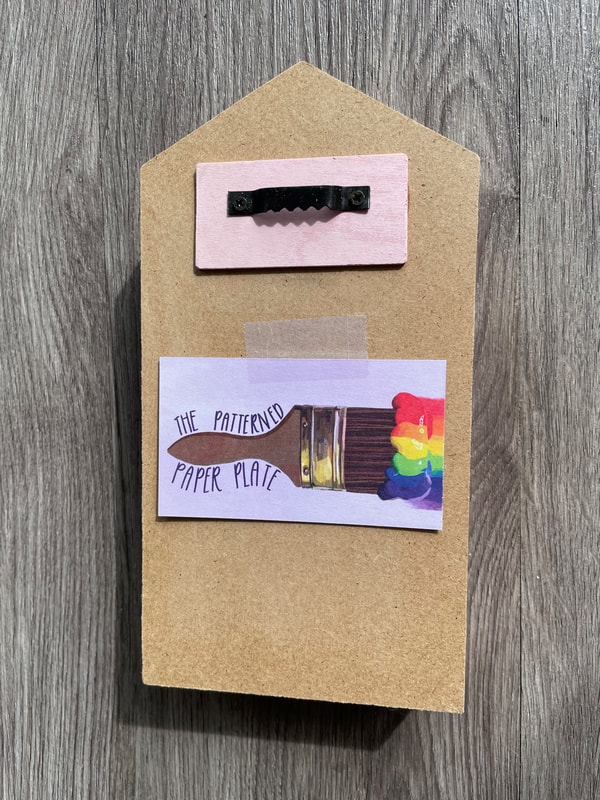
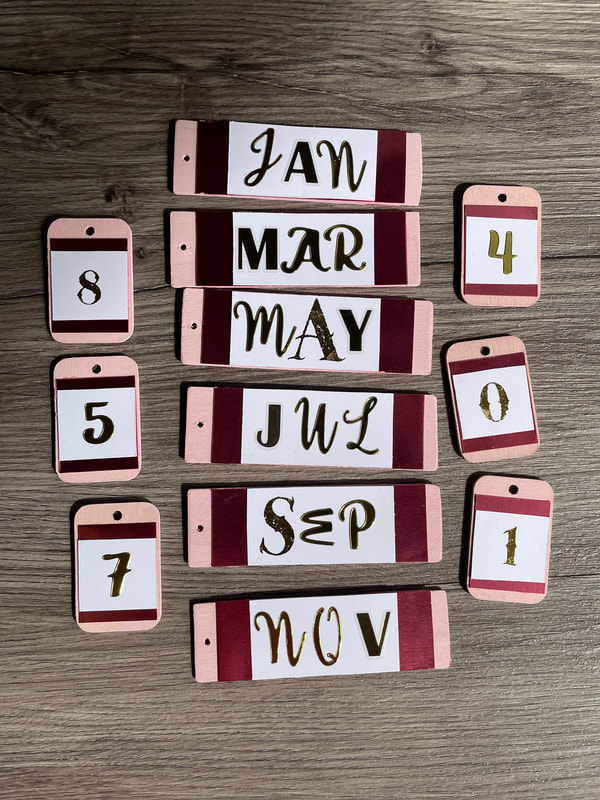
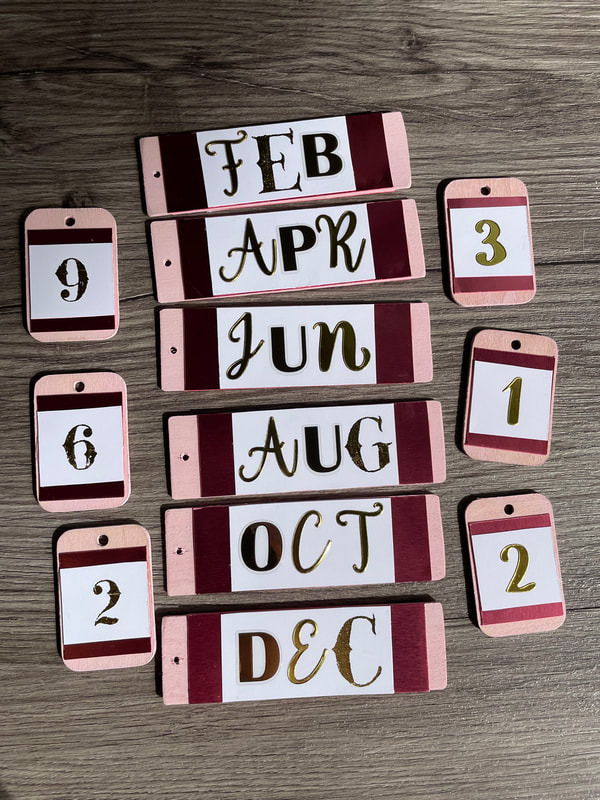
The striped background was already part of the house shadow box, so I went ahead and painted the edges of the house and the wooden blocks for the cup hooks a matching pink. I also attached a sawtooth hanger to the back. For the tags, I painted them a matching orange color. The months tags have a gold shiny paper as a layer, while the day tags have a pink shiny paper. I then used colorful stickers for the month tags, and cut out paper numbers for the day tags out of matching paper using my Cricut. They are all reversible so here are both sides:
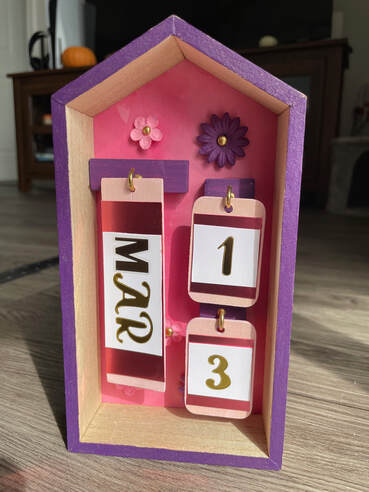
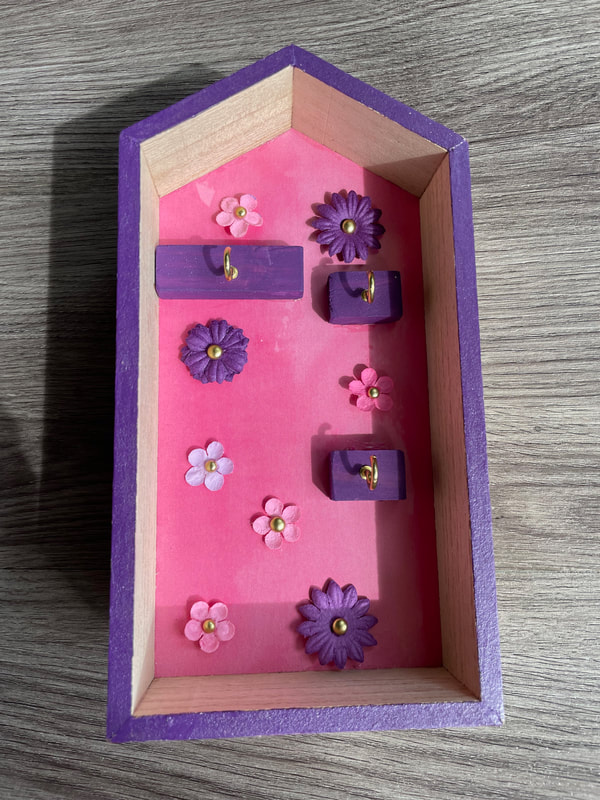
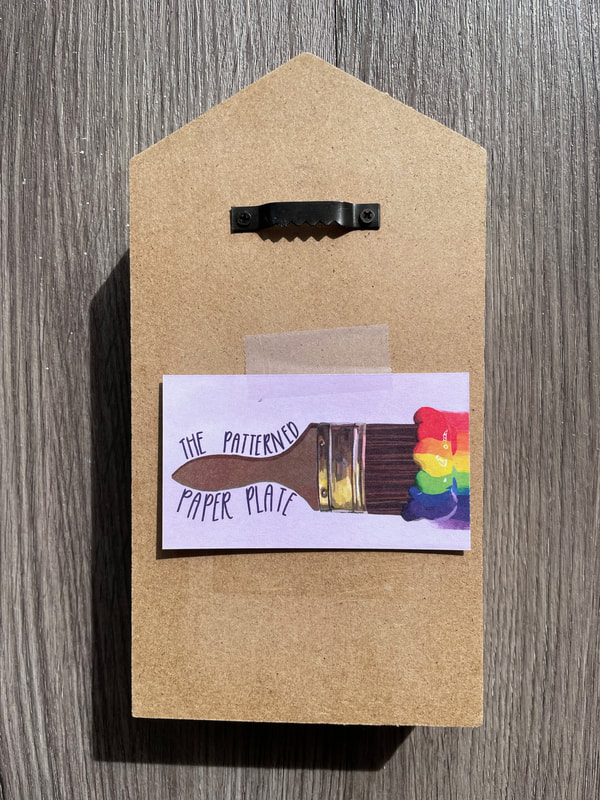
And here it is in action! It can either be hung on the wall with the hanger or stand up on its own on a table/desk. 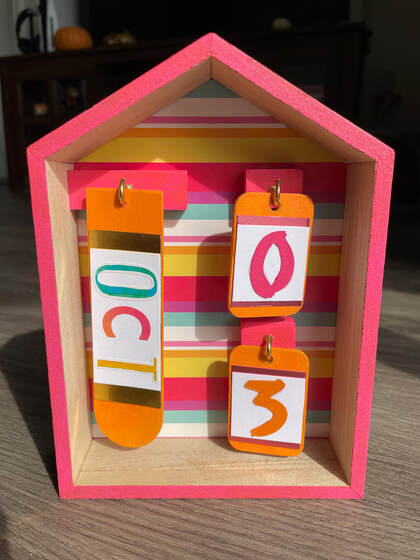 Calendar two! Same idea, the pink paper was already there so I painted the edges and blocks purple while also adding some flowers inside and a sawtooth hanger to the back.
For these tags, I painted them a pale pink and used shiny pink paper as a layer, then finished with gold stickers/rub-ons for the months and days. I love how the gold looks on the tags!
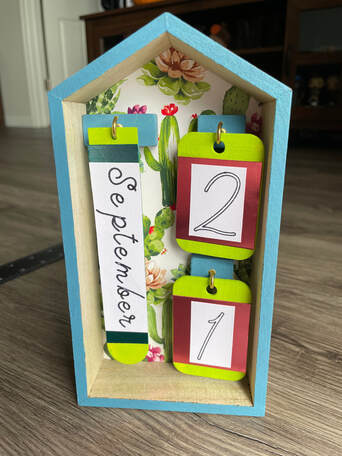
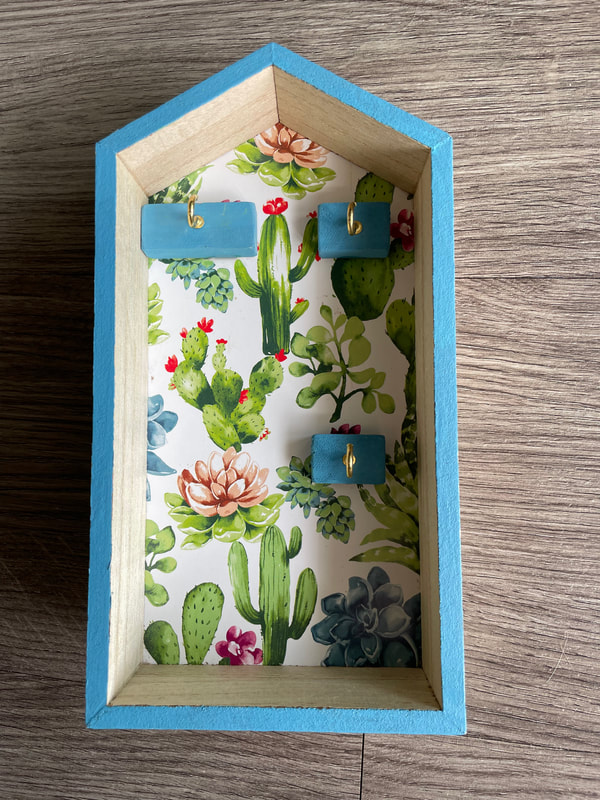
 Number three! I loved the succulent/cactus paper this box already came with so I painted the edges and blocks a fun dusty blue to match and added the hanger to the back.
For these tags, I painted them a bright green, used shiny blue paper on the months, shiny pink paper on the days and then finished them with words/numbers that I drew out using my Cricut.
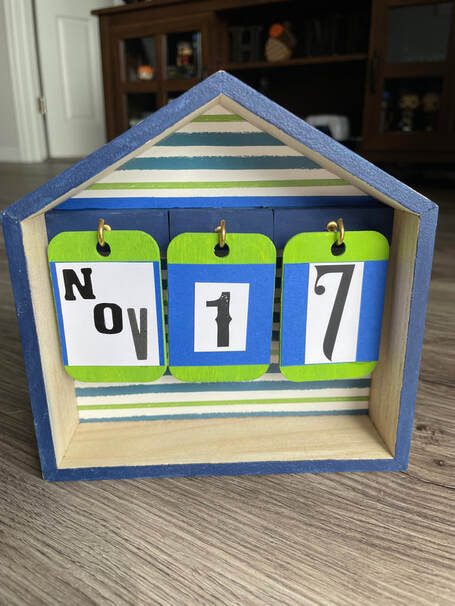
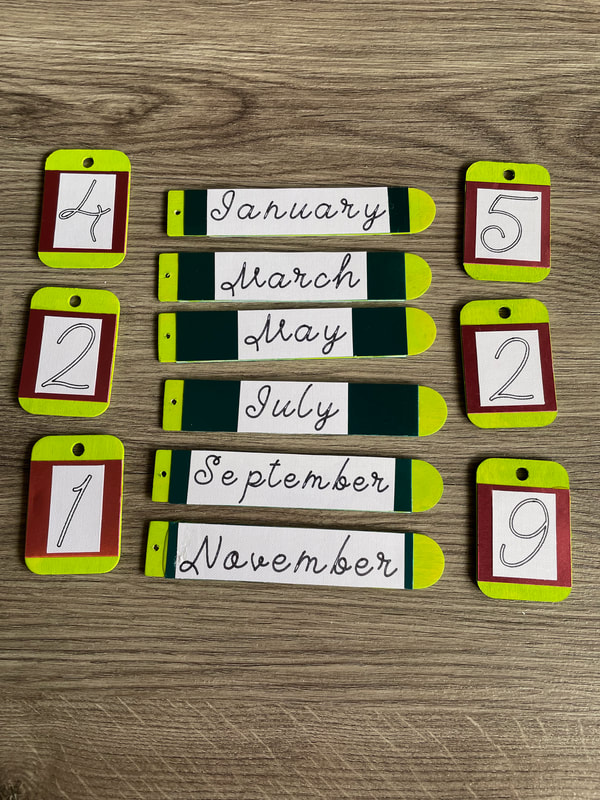
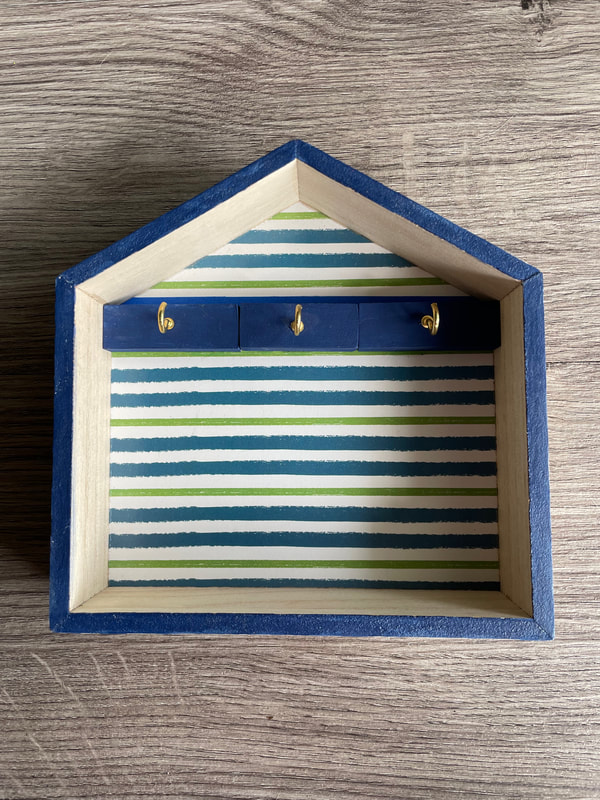
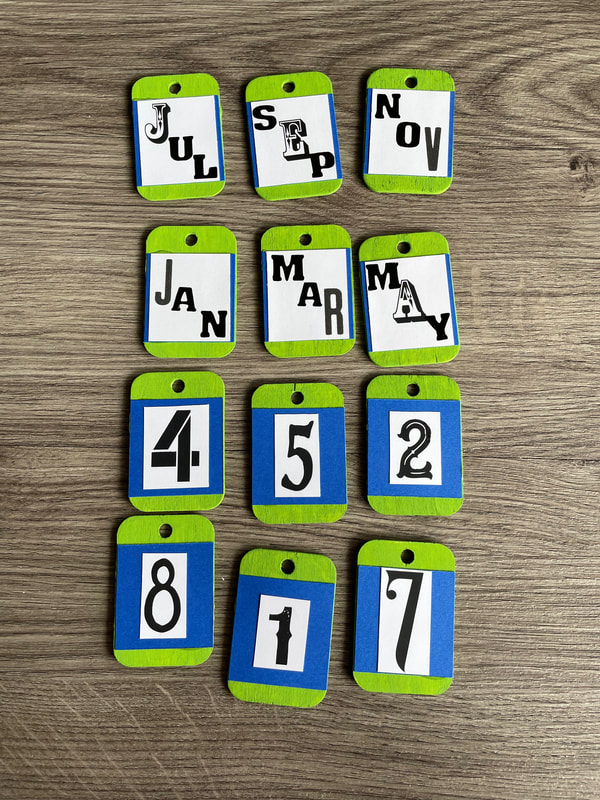
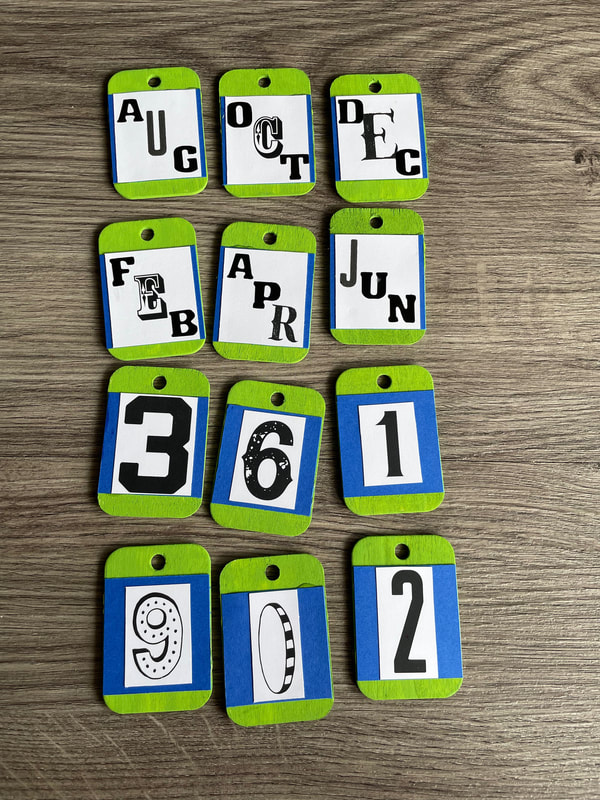
 And here's the final one! I did the edges and blocks blue to match the striped background and added the hanger on the back.
For the tags, I painted them lime green with blue paper as a layer and then black sticker/rub-ons for the months and days.
 And there they are! These calendars are an idea I've had in my head for a while and I'm so happy to see them finished. If they weren't making sense to you before, I hope they are now! Just as an FYI, they are over on the Etsy shop for sale if you are at all interested. You can check it out over on my shop tab. Happy Monday everyone!
- Rebecca Today's photo on the home page is from pixels user Pixabay: www.pexels.com/photo/calendar-conceptual-data-date-272976/
0 Comments
Leave a Reply. |
AuthorI am a 27-year-old crafter and baker from New Hampshire! Archives
July 2024
Categories |


 RSS Feed
Proudly powered by Weebly