|
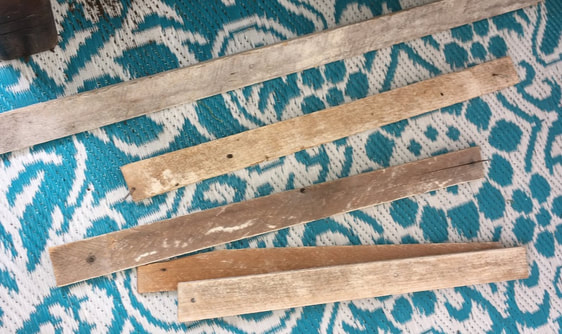
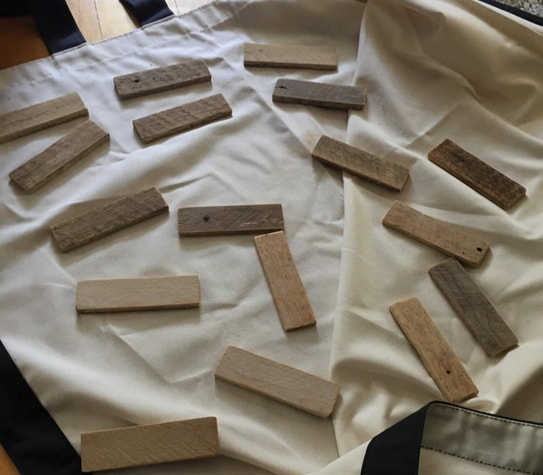
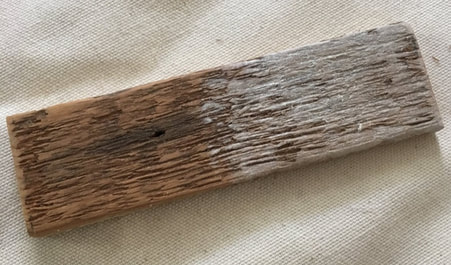
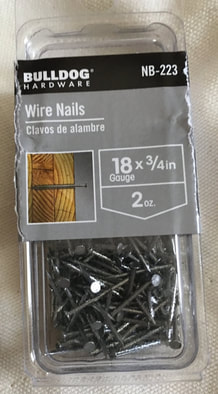
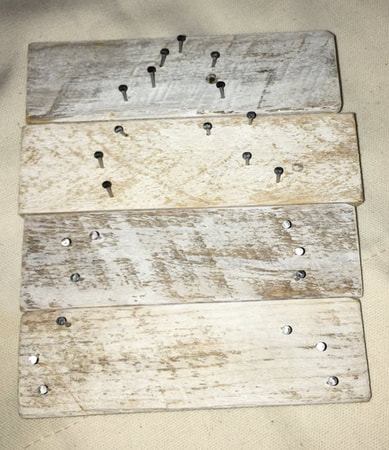
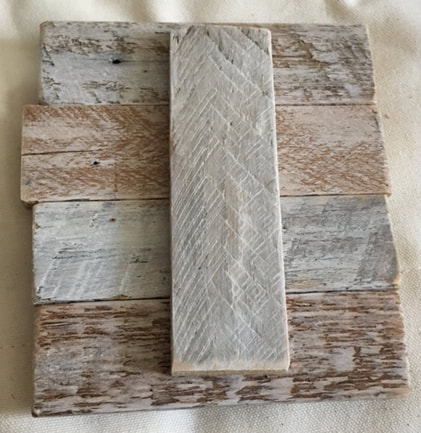
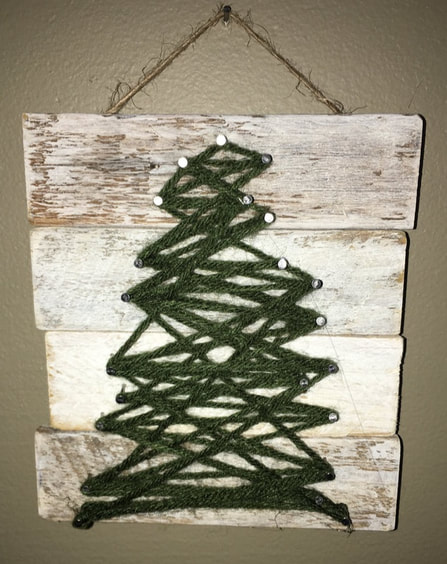
Hello friends! This week's craft is bringing the holidays around a little bit early. I want to start off by saying I am clearly not the first person to do string art; I got some inspiration from several Pinterest posts for the art I did this week. This project started off with some lath that my cousin had collected for my mother from an older house he was working on. Luckily she let me snag a few pieces! It is very important to sand lath aggressively as it is a hotbed for splinters. After sanding the lath, I marked off 5 inch segments and my wonderful father cut these pieces for me. I sanded each piece again after it had been cut to get rid of any leftover rough edges and then the pieces were ready to paint. I wanted to let the character of the wood pieces show through, but also thought that they would look more uniform with a bit of white paint. I didn't want to completely cover the wood, so I mixed white craft paint with a few drops of water to make a sort of white wash. I gave each of the pieces one coat of white wash on all sides and let that dry. Then it was time to add some nails. I bought these nails at Walmart. I was just looking for a short nail with enough of a head to stop the string from popping off. I lined up four pieces of the wood, one on top of the other to make roughly a square shape and then began to add the nails. I decided to add the nails before I glued all of the wood pieces together as it would be easier to make changes if it was not all one piece yet. When adding the nails I went for a generally triangular shape to mimic a Christmas tree, but wasn't worried about making the triangle perfect since I wanted a more organic shape anyway. Once I was happy with how the nails looked, I used some Gorilla Glue sticks in a hot glue gun to attach the pieces together. I flipped the boards with the nails over, added a line of hot glue down the middle of all the pieces, and placed another piece of wood down the middle as a support to hold everything together. Now it was time for the string! Technically I used an olive toned green yarn, but you could use any type of string that you had. I made several knots around one nail with the yarn to start off and then simply went back and forth throughout the nails with the yarn until I felt like there was enough there. There is no art to this, just go for it! Once I was satisfied, I tied off another knot to keep the yarn secure. I also dotted a tiny bit of hot glue on any knots I had made in the yarn so that they would not unravel or untie. Finally, I added two nails to the back of the whole piece and tied some twine to make a hanger. And here is the finished product! I ended up making three of these string arts and I love how they look. My boyfriend thinks a star at the top of the tree would like nice so I may end up adding some kind of star to each piece. I am still trying to decide what kind of star I would want so if you have any suggestions, leave them in the comments below!
- Rebecca
2 Comments
Momma
5/29/2019 07:55:39 pm
Very cute! Come shop the Christmas stash ... you might find what you are looking for. ❤️
Reply
Rebecca
5/30/2019 10:20:12 am
I will take you up on that offer!
Reply
Leave a Reply. |
AuthorI am a 27-year-old crafter and baker from New Hampshire! Archives
July 2024
Categories |
 RSS Feed