|
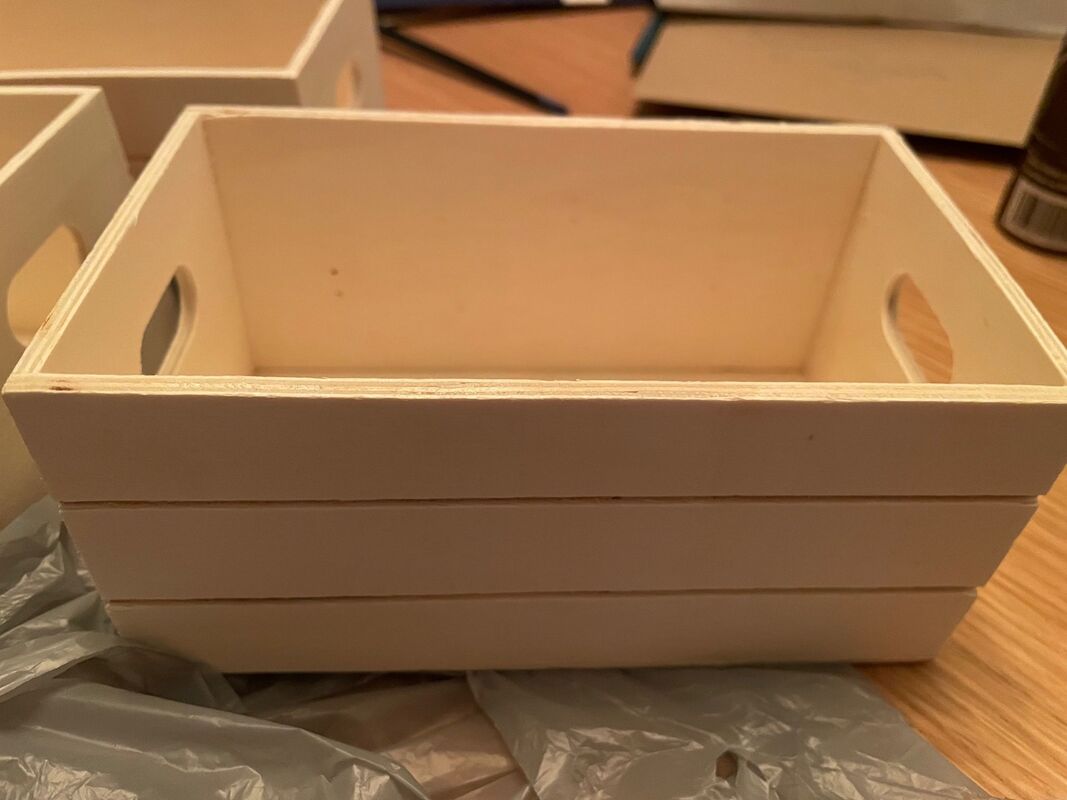
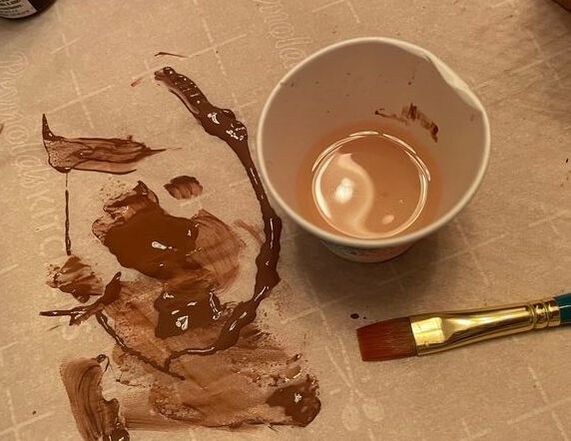
Hello everyone! So we are back with part two of the acrylic pour coaster journey and I will be showing you how I packaged these up to sell and/or gift in the future. I wanted to make some very cute tags for the coasters and I started by making tags for the 3 sets of 4 and the 3 sets of 2. I used my Cricut to cut out tag shapes that fit the color scheme of each set. 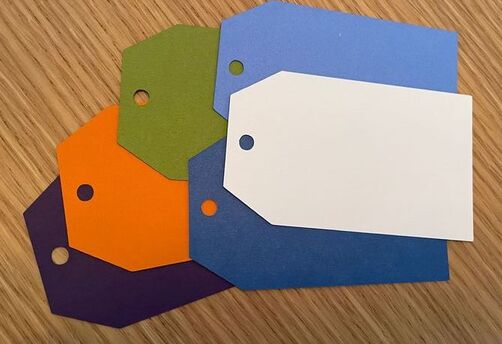 I then also used my Cricut to cut out adhesive vinyl with the names of the coater sets. I had fun coming up with the names! I also found a little sticker for each tag. Finally, I used my, say it with me, Cricut, to draw out the little piece of paper that said how many were in each set. Here was the front of the tags all finished. 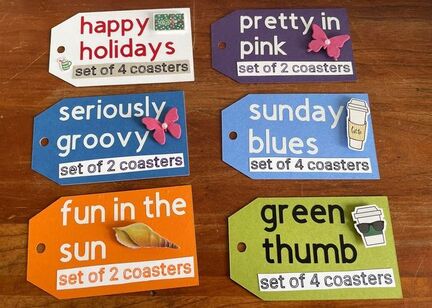 I then put a piece of white paper on the back of each tag and wrote a little blurb for each. 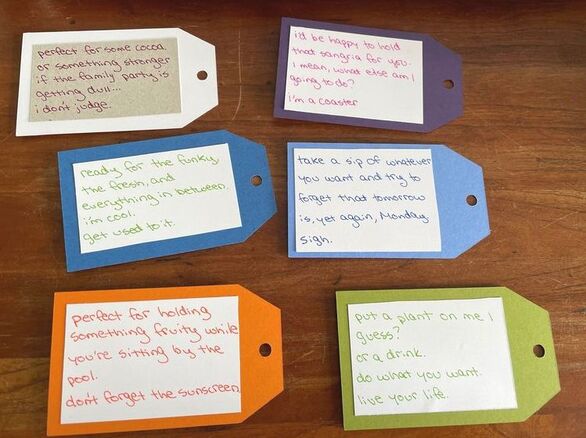 I used some clear small bags to package up the sets of 2 and tied the tag on the front.  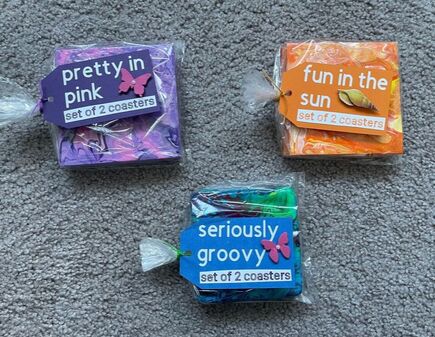 For the sets of 4, my mother and I went to several Dollar Trees to find some little wooden crates to package these in. The crates were bare wood, so I used a mixture of acrylic paint and water to make them look like they had a light stain.
I put the sets of 4 in each crate and then again packaged them up in a clear bag with the tag on the front. 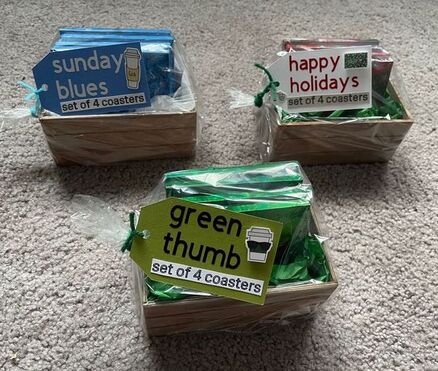 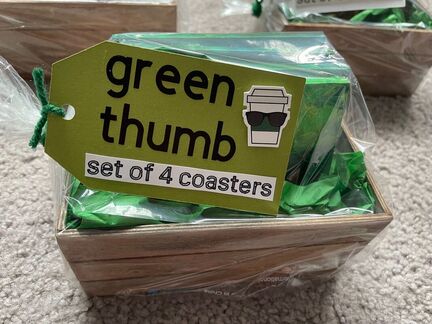 I packaged the larger single coasters very similarly to the sets of 2, but did something a little different on the tags. I again cut out the tags with my Cricut, but used rub on transfers for the names of each coaster. For those that don't know, rub on transfers come packaged somewhat like stickers. You pull the transfer off with the front packaging as opposed to pulling it off of the back sheet like a sticker. The transfer sticks to the front sheet and you use something flat like a popsicle stick to gently scratch until the transfer has unstuck from the front sheet and stuck to your surface. 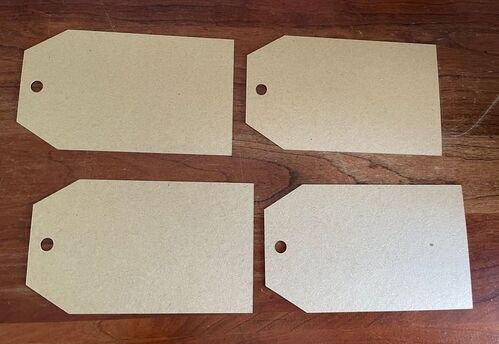 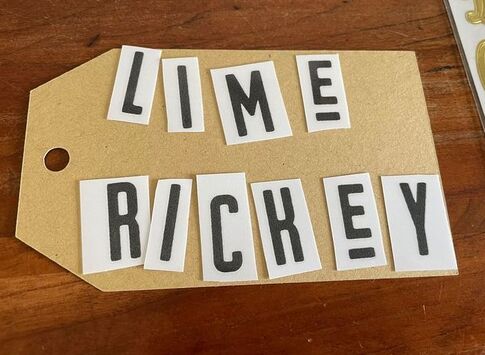 I used some stickers, adhesive gems and washi tape to decorate these. I also put a little handwritten blurb on the back, this time mentioning that these were not heat-safe and could not be used as a trivet for something that had come directly out of the oven. 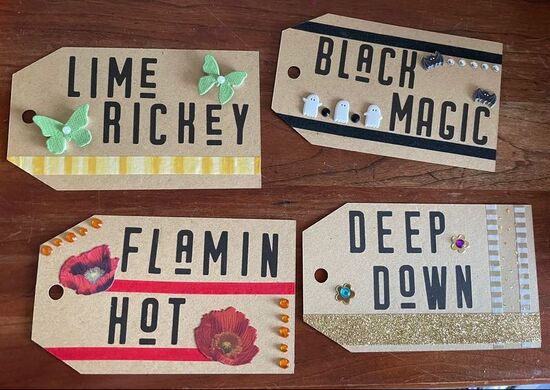 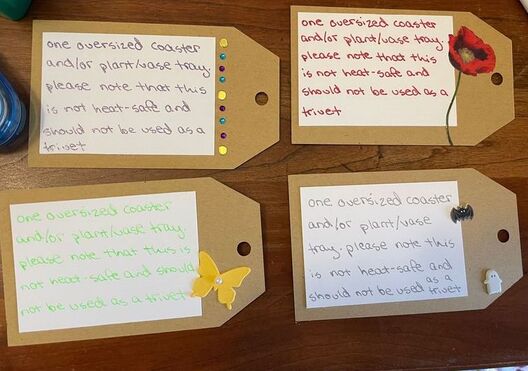 The single coasters then each went in a bag with their own tag. 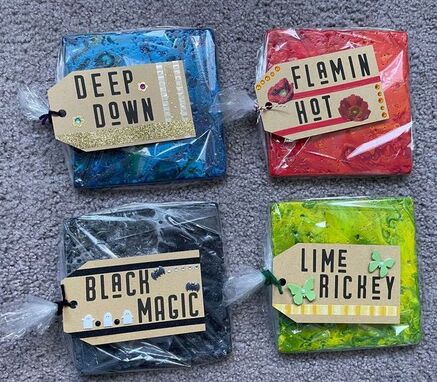 And there they are all packaged up! I really love all the silly names I came up with for the coasters and think the packaging will make a big difference when trying to sell these or giving them as gifts.
What do you guys think of the packaging? Let me know in the comments below! Happy Sunday everyone! - Rebecca
1 Comment
Momma
10/10/2021 10:26:42 pm
Cuteness!! Well done. Leave a Reply. |
AuthorI am a 27-year-old crafter and baker from New Hampshire! Archives
July 2024
Categories |
 RSS Feed
Proudly powered by Weebly