|
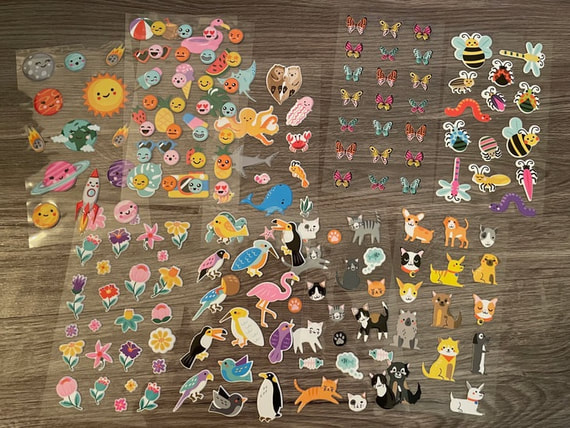
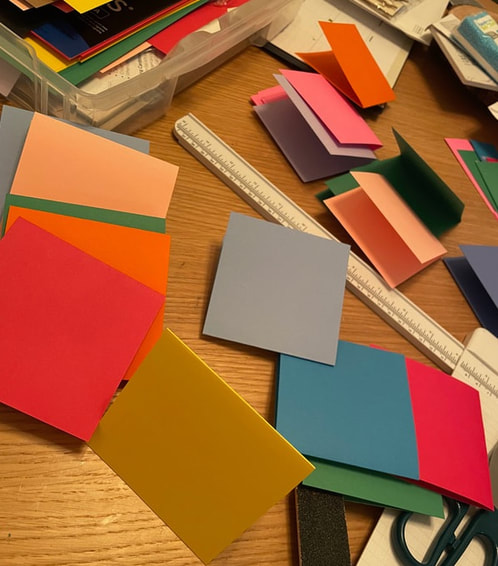
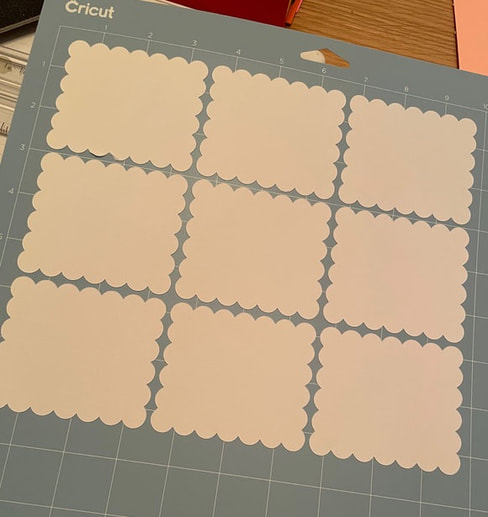
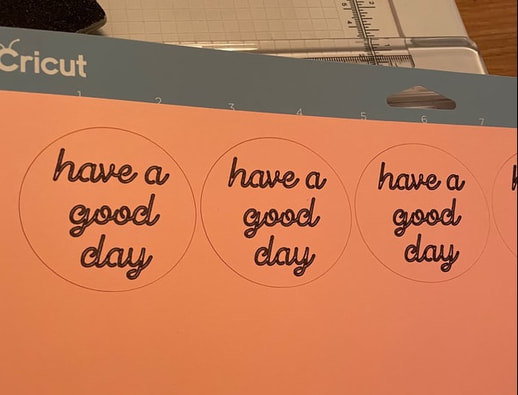
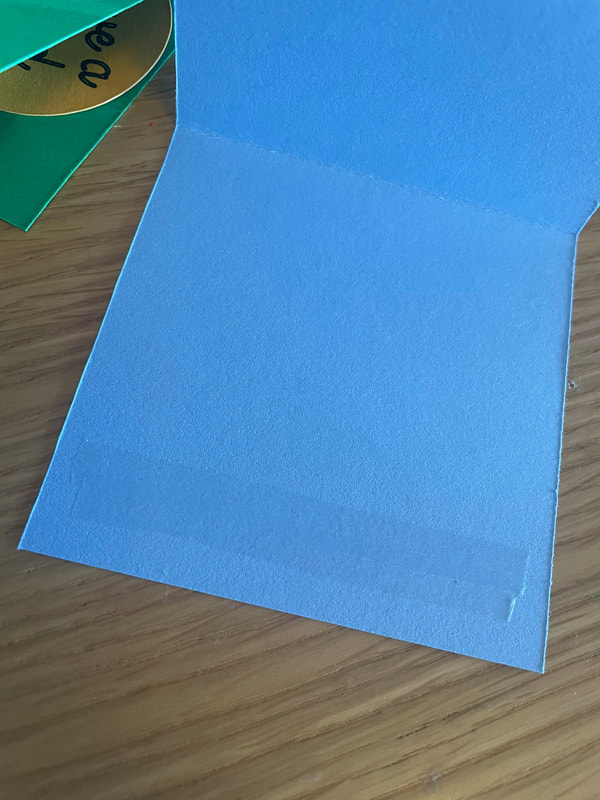
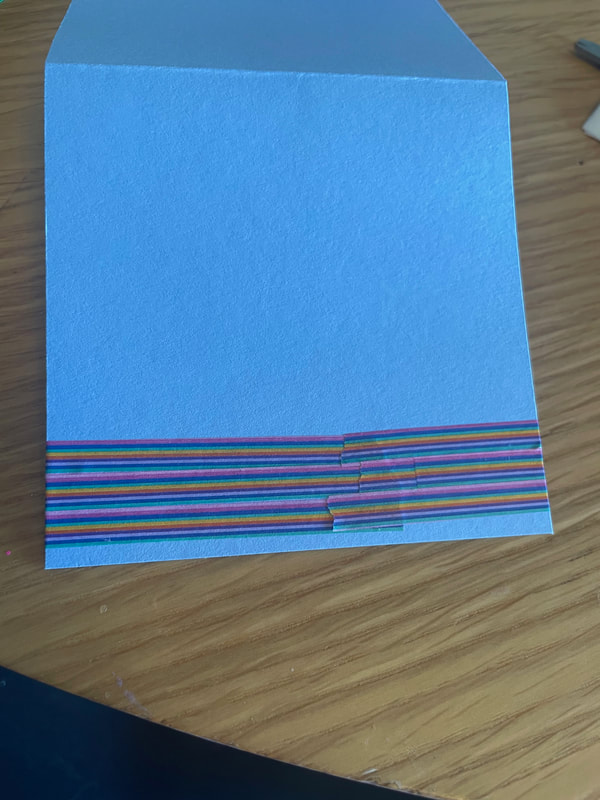
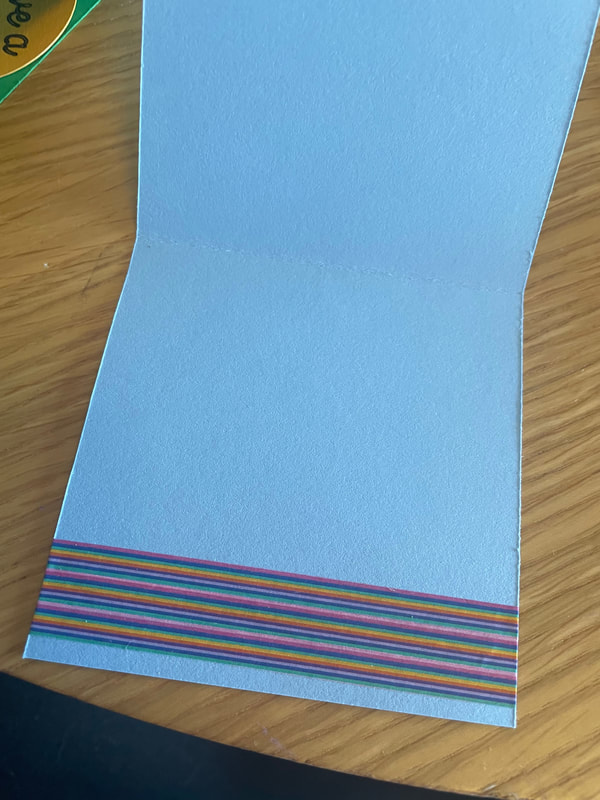
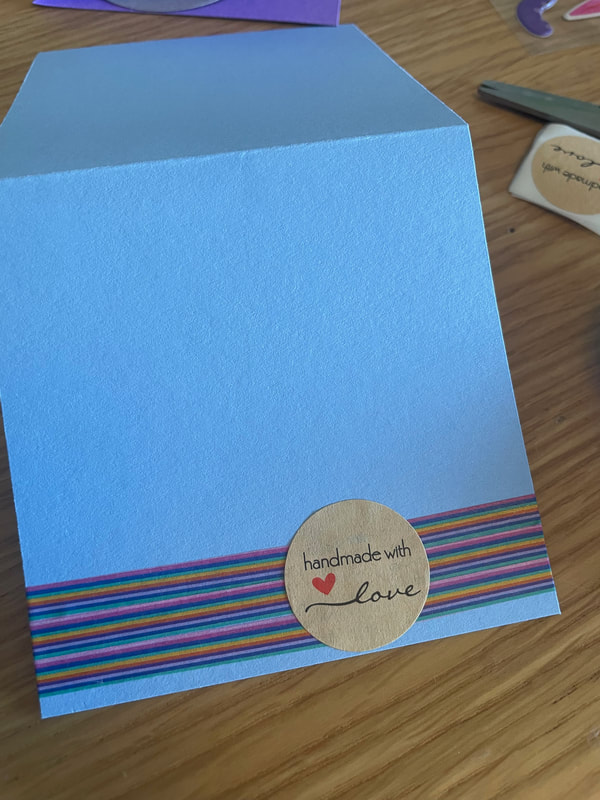
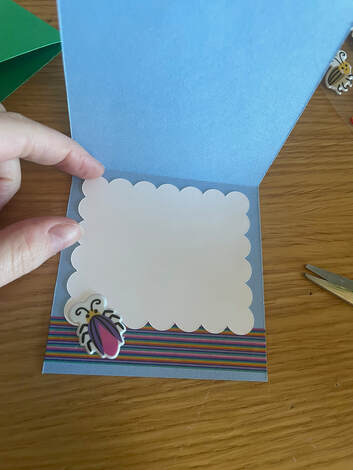
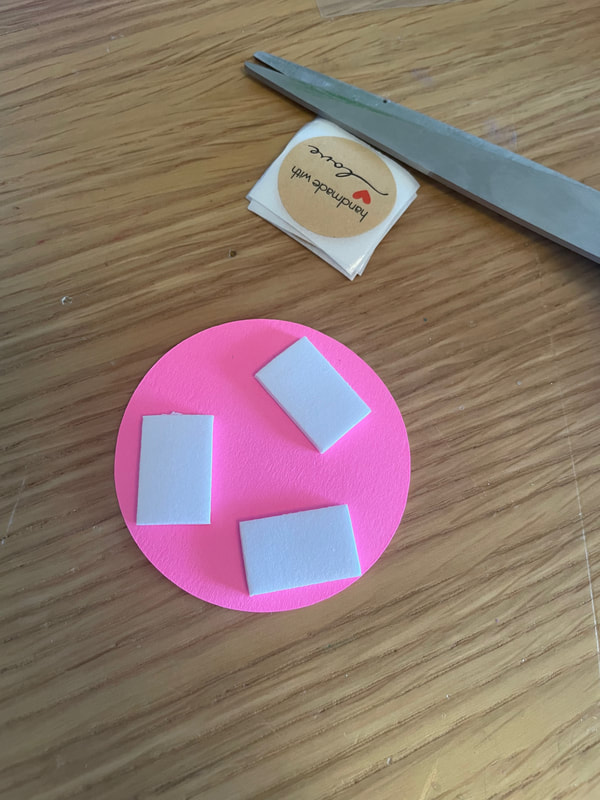
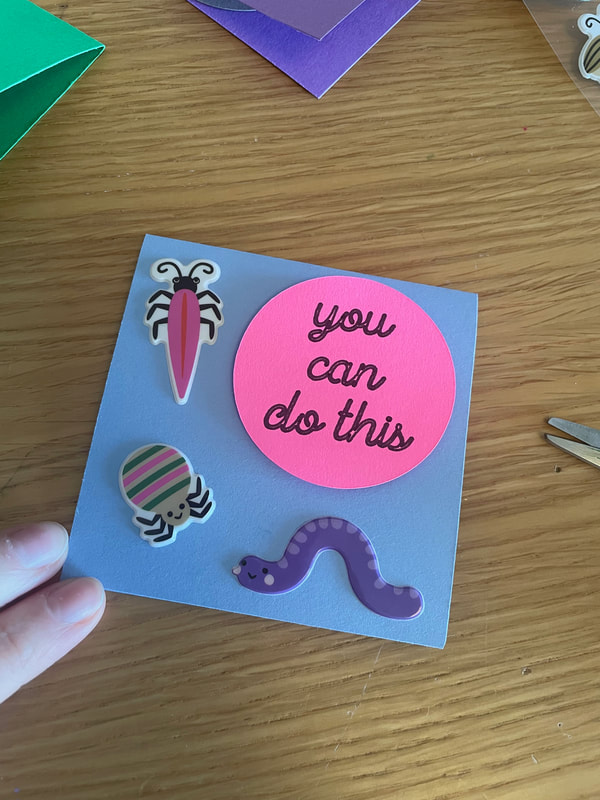
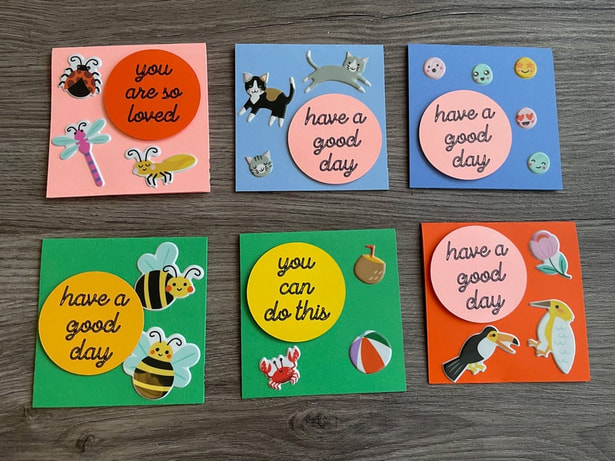
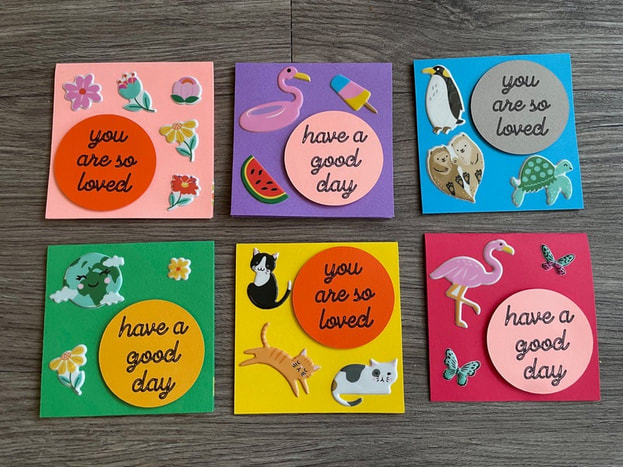
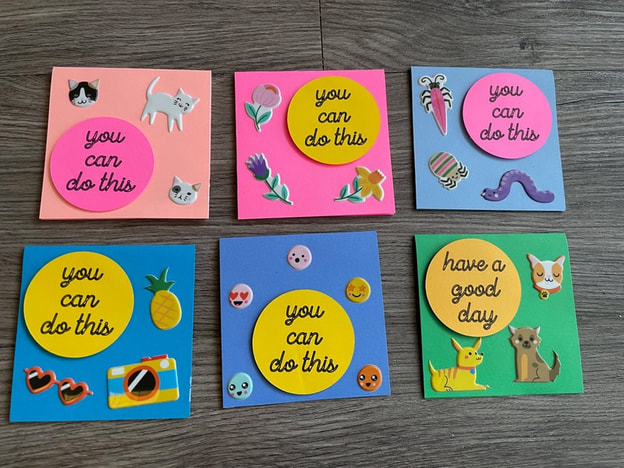
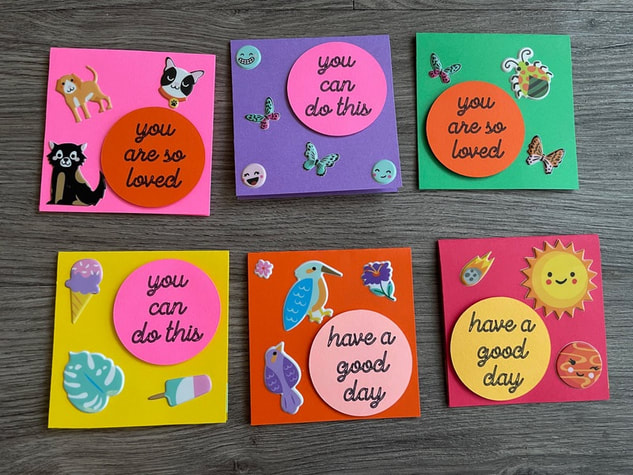
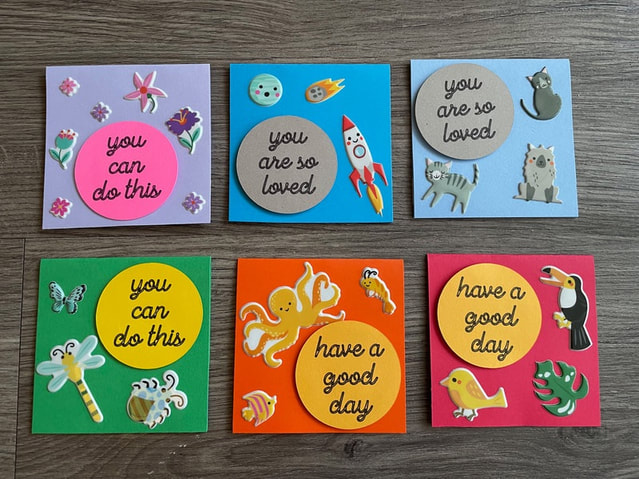
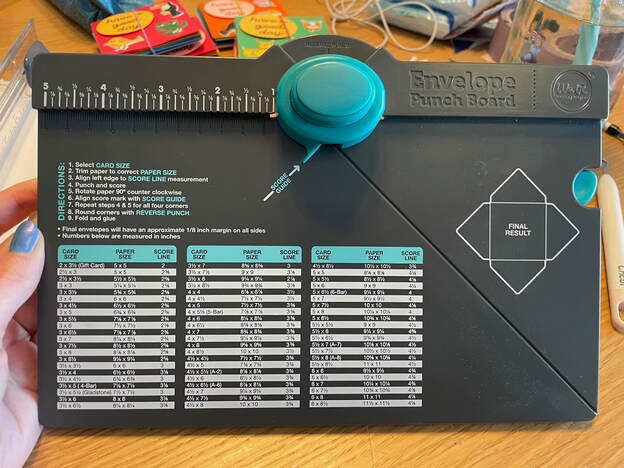
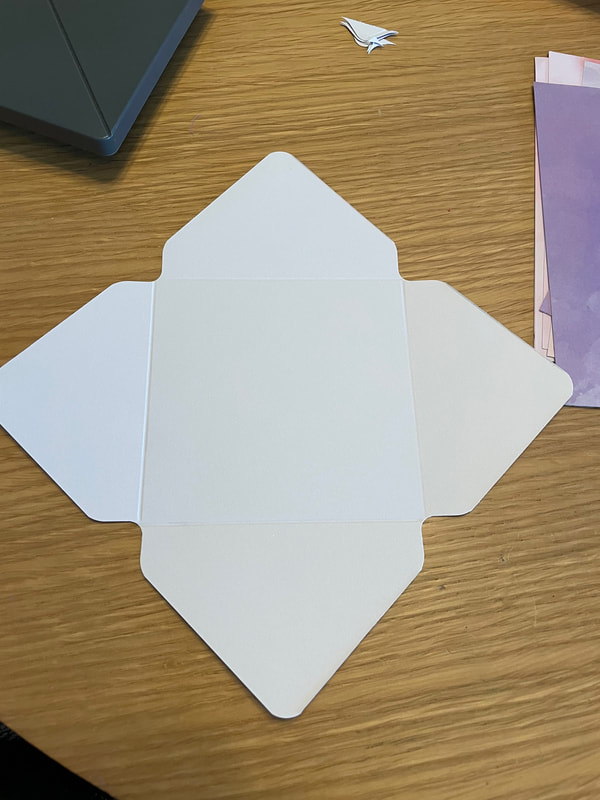
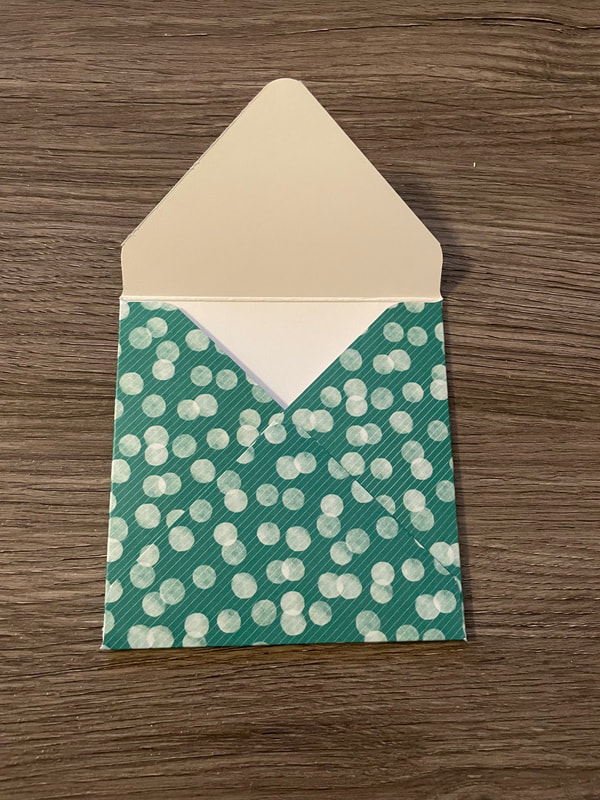
Happy 2024 everyone! I hope that you had a wonderful holiday season and a great start to the New Year. Today we have a cute little card project I worked on recently. It all started when I saw these adorable puffy stickers in the crafty aisle at Target: I thought these would look really cute on some cards but, for those of you who don't know, I really don't enjoy making cards so I decided on making smaller, lunchbox cards to make the project a little less overwhelming. I used a variety of colored cardstock and cut out some 3 1/2 by 3 1/2 inch square cards. I then used my Cricut to cut out some scalloped rectangles from white paper to put inside each card. I thought that this would not only ensure that these cards were easy to write in no matter the color of the card itself, but would also be a fun detail. I also used the Cricut to write and cut out some sentiments for the front of the cards. I finally figured out how to do this properly so that in one pass through the Cricut, it first wrote out the sentiment and then cut it out correctly. I added some washi tape to the inside of each card and then stuck down the white scalloped rectangles. Washi tape is not super adhesive so I did end up using a line of another type of adhesive first to ensure that the washi tape stuck well. I then brought the tape over the edges onto the back of the card and used a small Handmade with Love sticker to cover up the place where the tape met. Finally, I added a small puffy sticker that matched whatever was on the front of the card to finish off the inside. For the fronts of the cards, I popped up the circle sentiment with some dimensionals and then added 3 or more stickers that I liked from the puffy sticker pack. I also used some liquid glue in addition to the adhesive on the stickers themselves to ensure they were stuck very well. Here is what the fronts of all 5 sets I made look like! I thought it would be fun to make some custom envelopes to go along with these cards and my mother has this handy envelope maker I was able to use. The way this envelope maker works is first you cut out the appropriate sized square of paper, then you use the punching and scoring feature to make notches and score lines that will allow you to fold up the paper into an envelope shape. I used patterned paper that had one fun side and one blank white side to make the envelopes. I had so much fun making these envelopes! I used a fabulous glue that I got for Christmas to adhere all the flaps of the envelopes down. It is called "Art Glitter - Designer Dries Clear Adhesive" if anyone is interested!
This project was a nice way for me to use some fun stickers and make cards on a smaller scale. I have the 5 sets of 6 cards I showed above on the Etsy shop. Each set comes with 6 cards, 6 patterned envelopes and 6 clear stickers to close the envelope flaps. Go take a look if you are interested! I also added a bunch of new things to the shop in addition to the cards so if the cards don't speak to you, something else might. Here is the link to my shop if you need it: www.etsy.com/shop/patternedpaperplate Have a great day everyone! - Rebecca P.S. Today's photo on the homepage is from Pexels user Antoni Shkraba: www.pexels.com/photo/healthy-lunchbox-with-fruits-and-vege-5852329/
1 Comment
Mama
1/7/2024 04:24:37 pm
Such cute little cards!!
Reply
Leave a Reply. |
AuthorI am a 27-year-old crafter and baker from New Hampshire! Archives
July 2024
Categories |
 RSS Feed