|
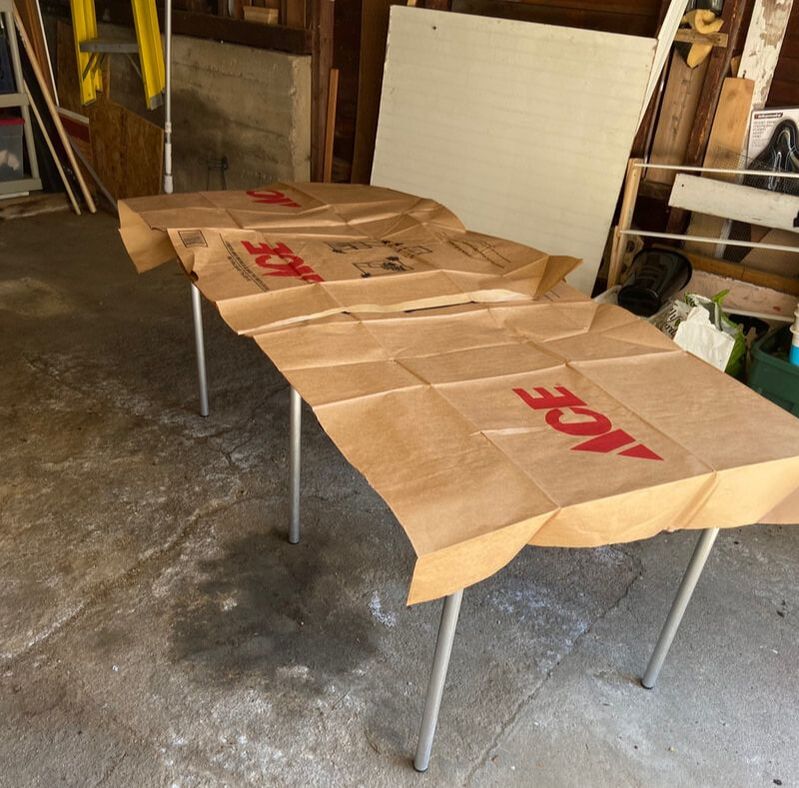
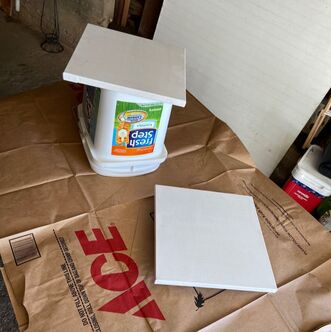
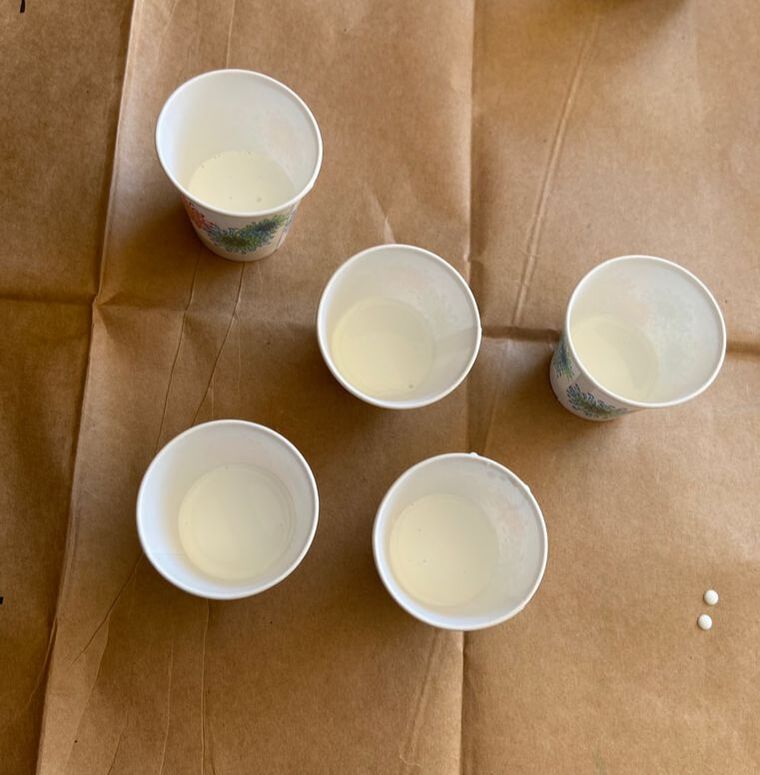
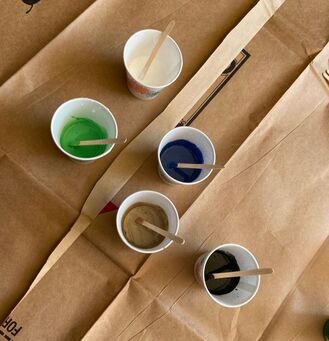
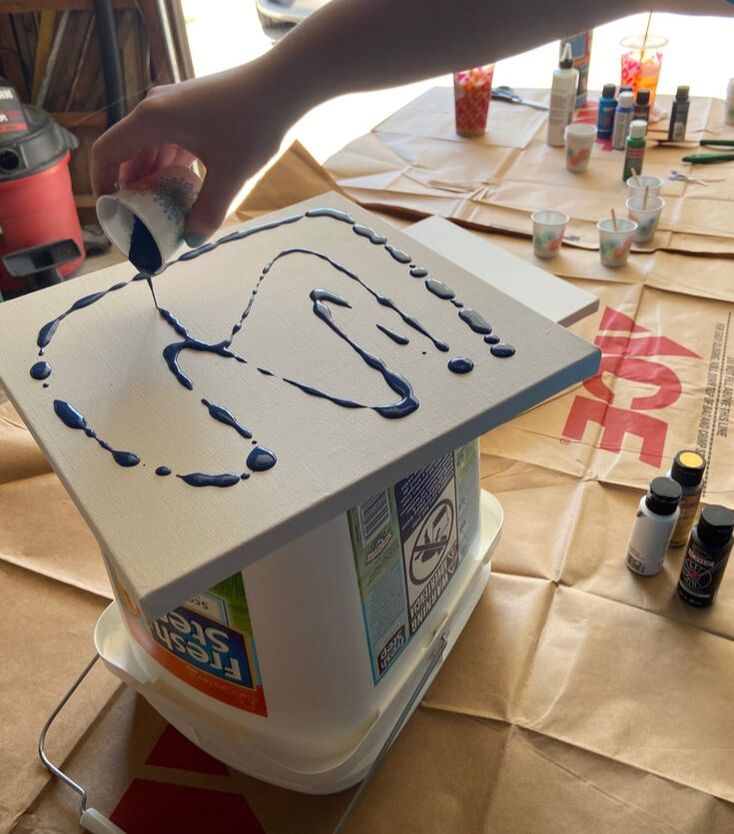
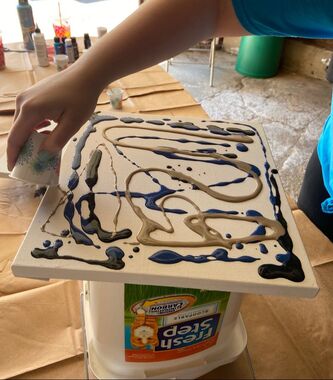
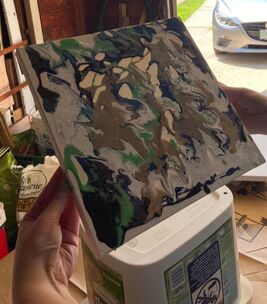
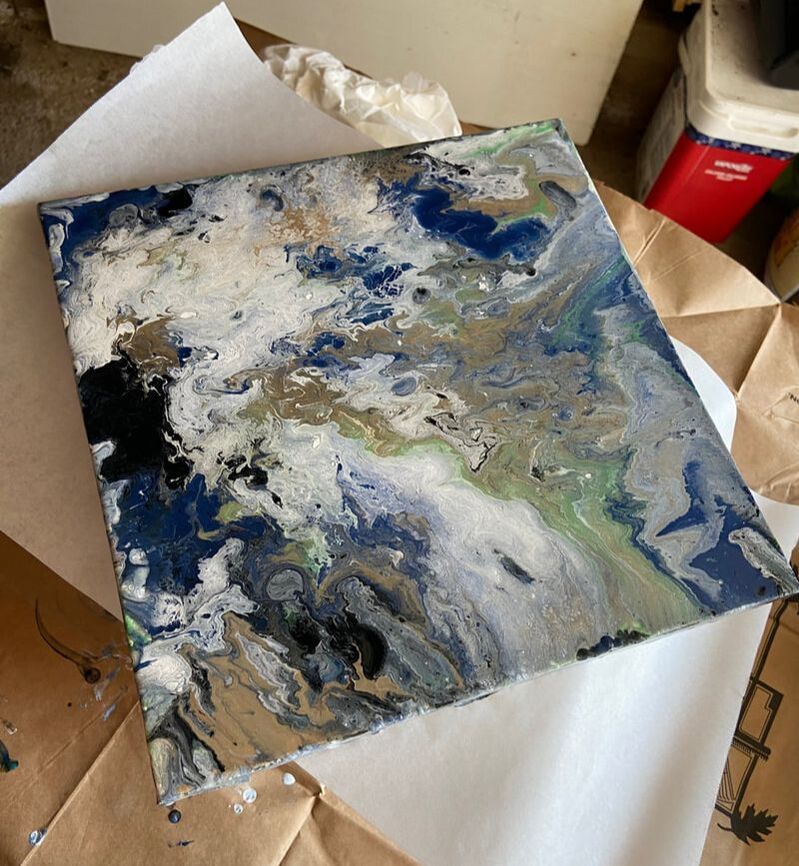
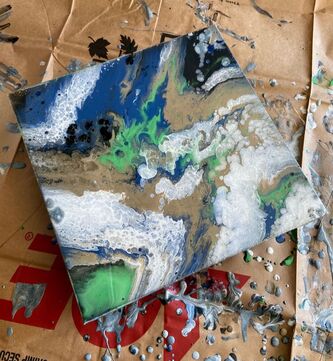
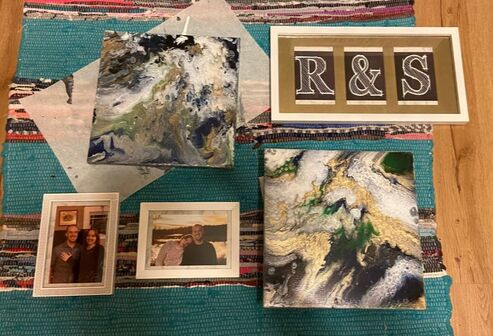
Hello everyone! I hope that you are doing well. Today, I want to share a craft that I am SO excited about: acrylic pour painting. If you have never heard of this type of painting before, it involves thinning out acrylic paint and pouring it over a canvas to get a very abstract pattern that looks a bit like marble. I did much internet researching before attempting this craft, but was still pretty worried that it was all going to go poorly. To start off, for this craft you need a canvas (or two), some gesso, some paint thinner stuff (more on that later), and acrylic paint or color. I also added a clear coat of acrylic spray sealer on my projects once they were done, but that is optional. I would highly recommend doing this craft outside. I am the queen of doing messy things inside, but even had to admit that this craft was not suitable for the indoors. I used two 12 by 12 canvases for this craft and covered them both with 2 coats of clear gesso. According to the internet, this helps the paint to stick better as it is pouring so I did what I was told. Once the gesso on my canvases had dried, I set up my outdoor acrylic pour station, with the help of my mother. I would also recommend laying the canvases on something so that they are lifted off the work surface. This allows the paint to drip off the side and not stick your painting to the table! When it got to the paint mixing step, I must admit that I went a bit Rebecca and did not measure anything. I did, however, listen to the internet and buy "Golden GAC 800 low crazing extender for pouring acrylic colors" which was very highly recommended by many. This is the paint thinner I was talking about above. You mix it with your acrylic paint or pigment and it allows it to spread and pour more smoothly. I used basic acrylic paint that you buy in little bottles at the craft store, but you could also use acrylic pigment or color, which I assume would be stronger and therefore you would need less of if. I filled little cups with a good pour of "low crazing extender" and then added in a good squirt of each of my paints and mixed each together. Once my paints were ready, I poured the paint onto the canvas as evenly as possible. I mixed only enough paint for one canvas as it seemed easier to do one at a time. Once the paint had all been drizzled over the canvas, it was time for the fun paint. Time to lift the canvas up and let the paint blend and pour! I would recommend wearing gloves for this. I did not and there was much paint on my hands. For this part of the process, it is really up to your discretion. You can move the paint around as much or as little as you want to get your desired look. I would just recommend making sure you have enough paint so that it can drip over the edges of the canvas fully as I think that looks more finished. I had a harder time making the edges look clean on my first try and made sure to mix up a bit more paint for my second canvas. Here they both are! The painting on the left was my first attempt and on the right is my second attempt. On the second, I definitely had more paint to work with so the colors were able to flow a bit freer and not get quite as muddled as on the first painting. Honestly, I am really happy with both though! I let them each dry for about 24 hours and then covered with a few coats of acrylic sealer. I made these paintings specifically for a makeover that my fiance and I are doing for our bedroom (more blogs to come about that). Here is the gallery wall I have in mind, including the acrylic pour painting and a few other pieces. Let me know what you guys think about this painting technique in the comments below. Would you ever give it a try?
- Rebecca
1 Comment
Deb R.
7/19/2020 07:39:23 am
These are so cool Rebecca!
Reply
Leave a Reply. |
AuthorI am a 27-year-old crafter and baker from New Hampshire! Archives
July 2024
Categories |
 RSS Feed