|
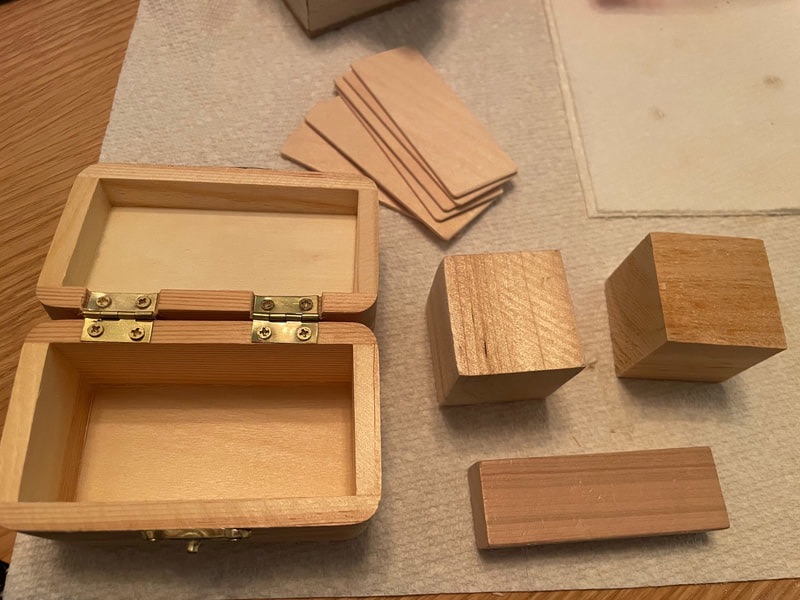
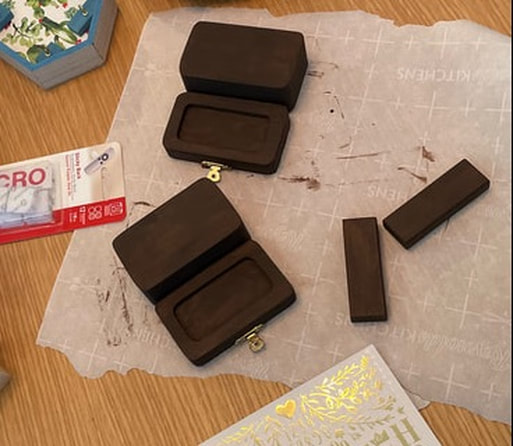
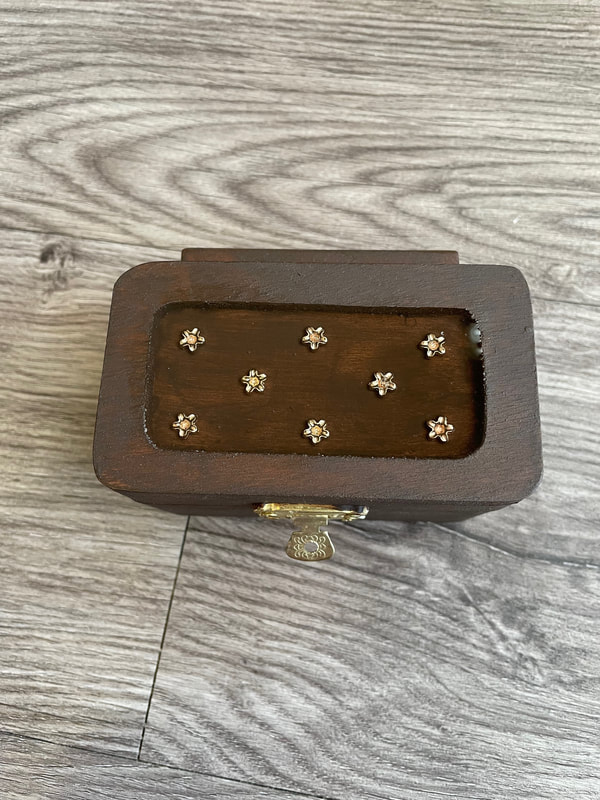
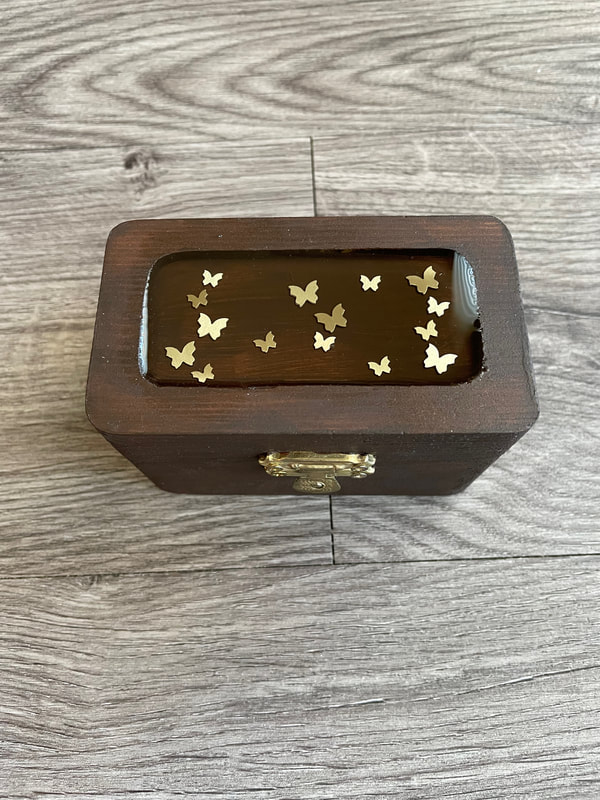
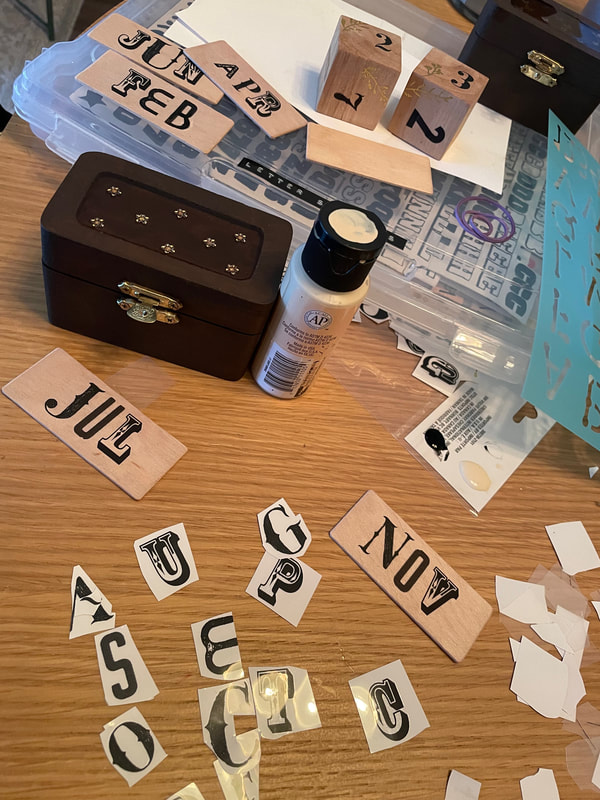
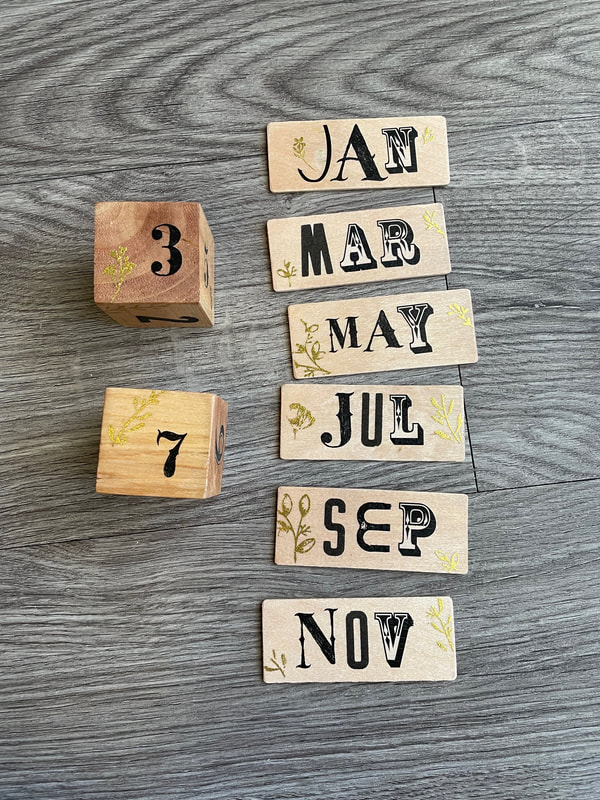
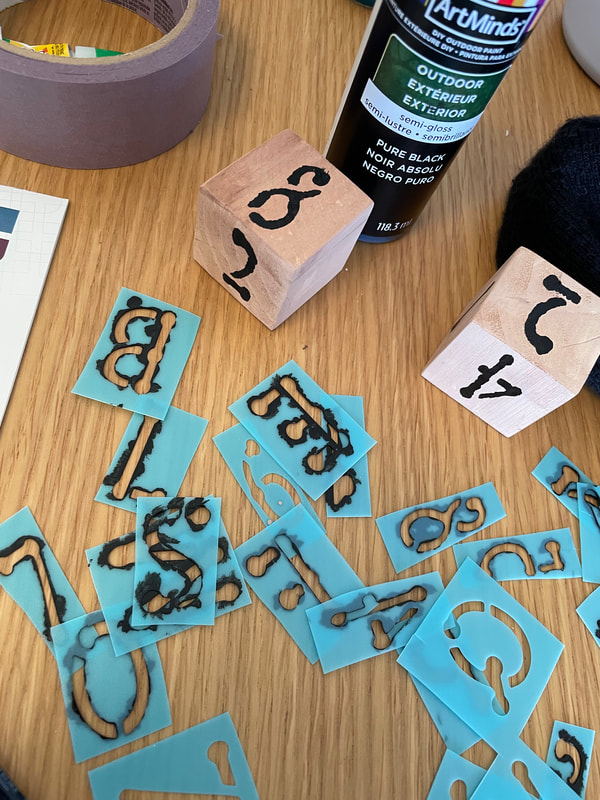
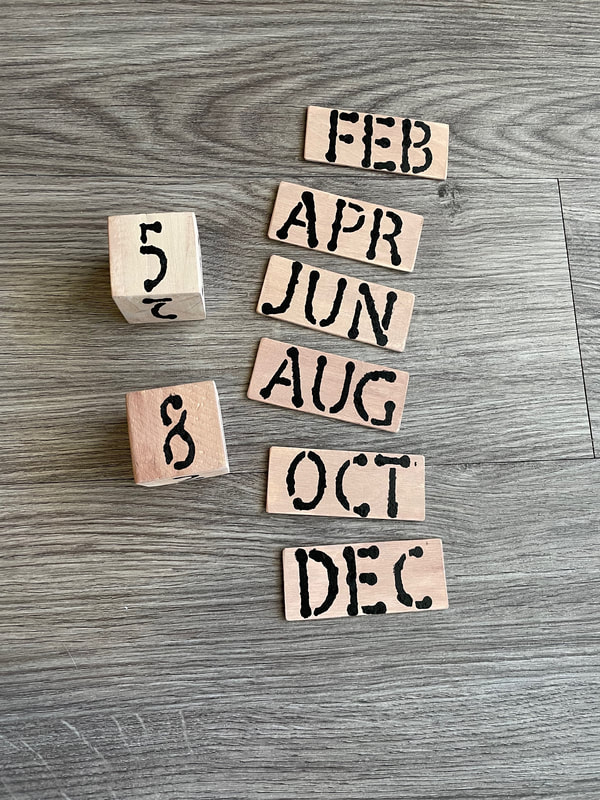
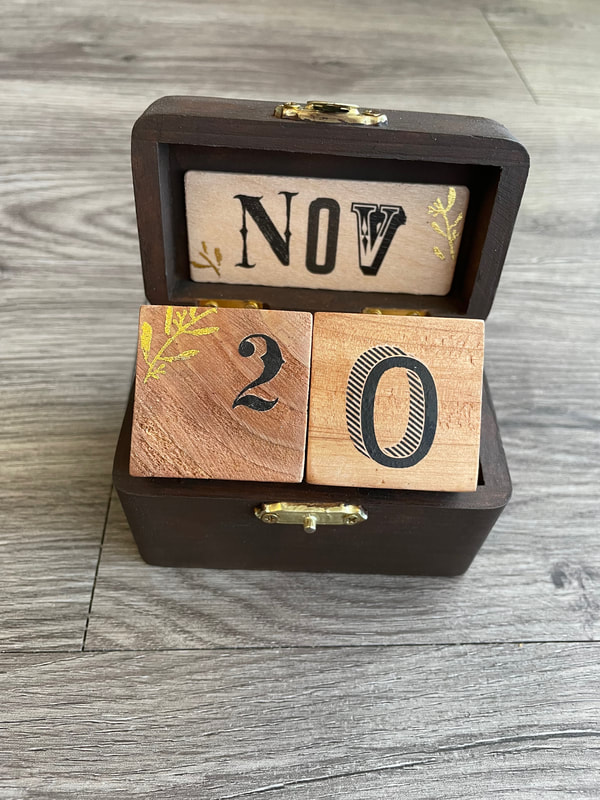
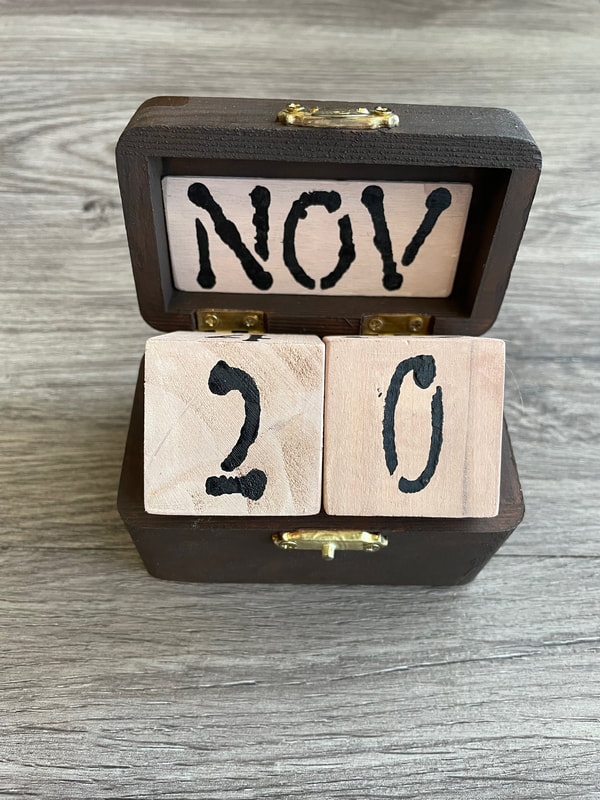
Hello everyone! Sorry its been a while but it has been a crazy week or so in my life. But we are back with another blog! This is the final part of the perpetual calendar project that I have been working on for a while. I have already showed you the house calendars, but today I will be showing you how I turned some little wooden boxes into calendars! If you are interested in Part 1 and Part 2 of this project, here are the links for that: Part 1: perpetual-calendars-part-1.html Part 2: perpetual-calendars-part-2.html I gave a small intro to the box calendars in the other parts, but here is a quick refresher. I was making two wooden box calendars, each of which use the wood pieces below: 1 wooden box with hinges and a latch, 2 wooden cubes, 1 wooden Jenga piece and 6 wooden large popsicle sticks that had been cut down to size. I want to apologize in advance and say I don't have the best photos of this project as it was completed over such a long period of time, but I will do my best to explain what I did! I started off by painting the wooden boxes and the Jenga pieces a dark brown and then finishing them off with a brown finishing wax. The wooden Jenga blocks got attached to the back of the boxes to allow the lid to stand more upright. Without this piece, the lids of the boxes would have fallen down and not allowed the calendars to work correctly. As you can see in the photo above, the lids of the boxes have an indent in the wood in the center. I thought this would be a good place to do something fun with resin. I had some golden three dimensional stickers that I placed into the indents and then I filled them with clear resin up the rim of the indent. The wooden blocks are for the days of the month and the wooden popsicle sticks are for the months, with the idea being that the sticks would sit in the open cover of the box and the blocks could sit within the box. If that doesn't make sense yet, you'll see the calendars in action later! I liked the lighter wood color of these, so I just covered them with a light tan wash of paint to let the wood grain show through rather than a dark brown like the boxes. For each set of sticks and cubes, I went for slightly different style. For one set I used black and gold rub ons in all different styles. There are numbers on all sides of the blocks and the month pieces are reversible so on the back of the Jan piece is Feb, on the back of the Mar piece is Apr etc. For the other set, I used a stencil my mother had found at the Dollar Tree and some black paint for a simpler look. All of the pieces for both calendars got a coat of varnish overtop to seal them as well. And here they both are in action! The box can fully close with all pieces inside of it, then you can open it up and place the month in the cover of the box and the numbers on the body of the box. The extra month pieces fit perfectly in the bottom of the box under the number blocks. And this perpetual calendar journey is finally complete! Which type of calendars did you guys like better? Let me know in the comments below! My hope is to get these on the Etsy shop in the next week or so as well so keep an eye out if you are interested!
- Rebecca P.S. Today's photo on the homepage is from Pixels user Александар Цветановић: www.pexels.com/photo/brown-wooden-block-desk-calendar-displaying-september-13-1425099/
0 Comments
Leave a Reply. |
AuthorI am a 27-year-old crafter and baker from New Hampshire! Archives
July 2024
Categories |
 RSS Feed