|
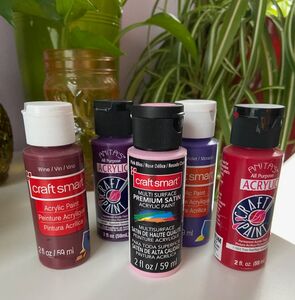
Hello friends! So I am back with another round of acrylic pour painting. This has become one of my absolute favorite techniques and I was excited to try it out again. This blog post will not cover all of the steps required to pour paint; if you would like to see a more step by step tutorial, please check out my first blog about this kind of painting: https://www.thepatternedpaperplate.com/blog/acrylic-pour-painting. Today I will focus more on some fun new techniques I tried out! I was lucky enough to come across six 16 by 20 inch canvases for free. They were leftover from the fun, crafty bachelorette party my bridesmaids threw for me last month. I got all of the canvases covered in gesso and was then ready to go. One technique I wanted to try was the use of painters tape to leave sharp lines on the canvases to cut through the paint. I also loved the idea of having two canvases go together as a matching set. With those ideas in mind, I got to taping. I had no set plan in mind, but just added lines across the canvases until I was happy. Once I was satisfied, I ensured that the tape was stuck down firmly and sealed down the edges of the tape with some pouring medium (this is what is mixed into the paint to make it more pourable). I read on the internet that sealing the edges of the tape with the clear medium would help keep the paint from seeping under the tape, so I decided to give it a try. I also decided to go with a purpley-red color scheme for these paintings. 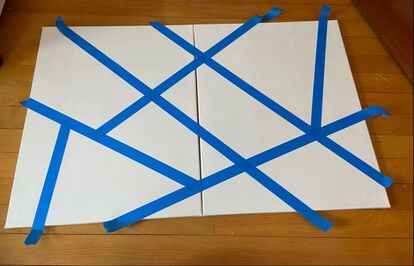
With my tape sealed and my colors picked, I got to pouring. To reiterate, if you would like an explanation of the technical process that goes into pour painting, I would check out my previous blog! In my first blog on this, I suggested always doing this project outside as it was too messy for indoors. Well ... I'm stubborn so I got myself all set up inside and ended up not making too much of a mess! 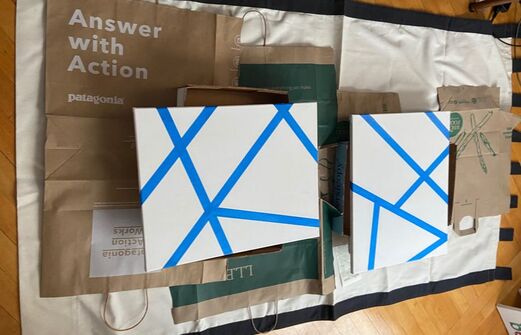 Once poured, the paintings looked like this: 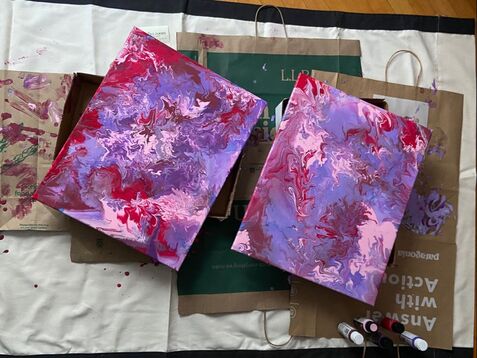 After they were mostly dry, I pulled the tape away. I will admit that I was slightly disappointed as there was still a lot of paint leakage that happened. 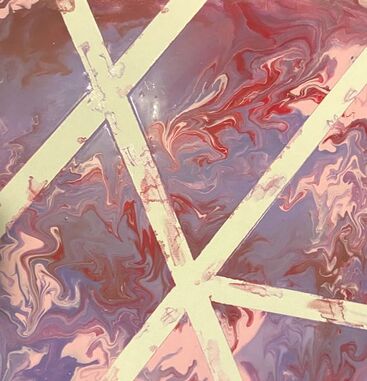 But I went to work with a tiny paintbrush and some white paint and got the lines cleaned up. I am SO happy with how these look now! 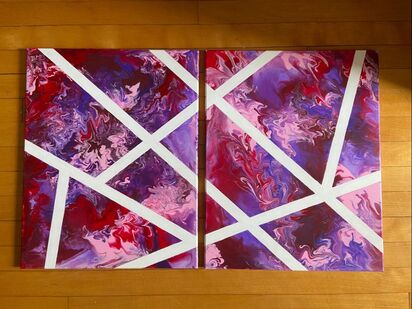 Another technique I wanted to try was a galaxy-looking painting. I did this on a single canvas and picked some fun solid colors as well as some sparkly ones. The small tubes are glitter paint. 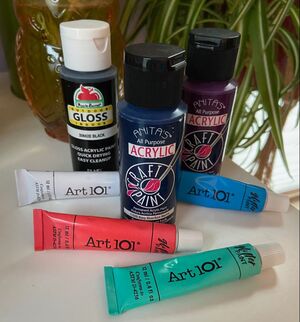 I did the traditional pour approach on this canvas, but then had fun at the end by splattering some of the brighter colors on the canvas. My hope was that it would create a kind of constellation(ish) look. This one came out very cool as well and I love the subtle sparkle of it. The colors dried down a bit more muted and less vibrant than you see below, but she's still a beauty! 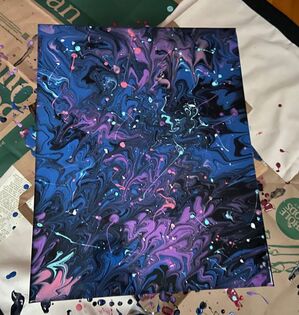 So these first two ideas of mine went swimmingly and I love the finished products. They need a few coats of sealer as well as some work to clean up the back of the canvases, but other than that, they are done! The other two pour techniques I decided to try did not go quite as I planned and we will get more into those when Part 2 rolls out. I think my mom will be back next time with a Halloween craft blog, so you can expect Part 2 of this pour painting journey sometime in November!
And drumroll please ..... because the hope is to have these paintings ready to sell when Part 2 rolls out! I have always been interested in selling some of my crafts outside of just the craft fair market and this seems like a good enough product to start with. I am still working out the logistics so I should have some more information about the who/what/when/where of purchasing some Rebecca originals in November :) Let me know what you guys think in the comments below! - Rebecca
0 Comments
Leave a Reply. |
AuthorI am a 27-year-old crafter and baker from New Hampshire! Archives
July 2024
Categories |

 RSS Feed
Proudly powered by Weebly