|
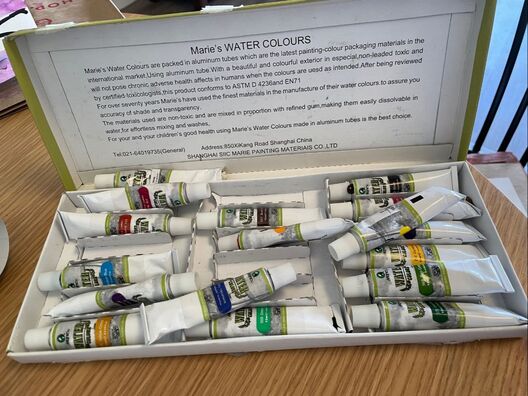
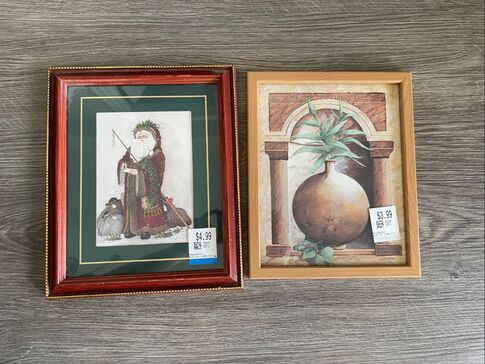
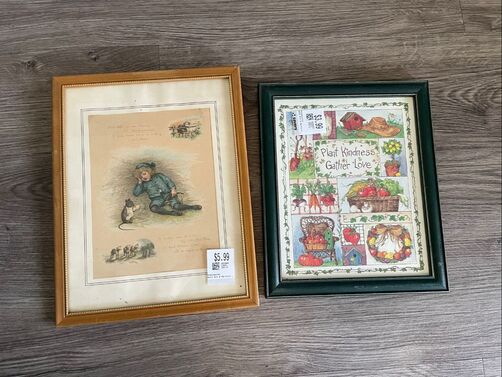
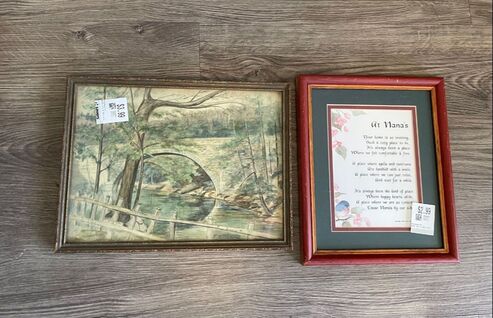
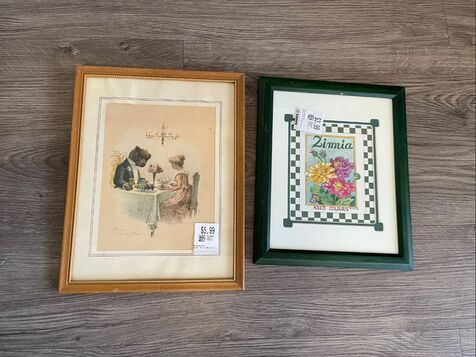
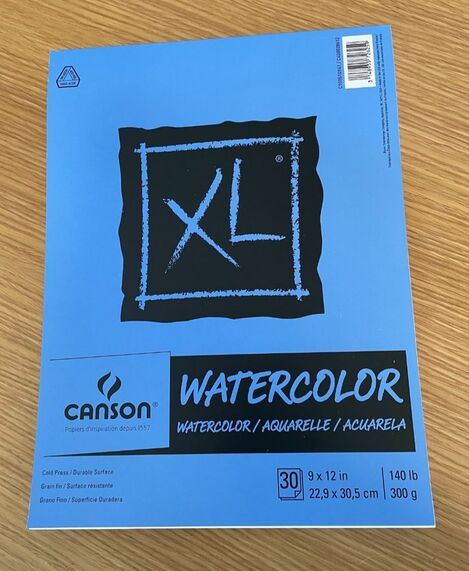
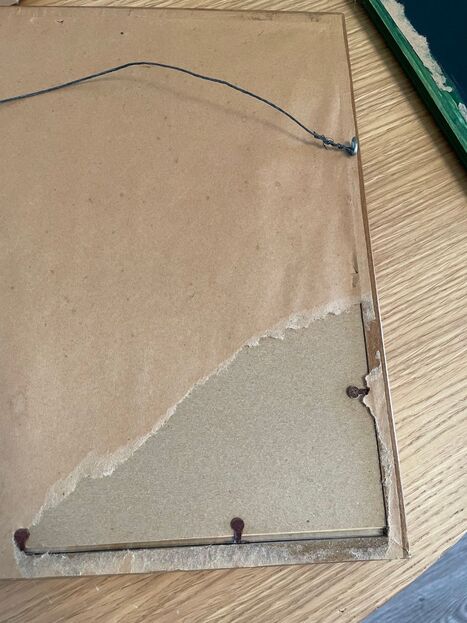
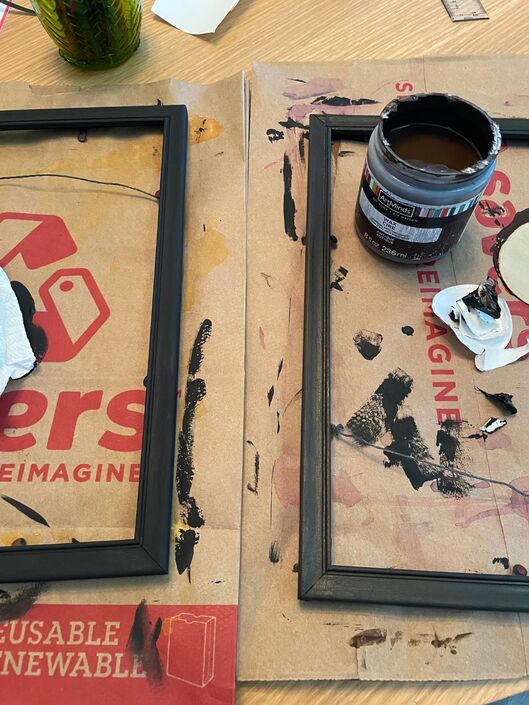
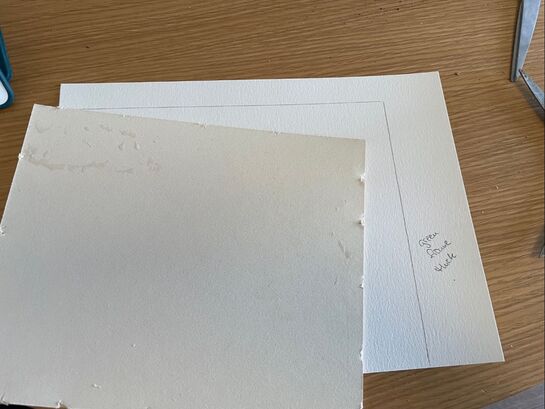
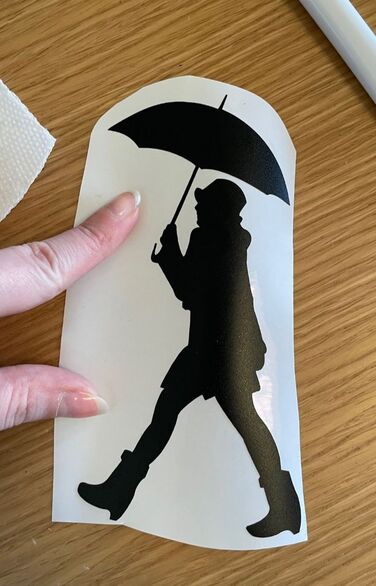
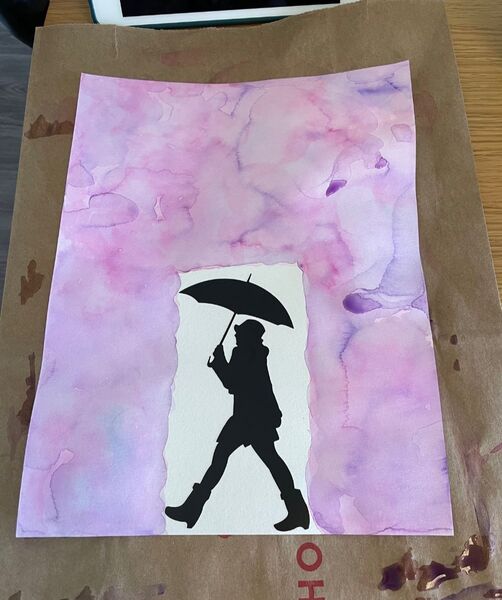
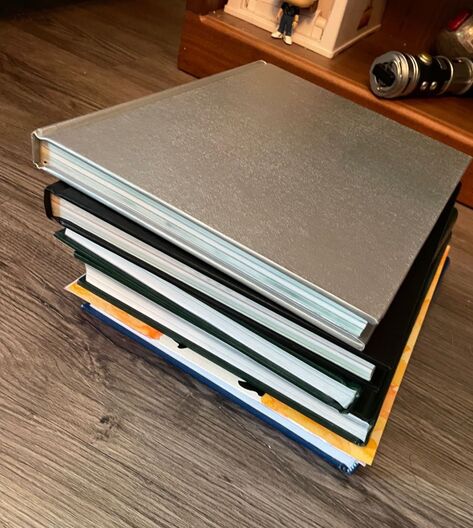
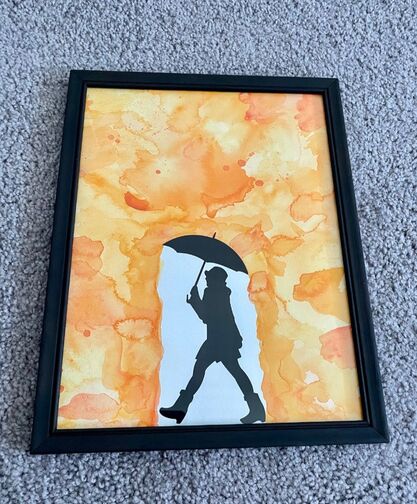
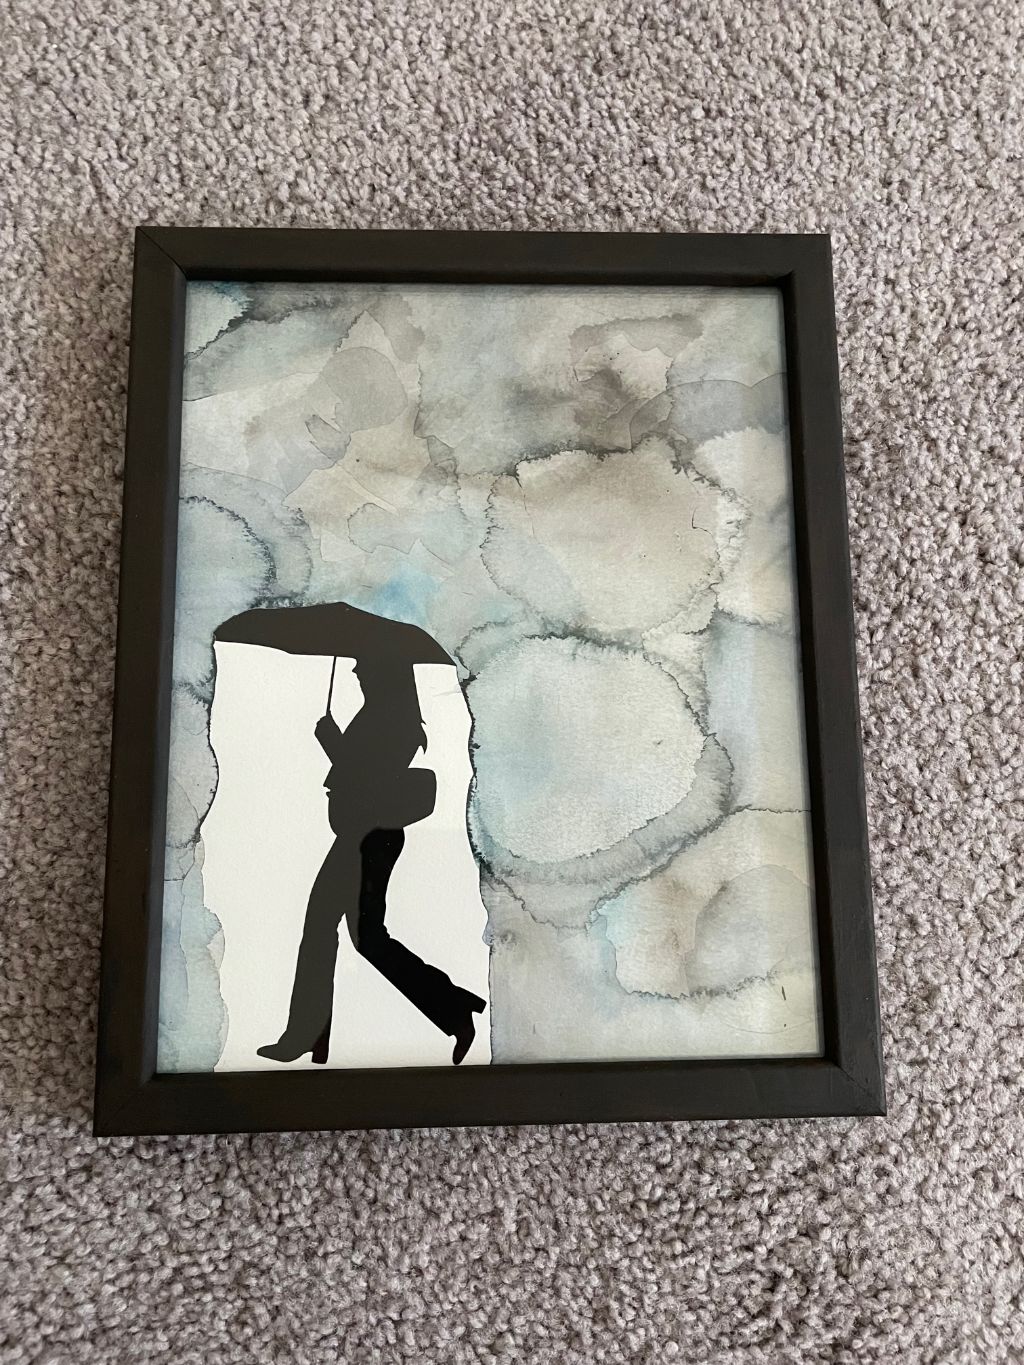
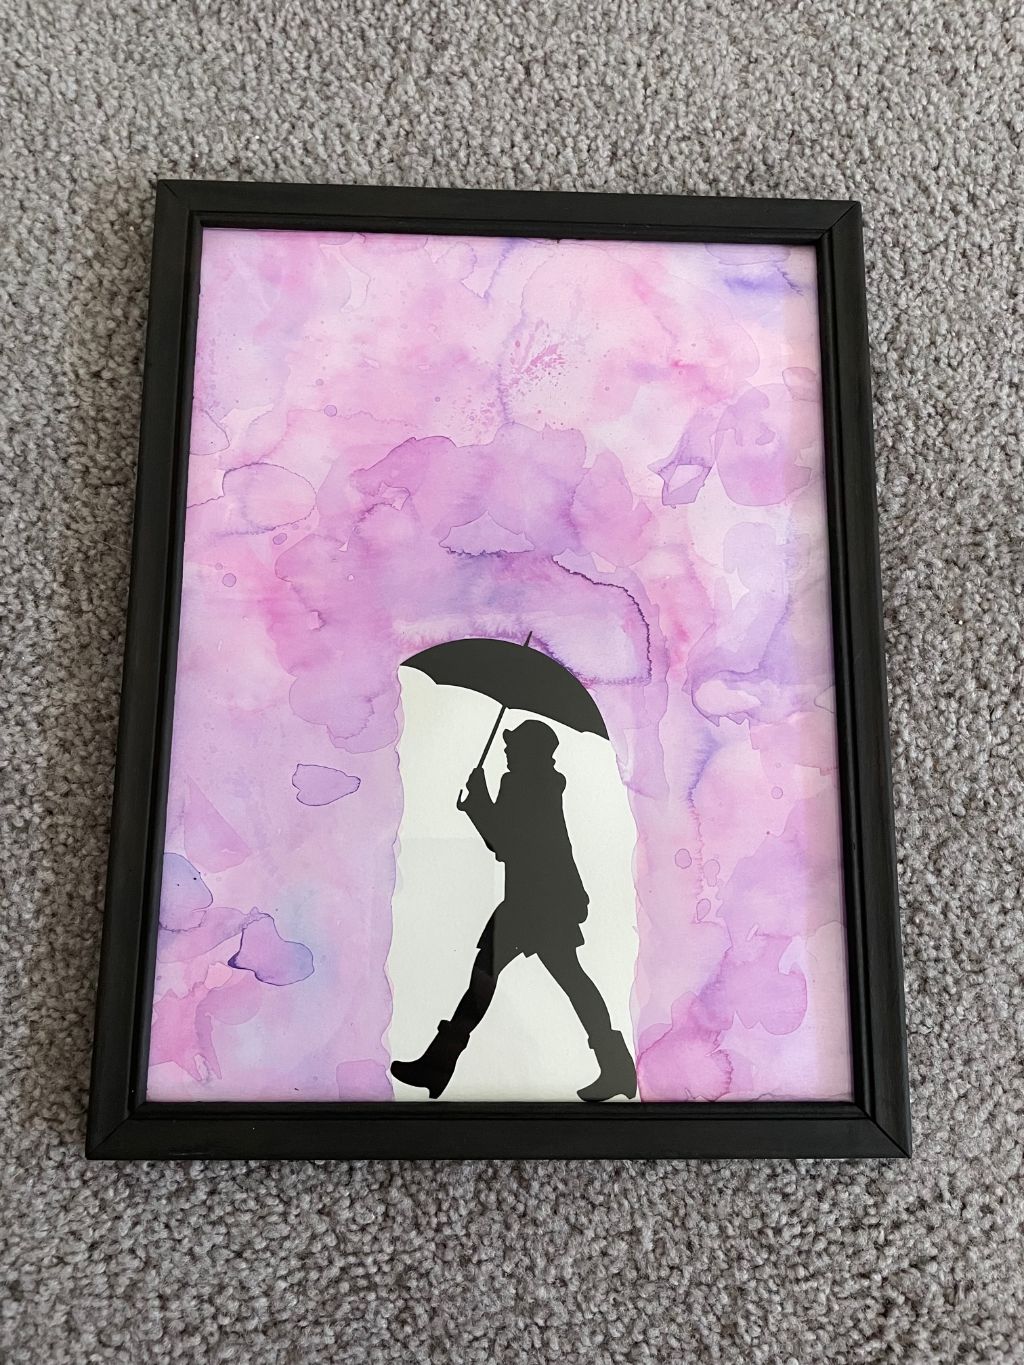
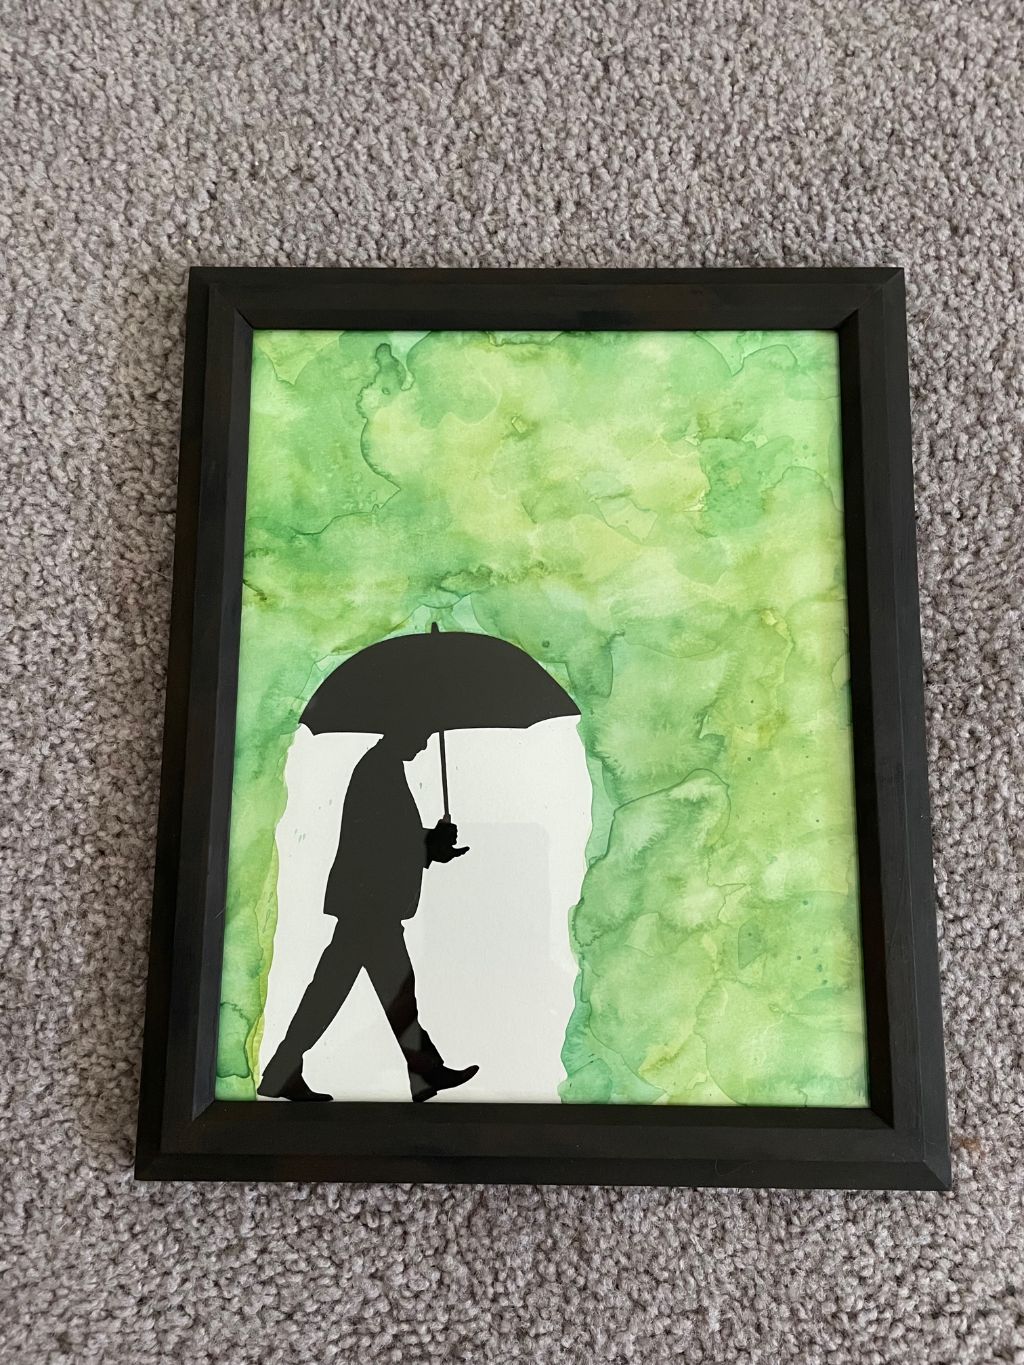
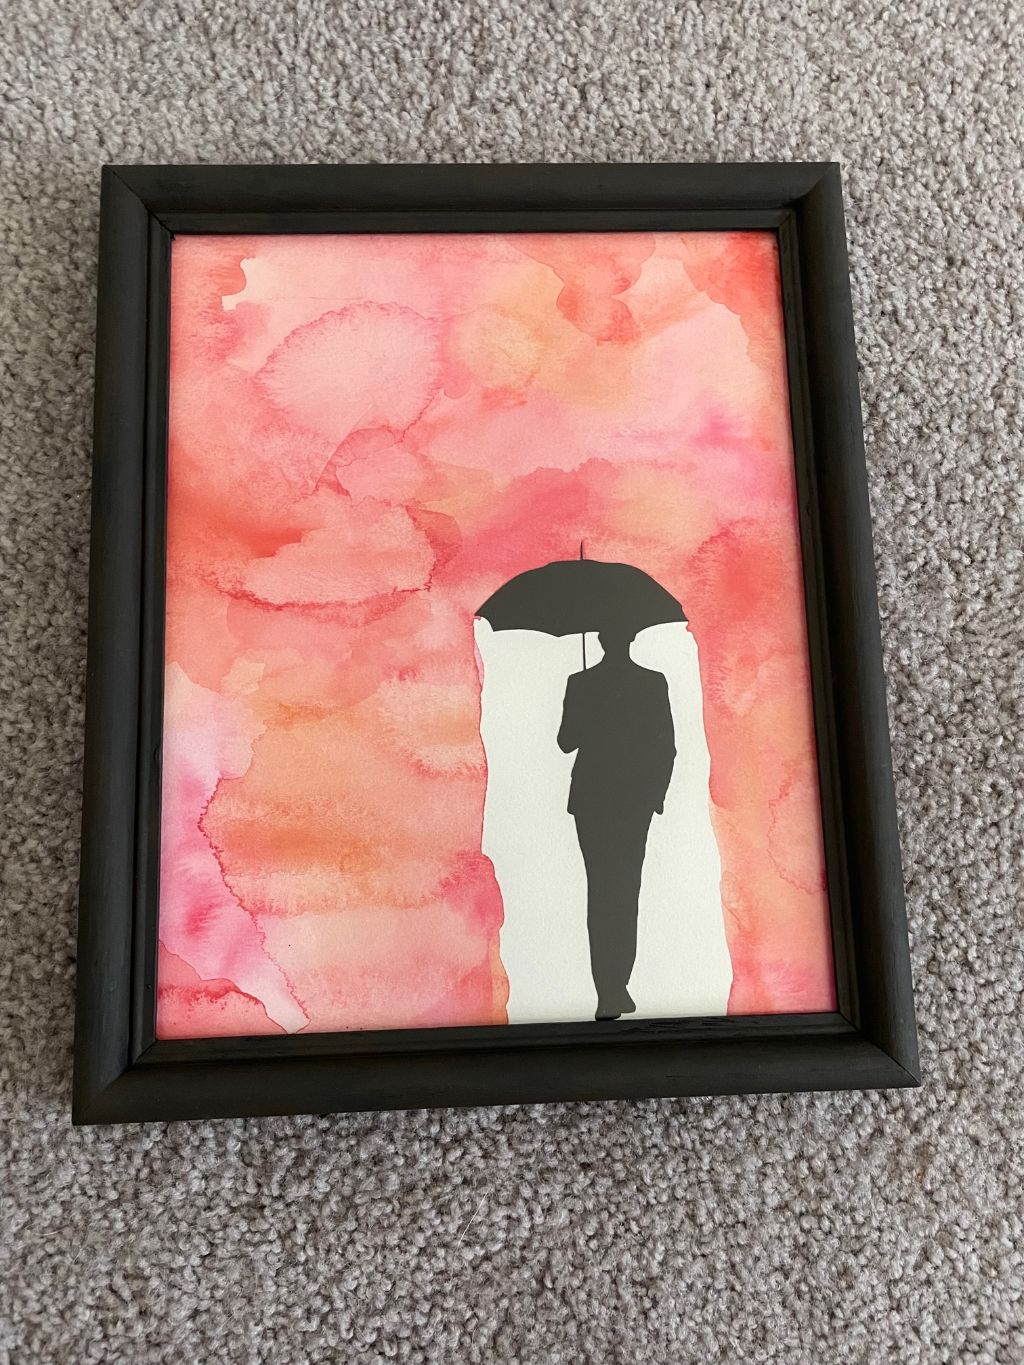
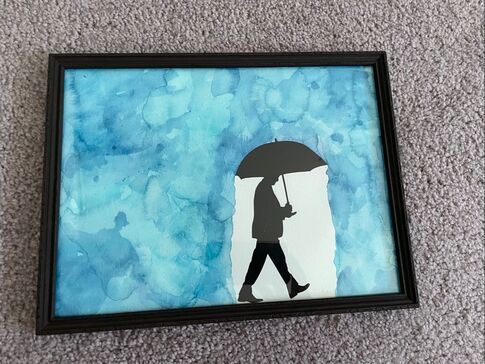
Hi everyone! So today we are back with a fun painting craft but using something that I don’t believe has been on the blog before: watercolors. I typically FaceTime my best friend every Sunday and she has a really cool painting in her bedroom featuring a silhouette of a woman holding an umbrella and then acrylic pour paint all around to look like a rainstorm. I always think it is so cool and have wanted to try and do something similar, but I can also acknowledge that you may be a bit pour paint-ed out over here. So I was trying to think of something else that I could do to get a similar effect and thought of watercolors. I have had these watercolors for a while, but don’t often get to use them. Instead of being a powder that you mix with water, these are very concentrated thick liquid pigments that you can mix with water to achieve your desired level of color. To start off, I went to a thrift store to get myself some frames or cheap pieces of art to refurbish. I also bought myself some watercolor paper at Michaels. Watercolor paper is extremely thick and able to withstand being saturated with water and paint without starting to disintegrate. Some of the frames I bought were a bit old and looked like they had been professionally finished at one point so they had some paper on the back. For those, I was easily able to peel back that paper to reveal the prongs holding the art in place. I then sanded down the frames if they needed it and used some black chalk paint on them. I know I've talked about chalk paint before, but its great to use when you don't feel like doing a ton of prep before painting as the gritty texture of the paint makes it adhere well to a lot of surfaces. The only frame that I had to sand very heavily before using the paint was one that I had thought was wood but was actually plastic that looked like wood. For that one, I scuffed the plastic up a lot to ensure the paint would stick. After giving the frames several coats of paint and letting it dry, I also went over with a thin coat of finishing wax. This helps to seal in the paint and give the frame a bit more shine as chalk paint is very matte. The only wax I had was a dark brown, but I actually loved how it highlighted some of the texture on the frames and gave them some dimension against the black paint. I'm not sure how well it comes across in the photo but the frame on the left just has the chalk paint while the frame on the right has the brown finishing wax as well. Now for the actual paintings! I started by tracing the art size for each frame onto a piece of watercolor paper so I knew the exact size I was working with. I then used my Cricut to cut out some different black silhouettes of people holding umbrellas from adhesive vinyl. I then sketched out an area where I knew the sticker would go so that I could leave it blank when I painted. I then just went crazy with the watercolors, using about 3 colors per painting. Once I was almost done I added the sticker and then finished up the watercolor so that it looked like it was rain coming down around the person. Below is an example of a painting before I did that final step of finishing up the watercolor. Once I was finished with the paintings and they were dry, I ended up putting them between some of my husband's high school yearbooks as the paper was a little wrinkly. This helped to flatten the paper back out. At this point I have made 6 paintings and added them back to their frames. I have 2 frames left which I did not get to yet, but I plan on finishing them up soon! Here are the 6 that have been completed so far; 1 is horizontal and the other 5 are vertical. I am so happy with these and they were honestly pretty easy to make! What do you guys think? Let me know in the comments below!
- Rebecca Today's picture on the homepage is from Pexels user Nick Collins: www.pexels.com/photo/selective-focus-photography-of-paint-brush-on-paint-palette-1213431/
0 Comments
Leave a Reply. |
AuthorI am a 27-year-old crafter and baker from New Hampshire! Archives
July 2024
Categories |
 RSS Feed