|
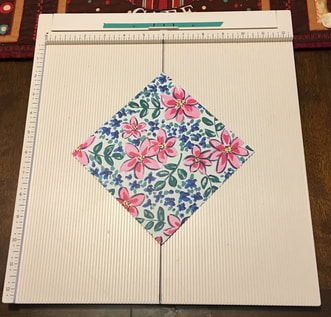
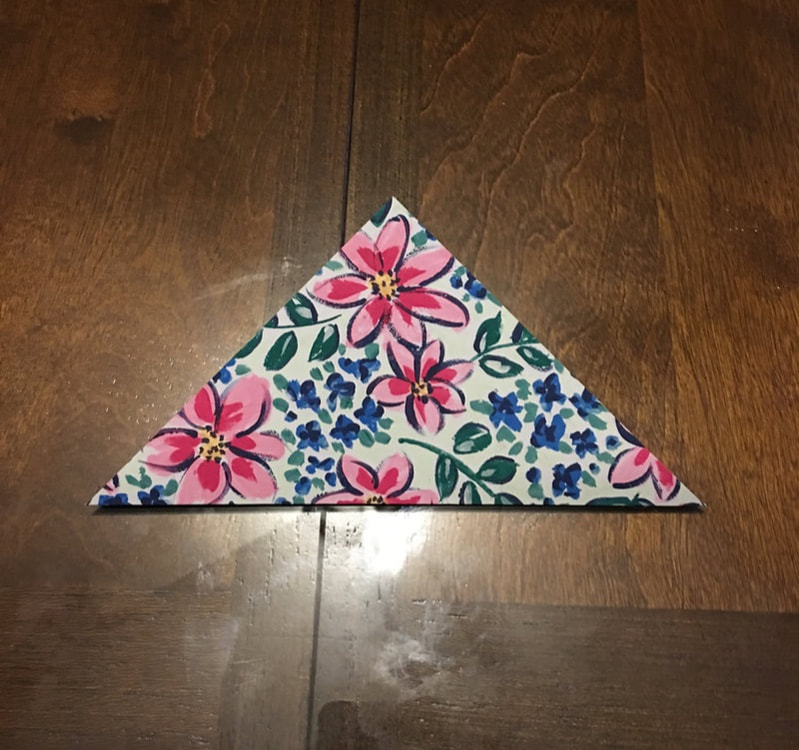
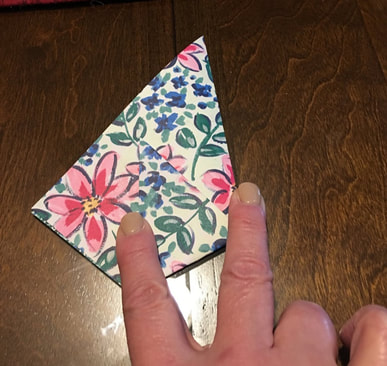
Hello Crafty Friends! It’s Suzanne, Rebecca’s Momma, and I am happy to be back on the PPP with a guest post this week while Rebecca enjoys a well-deserved mini vacation. Today, I am getting back to my roots with a couple of paper crafting projects. We are going to make a couple of cute little treat holders that are perfect for class room or office gifts for any holiday or favors for bridal and baby showers. These treat holders can hold anything from fun sized chocolate bars to tea bags to gift cards. Each of them can be made with just one square of paper. Today, we are going to use 6 inch by 6 inch paper, but you can scale up to hold larger treats. You just have to be sure that your paper is square. I am also going to use a scoring board to pre-score some of my fold lines. This is not necessary but it does ensure that your holders are all the same size and speeds up the process of making them. If you don’t have a score board, you can score your paper with a ruler and stylus or butter knife. You should also burnish your folds – use a bone folder or your trusty butter knife to press down each fold to be sure it’s nice and sharp. Let’s talk a minute about the paper you’ll use for these. I recommend a good quality double sided 65 pound decorative paper. Cardstock, like you would use for the base of a greeting card, is a little too thick and makes it difficult to crease your folds. Printer weight paper is too thin and doesn’t have the strength to hold up to the handling. The paper I am using is from Stampin’ Up and has a number of beautiful floral patterns. I’m having a ladies brunch next weekend, so these will make nice little takeaways. 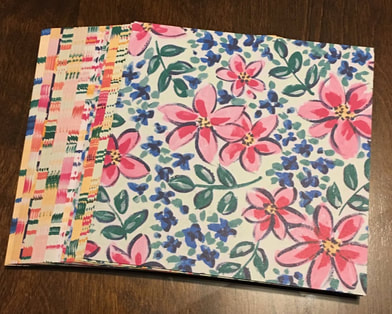 First up is a pouch that looks a little like a French fry container when it’s done. For this one, score your paper right down the middle and fold in half corner to corner to create a triangle.
Next, pick a point about halfway down the side of the triangle and use that as the point from which you’ll fold towards the other side. You are trying to keep the top portion of the new triangle being created by your fold parallel with the bottom fold. Do the same on the other side, crossing over the first side.
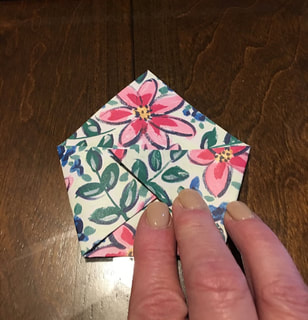
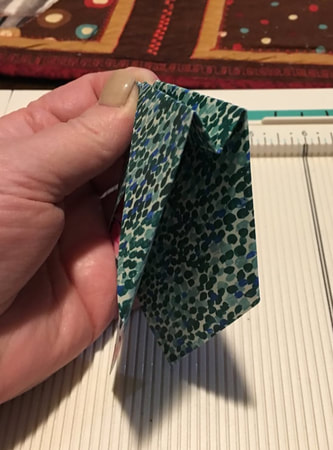
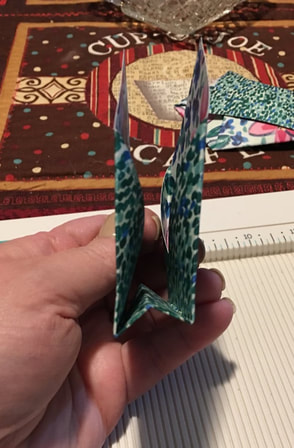
Now, take the front piece from the top and fold it down over the two front triangles, holding them in place. Use your fingers to open up the pouch and add your treats. You can add a flower or a small stamped sentiment to the front. You could also punch a hole in the top point, add a ribbon and hang small treats on the Christmas tree. 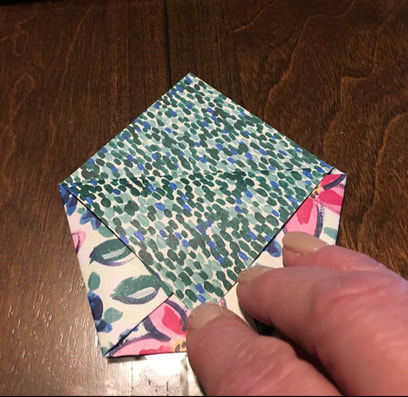 Second, we’ll make a two sided holder, where the treats can either be hidden to be revealed when the holder is opened, or displayed on each side. You’ll start the same way as the last holder, scoring the paper down the middle from corner to corner. Make two additional score lines a half inch to the left and right of the center line. 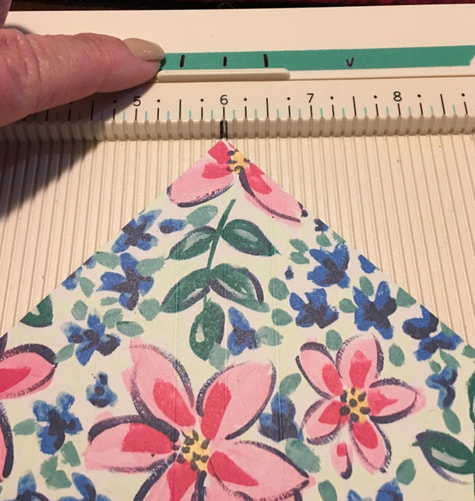 Then, turn your paper to score opposite the lines you just made. These will be made an inch and a half either side of the center – just two score lines. 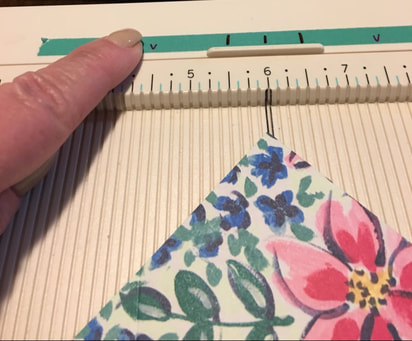 Then, fold these two sides in toward the middle, crossing the points over each other. 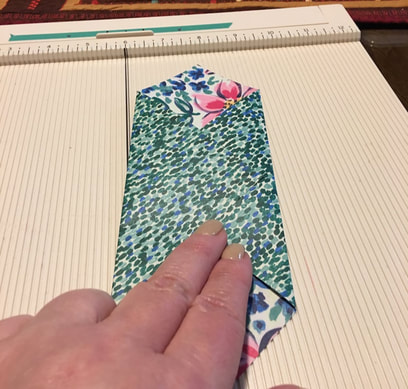 Next, decide if you want your treats hidden or visible. If you want them hidden, fold in half on the center score with the crossed over points to the outside. Then fold each side up on the second score lines, creating a “W” at the bottom of your holder. This will leave the pockets on the inside of your holder. If you want your treat visible, do just the opposite, starting with the crossed over points to the inside. For this one, you’ll punch two holes in the points at the top of the holder and use them to tie it together.
The beauty of these little guys is that they require no adhesive and, depending on the paper you use, can be left as is or embellished just a little, for the holiday or event. Here are my finished products with treats included. I hope you enjoyed today’s items. Now, go fold some paper! 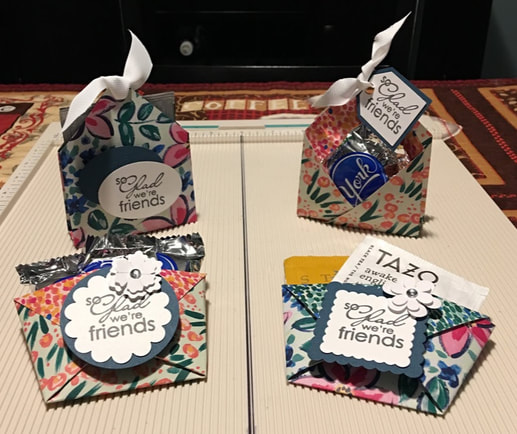 P.S. Rebecca speaking: A big thank you to my mother today for her blog! Everyone tell her how great she is in the comments!
0 Comments
Leave a Reply. |
AuthorI am a 27-year-old crafter and baker from New Hampshire! Archives
July 2024
Categories |
 RSS Feed
Proudly powered by Weebly