|
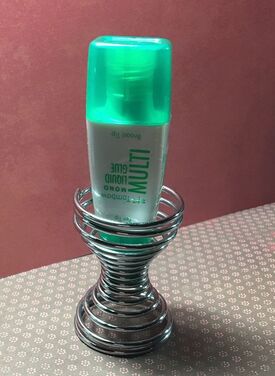
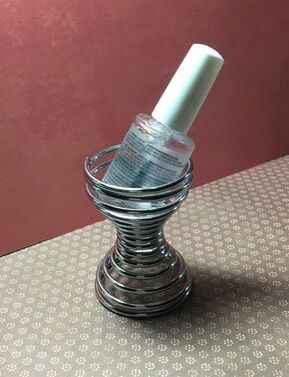
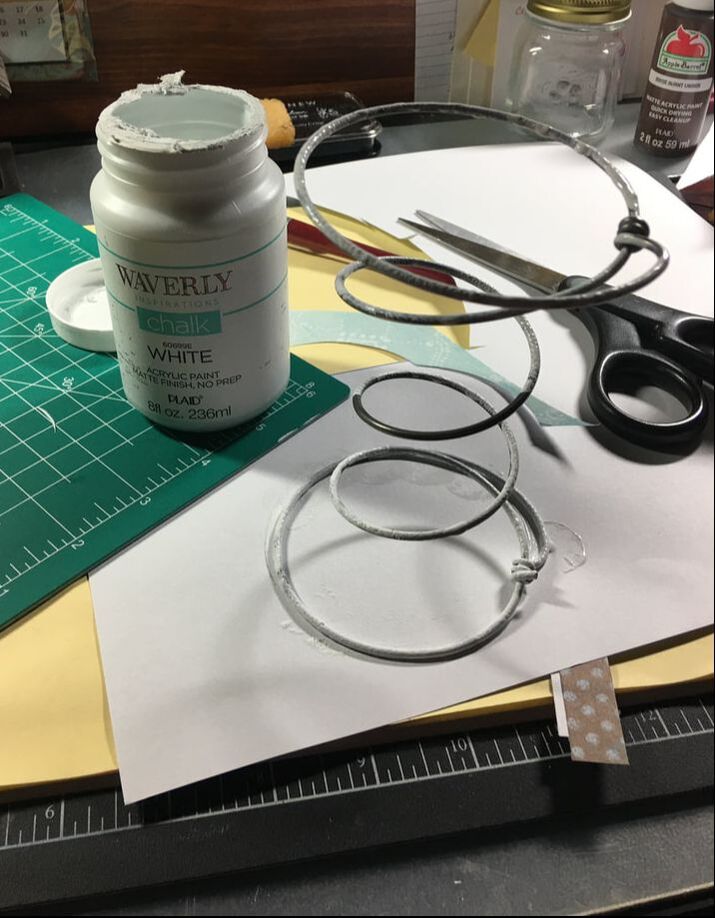
Hello Friends – Suzanne, Rebecca’s momma, here welcoming you back to the PPP. This week, even though Fall is approaching, I have a “Spring Fling” for you. Crafters accumulate lots of things because we see the potential in what many people would consider trash. Tucked away until inspiration strikes, we accumulate bits and pieces, magpie-like, until we turn trash into treasure. One of these things is the humble spring. Several years ago, I appropriated several rusty cone shaped bed springs. I turned them into cute bobble-headed snowmen -- applied a coat of sealer to keep the rust from rubbing off, added a head made of fleece (I found these as Christmas ornaments and simply cut the hanging string and tag off), wrapped a length of burlap beneath the head to make a scarf and added a few buttons down the front. 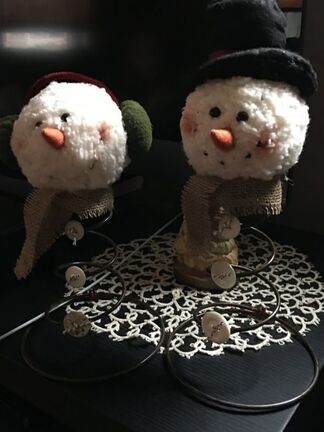 Then, I found some small hourglass shaped springs at a yard sale. I think they might have been “free with purchase”. I keep one on my craft table holding my liquid glue upside down, so it’s always ready to go. And since I have not yet felt comfortable returning to the nail salon, another makes a perfect nail polish holder.
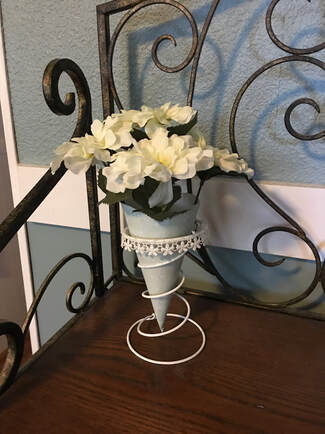
Not long ago, my amazing sister was ready to discard an old box spring. Before she did, she disassembled it and brought me a bag full of larger hourglass shaped springs. She’s a wicked enabler, but I do love her! This supply of springs will last me a long time and I have several cool ideas of how to use them.  First, placing one inside a vase will help your flowers stand tall. I’m hoping this might also start to rust the one in the water. 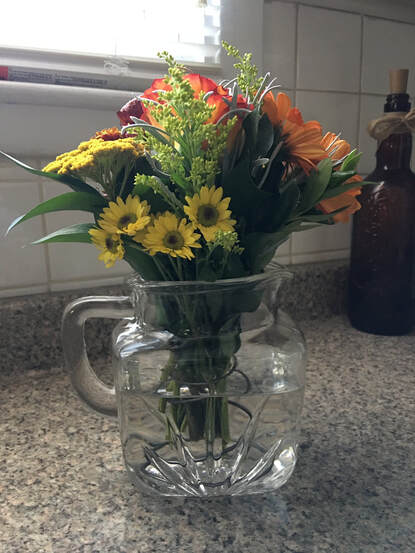 A paper cone inside the spring, acting as a tussy mussy (small interjection from Rebecca here: I had to look up what tussy mussy meant!), also makes a nice place to display flowers – though artificial ones will last longer in this application. Because these springs have not had a chance to rust yet, I chose to dapple white chalk paint on this one. I also added a little lace along the top edge. These would make simple and cost-effective centerpieces for a casual event – just a little different than a plain vase.
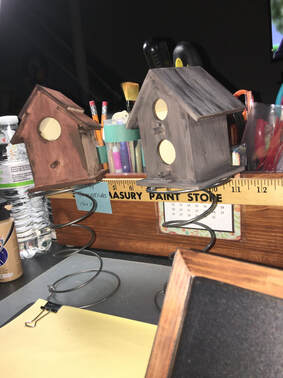
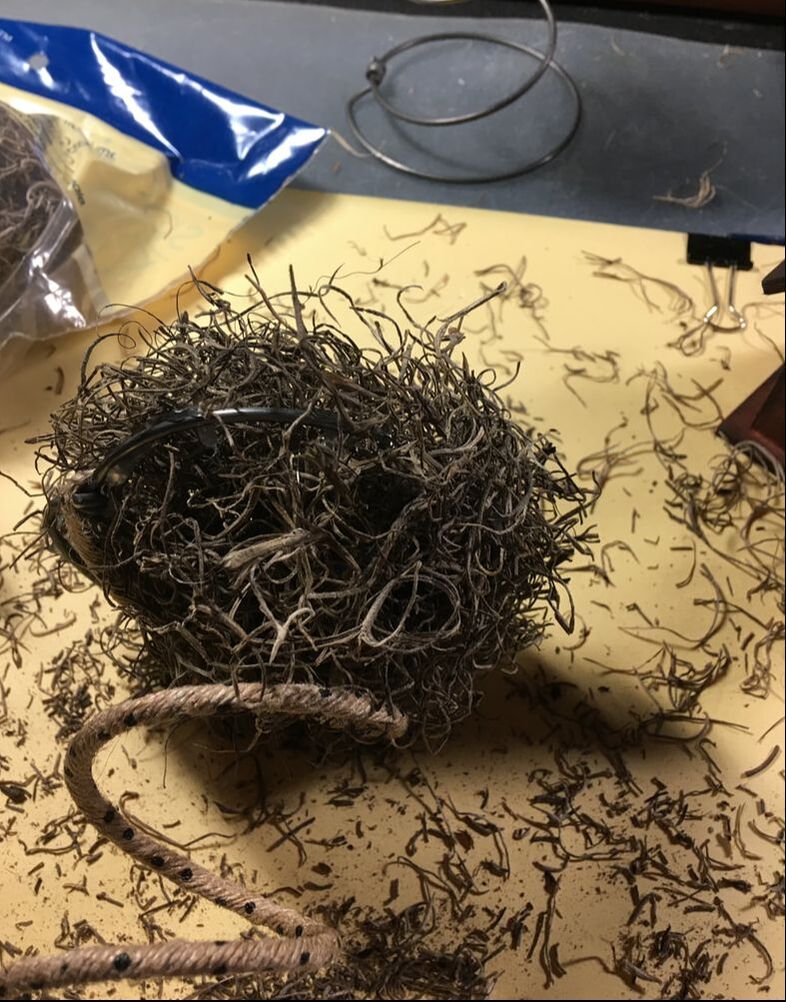
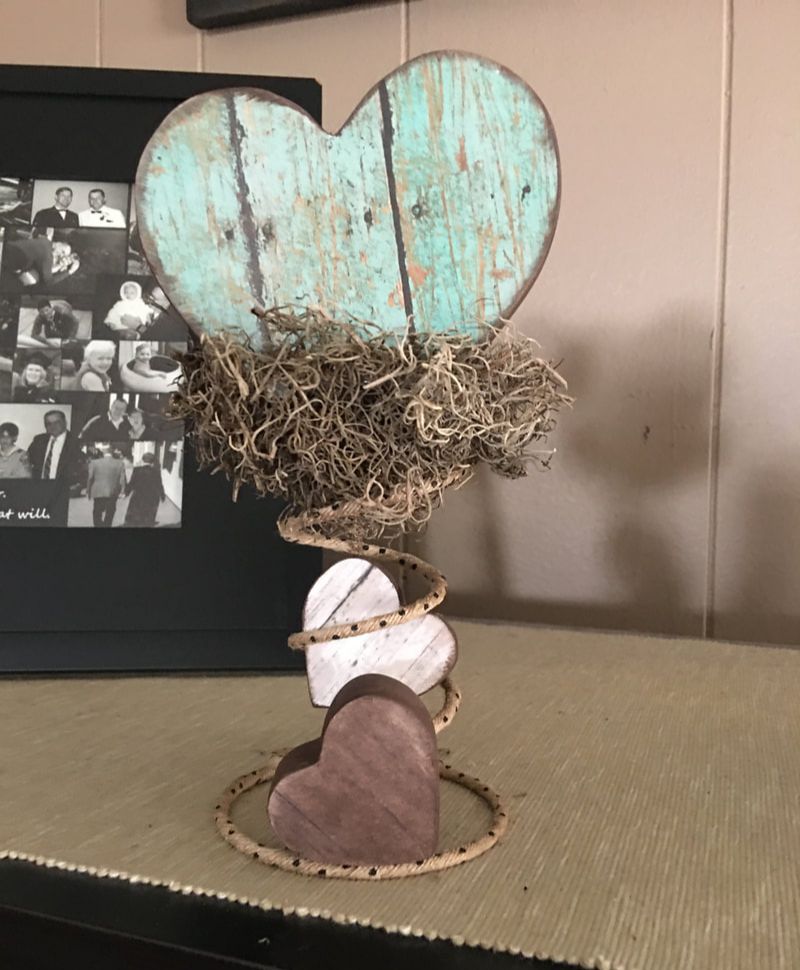
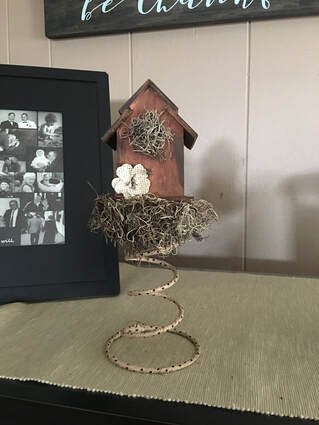
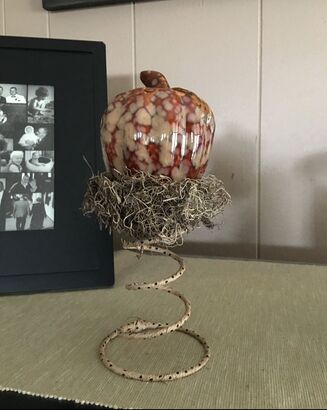
For a simple décor piece, I wrapped the spring in a narrow burlap ribbon and made a nest of Spanish moss in the top. I painted and decorated a small wooden birdhouse and nestled it into the nest. I chose not to glue the birdhouse into the nest because I can perch other things into the nest, depending on the season – like a wooden heart or ceramic pumpkin.
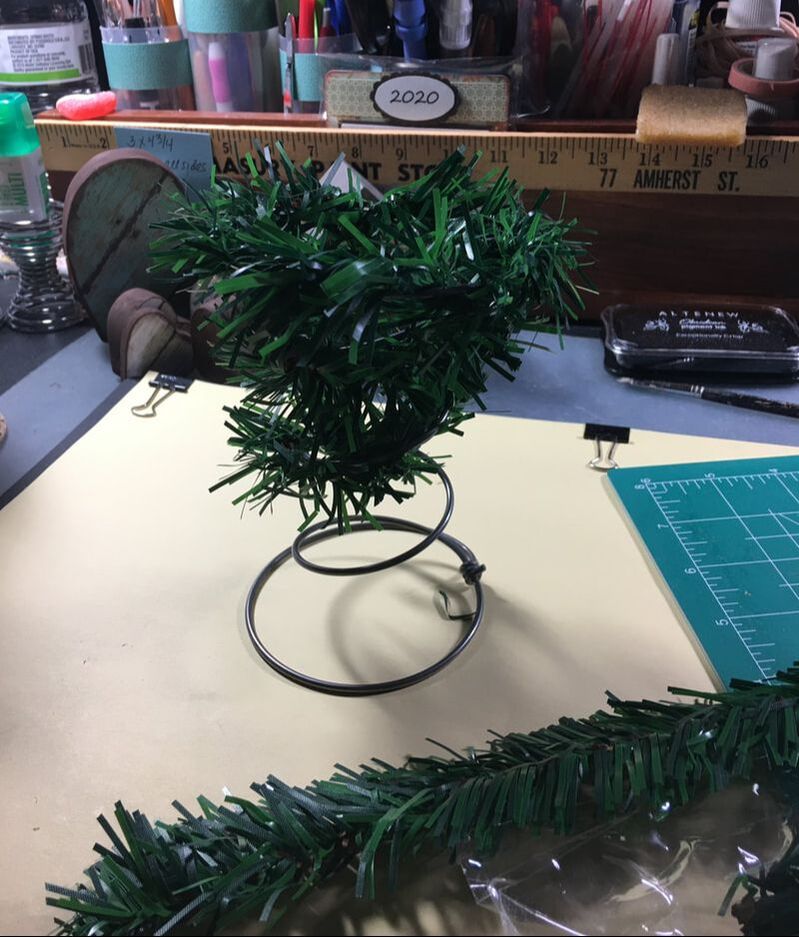
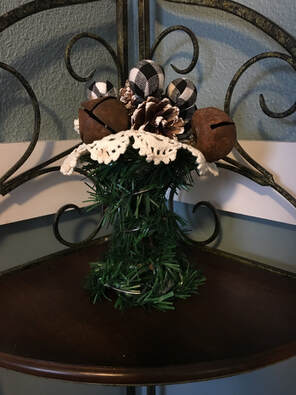
Finally, for Christmas (and no, it’s not too early for Christmas), I wrapped the spring in green pines ties, added a doily into the top and stuck in a holiday pick of pine cones, rusty bells and buffalo plaid balls.
I hope you enjoyed today’s little “spring fling”. I have a few more ideas rolling around in my noggin – maybe a wind chime, maybe figuring out a way to fashion several into a wreath form – so we may have a ”spring fling, part 2” in the future. Will you think twice about ditching an old box spring before removing a few of those fun springs?
- Suzanne
2 Comments
Deb R
8/27/2020 05:40:53 am
These are really great ideas! My favorite is the paper cone and flowers and the moss ones. Oh and of course the glue one :). I wonder if I will see the paper cone and flowers again in November . . . HMMMMM???
Elaine Smith
8/27/2020 11:28:35 pm
Love it all. Leave a Reply. |
AuthorI am a 27-year-old crafter and baker from New Hampshire! Archives
July 2024
Categories |

 RSS Feed
Proudly powered by Weebly