|
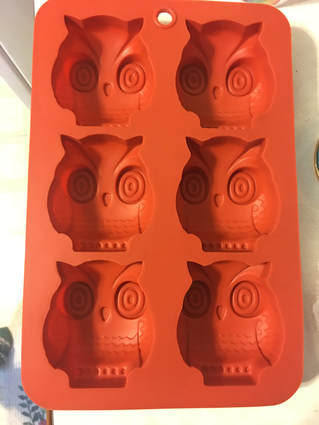
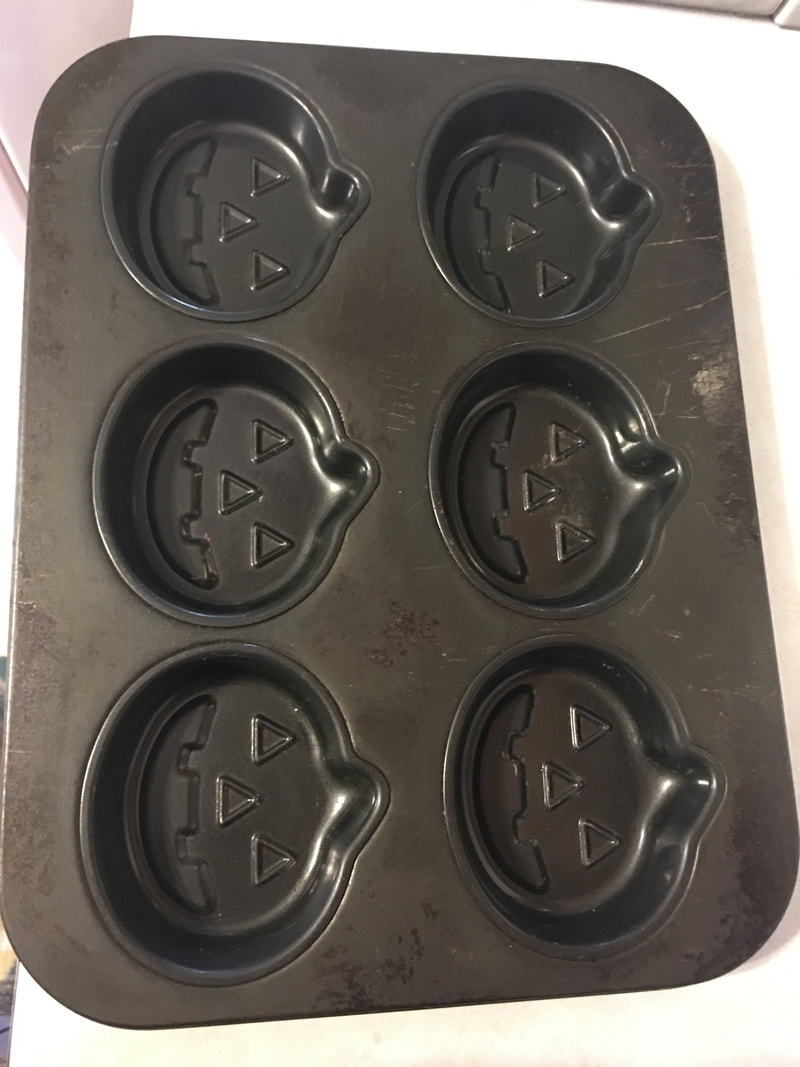
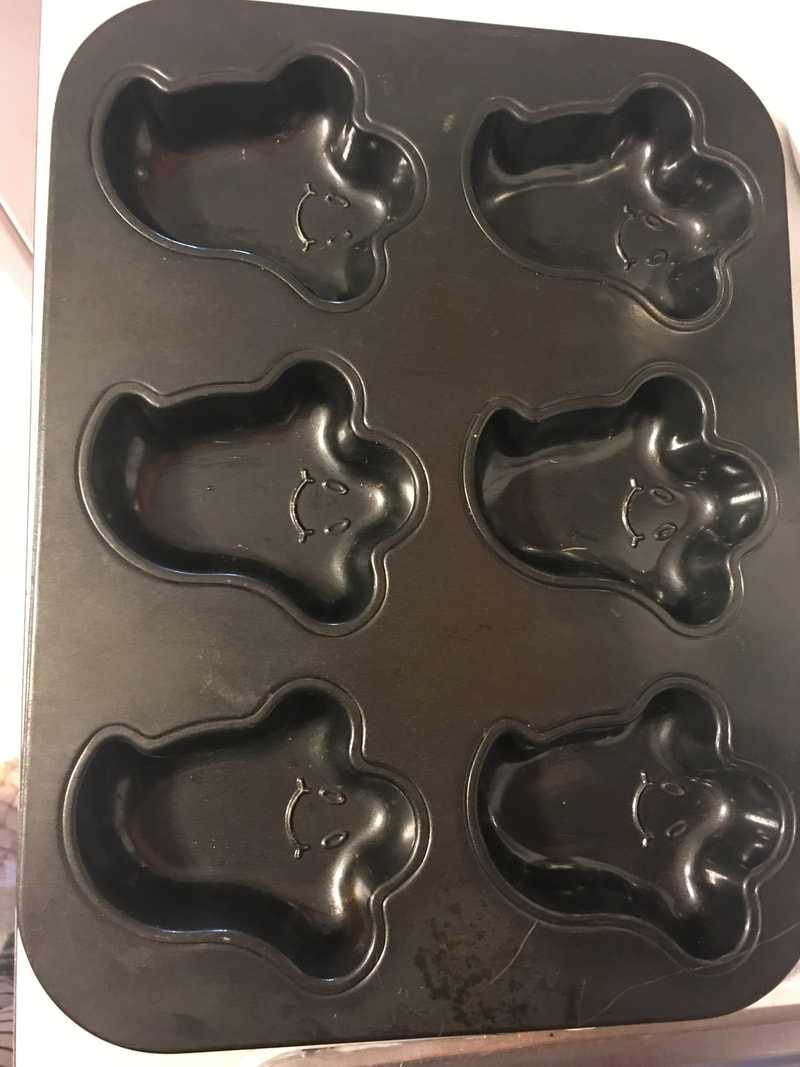
Happy Halloween everyone! I haven't done a baking post in quite a few weeks so I figured it was about time. We are going all out for Halloween this year in my office. We are all dressing up as Rosie the Riveter (I work with all women). We are also having a desk decorating contest and the winner gets an "off the books" PTO day so stakes are high. Every good Halloween party needs some snacks so I figured I would make some spooky treats! I used three different baking pans for these treats: an owl shaped one I got from my mom and ghost and pumpkin shaped ones my boyfriend's mother gave me. I love me some cute shaped baking pans! I know owls maybe aren't "spooky" per say, but I just love them and they remind me of fall so we are going for it. These treats are pretty easy, but may require some supplies you don't just typically have on hand. The supplies you will need are: - Fun baking pans - Baking Spray - Boxed brownie mix (or you can make your own if you want to be that way) - Cookie icing in those little pouches from the grocery store (again you can make your own if you are feeling frisky; I was just being ridiculously lazy and spent like $15 on icing I could have made for free at home) - Luster Dust - Candy eyes (or small M&Ms if you can't get your hands on some candy eyes) - Gel food coloring Simply prepare the brownie mix according to the directions on the box. I always go a little crazy with boxed brownie mixes and typically add vanilla, cinnamon and chocolate chips which is what I did for this, but you can make it easy and just follow the direction exactly if you would like! I have a vegan coworker so I also prepared some vegan brownies. I take NO credit for this recipe as I am not well-versed in the world of vegan cooking. I used a recipe that she recommended to me from a website called Detoxinista so here you go: detoxinista.com/vegan-flourless-black-bean-brownies/. I made a few changes to the recipe as suggested to me by my coworker. After getting the batter all ready I sprayed my pans and poured the batter in. Below are my pans:
Hello friends. I hate to interfere with your regularly scheduled programming, but I have to be honest with you. Those brownies DID NOT cook well in those pans so we are going to start the blog post fresh from this point on. I could have just rewritten the part above and pretended like I didn't mess up and everything was glorious, but I am here to show you the honest, messy, mistake-ridden world of crafting and baking so why lie? Anyways, look at what happened to my brownies in those pans even with copious amounts of spray: 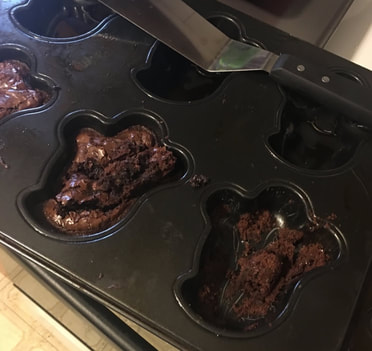 The edges cooked too quickly and the middle did not cook and the shapes of the pans were not at all conducive to the stickiness of brownies, even when they were well cooked. The brownies and pan basically became one homogeneous material. Soooo I started over! All of the supplies and ingredients I listed above before the debacle are the same except for 2: I exchanged fun baking pans for regular rectangular baking pans and had to break out some cookie cutters as well. You will see why later! So once I had some fresh brownie batter and had successfully made about 100 dirty dishes in the process, I got the batter into the regular baking pans and got them cooking. This worked much better! After they were fully cooked I let the brownies cool completely. I will admit I am notorious for not letting brownies fully cool before I handle them, but given the struggle I was having before I decided to be patient for once. It was hard for me, but I managed it. So once the brownies had completely cooled I pulled out the those cookie cutters I was telling you we would need. Since the whole plan to use fun shaped pans failed miserably, I decided that cookie cutters would be the next best way to get the general shapes I was looking for. I used a circle cutter for a pumpkin and a bell cutter to get the basic shape of a ghost. I gave up on trying to make owl shaped brownies as that was just not gonna work anymore. Sometimes you have to change your plans! Here are the cutters I used: 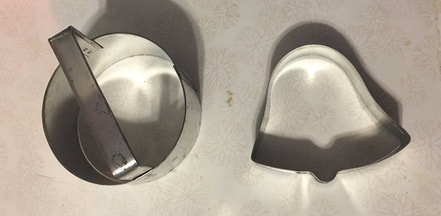 For the vegan brownies, I just cut them into squares as they are very fragile and I didn't want to risk breaking them, but I used these cutters for the regular brownies! I was able to get 5 ghosts and 4 pumpkins out of the 9 by 13 pan I used to cook the brownies in. 8 to bring for work and one to save for the boyfriend! 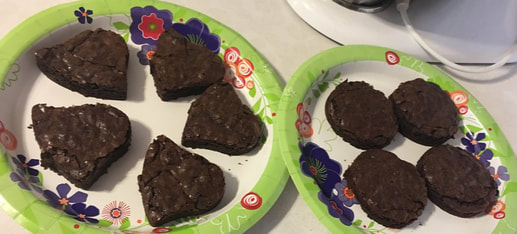 I then used one some of the white cookie icing I had bought to cover the tops of the ghost brownies. When I was done with that I took the white icing and mixed in some yellow and red gel food coloring to create an orange coloring to use on the pumpkin ones. I then sprinkled some luster dust on the ghosts and finished then off with candy eyes. For the pumpkins, I spread on some orange icing, then ended up pulling out some chocolate chips and pieces of a chocolate bar as well to add some face details and a stem. Here they are! 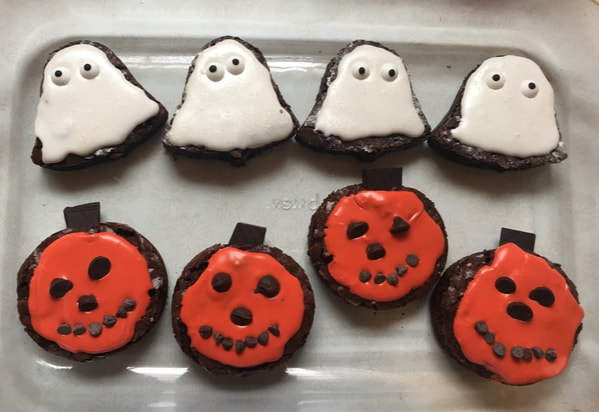 I'm happier with the ghost brownies than the pumpkins because for some reason the pumpkins look a little like monkeys to me (especially that last one on the right), but I ended up with something that tasted good and that's what counts. These little brownies are cute overall, but definitely not my favorite baking project I've ever done! This post is proof I'm not a master baker, but I will always keep trying new things and trying to improve upon my skills. Maybe next year I will have a new Halloween treat to try!
- Rebecca
3 Comments
Momma
11/2/2018 12:14:46 pm
Kudos for the honesty! Not all projects work out as expected and that's OK -- the fun is in the creating.
Rebecca
11/2/2018 12:30:13 pm
Yes indeed! You live and you learn!
Elaine Benoit Smith
11/13/2018 10:40:31 am
Indeed Mrs. Roy. Leave a Reply. |
AuthorI am a 27-year-old crafter and baker from New Hampshire! Archives
July 2024
Categories |
 RSS Feed
Proudly powered by Weebly