|
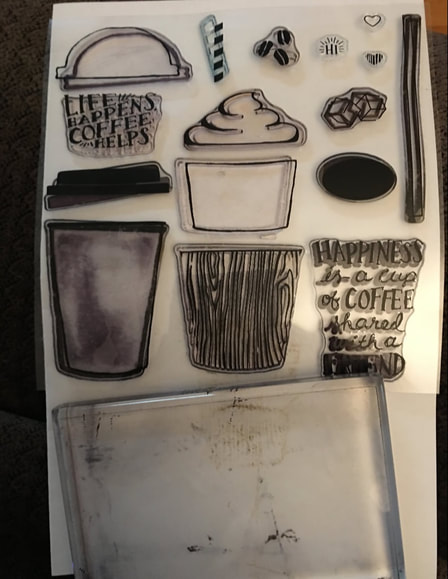
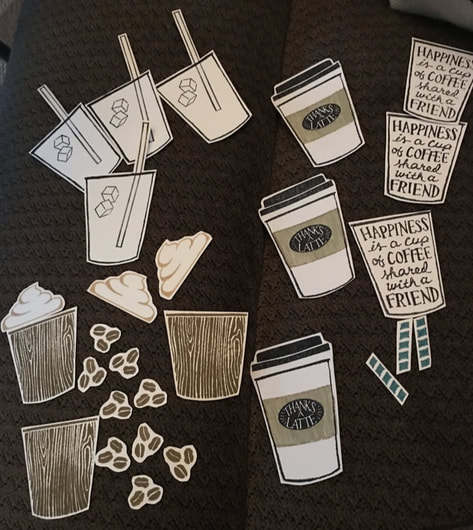
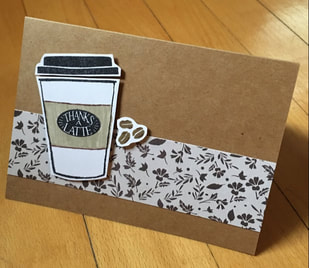
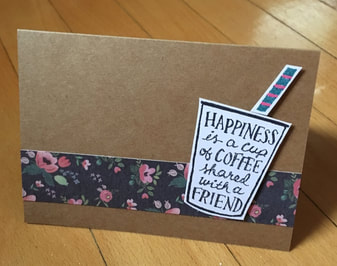
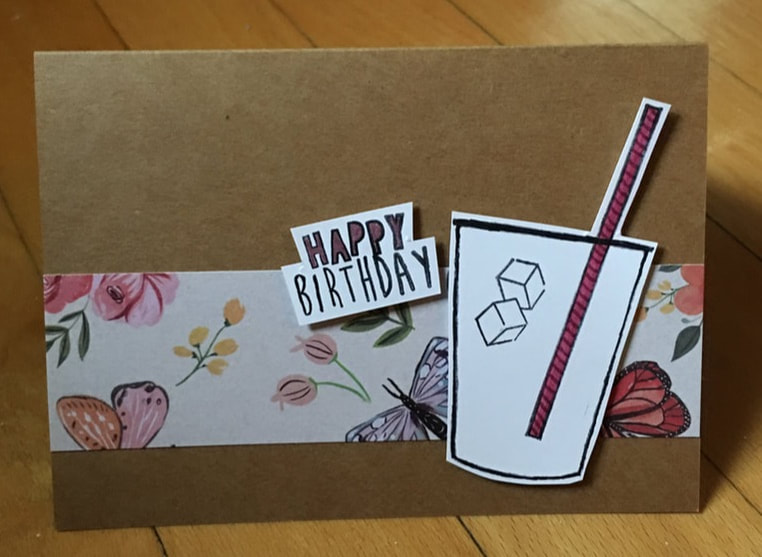
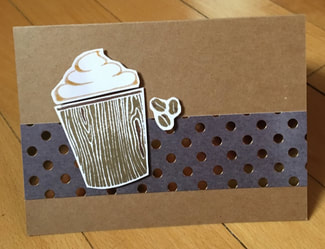
I love coffee. SO very much. I used to hate it and think it tasted like burned plastic, but then one day the coffee gods smiled down upon me and made me realize that it is a precious gift that we humans are not worthy of. I know there must be a few of you out there that don't like coffee (my mother for example), but I think that most of us are passionately on the side of coffee. Anyway, all of that was an unnecessarily long transition into the topic of coffee-themed cards! My mother and I will be going to a few craft fairs in November so I am working on some small projects. I happen to love projects that take an extremely long time and I have to keep working on over a series of weeks OR projects that are quick and painless and take me less than 3 hours. There's no in between with me. These adorable, quick coffee cards are definitely the latter type of project. Here's what I used to make these cards: - Double sided adhesive ( I have craft adhesive but you could easily use double sided tape) - Sharp scissors - Foam adhesive blocks (These are thin strips of white foam with adhesive on either side; they are used to stick something on your card slightly above the surface of the card to give it dimension) - Precut and folded card bases and envelopes - Black, brown, blue and tan ink pads (I use Stampin' Up! pads, but any brand could work) - Markers - Sparkly gel pens - 12 by 12 pad of coordinating patterned paper (All of the patterned paper used on these cards comes from the same pad which I think was bought at Michael's) - Happy Birthday stamp (I pulled this out of another stamp set I had and used it because I just wanted a few of the cards to be for birthdays; any Happy Birthday stamp will do) - Clear acrylic block (Pictured below; this is used for mounting stamps on) - Coffee stamp set (Pictured below; I think my mother purchased this on wish.com, but any stamp set similar to this would be just fine) If you have never seen or used stamps like this before, do not worry! They are so easy to use. The stamps are made to stick onto the acrylic block and are repositionable and reusable. The blocks are clear which help you position your stamp before you press it down. Here are all of my coffee pieces once I stamped them and cut them out. I ended up also stamping and cutting out a few Happy Birthdays from a different stamp set but that is not necessary if you don't need some birthday cards! After stamping and cutting a made a few accents with gel pens and markers to give some extra color and sparkle. Putting these cards together once all the pieces had been cut out took about an hour. The whole process of stamping, cutting, and glueing these cards together took around 2 hours overall. A nice quick project! I made these while watching Harry Potter and also doing schoolwork so they really were very easy! I picked some patterned papers from my pad and cut out a strip for each card, glued the paper strip on, then attached the coffee and word pieces with foam adhesive blocks. And that is all! So easy! I made 3 of each of the types shown below. Aren't they cute? I know! Quick and easy can be cute!
- Rebecca
0 Comments
Leave a Reply. |
AuthorI am a 27-year-old crafter and baker from New Hampshire! Archives
July 2024
Categories |
 RSS Feed