|
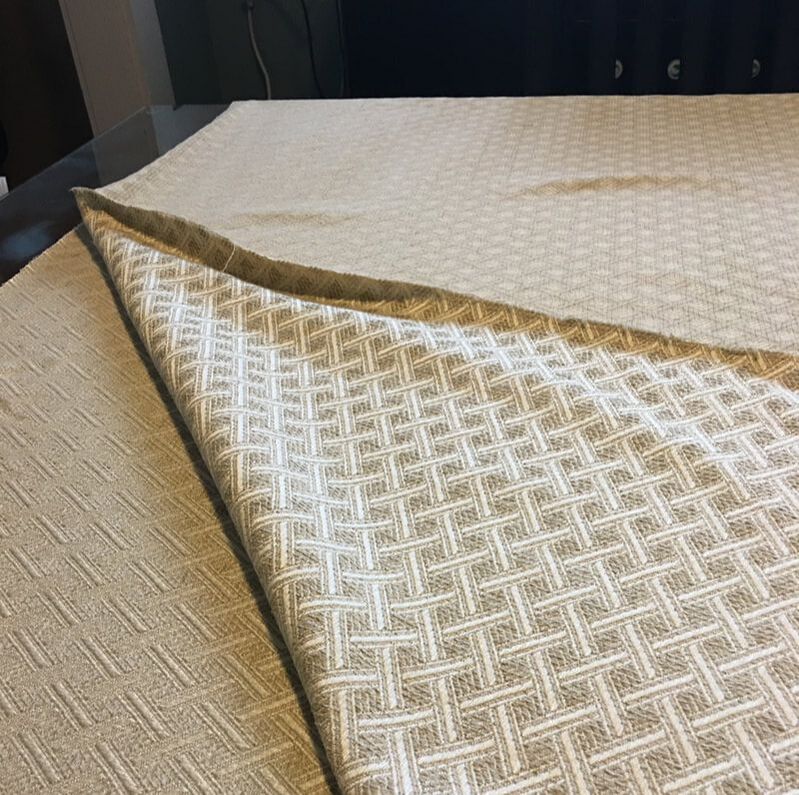
Hello Friends – It’s Suzanne, Rebecca’s Momma, guest blogging this week. Today, we are going to talk about a little sewing project I recently completed for a friend who asked me to make her some pillow covers. I am not a seamstress by any stretch of the imagination, but I have a sewing machine, know how to thread it and can sew straight lines. I also think I can figure out how to do anything, so I said I’d give it a go. My friend provided the pillow forms (26 inches square) and the end of a bolt of fabric with which she’d already had a bench covered. She wanted the pillows to match.
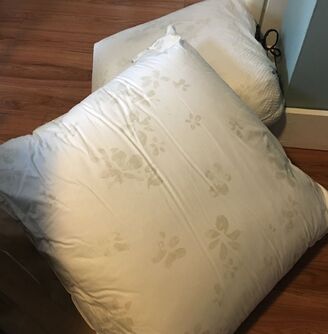
There were a couple of things I knew going in to this project. First, I wanted the covers to be removable for cleaning and, second, I did not want to have to learn how to put in a zipper. I thought about how pillow shams for beds often have a crossover opening in the back, so that’s what I decided to do. This is a very straightforward way of making a very simple cover and is adaptable to any size pillow. I’ll describe my process and you can easily replace my measurements with your own for the size pillow you have. I’d venture to say that you could even use a glue gun with glue sticks suitable for fabric (there is such a thing – I just googled it!) rather than sewing. First, figure out the size of your pillow. As I mentioned, mine are 26 inches square. Check the depth of your pillow as well. If it is very plump, you’ll need to figure the thickness of it into your measurements as well. For the width of your fabric, you will need a piece the width of the pillow, plus about one inch for every two to three inches of the thickness of the pillow, plus an additional inch for the seam allowance. For me, this was 28 inches. The length of the fabric will need to be 2.5 times the length of your pillow. For me, this was 65 inches. Then, turn a small hem along one of the short ends of your piece of fabric. This will end up being the upper side on the crossover opening. 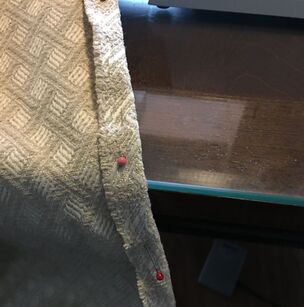 Next, fold your fabric with the good side in, roughly in half, but with the two short ends overlapping each other. The hem you just sewed should be under the end with the unsewn sort end, so that it ends up on top when you turn your cover right side out. You are trying to make the long length of the fabric the size of your pillow. In my case, I have square pillows so I folded my sandwich of fabric diagonally to make sure I had a square.  Next, pin the open edges so they don’t shift and sew straight from one end to the other. Remember, you’ve added an inch for the seam allowance, so try to stay about ½ inch in from the edge of the fabric. Sew the other open side straight from one end to the other. Now you can turn the cover right side out through the opening left by the two short ends overlapping each other. Use a chopstick or an unsharpened pencil to push the corners out square. Stuff that pillow form in through the overlapping opening and you are done. Easy peasy, lemon squeezy!
Sewing does not need to be intimidating. Most household items, like these pillow covers or curtains, can be made with just a few short, straight seams. I hope you give it a try.  What sewing projects have you attempted? Let me know in the comments below!
- Suzanne
1 Comment
Debbie R
7/2/2020 07:28:53 am
I have been known to glue and staple a hem :) Leave a Reply. |
AuthorI am a 27-year-old crafter and baker from New Hampshire! Archives
July 2024
Categories |
 RSS Feed
Proudly powered by Weebly