|
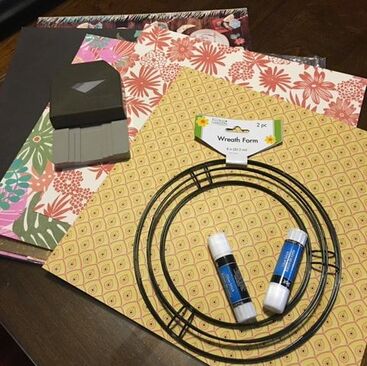
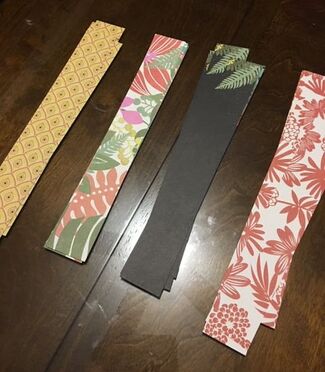
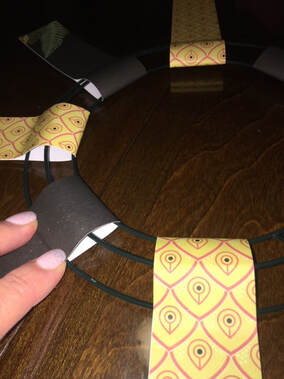
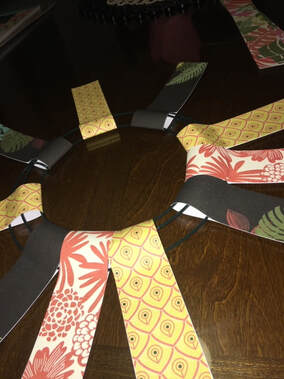
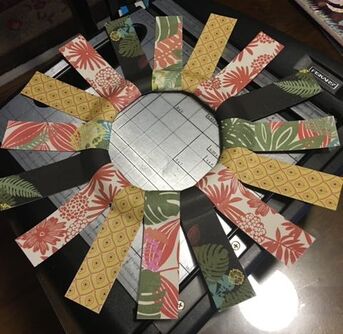
Hello friends. It’s Suzanne, Rebecca’s Momma, and I’m happy to be back with you on the PPP this week. I work with a great group of ladies and gentlemen in the Registrar’s Office at a local university. Many of us have hobbies and we occasionally get together for an after hours craft session. It’s a great way for us to share our hobbies and for people who are not otherwise crafty to try out new things and perhaps find a new passion. We’ve made Swedish snowflakes, stamped cards, crocheted coasters and “faux quilted” Christmas ornaments. Last week, I led a “Beat the Winter Blues” craft night and we made cute little starburst wreaths. They are suitable for all skill levels and can be personalized for any occasion and taste. I was pleased to share my paper stash so that everyone could find something that appealed to him or her. You’ll need, at minimum, a wreath form, patterned paper and a glue stick to make the basic wreath. I’ll also be using a paper cutter to cut my paper and some paper punches and a glue gun to embellish it. Embellishment is where you can really personalize the wreath, so you can use whatever you have at hand. Let’s talk about the wreath form. I’m using one that I picked up in a two pack from the Dollar Tree. It has an 8 inch opening in the center. You can make your own from a piece of a cardboard box or foam core board. Simply draw two concentric circles and cut out the shape. You could also cut out the center of a paper plate, using just the rim as your form. I would not recommend using something with a center opening larger than 7 to 8 inches, so the center of the wreath doesn’t look too empty and the finished product isn’t too unwieldy. Now let’s talk about paper. I’m using a coordinated paper pad, which guarantees that everything will match. You can select paper for any holiday or occasion. You could even use old maps or sheet music. Your paper just needs to have a little body, to keep it straight out from the wreath form. If you want to use thin paper, double it up to get the needed thickness. For a wreath with a 7 to 8 inch opening, you’ll need 16 to 18 strips of paper. That keeps the center from being too bulky and ensures your starburst is not too crowded. Before cutting your paper, you’ll need to decide what sort of pattern you want. This requires a little simple math. If you want to repeat 4 patterns of paper, you’ll need 16 strips -- 4 strips of each paper (16 / 4 = 4). If you want to repeat 3 patterns of paper, you’ll need 18 strips -- 6 strips of each paper (18 / 3 = 6). If you want to repeat 2 patterns of paper, you’ll need 8 or 9 strips of each paper to get to 16 or 18 strips total. When you have decided, use scissors or a paper cutter to cut your strips. Each will need to be 10.5 inches long and 1.5 inches wide. I decided to use 4 patterns of paper, so I cut 4 strips of each pattern. OK! Let’s start building the wreath. For each strip of paper, you will cover the back completely with the glue stick and wrap it over the form, gluing the paper to itself. Be sure to push the paper onto itself right up tight against the form and keep the strip of paper perpendicular to (straight out from the center of) the form. You may feel a little wiggle in the paper along the form, but as you add more strips, everything will tighten up. For 16 strips of paper, we will divide the wreath into quarters. Working around the wreath makes sure that the strips stay straight and an equal distance apart.
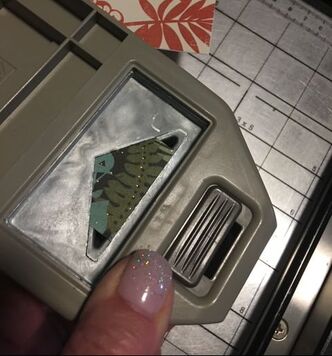
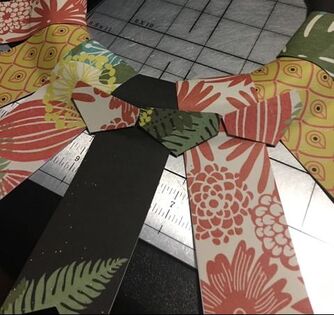
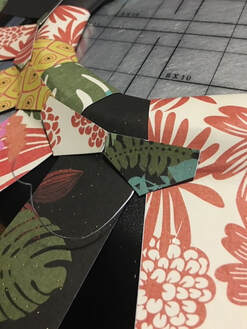
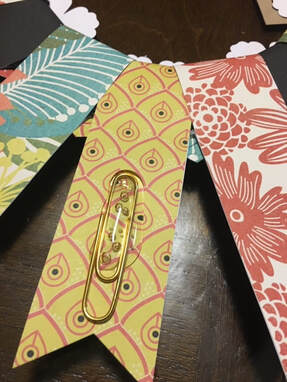
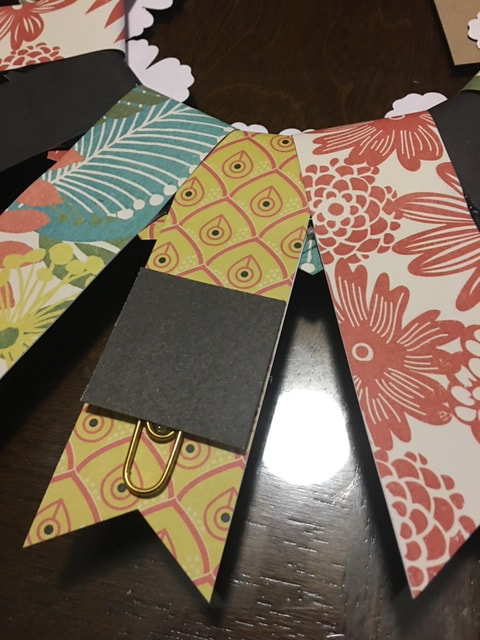
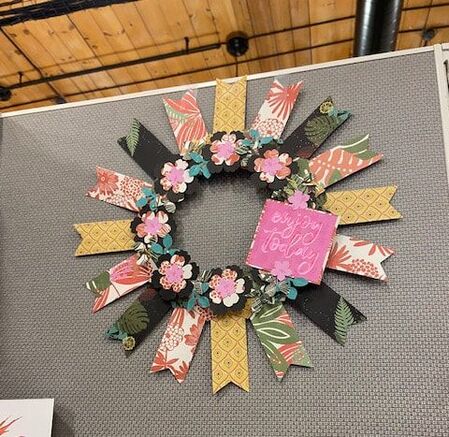
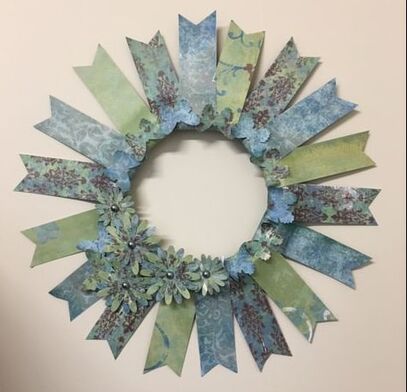
That’s it! That’s the basic wreath done. Your paper still has a little wiggle, so you can shrug each strip a little to the left or right to even out the spacing, if needed. If you are done and don’t want to add any embellishments to your wreath, I suggest adding a small piece of Scotch tape over each intersection, on the back side, to keep everything in place. If you are going to embellish, the additional adhesive needed to hold the extras on will hold everything else in place. You can add anything – punched shapes, silk flowers, stickers, pom-poms – that coordinates with your chosen papers. For any additional embellishment, use a hot glue gun. That will make everything nice and sturdy. To start my embellishment, I used a paper punch to notch out the end of each strip. If you don’t have a punch like this, you can make a notch by cutting up the middle of the strip about an inch deep, then in from each corner to meet the end of the snip. That will make an even notch. I then added the pieces that my paper punch notched out between each of the strips. This adds an extra little detail and serves to hold the strips in place. This is also a good time to see if you need to trim any of the strips. As you may be able to see in the picture below, one of my strips wasn’t perfectly even and I had a little of the white backside showing when I glued them together. I just trimmed that up and now the white is gone. I used a number of flower and leaf shaped paper punches to add a circle of flowers to the center of the wreath. My paper pack had some sheets with phrases, so I selected one, used a piece of chipboard (a cereal box!) to back it up for sturdiness and glued that on as a focal image. Finally, a paper clip in a bit of hot glue, covered with a small square of paper, serves as a hanger. The wreath weighs next to nothing, so I’m not worried about the paperclip not being strong enough to hold. Here is the completed wreath, in all its tropical glory. It’s a fun burst of color. I gave it to Rebecca and she hung it up in her cubicle at work! Here is a blue and green one which is much more subtle. This is an 18 strip version, where I repeated three patterns of paper. On that one, I used butterflies around the center and a little grouping of daisies with grey pearls in the center, all punched from the same paper. In addition to being inexpensive, these wreaths are quick, fun and easy to make. I hope you’ll give one a try! Happy crafting!
2 Comments
Debbie R
2/5/2020 07:02:27 pm
These are so lovely. Nicely done smarty pantses
Reply
Elaine Smith
2/5/2020 10:22:41 pm
Nice - I like
Reply
Leave a Reply. |
AuthorI am a 27-year-old crafter and baker from New Hampshire! Archives
July 2024
Categories |
 RSS Feed