|
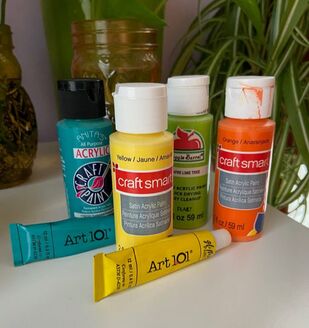
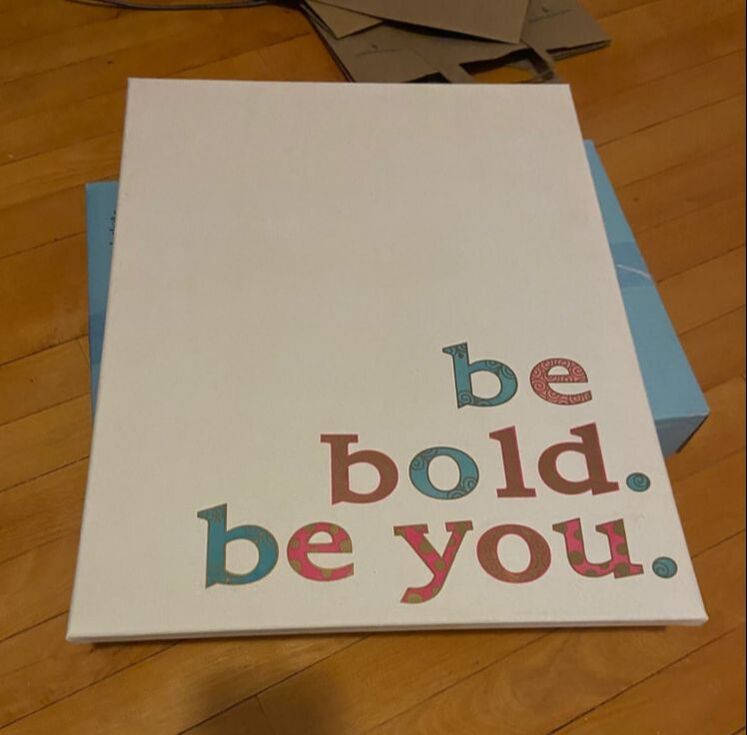
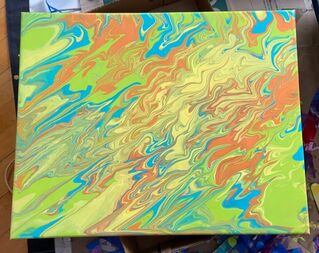
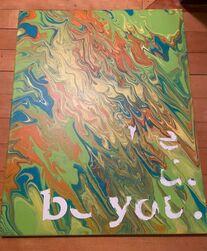
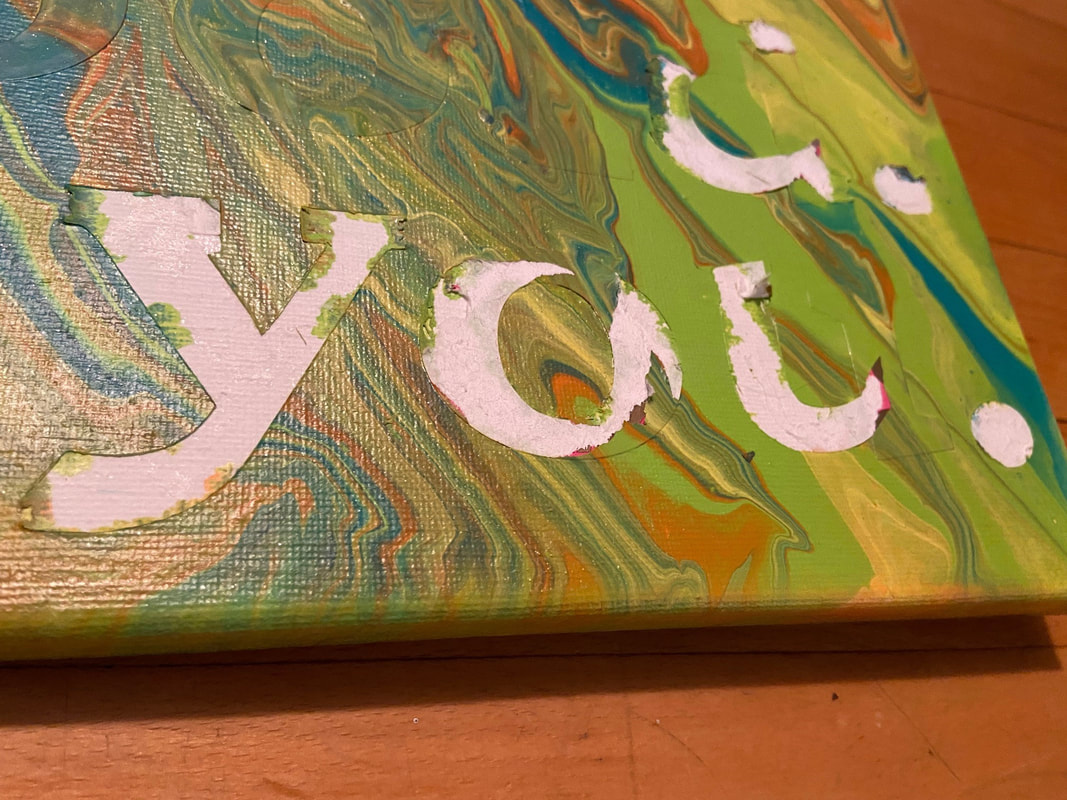
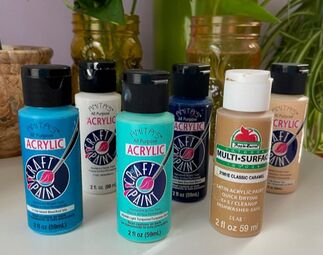
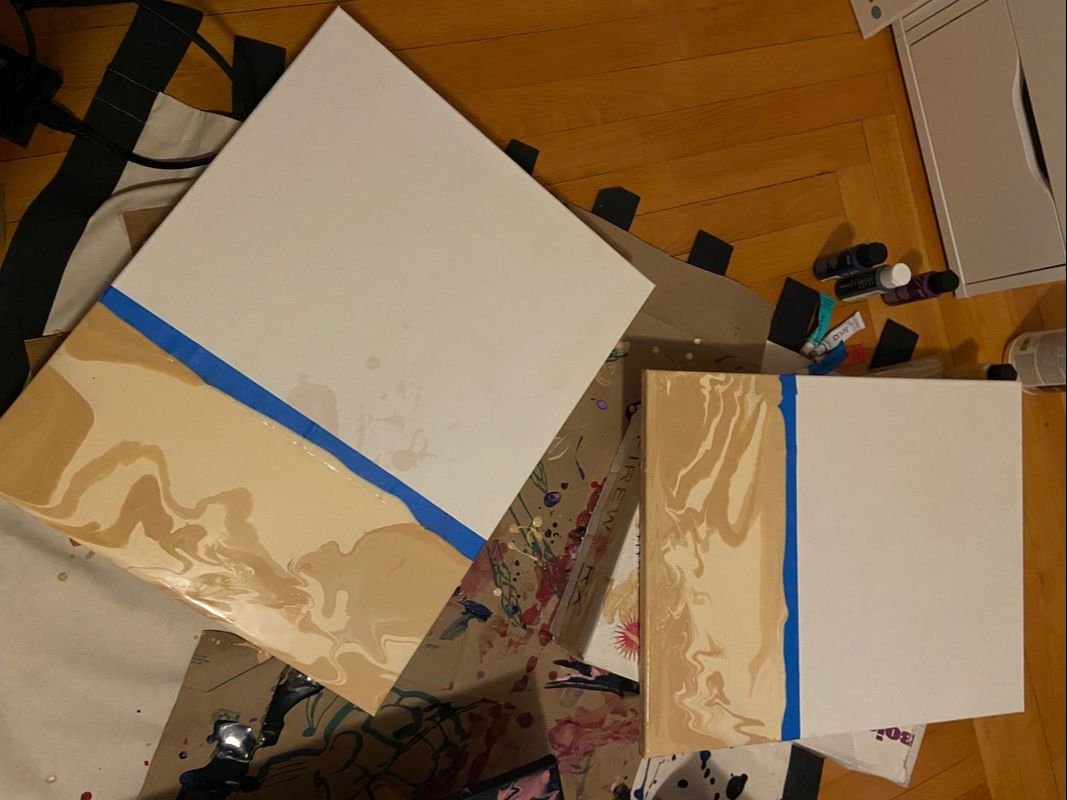
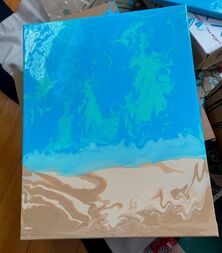
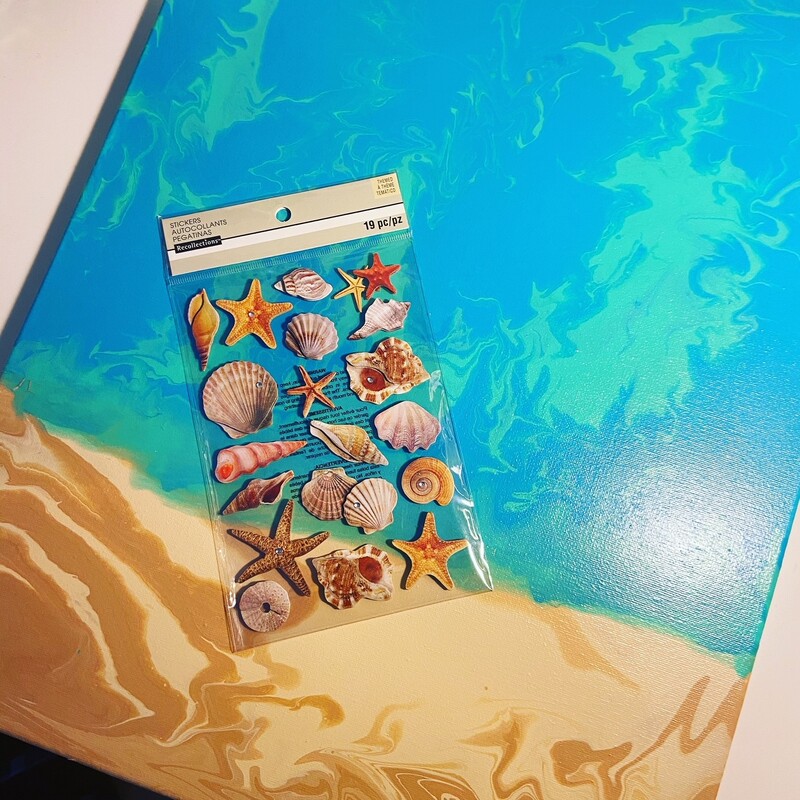
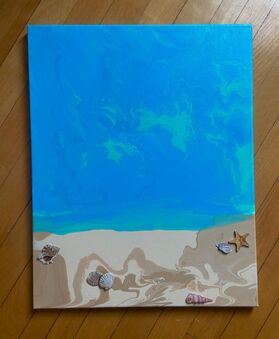
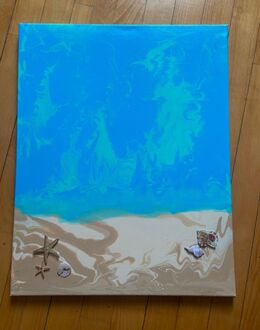
Hello everyone! Welcome back! Thank you for being patient while I took some time off. I'm excited to give Sundays a try for my posting day; sometimes I was feeling a bit rushed on Wednesdays and am hoping Sundays will be more relaxed as I have the whole weekend to prepare. Anyways, thanks for coming back! So when we last spoke about pour painting, I had shown you all a few of the pieces I had finished. I also mentioned that a few of the paintings I had tried didn't quite work out as planned so we will be talking about those today. Last time I showed you all how I used a great technique with tape and I tried to do a similar effect with lettering. I used some wall stickers and sealed down the edges as I had with the painter's tape. For this painting, I also chose to use some bright, fun colors. I love how the pour part came out! And here's where things started to go wrong. When I went to go pull the stickers away .... they didn't. After some reflection, I think it may be because the stickers were very papery while painter's tape has a more waxy finish, but I am not 100% sure. Sadly I was left with this! I haven't decided yet how I'm going to "save" this painting but will keep doing some thinking! I might try to go back in and paint over the area where the words should have been or cover the area entirely with some paper or other decoration. The other technique which didn't go quite as planned was an attempt at an "ocean" vibe. I had this idea that I could do some sand-colored paint at the bottom, let that dry, and then do blue paint over the top and spilling over to look like a wave coming in on a beach. I started off by sectioning a piece of each canvas with tape to keep the "sand" in one area. Once the sand dried, I went in with the blue to create the water. Now let me just say that there is nothing wrong with how these came out, but they just ended up not really being my style or what I had in mind. If I was to do this technique again, I would probably use less color variation in the sand and more in the water. Once again, these did not come out badly at all, but they are just not really my style. But everyone has a different style so I am hoping that these excite someone! I added some shell stickers to really hit home that these are beach-inspired. I was much happier after the stickers were added. I gave all of my pour paintings a few coats of sealer, added some hanging hardware and they were done! I will admit that these paintings were quite a bit of work, but they really were a labor of love and I am so proud of how they came out. If you are interested in purchasing any you can now check out my Shop tab above! This page contains all of the info you need and I would love for you to give it a look.
Let me know if you have any questions about pour painting in the comments below! - Rebecca
1 Comment
Elaine Smith
11/22/2020 06:26:01 pm
Looks fun!
Reply
Leave a Reply. |
AuthorI am a 27-year-old crafter and baker from New Hampshire! Archives
July 2024
Categories |
 RSS Feed