|
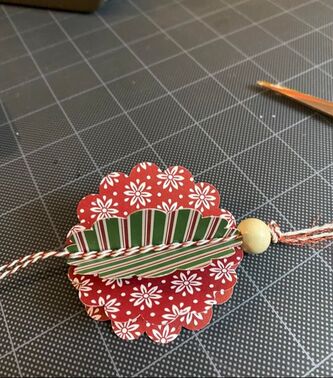
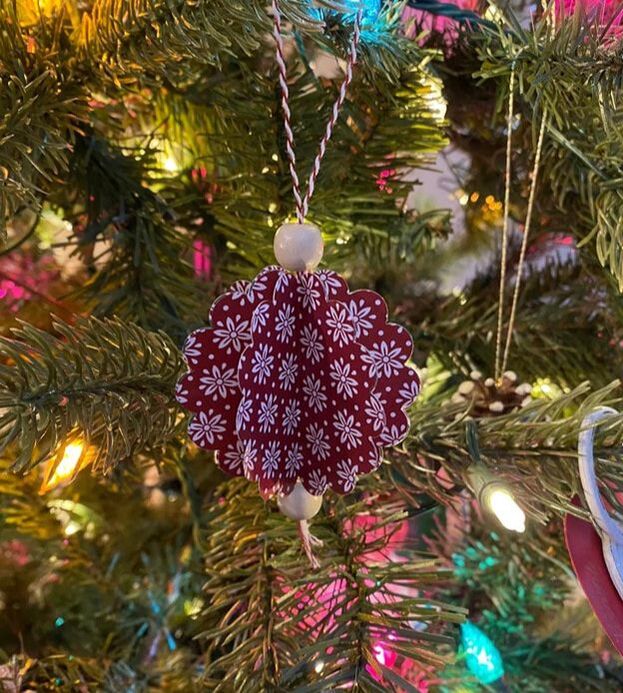
Hello Friends – It’s Suzanne, Rebecca’s Momma, and I am happy to be back with you today on the PPP with a trio of ornaments to help brighten up your holiday season. These sweet and simple ornaments can be made with just one sheet of double sided decorative 12 X 12 inch paper, making them as economical as they are easy. With one pack of coordinated paper, you could give your holiday tree a whole new look. I started with my paper, a paper trimmer, scissors, glue, some baker’s twine, a stapler and a scalloped circle paper punch. Remember, any place I’ve used a cutting tool, you can use a pair of scissors and achieve the same results. Later, I also snagged some beads and other embellishments from my stash.  The first thing to do is cut the 12 X 12 paper into three pieces – one 12 X 6 and two 6 X 6. 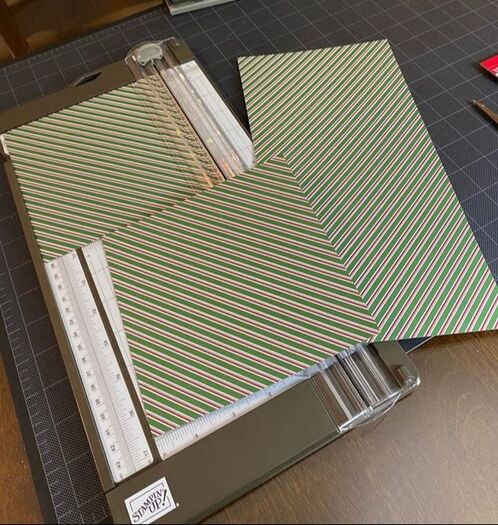 Ornament 1 uses the 12 X 6 inch piece. From that, punch or cut 6 circles of your desired size. Fold each of those circles in half, with the pattern you want showing to the inside of the fold. 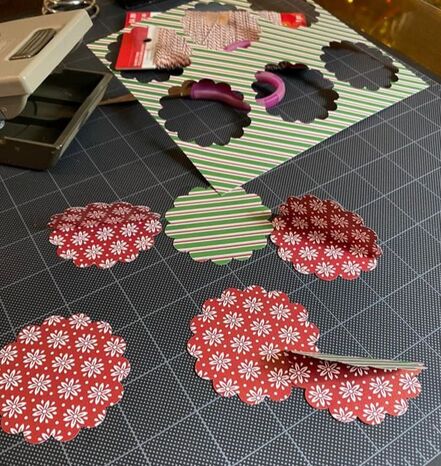 Carefully lining up each folded circle atop each other, glue them together until you have a stack. 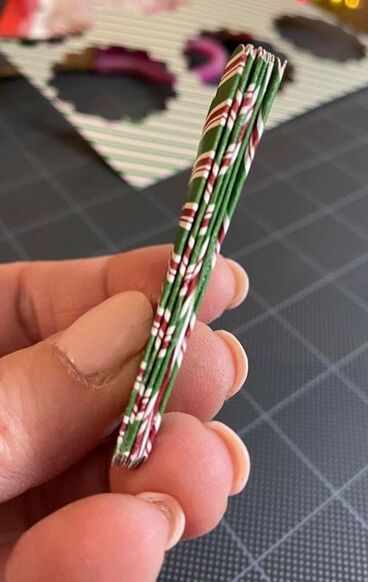 Before gluing the top and bottom together to complete the circle, run a length of baker’s twine down the “spine’. I also added a bead to the bottom of the twine to give the ball some weight. Glue the last two sides together to make a ball. Add another bead to the top, if you wish, and hang on your tree.
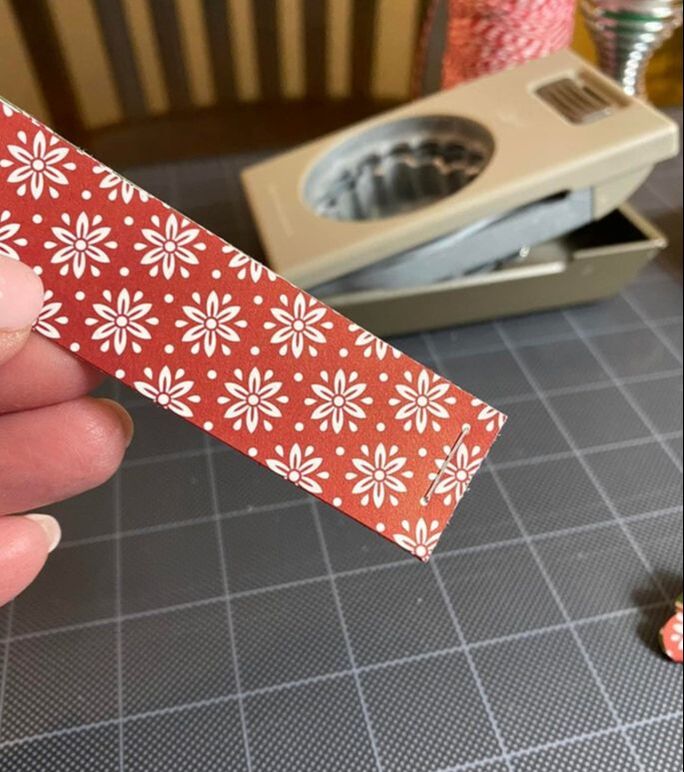
How easy was that? Ornament 2 is just as easy! Cut one of the 6 X 6 inch pieces of paper into six 1 inch strips. Keep two of the strips the full 6 inches, cut two of the strips to 5 ¼ inches and one of the strips to 5 inches. The last strip is extra. 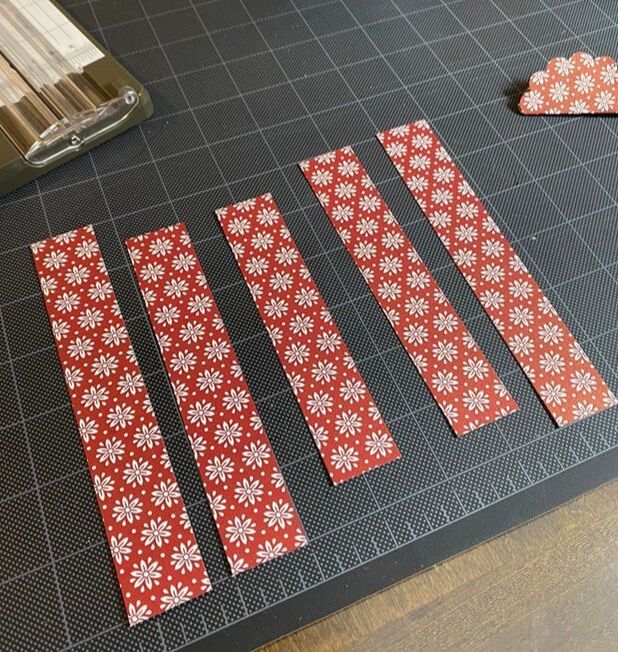 Stack the strips with three of them facing one way and the remaining two facing the other. Align one end of all the strips and staple together.
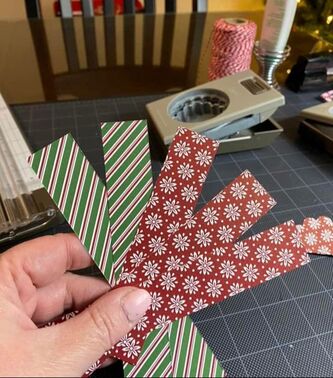
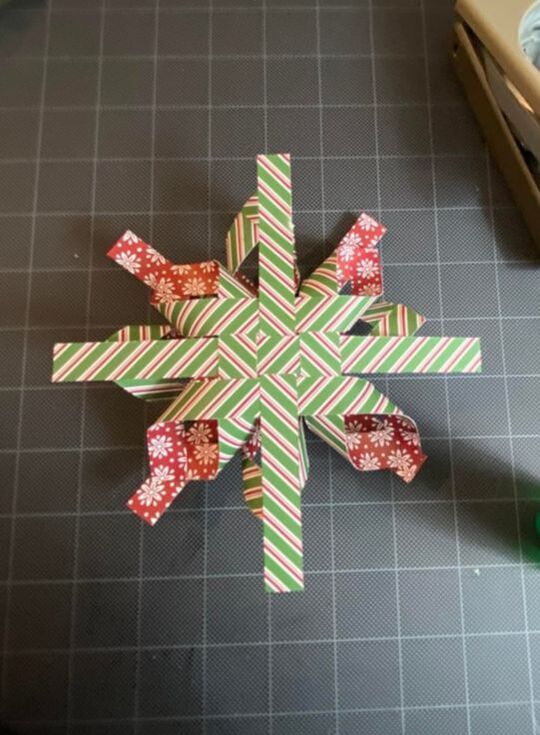
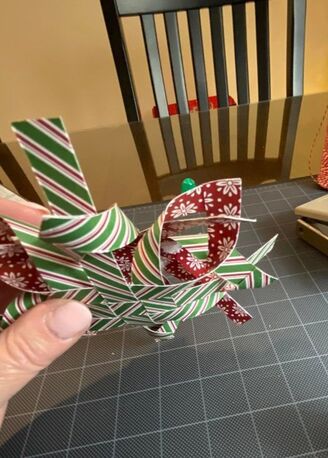
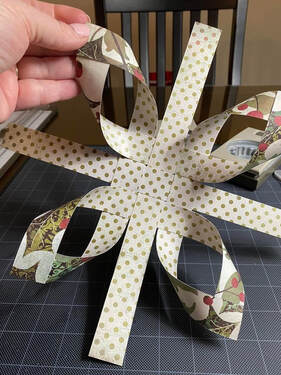
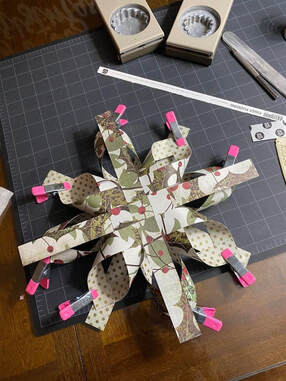
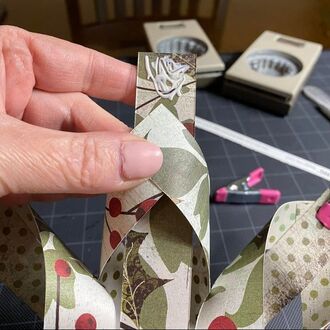
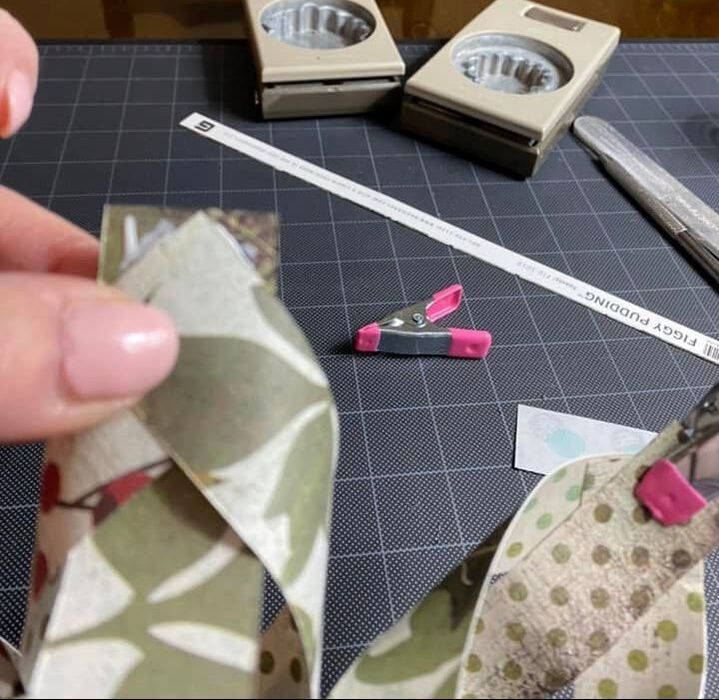
Align the opposite end of the strips, causing the two outside layers to bow out, and staple that end as well. 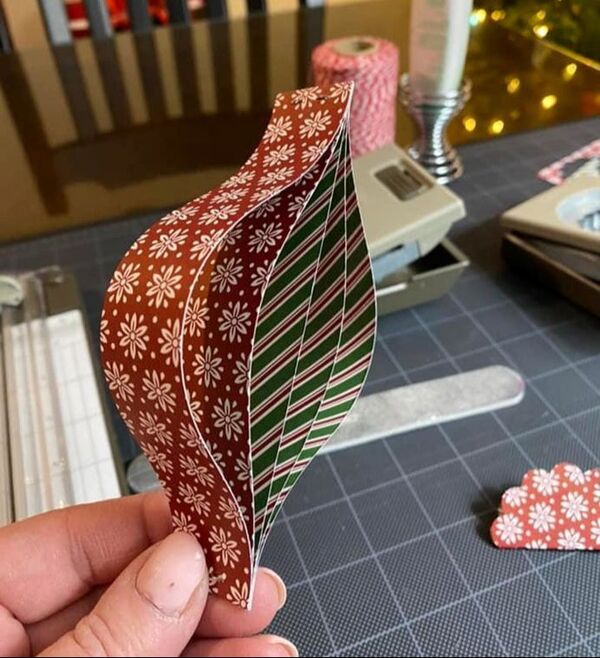 Punch a small hole at the top to add a length of twine as a hanger. Again, I added a bead to give the ornament some weight. I also punched a hole in the other end and added a bead there as well. 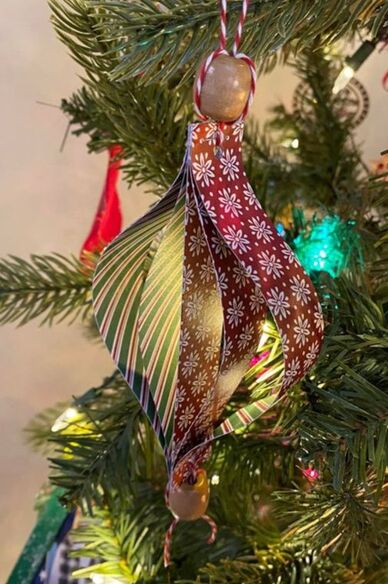 Now that you are warmed up, Ornament 3 is a little more time consuming, but again, very easy. This ornament has many names but is most commonly called a Swedish or Scandinavian Star. To start, take the final 6 X 6 inch piece of paper and cut it into twelve 6 X ½ inch strips. Each side of your star will use six of the strips. 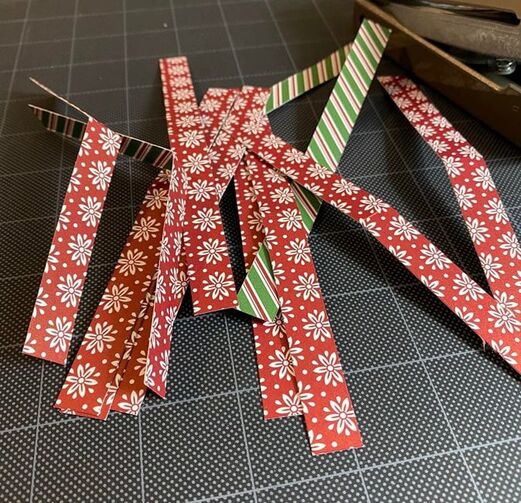 Fold two strips in half to find the center and glue them together at the center, forming a cross. Glue two strips on either side of one of the original strips, gluing to the opposite side of the cross piece. You will be creating a weaved pattern, so if your middle strip is “over”, you want the two that you are gluing on to be “under” (or vice versa). Turn your piece a quarter turn and weave the added two strips to the other original strip, being careful to form a weaved pattern. You should now have a piece that is three strips wide by three strips high, with a little woven center. Take the two corner strips and glue them together, flipping them so that they point out from the center, as shown. Repeat this on all four corners and then repeat the whole process with the other six strips of paper so you have two identical pieces.  Stack the two pieces on top of each other with the woven centers facing out. Turn one of your pieces so that the straight middle pieces of one align with the glued points of the other one. Weave the straight strips to the inside of the glued points and glue into place.
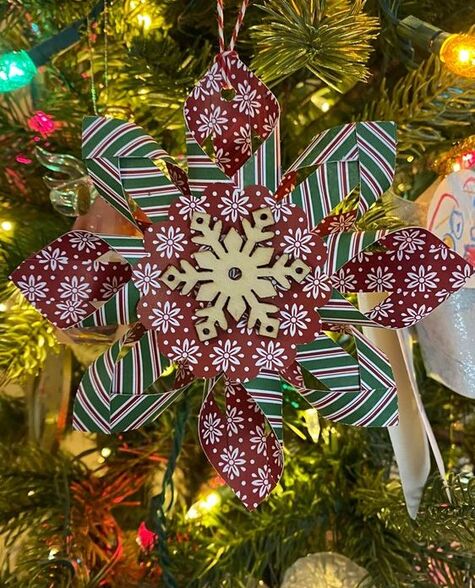
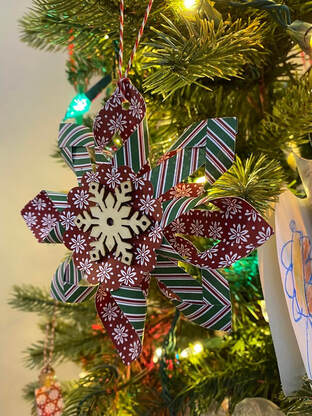
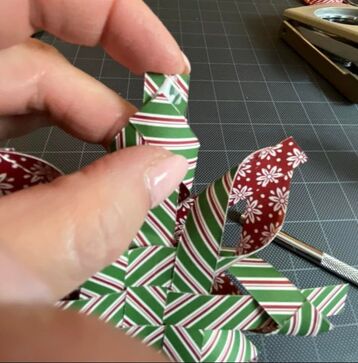 Once the tips are good and dry, cut the excess paper to match the points. 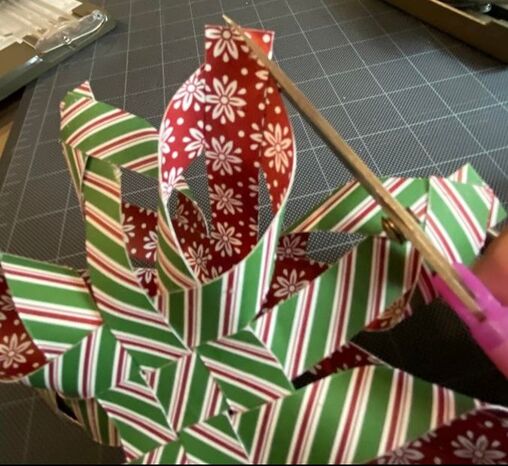 Punch a hole in one point to add a length of twine for hanging. I had paper left from the 12 X 6 inch piece I used for Ornament 1 so I punched another scalloped circle for the middle of one side and also added a thin wooden snowflake from my stash.
Since the small star came out so nicely, I decided to try one with a full sheet of 12 X 12 inch paper. I used a different style of paper, but if you were looking for a tree topper to match your new ornaments, this would be a great size for that. For this one, I cut my 12 X 12 inch piece of paper into 1 inch strips.  I repeated all the same steps, using some small clips to keep the larger corners in place while they dried.
For this big guy, I cut a scalloped circle on my Cricut and added a beautiful paper snowflake from my stash with a second, smaller scalloped circle in the center. 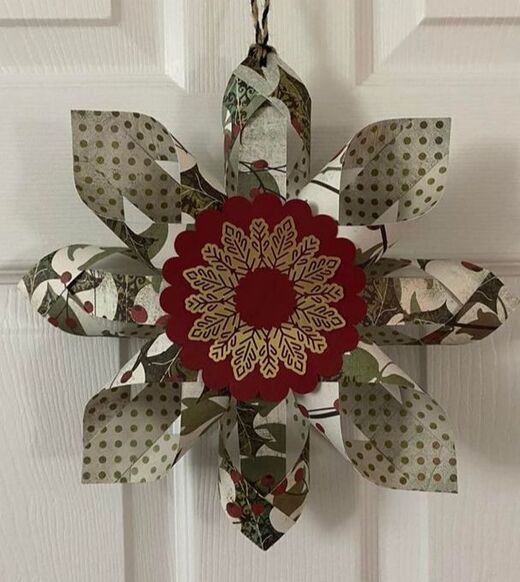 I hope you are inspired to make some of these ornaments and have a very happy holiday!
Rebecca here quickly: Today's picture on the home page is provided by user Valeria Boltneva on Pexels www.pexels.com/photo/yellow-red-and-green-christmas-tree-with-baubles-756686/ Happy holidays everyone!
0 Comments
Leave a Reply. |
AuthorI am a 27-year-old crafter and baker from New Hampshire! Archives
July 2024
Categories |
 RSS Feed
Proudly powered by Weebly