|
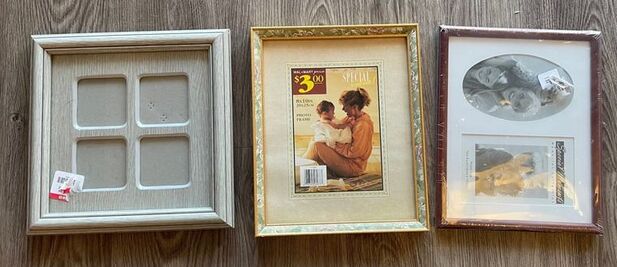
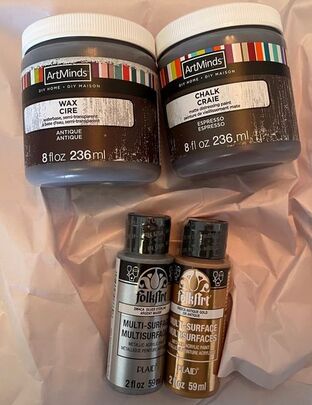
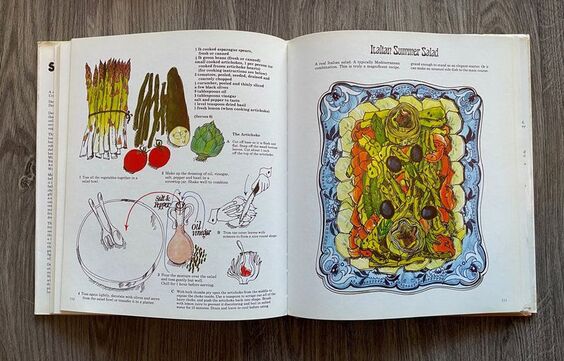
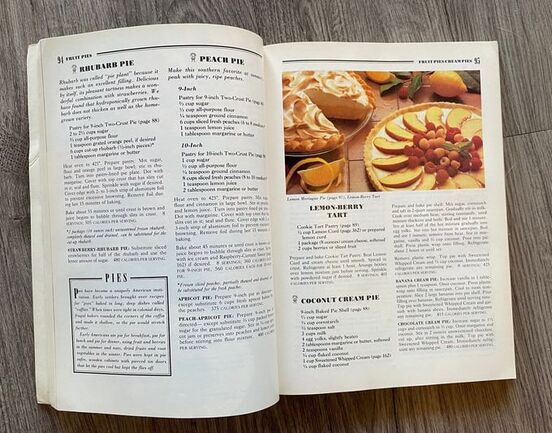
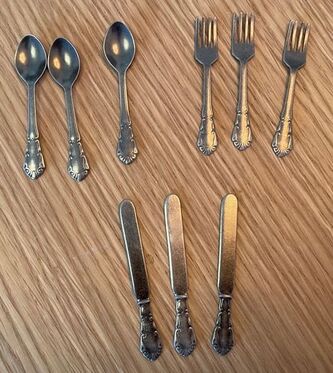
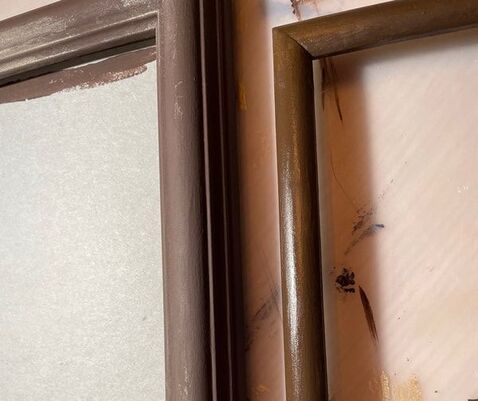
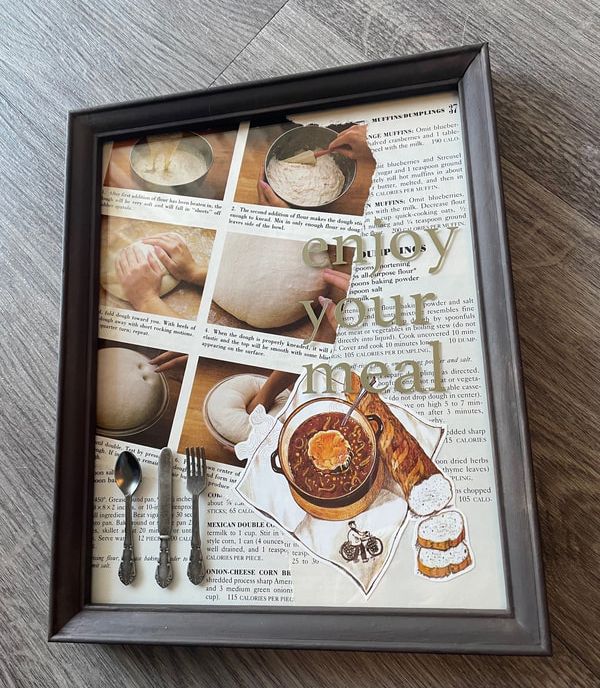
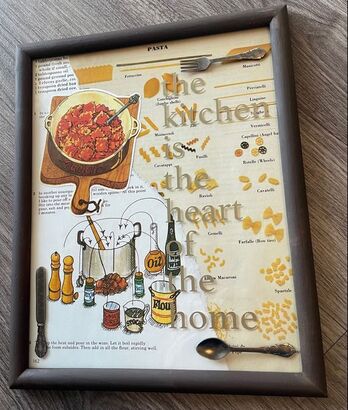
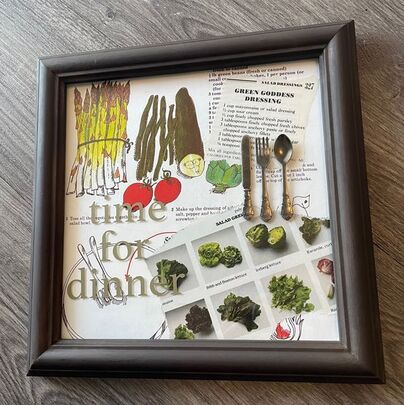
Hello friends! Before the blog, I want to shout out my crafty mother, Suzanne. Today is her birthday! Thank you for all the crafty love and support you have given the PPP! This week we are working on some larger scale mixed media frames. I have done some smaller mixed frames before and loved the project, so I wanted to do some larger ones with a kitchen/cooking theme. Here is the link for past mixed media frames if you are interested: www.thepatternedpaperplate.com/blog/mixed-media-collages I picked up three frames at Goodwill and some paints to use for this project at Michaels. I had wanted to use chalk paint for a while and thought this would be a good time to try it out. Chalk paint is very good at sticking to surfaces where acrylic paint might end up chipping or flaking off. One of the frames I bought was wood, but the others were plastic and acrylic paint often does not dry well on plastic. I also bought the wax coat that is meant to go over the chalk paint, as well as some metallic paint to give the frames some detail. When I was at Goodwill, I also picked up a Betty Crocker cookbook. I have had a gorgeous cookbook with drawings for a while that I’ve used in other projects, and I wanted to have the option between the drawings and images from a traditional cookbook. I had also had these adorable little utensils for a while and figured this would be a great time to use them. The first step on the frames was to sand them down slightly to help the paint adhere. I then did three coats of the chalk paint, letting them dry completely in between coats. Once the chalk paint was dry, I added some dimension with gold paint. The metallic gold paint I had bought was too yellow, so I mixed it with some of the silver metallic paint to create a more champagne gold. I added this gold paint in the corners and on the details of the frame to give it a little life. Once that was dry I covered everything with one coat of the brown wax top coat that was meant to go with the chalk paint. This sealed the paint and made it a bit glossier. The frame on the left shows the chalk paint before the top coat and the frame on the right has the top coat on it. While all of the paint coats were drying, I went through the two cookbooks and found pages that I liked and that I thought would like nice together. I created a distinct theme for each frame; one was salad/veggies, one was bread and one was pasta. Once the frames were dry, I added the cookbook pages that I had picked out, cutting and ripping certain pieces to give it the look that I liked. Once the glass was back in and the frames were reconstructed, it was time to add some details to the front of the glass. First, I used some champagne gold sticker vinyl that my mother had given me to cut out some phrases using my Cricut. I went for a font that was somewhat “Times New Roman”-ish to match the print of the cookbook pages. I stuck these phrases to the front of the glass and then glued down the small metal utensils I had. I used some clear Gorilla Glue to attach these. This glue is very strong and great for surfaces where hot glue might peel off like glass and metal. The one thing to be careful of with liquid Gorilla Glue is that it spreads very easily so its important to use only a tiny amount. And here are the frames all done! I really enjoy making art like this which utilizes magazine clipping, book pages, stickers, three dimensional accents, etc. It is a very freeing approach to art and allows you to mix and match a variety of mediums. What do you think of these frames? Let me know in the comments below!
- Rebecca Today’s picture on the blog homepage is from Pexels, provided by Polina Kovaleva: www.pexels.com/photo/kitchen-room-with-ornamental-plants-5644353/
0 Comments
Leave a Reply. |
AuthorI am a 27-year-old crafter and baker from New Hampshire! Archives
July 2024
Categories |
 RSS Feed